Introduction
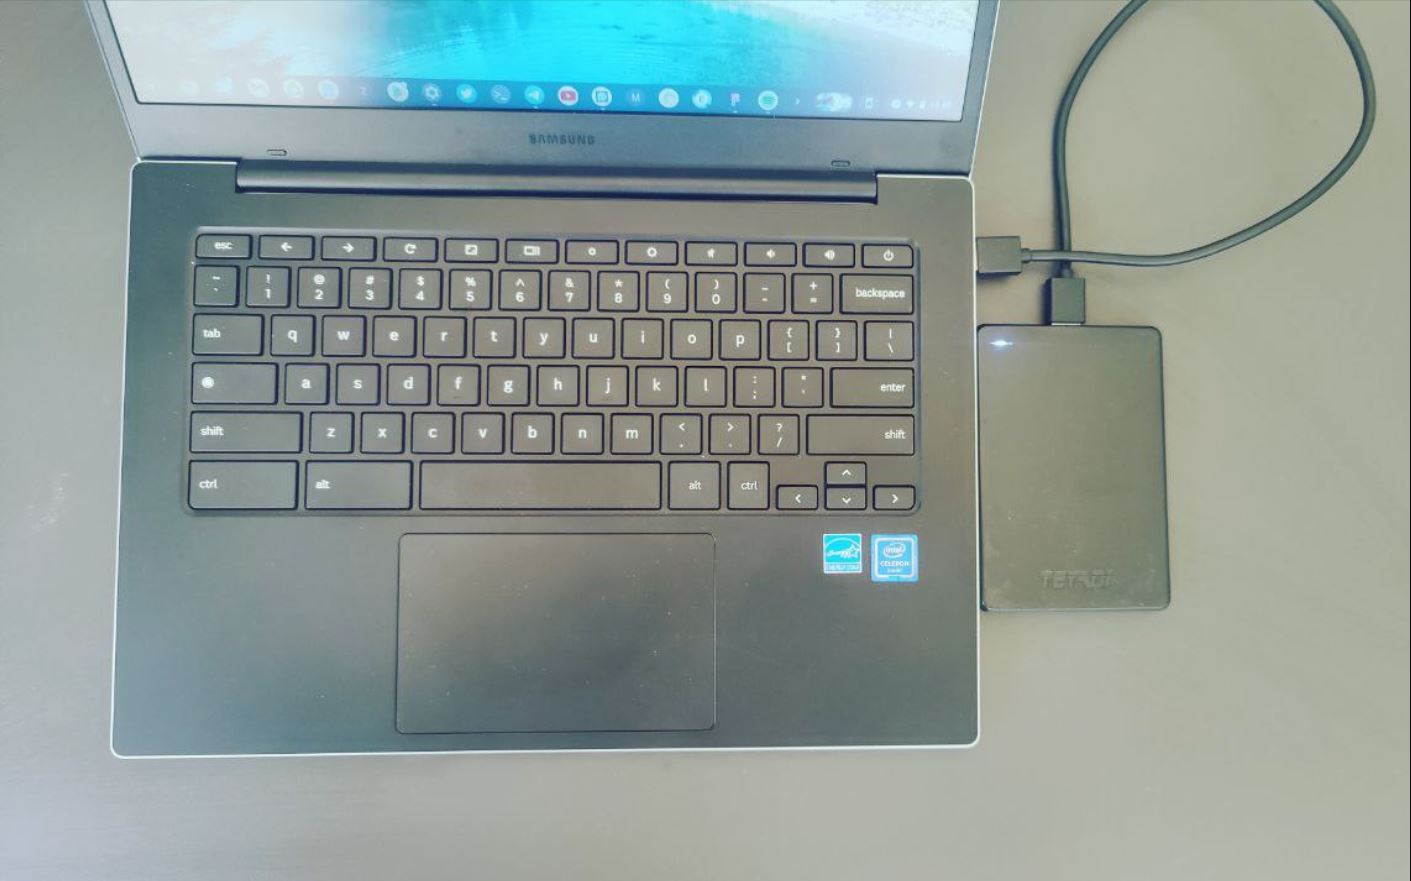
Having an external hard drive connected to your Chromebook can be incredibly convenient for storing files and expanding storage capacity. However, it is crucial to properly eject the external hard drive before physically disconnecting it to prevent data corruption or loss.
In this guide, we will walk you through the step-by-step process of safely ejecting an external hard drive from your Chromebook. Whether you are a seasoned Chromebook user or a novice, these instructions will ensure that you disconnect your external hard drive correctly, avoiding any potential issues.
It’s important to note that improperly removing an external hard drive may lead to file damage or even render the device unusable. Taking the time to follow these steps will safeguard your data and help maintain the integrity of your storage devices.
Please keep in mind that the specific steps may vary slightly depending on your Chromebook model and the version of Chrome OS you are using. However, the overall process should be relatively similar across devices.
So, let’s dive into the process of ejecting an external hard drive from your Chromebook and ensure your data is safe and secure.
Step 1: Ensure Proper Disconnection
Before disconnecting your external hard drive from your Chromebook, it is crucial to ensure that all data transfers have been completed and that no files are actively being accessed from the external drive. Abruptly removing or disconnecting the drive while data is still being read or written can lead to data corruption or loss.
To ensure a proper disconnection, follow these steps:
- Save and close any files that are open or being accessed from the external hard drive. This includes documents, media files, or any other files that may be open in the background.
- Close all applications or programs that are using files on the external hard drive. This step helps ensure that no active processes are interacting with the drive.
- If you have any downloads or file transfers in progress, wait for them to complete before proceeding. You can monitor the progress by checking the notification area or the respective application’s interface.
By taking these precautions, you are minimizing the risk of data loss or corruption when disconnecting your external hard drive. Once you are certain that all active processes have finished, you can proceed to the next step.
Step 2: Locate the ‘Files’ App
To safely eject your external hard drive from your Chromebook, you need to access the ‘Files’ app, which is the file management system on Chrome OS. Here’s how to locate it:
- Click on the ‘Launcher’ icon, usually located in the bottom left corner of the screen. It resembles a circle with a series of dots inside.
- In the ‘Launcher’ menu, look for the ‘Files’ app. It is represented by a blue folder icon.
- Click on the ‘Files’ app to open it. This will launch the file management interface, where you can view and organize the files on your Chromebook.
The ‘Files’ app is your gateway to managing the files and devices connected to your Chromebook. It provides a user-friendly interface that allows you to browse files, create folders, and access external storage devices like your external hard drive.
Keep in mind that the ‘Files’ app may also be accessible through the ‘App Drawer’ instead of the ‘Launcher’ menu, depending on your Chromebook’s configuration. The ‘App Drawer’ is represented by a grid icon and can be found by swiping up from the bottom of the screen or pressing the dedicated key on your keyboard, if available.
Once you have located and opened the ‘Files’ app, you are ready to proceed to the next step and identify your external hard drive within the file management interface.
Step 3: Identify the Connected External Hard Drive
After opening the ‘Files’ app on your Chromebook, you need to locate and identify your connected external hard drive. This step will help you select the correct device for ejection. Here’s how to do it:
- Within the ‘Files’ app interface, look for the ‘External Storage’ section in the left sidebar. It should be listed below other folders such as ‘Downloads’ and ‘Google Drive’.
- Click on the ‘External Storage’ section to expand it. This will display all the external storage devices currently connected to your Chromebook.
- Look for your external hard drive in the list of connected devices. The name of the drive should be displayed, typically based on the brand or model of the device.
If you’re unsure which device represents your external hard drive, you can also look for additional visual cues. External hard drives are often represented by an icon resembling a portable storage device or a hard drive. This icon may appear next to the device name or within the file management interface.
Take a moment to ensure that you have selected the correct external hard drive. This is important to avoid accidentally ejecting the wrong device and potentially causing data loss or interruptions to other connected devices.
Once you have identified your external hard drive within the ‘Files’ app, you’re ready to proceed to the next step and safely eject it from your Chromebook.
Step 4: Right-click on the External Hard Drive
Now that you have located your external hard drive within the ‘Files’ app on your Chromebook, it’s time to initiate the ejection process. Here’s what you need to do:
- Hover your mouse cursor over the icon or name of your external hard drive within the file management interface.
- With the external hard drive selected, right-click on it using your touchpad or mouse. This will bring up a dropdown menu with various options.
- From the dropdown menu, look for and click on the ‘Eject’ or ‘Safely Remove’ option. The specific wording may vary slightly depending on your Chromebook model or Chrome OS version.
By right-clicking on the external hard drive and choosing the eject option, you are signaling to the operating system that you want to safely disconnect the device. This action ensures that any pending read or write operations are completed and that all cached data is safely written to the drive before removing it.
It’s important to note that if the ‘Eject’ or ‘Safely Remove’ option is grayed out or unavailable, it may indicate that the drive is currently in use or that there is an ongoing operation preventing its disconnection. In such cases, make sure that all files and programs associated with the external hard drive are closed, and any ongoing transfers or tasks are complete before attempting to eject the device again.
After selecting the ‘Eject’ option, the external hard drive will be safely prepared for disconnection. Following the next step will ensure that you physically remove the device without any potential data loss or corruption.
Step 5: Select ‘Eject’ from the Dropdown Menu
After right-clicking on your external hard drive within the ‘Files’ app on your Chromebook, a dropdown menu will appear with several options. In this step, you will need to select the ‘Eject’ option to initiate the disconnection process. Here’s how to do it:
- Look for the ‘Eject’ option within the dropdown menu that appears after right-clicking on the external hard drive.
- Click on ‘Eject’ to start the ejection process. You may also see an alternate option such as ‘Safely Remove’ or similar wording.
By choosing the ‘Eject’ option, you are instructing the operating system to finalize any pending read or write operations and prepare the external hard drive for safe removal. This ensures that all data is written to the drive and any cached information is properly stored before disconnecting it physically.
It’s essential to be patient during this process, especially if you have large files or ongoing operations on the external hard drive. Rushing the ejection process could result in data loss or corruption. To avoid any potential issues, wait until the operating system provides confirmation that it is safe to disconnect the device.
Once you have selected the ‘Eject’ option, the Chromebook will begin finalizing the ejection process. The time required for this step may vary depending on the amount of data being processed and the speed of your external hard drive.
In the next step, we will cover the final actions to take before physically removing the external hard drive from your Chromebook.
Step 6: Safely Remove the External Hard Drive
After completing the ejection process in the previous steps, it is now safe to physically disconnect your external hard drive from your Chromebook. Follow these final steps to ensure a smooth and secure removal:
- Check the status of the external hard drive within the ‘Files’ app. Look for the device name or icon to verify that the ejection process is complete. If the device no longer appears or is labeled as “ejected” or “safe to remove,” it is ready to be disconnected.
- Gently and firmly grasp the USB cable or connector attached to the external hard drive.
- Slowly and carefully remove the cable or connector from the USB port of your Chromebook.
- Ensure that you do not pull on the cable at an angle or with excessive force, as this may damage the port or the connector.
By following these steps, you are taking the necessary precautions to prevent any damage to your external hard drive, Chromebook, or USB port during the removal process.
It’s important to note that if you have multiple external hard drives or other connected devices, repeat these steps for each device before physically disconnecting them. This helps ensure that you safely remove all devices from your Chromebook.
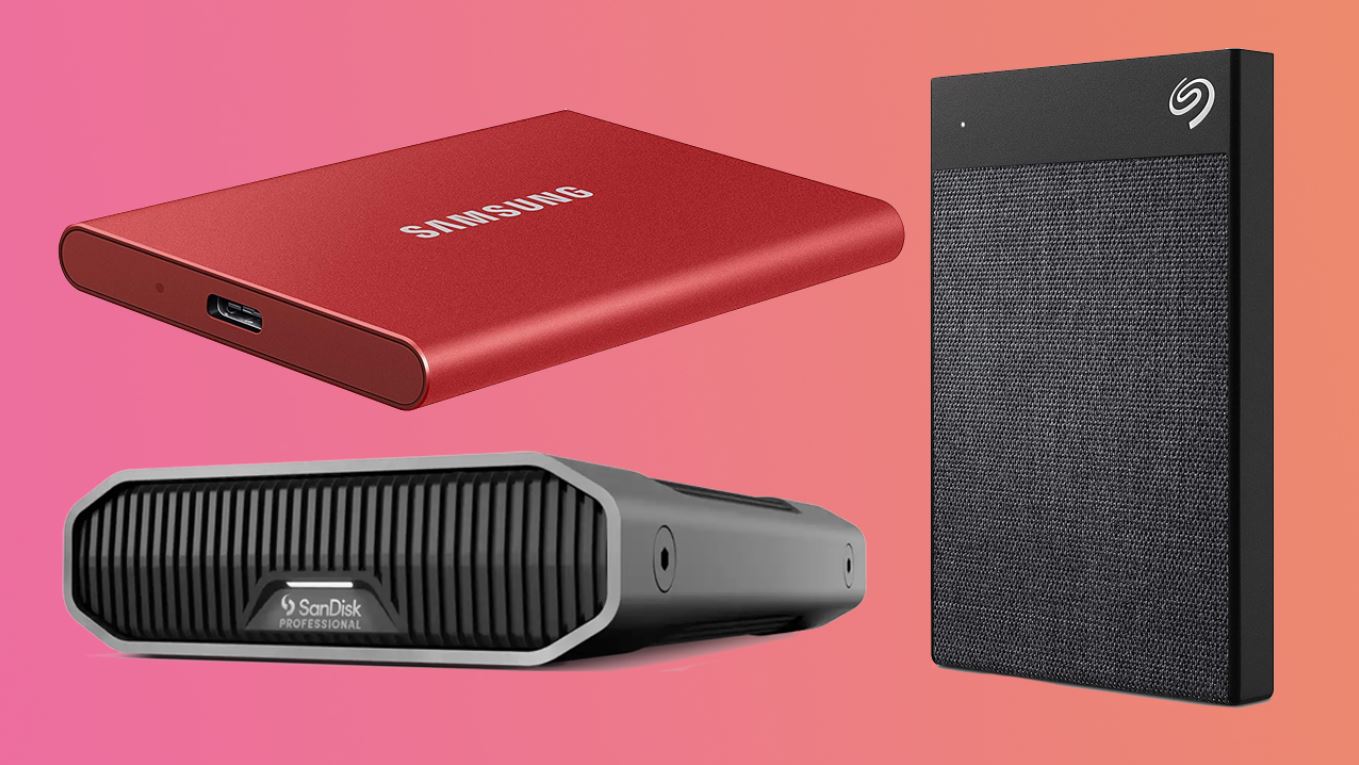
Once you have safely removed the external hard drive, it is recommended to store it in a safe place or protect it with a suitable storage case to prevent any physical damage. This will help extend the lifespan of your external hard drive and protect your valuable data.
Congratulations! You have successfully learned how to safely eject and remove an external hard drive from your Chromebook.
Conclusion
Properly ejecting your external hard drive from your Chromebook is essential for maintaining data integrity and preventing potential issues. By following the step-by-step guide outlined in this article, you can safely disconnect your external hard drive without risking data corruption or loss.
We started by emphasizing the importance of ensuring a proper disconnection, emphasizing the need to save and close all files, and waiting for ongoing transfers to complete. Next, we discussed how to locate the ‘Files’ app on your Chromebook, which serves as the file management system for accessing external storage devices.
Identifying the connected external hard drive within the ‘Files’ app was the next step, ensuring that you select the correct device for ejection. We then walked through the process of right-clicking on the external hard drive and selecting the ‘Eject’ option from the dropdown menu.
Finally, we discussed the crucial step of safely removing the external hard drive physically, emphasizing the need for careful handling and avoiding excessive force when disconnecting the USB cable or connector from the Chromebook’s USB port.
By following these steps, you can confidently and safely remove your external hard drive from your Chromebook, protecting your data and the longevity of your storage device.
Remember to exercise caution and patience throughout the process, ensuring that all data transfers are completed before ejecting the device. This will help safeguard your files and prevent potential data loss or corruption.
With this knowledge, you can enjoy the convenience of using external storage on your Chromebook without fearing any adverse consequences. Safely ejecting your external hard drive ensures a seamless and efficient workflow, allowing you to focus on your tasks with peace of mind.
We hope this guide has been helpful to you. Happy computing and safe data management on your Chromebook!