Introduction
Backing up your computer is an essential task to protect your valuable data and ensure its safety. Whether you use your computer for work, personal projects, or entertainment, the potential loss of files due to hardware failure, malware, or accidental deletion can be devastating.
Having a reliable backup of your computer’s data gives you peace of mind that even if the worst happens, you can easily restore your files and get back to normalcy with minimal interruption. When it comes to backups, one popular and convenient option is to use an external hard drive.
An external hard drive is a separate storage device that can store large amounts of data and is portable enough to be easily connected to multiple computers. This makes it an ideal choice for backing up your computer, as you can have a dedicated copy of your files stored externally, away from your main system’s storage.
In this article, we will explore how to backup your computer to an external hard drive. We will discuss the reasons why backing up is important, guide you through the process of choosing the right external hard drive, and provide step-by-step instructions on setting up the backup process for both Windows and macOS operating systems. Additionally, we will cover manual file copying and the best practices to follow for effective computer backups.
By the end of this article, you’ll have a clear understanding of how to protect your files and ensure their availability in the event of any unforeseen circumstances. So let’s dive in and learn how to backup your computer to an external hard drive!
Why Backup Your Computer?
Backing up your computer is not just a precautionary measure; it is an essential task that should be prioritized. Here are the key reasons why you should regularly back up your computer:
- Data Loss Protection: Computers can experience various issues, such as hardware failure, accidental deletion, viruses, or software glitches. Without a backup, all your important files, documents, photos, and videos could be lost forever. A backup ensures that you have a separate copy of your data that can be easily restored.
- Recovery from Cyber Attacks: With the increasing prevalence of malware, ransomware, and other cyber threats, it is crucial to have a backup strategy in place. If your computer becomes infected, you may need to format or wipe your system to remove the malware. By having a backup, you can quickly restore your files and minimize the impact of the attack.
- Hardware Failure: No hardware component lasts forever. Hard drives can fail unexpectedly, leaving you without access to your valuable data. Regularly backing up your computer ensures that if your hard drive fails, you can restore your files to a new drive without losing anything.
- Accidental Deletion: We’ve all experienced that sinking feeling when we accidentally delete an important file or overwrite a document. Having a backup provides an extra layer of protection against such mishaps, allowing you to retrieve previous versions or copies of your files.
- Seamless Upgrades: When it’s time to upgrade to a new computer or operating system, having a backup enables a smooth transition. You can restore your files and settings to the new system effortlessly, saving you time and avoiding the hassle of manually transferring all your data.
By backing up your computer regularly, you mitigate the risks of data loss, protect yourself from cyber threats, and ensure that your files remain safe and accessible. It provides peace of mind knowing that your valuable documents, memories, and important work-related information have an extra layer of protection.
Now that we understand the importance of backing up our computer, let’s explore how to choose the right external hard drive to ensure a reliable backup solution.
Choosing an External Hard Drive
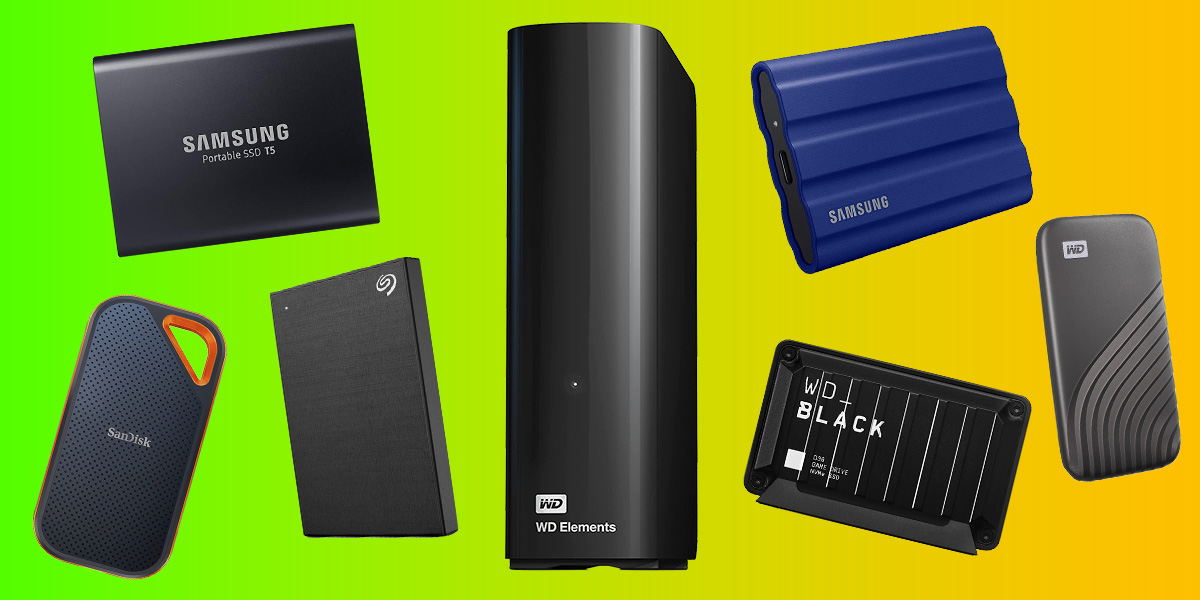
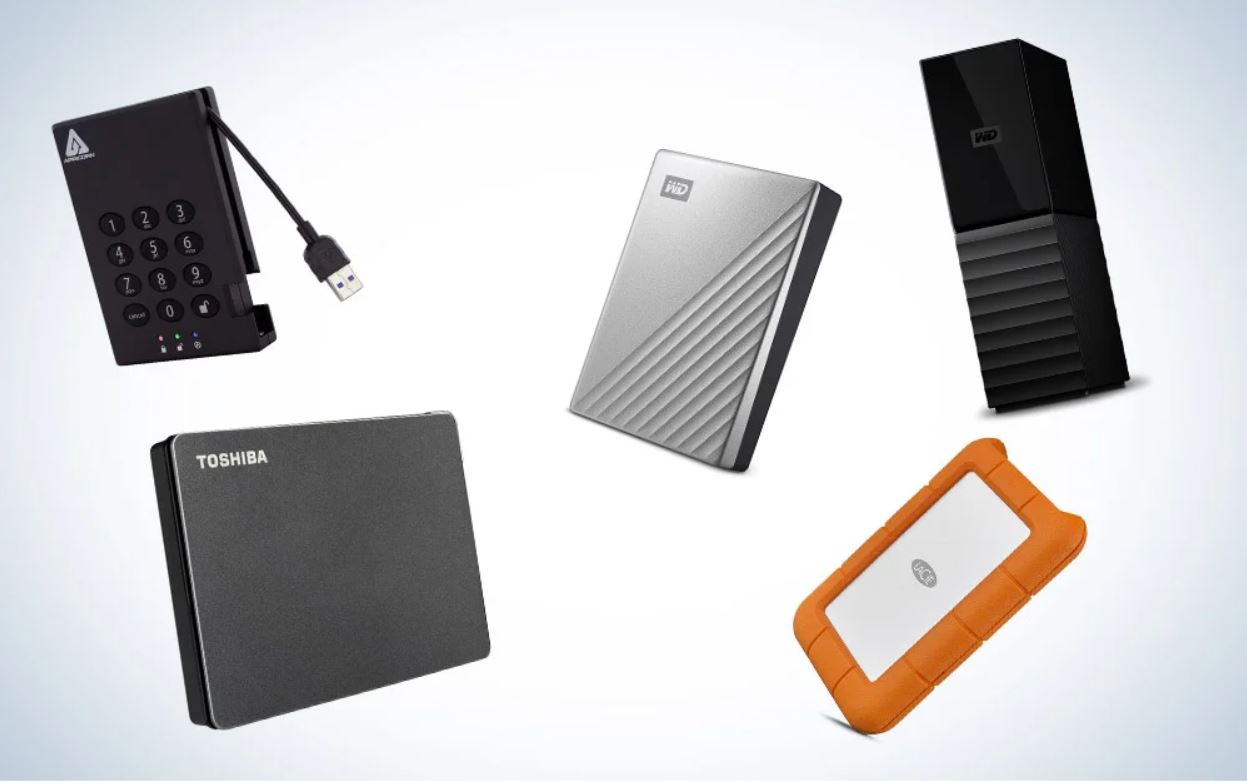
When it comes to choosing an external hard drive for backing up your computer, there are a few factors to consider to ensure you make the right choice. Here are some key points to keep in mind:
- Storage Capacity: The storage capacity of the external hard drive will determine how much data you can back up. Consider the size of your computer’s storage and the amount of data you need to backup, including documents, photos, videos, and any other files. It’s wise to choose a drive with ample storage space to accommodate future data growth.
- Compatibility: Ensure that the external hard drive is compatible with your computer’s operating system. Most drives are compatible with both Windows and macOS systems, but it’s always good to double-check to avoid any compatibility issues.
- Transfer Speed: The transfer speed of the external hard drive affects how quickly you can back up your files. Look for drives with USB 3.0 or higher connectivity for faster data transfer rates. This is especially important when dealing with large files or backing up a significant amount of data.
- Portability: If you need to move your external hard drive frequently or use it with multiple computers, consider its portability. Look for compact and lightweight options that are easy to carry around and do not require an external power source.
- Reliability: It’s important to choose a reliable and durable external hard drive that can withstand regular use. Read reviews and choose from reputable brands known for their quality and longevity.
- Backup Software: Some external hard drives come bundled with backup software that can automate the backup process. This can be a convenient feature to have, as it simplifies the backup setup and scheduling.
- Price: Consider your budget when selecting an external hard drive. Prices can vary based on storage capacity, brand, and features. It’s important to strike a balance between your storage needs and affordability.
By taking these factors into account, you can choose an external hard drive that suits your requirements and provides a reliable and efficient backup solution. Now that you have an understanding of what to look for in an external hard drive, let’s move on to the process of connecting it to your computer.
Connecting the External Hard Drive to Your Computer
Once you’ve chosen the right external hard drive for your needs, it’s time to connect it to your computer. Follow these simple steps to establish the connection:
- Step 1: Power off your computer: Before connecting the external hard drive, it’s best to power off your computer to ensure a safe and proper connection.
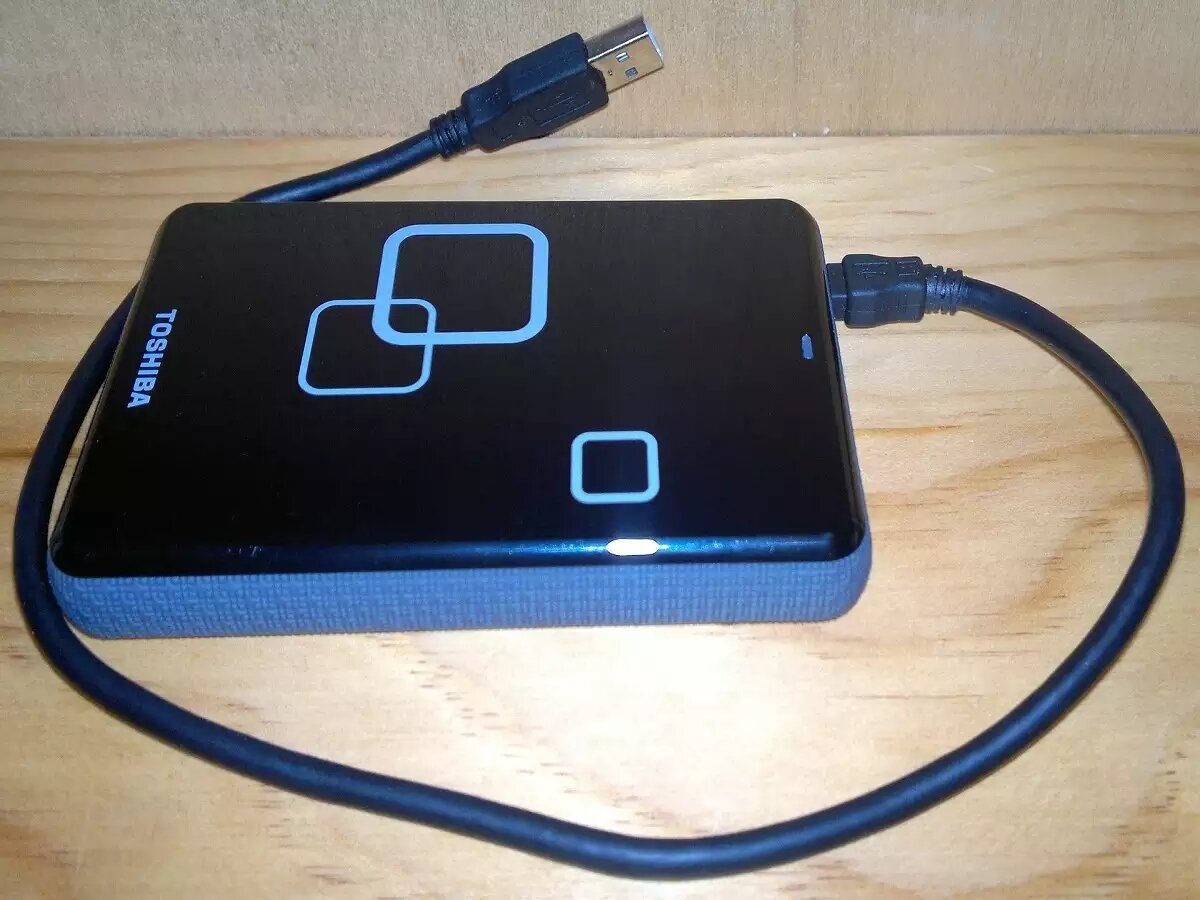
- Step 2: Locate the USB port: Identify an available USB port on your computer. The USB port is typically rectangular in shape and can be found on the front, back, or sides of your computer.
- Step 3: Connect the external hard drive: Take the USB cable that came with your external hard drive and insert one end into the USB port on your computer. Insert the other end into the corresponding port on the external hard drive.
- Step 4: Power on the external hard drive: Once the connection is established, power on the external hard drive. Some drives may have a separate power button, while others may start automatically when connected to the computer.
- Step 5: Wait for the computer to recognize the drive: Give your computer a few moments to detect and recognize the external hard drive. You may see a notification or an icon appearing on your computer’s screen indicating the successful connection.
- Step 6: Check the drive in File Explorer or Finder: Open the File Explorer (Windows) or Finder (macOS) application on your computer. Look for the external hard drive listed under the “Devices” or “External” section. You can verify the connection by opening the drive and checking if it appears empty or contains any files if you already had data on it.
Once the external hard drive is connected and recognized by your computer, you are ready to set up the backup process. The next section will guide you through the necessary steps for both Windows and macOS operating systems.
Setting Up the Backup Process
Once you have connected the external hard drive to your computer, the next step is to set up the backup process. The process may vary slightly depending on your operating system. Follow the instructions below based on your computer’s operating system:
Windows:
- Step 1: Open the Backup Settings: Click on the “Start” menu and search for “Backup settings” or “Backup and Restore (Windows 7)”. Open the appropriate option that appears in the search results.
- Step 2: Choose an External Drive: Select “Add a drive” and choose your connected external hard drive from the list. Windows will recognize the drive and make it available for backup.
- Step 3: Configure Backup Options: Select the files and folders you want to include in the backup. You can choose to back up individual files or select entire folders. Windows also offers options for system image backups and creating a schedule for automatic backups.
- Step 4: Start the Backup: Once you have configured the backup options, click on the “Back up now” button to initiate the backup process. Windows will start backing up your selected files and folders to the external hard drive.
macOS:
- Step 1: Open Time Machine: Go to the Apple menu and select “System Preferences.” Click on “Time Machine” to open the Time Machine preferences.
- Step 2: Select the External Drive: Click on “Select Backup Disk” and choose your connected external hard drive from the list of available options. Time Machine will format the drive if it’s not already formatted for macOS.
- Step 3: Customize Backup Options: You can choose to exclude specific folders or files from the backup by clicking on “Options.” Time Machine allows you to set a schedule for automatic backups and manage backup history.
- Step 4: Start the Backup: Once you have customized the backup options, click on “Back Up Now” to initiate the backup process. Time Machine will start copying your selected files and folders to the external hard drive.
Depending on the size of your data and the transfer speed of your external hard drive, the initial backup process may take some time. However, subsequent backups will be faster as only the changes and updates will be copied.
Now that you have set up the backup process, you can also consider manually copying files and folders to the external hard drive as an additional backup method.
Windows
Windows provides built-in backup tools that allow you to easily back up your important files and folders to an external hard drive. Follow the steps below to set up the backup process on your Windows computer:
- Step 1: Open Backup Settings: Click on the “Start” menu and search for “Backup settings” or “Backup and Restore (Windows 7)”. Open the appropriate option that appears in the search results.
- Step 2: Choose an External Drive: In the Backup settings, select “Add a drive” and choose your connected external hard drive from the list. Windows will recognize the drive and make it available for backup.
- Step 3: Configure Backup Options: Select the files and folders you want to include in the backup. You can choose to back up individual files or select entire folders. Windows offers options for system image backups and creating a schedule for automatic backups.
- Step 4: Start the Backup: Once you have configured the backup options, click on the “Back up now” button to initiate the backup process. Windows will start backing up your selected files and folders to the external hard drive.
During the backup process, Windows will create a backup image of your selected files and folders and store them on the external hard drive. It is recommended to perform periodic backups to ensure your data is up to date.
In addition to using the built-in backup tools, you can also manually copy files and folders to the external hard drive as an extra layer of backup. Simply navigate to the files or folders you want to back up, right-click, and select “Copy.” Then, navigate to the external hard drive and right-click on an empty space and select “Paste” to copy the files over.
Regularly backing up your files on Windows is a crucial step in protecting your data from hardware failure, malware attacks, or accidental deletion. It gives you peace of mind knowing that you can easily restore your files in the event of any unforeseen circumstances.
In the next section, we will explore the backup process on macOS systems.
macOS
macOS provides a powerful built-in backup solution called Time Machine, which allows you to easily back up your files to an external hard drive. Follow the steps below to set up the backup process on your macOS computer:
- Step 1: Open Time Machine: Go to the Apple menu and select “System Preferences.” Click on “Time Machine” to open the Time Machine preferences.
- Step 2: Select the External Drive: In the Time Machine preferences, click on “Select Backup Disk” and choose your connected external hard drive from the list of available options. Time Machine will format the drive if it’s not already formatted for macOS.
- Step 3: Customize Backup Options: You can choose to exclude specific folders or files from the backup by clicking on “Options” in the Time Machine preferences. Time Machine allows you to set a schedule for automatic backups and manage backup history.
- Step 4: Start the Backup: Once you have customized the backup options, click on “Back Up Now” to initiate the backup process. Time Machine will start copying your selected files and folders to the external hard drive.
During the backup process, Time Machine creates incremental backups, saving only the changes and updates made to your files. This allows for efficient use of storage space on the external hard drive while ensuring that you have access to multiple versions of your files.
It is recommended to keep your external hard drive connected to your macOS computer as much as possible to ensure regular and automatic backups. Time Machine will automatically perform backups based on your selected schedule and keep your data protected.
In addition to using Time Machine, you can also manually copy files and folders to the external hard drive for an extra layer of backup. Simply select the files or folders you want to back up, right-click, and choose “Copy.” Then, navigate to the external hard drive and right-click on an empty space, and select “Paste” to copy the files over.
Regularly backing up your files on macOS using Time Machine is essential in safeguarding your data and ensuring you can restore your files in the event of data loss or system failure. It provides you with peace of mind and protection against unexpected circumstances.
In the next section, we will discuss the process of manually copying files and folders to the external hard drive as an alternative backup method.
Manually Copying Files and Folders to the External Hard Drive
In addition to using built-in backup tools like Time Machine (macOS) or Backup and Restore (Windows), you can also manually copy files and folders to your external hard drive for an extra layer of backup. This method gives you more control over which specific files you want to back up. Follow the steps below to manually copy files and folders to your external hard drive:
- Step 1: Connect the External Hard Drive: Ensure that your external hard drive is connected to your computer using the appropriate cable.
- Step 2: Open File Explorer (Windows) or Finder (macOS): Open the file management application on your computer to navigate and select the files and folders you want to back up.
- Step 3: Select Files and Folders: Locate the files and folders you wish to back up. You can select multiple files or entire folders by holding the Ctrl key (Windows) or Command key (macOS) and clicking on the desired items. Alternatively, you can click and drag to select a group of files or folders.
- Step 4: Copy Files and Folders: Right-click on the selected files and folders and choose “Copy” from the context menu. Alternatively, you can press Ctrl+C (Windows) or Command+C (macOS) to copy the files.
- Step 5: Navigate to the External Hard Drive: Open another window or tab of File Explorer (Windows) or Finder (macOS) and navigate to the location where you want to store the backup files on the external hard drive.
- Step 6: Paste the Files and Folders: Right-click on an empty space in the destination folder on the external hard drive and select “Paste.” Alternatively, you can press Ctrl+V (Windows) or Command+V (macOS) to paste the files.
By manually copying files and folders to your external hard drive, you have control over the specific files you want to back up, and you can organize them in a way that suits your preferences. This method is particularly useful for backing up important documents, photos, videos, and other specific files.
Remember to periodically update your manual backups by repeating these steps for any new or updated files that you want to include in your backup. It’s also a good practice to organize your backup files in a logical folder structure on the external hard drive for easier retrieval.
While manual copying provides an additional backup method, it is recommended to use automated backup tools like Time Machine (macOS) or Backup and Restore (Windows) for comprehensive and regular backups. These tools offer features such as incremental backups and version history, which can be crucial in case of data loss or system failure.
In the next section, we will discuss how to restore files from the external hard drive in the event of data loss or system failure.
Restoring Files from the External Hard Drive
Having a backup of your files on an external hard drive is beneficial for situations where you need to restore your data due to data loss, system failure, or accidental deletion. Here’s how you can restore files from the external hard drive:
- Step 1: Connect the External Hard Drive: Ensure that your external hard drive is connected to your computer using the appropriate cable.
- Step 2: Open File Explorer (Windows) or Finder (macOS): Launch the file management application on your computer.
- Step 3: Locate the Files to Restore: Navigate to the external hard drive using File Explorer (Windows) or Finder (macOS) and locate the folder or folders where your backup files are stored.
- Step 4: Select Files to Restore: Select the files or folders you want to restore by clicking on them. You can hold the Ctrl key (Windows) or Command key (macOS) to select multiple files.
- Step 5: Copy the Files: Right-click on the selected files and choose “Copy” from the context menu. Alternatively, you can press Ctrl+C (Windows) or Command+C (macOS) to copy the files.
- Step 6: Navigate to the Restore Location: Navigate to the location on your computer where you want to restore the files.
- Step 7: Paste the Files: Right-click on an empty space in the destination folder and choose “Paste.” Alternatively, you can press Ctrl+V (Windows) or Command+V (macOS) to paste the files.
- Step 8: Verify the Restored Files: Once the files have finished pasting, double-check to ensure that the restored files are present and intact.
By following these steps, you can successfully restore your files from the external hard drive back to your computer. It’s important to note that the restored files will replace any existing files with the same filenames, so exercise caution when restoring files to prevent accidental overwriting of important data.
Restoring files from an external hard drive is a crucial process in recovering lost or deleted data. It can potentially save you from the distress of permanently losing important files or valuable memories.
While restoring files from an external hard drive is an effective method, it’s always a good practice to regularly update your backups and consider automated backup solutions for continuous protection and peace of mind.
In the next section, we will discuss some best practices to follow for computer backups to ensure the security and accessibility of your data.
Best Practices for Computer Backups
Implementing best practices for computer backups helps ensure the security and accessibility of your data. Here are some key practices to follow:
- Regular Backup Schedule: Set up a regular backup schedule to ensure your files are continuously backed up. Whether it’s daily, weekly, or monthly, consistency is key.
- Multiple Backup Locations: Besides an external hard drive, consider additional backup locations such as cloud storage or network-attached storage (NAS) devices. Multiple backups provide redundancy and protection against physical damage or loss of one backup source.
- Test Your Backups: Regularly test your backups by restoring a few files to ensure they are successfully copied and can be accessed when needed. This helps verify the integrity and reliability of your backup system.
- Include System Image Backups: In addition to backing up your files, creating system image backups allows you to restore your entire operating system, applications, and settings in case of complete system failure or a need to transfer to a new computer.
- Encrypt Your Backups: Encrypt your backups to protect sensitive data. This ensures that even if your external hard drive or backup files fall into the wrong hands, the data remains secure.
- Store Backups Offsite: Consider storing a copy of your backups offsite, such as in a safe deposit box or with a trusted friend or family member. This protects your data from disasters like house fires, theft, or natural calamities.
- Monitor Backup Health: Regularly check the health and status of your backup system. Ensure that backups are completing successfully, and the external hard drive or backup location has enough storage space.
- Update Your Backup Plan: Regularly review and update your backup strategy as your data storage needs change, or when you acquire new devices. Stay mindful of any new files, folders, or applications that need to be included in your backups.
By adhering to these best practices, you can enhance the reliability and effectiveness of your computer backups. They enable you to protect your data from hardware failures, accidental deletions, malware attacks, and other unforeseen events.
Remember, prevention is key. Backup your computer regularly and consistently to ensure that your data remains secure and accessible. Losing your data can be a nightmare, but having a comprehensive backup strategy in place can save you from unnecessary stress and loss of valuable information.
Now that you’re equipped with best practices for computer backups, you can confidently safeguard your data and enjoy the peace of mind that comes with knowing your files are protected.
Conclusion
Backing up your computer is a critical task that ensures the safety and accessibility of your important data. By taking the time to set up a reliable backup system using an external hard drive, you can protect yourself from potential data loss due to hardware failure, malware attacks, accidental deletions, and other unforeseen circumstances.
In this article, we explored the reasons why backing up your computer is essential and discussed the factors to consider when choosing an external hard drive. We provided step-by-step instructions on how to connect the external hard drive to your computer and set up the backup process for both Windows and macOS operating systems. Additionally, we explored the option of manually copying files and folders to the external hard drive and how to restore files when needed.
We also highlighted some best practices for computer backups, including creating regular backup schedules, maintaining multiple backup locations, testing backups, encrypting data, storing backups offsite, and monitoring backup health. By following these practices, you can ensure the security, availability, and integrity of your files.
Remember, prevention is key when it comes to data loss. By implementing a robust backup strategy, you can avoid the devastating consequences of losing important files and have the peace of mind that your data is protected.
So, don’t delay any further. Take the necessary steps to backup your computer today. Invest in an external hard drive, set up the backup process, and regularly update and test your backups. By doing so, you’ll be well-prepared to handle any unforeseen data loss or system failures, knowing that your valuable files are safely stored and easily recoverable.