Introduction
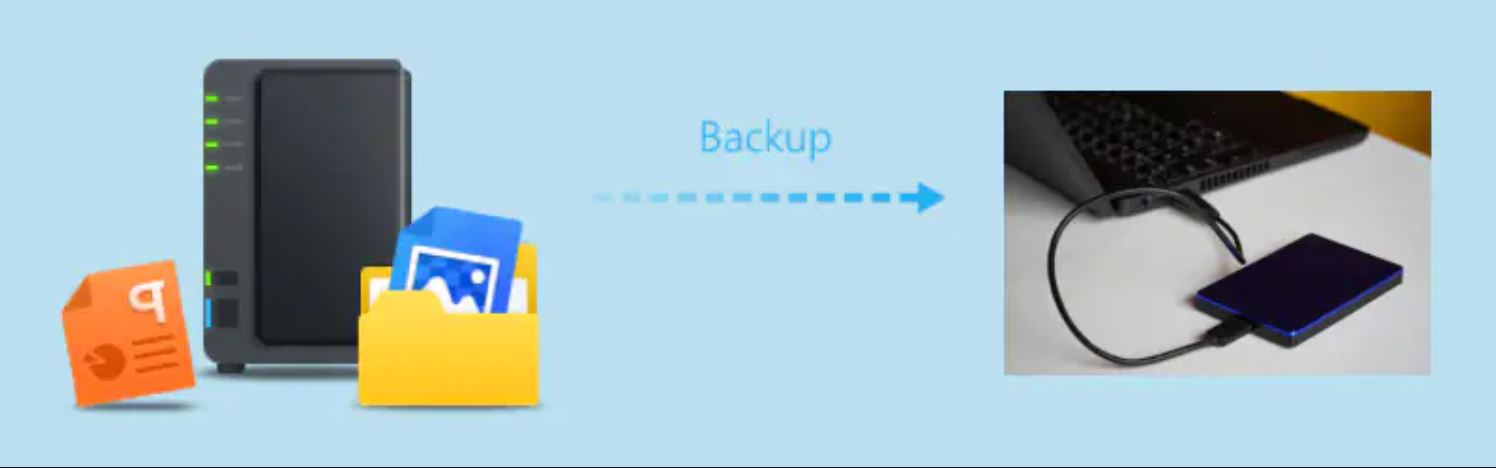
Welcome to our comprehensive guide on how to backup your Synology NAS to an external hard drive. As a proud owner of a Synology NAS, you understand the importance of safeguarding your valuable data. While NAS devices provide excellent storage capabilities and data protection features, it’s always wise to have an additional backup on an external hard drive.
Having a backup on an external hard drive ensures that your data remains safe even in the event of a catastrophic failure or a complete loss of your NAS. It adds an extra layer of protection against hardware malfunctions, power outages, or potential ransomware attacks. Moreover, an external hard drive allows you to easily restore files or move them to another device if needed.
Choosing to backup your Synology NAS to an external hard drive offers flexibility, peace of mind, and ensures that your important files, documents, photos, and videos are secure and easily accessible. In this guide, we will walk you through the process of selecting the right external hard drive, connecting it to your Synology NAS, configuring backup settings, performing backups, scheduling regular backups, and even restoring data from the external hard drive.
Whether you are a home user, a small business owner, or a professional photographer, this guide will provide you with step-by-step instructions and tips to backup your Synology NAS effectively. So let’s get started on this journey to protect and preserve your valuable data!
Choosing an External Hard Drive for Backup
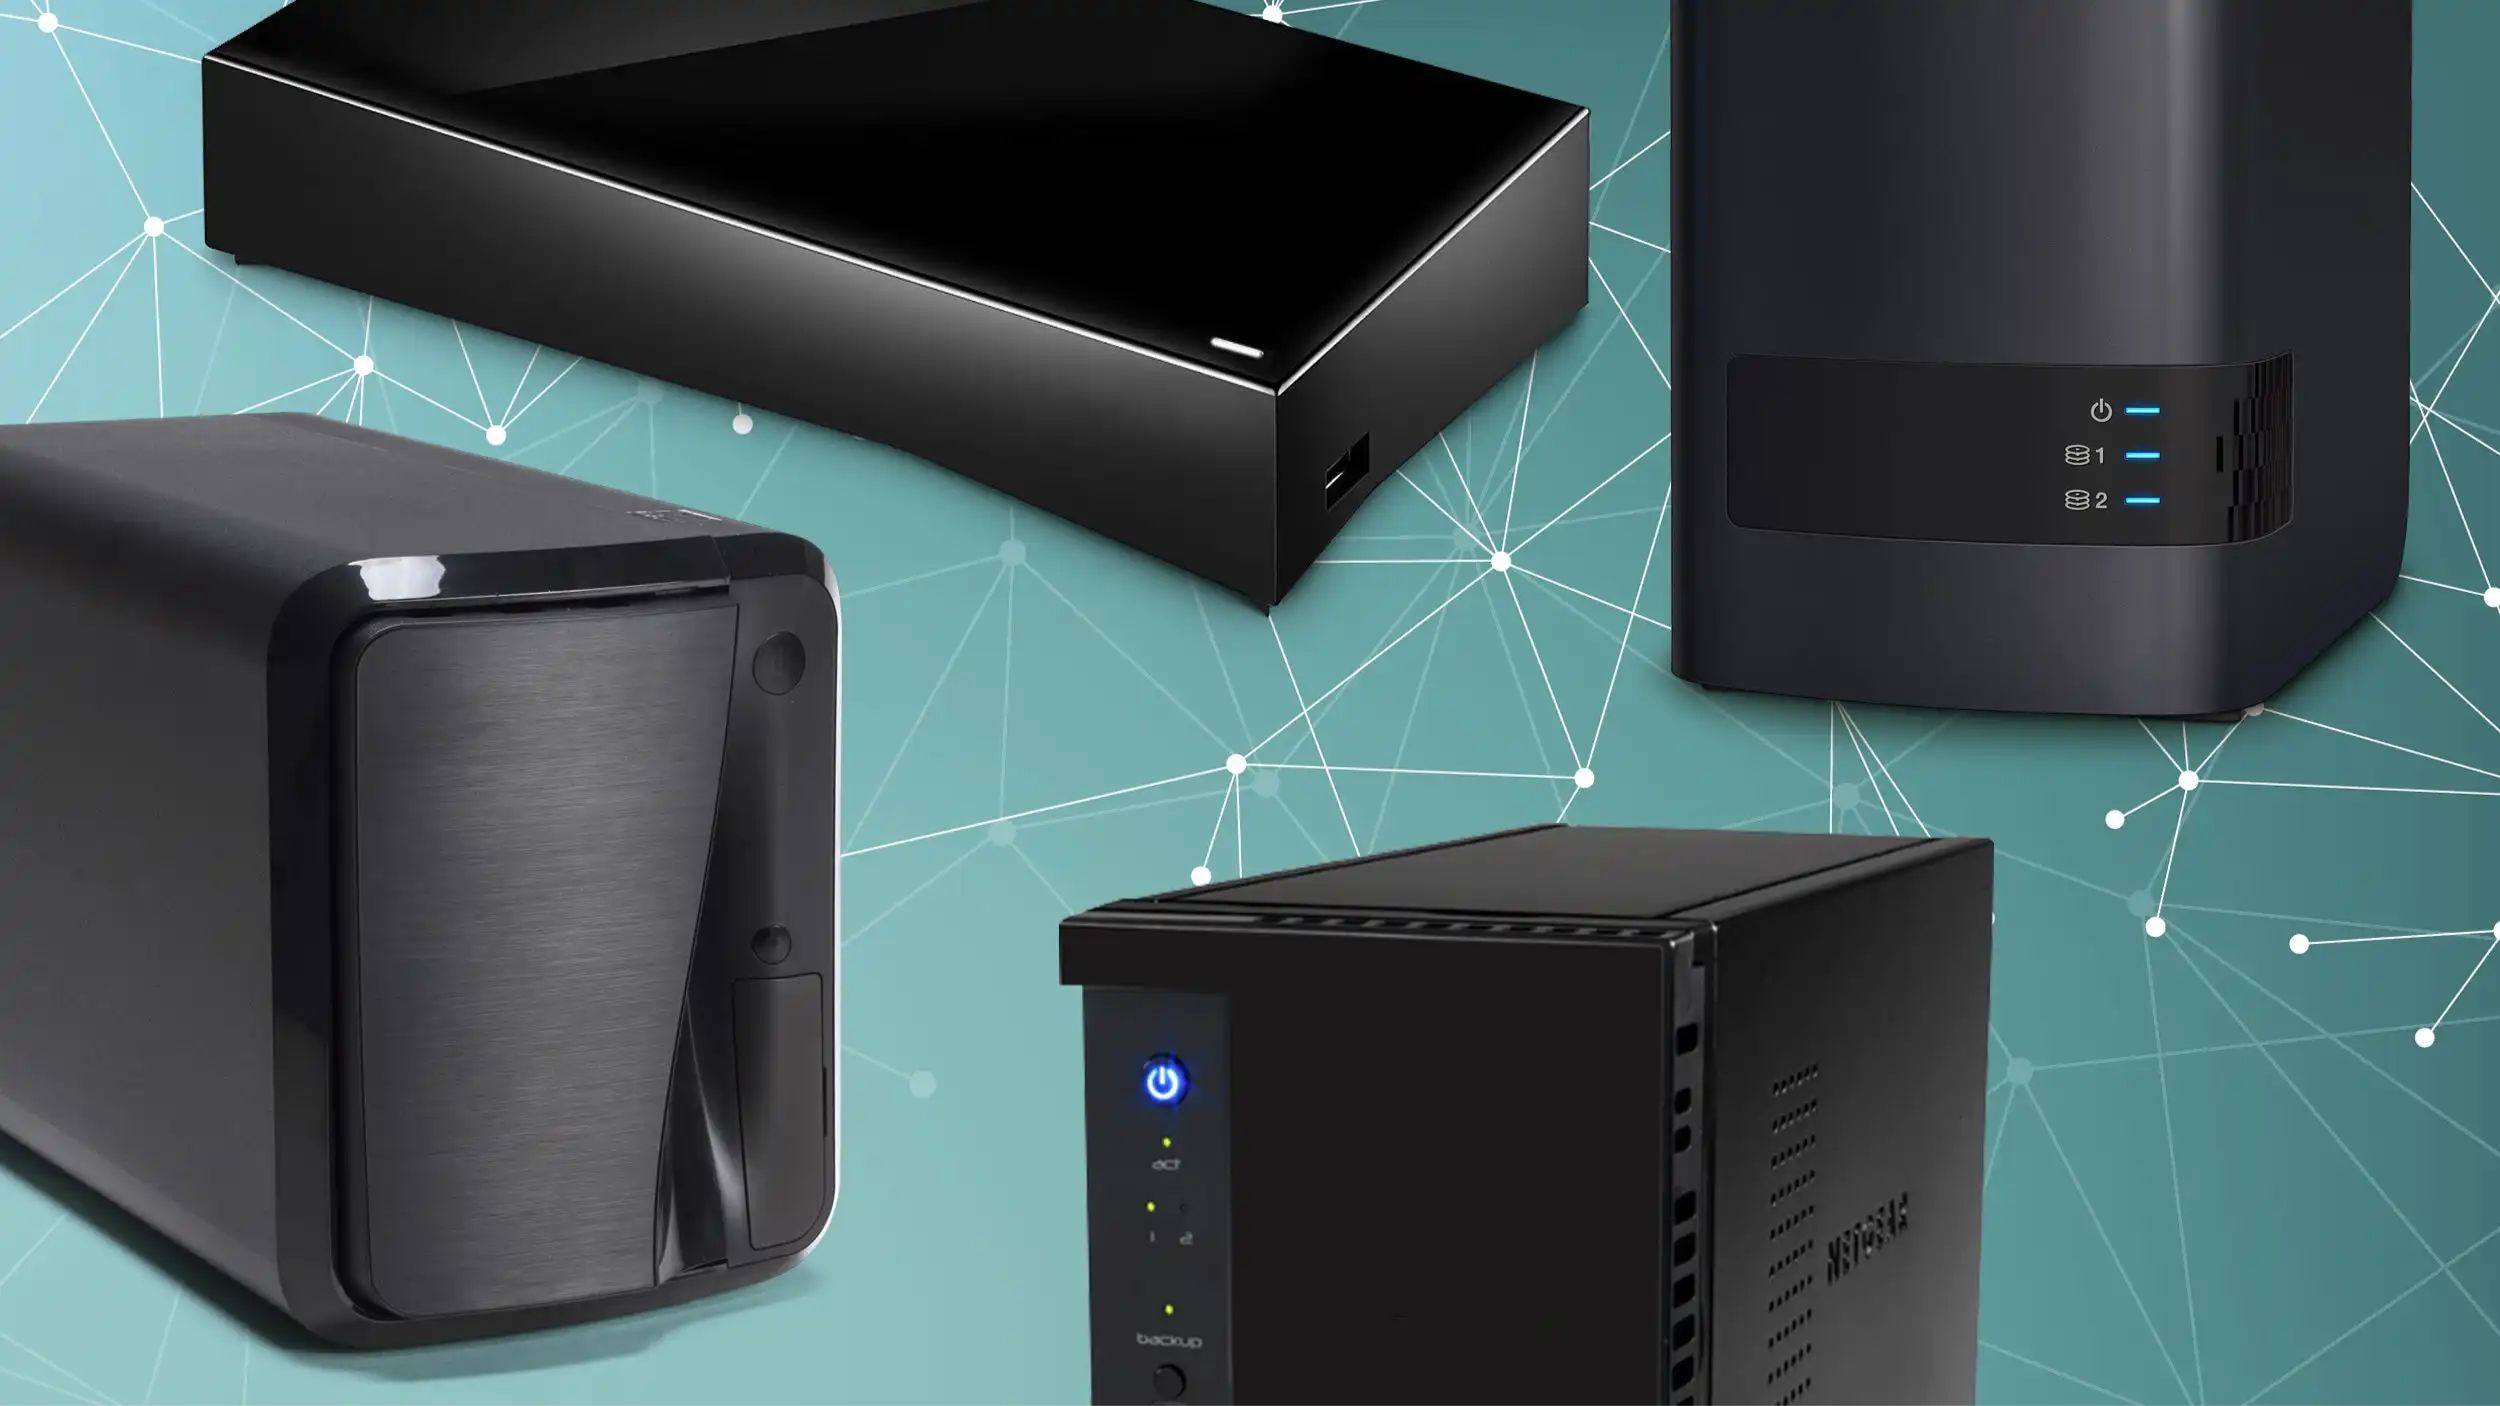
When selecting an external hard drive for backing up your Synology NAS, there are several factors to consider to ensure compatibility, reliability, and sufficient storage capacity.
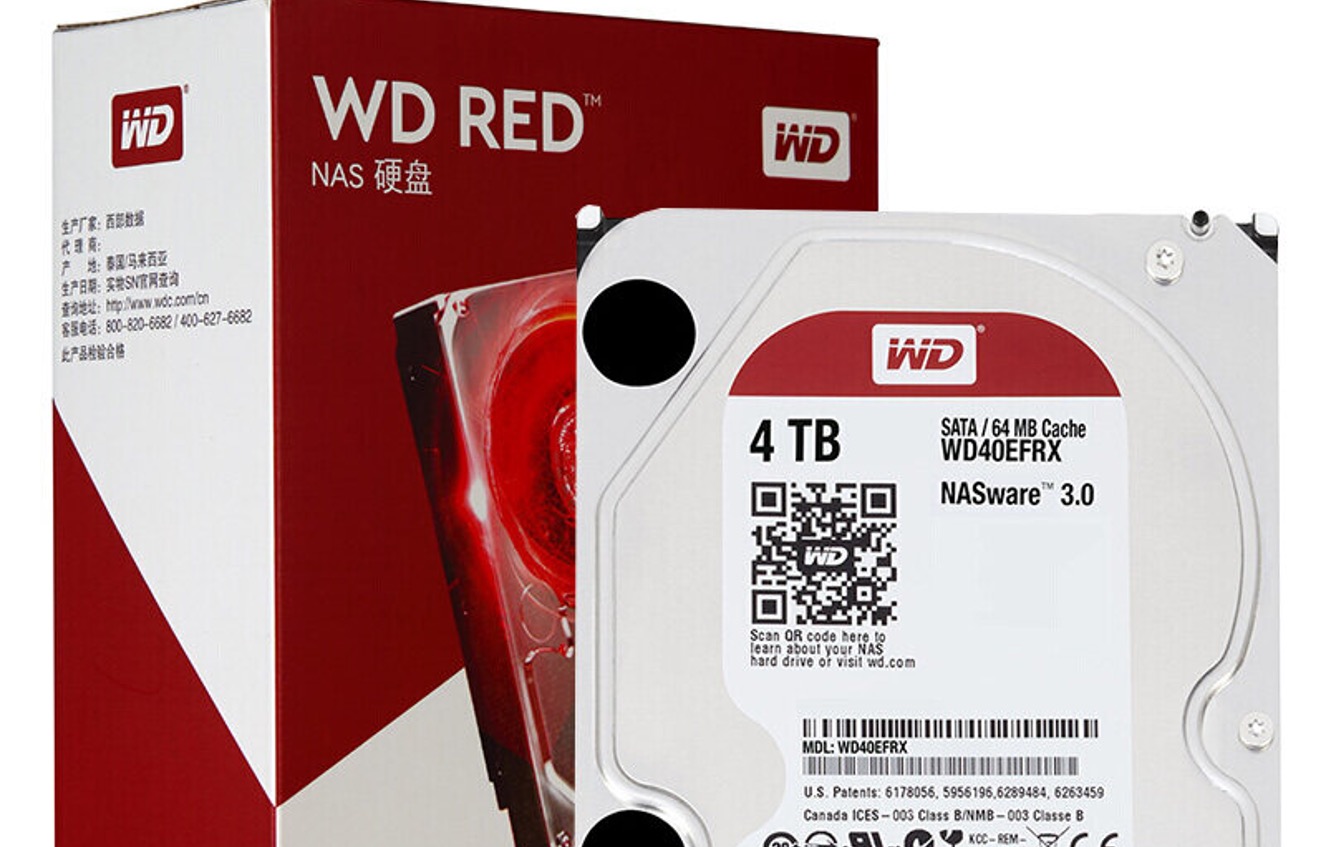
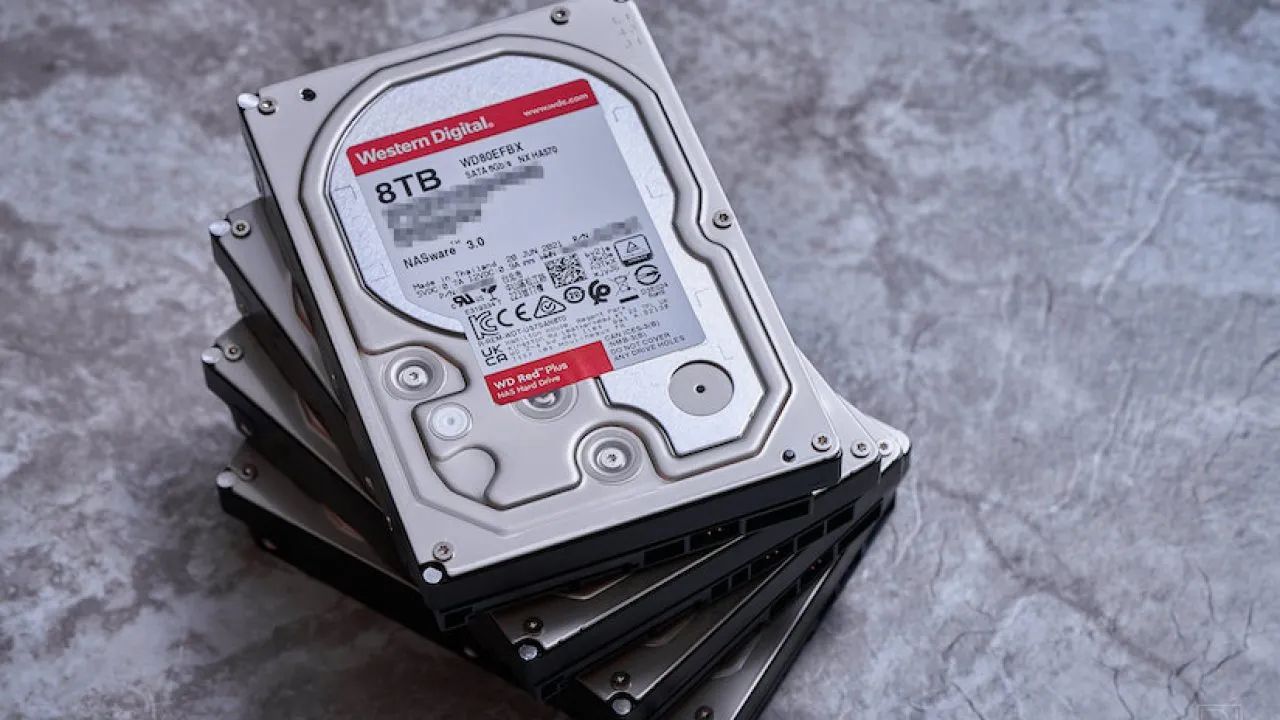
1. Capacity: Determine the amount of storage space you require for your backups. Consider factors such as the size of your NAS storage, the types of files you will be backing up, and any future expansion needs.
2. Connectivity: Check the available ports on your Synology NAS and choose an external hard drive that supports the same connection type. USB 3.0 is a common and reliable option, but other options like Thunderbolt or eSATA can offer faster transfer speeds if your NAS supports them.
3. Speed: Look for external hard drives with fast read and write speeds to ensure efficient backup processes. Solid-state drives (SSDs) can provide faster performance compared to traditional hard disk drives (HDDs) but may be more expensive.
4. Reliability: Opt for external hard drives from reputable brands known for their reliability and durability. Read reviews and check the average lifespan of the drive to make an informed decision.
5. Encryption and Security: Consider selecting an external hard drive with built-in encryption capabilities to protect your data from unauthorized access. Look for options that offer password protection or hardware encryption for added security.
6. Portability: If you plan to move your external hard drive between different locations, consider a compact and lightweight option that is easy to transport. Some drives even come with shock-resistant features to protect your data during travel.
7. Price: Set a budget for your external hard drive and compare prices across different brands and models. Keep in mind that investing in a reliable and high-quality drive is worth the extra cost to ensure the safety and longevity of your backups.
By carefully considering these factors, you can select an external hard drive that best meets your backup needs and integrates seamlessly with your Synology NAS. In the next sections, we will guide you on how to connect the external hard drive to your NAS and configure the backup settings for a smooth backup process.
Connecting the External Hard Drive to your Synology NAS
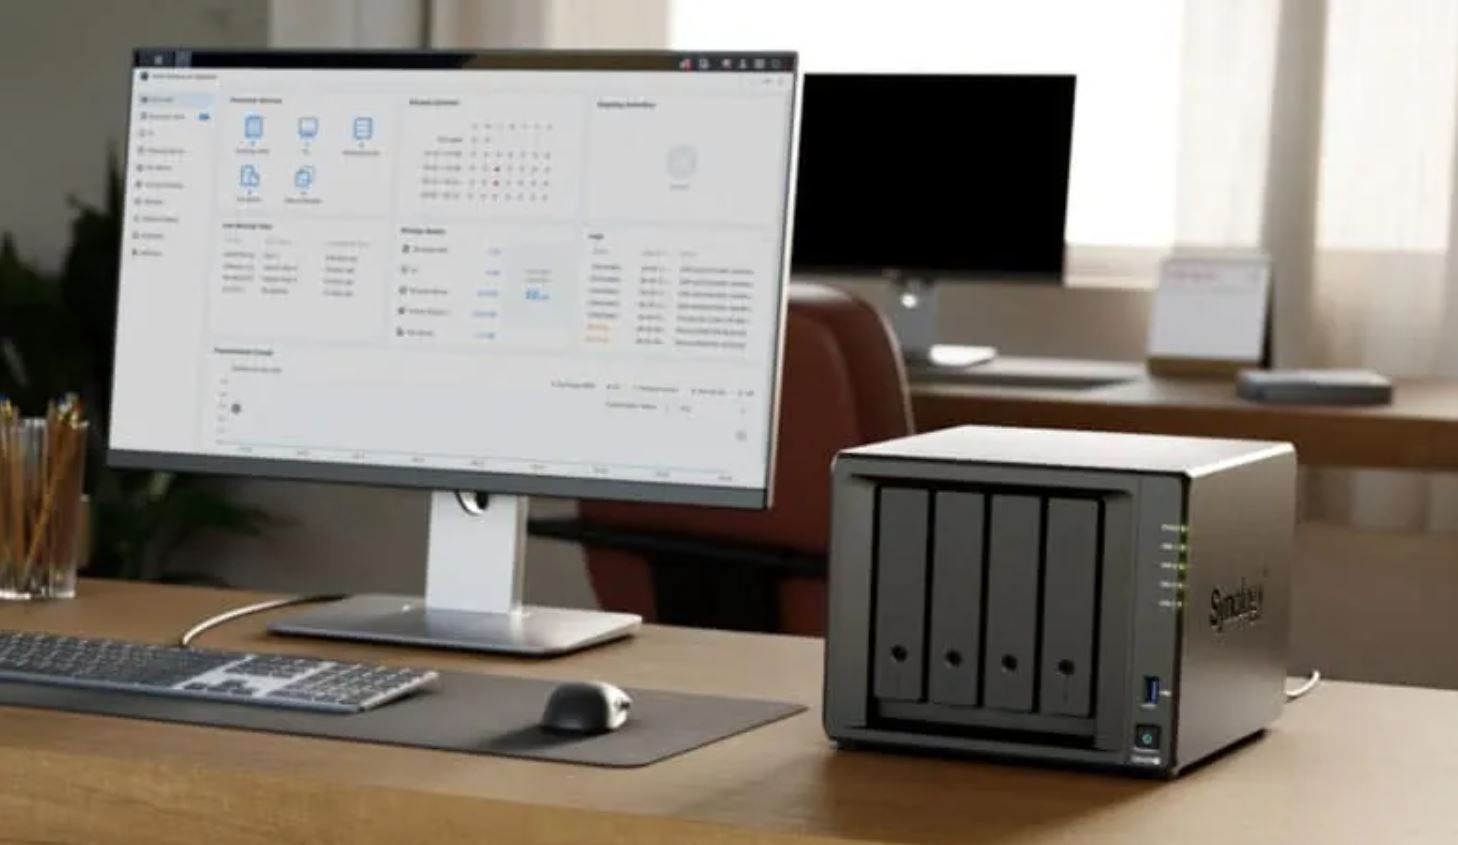
Once you have chosen the appropriate external hard drive for your backup needs, the next step is to connect it to your Synology NAS. Follow these steps to establish the connection:
1. Power down your Synology NAS: Before connecting the external hard drive, ensure that your Synology NAS is powered down to avoid any potential data loss or damage.
2. Locate the USB port: Identify the USB port on your Synology NAS where you will connect the external hard drive. Synology NAS devices typically have one or more USB ports located at the back or front of the unit.
3. Connect the USB cable: Take the USB cable provided with your external hard drive and connect one end to the USB port on your Synology NAS. Connect the other end of the cable to the USB port on the external hard drive.
4. Power on the Synology NAS: Once the USB cable is securely connected, power on your Synology NAS. Wait for the device to fully boot up and stabilize before proceeding.
5. Detection of the external hard drive: After powering on your Synology NAS, it will automatically detect the external hard drive. Depending on the model and software version, you may receive a notification on the NAS interface confirming the connection.
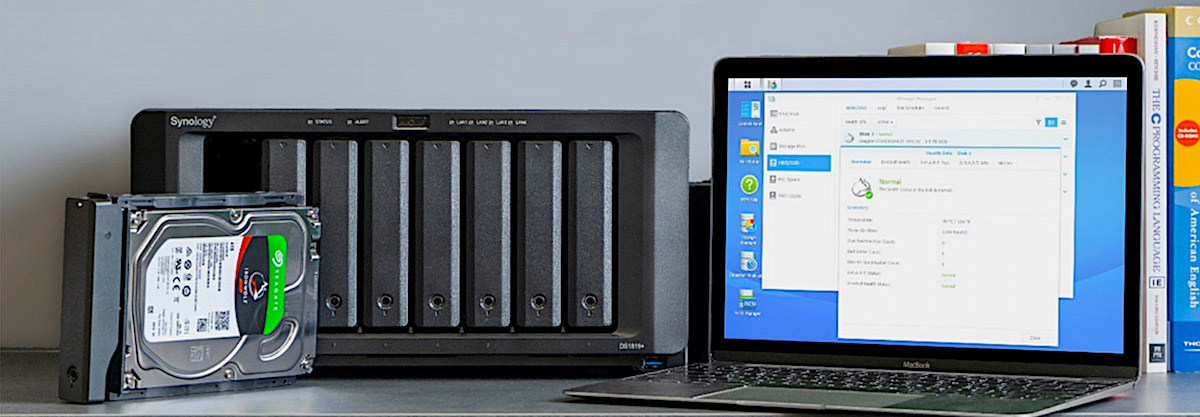
6. Formatting the external hard drive: If the external hard drive has never been used with your Synology NAS before, you may need to format it using the DiskStation Manager (DSM) interface. Follow the on-screen instructions to format the drive in a compatible file system, such as ext4.
7. Verifying the connection: To ensure that the connection is successful, navigate to the “External Devices” or “Storage” section in the DSM interface. You should see the external hard drive listed as an available storage option.
Once the external hard drive is connected and recognized by your Synology NAS, you are ready to proceed with configuring the backup settings. In the next section, we will guide you on how to set up and customize the backup settings according to your preferences.
Configuring the Backup Settings on your Synology NAS
After successfully connecting your external hard drive to your Synology NAS, it’s time to configure the backup settings to ensure a smooth and efficient backup process. Follow these steps to set up the backup settings:
1. Access DiskStation Manager (DSM): Open a web browser and enter the IP address or hostname of your Synology NAS to access the DSM interface. Log in with your administrator credentials.
2. Open the Backup & Replication Application: Once logged in, locate the “Backup & Replication” application in the DSM menu. Click on it to open the backup management interface.
3. Create a Backup Task: In the backup management interface, click on “Create” or “Add” to start the process of creating a new backup task.
4. Select the Source Data: Choose the folders, files, or specific data you want to include in the backup. You can select individual folders or use the “Select All” option to include all data on your Synology NAS.
5. Choose the Destination: Specify the external hard drive as the destination for your backup. Select the connected external hard drive from the list of available devices or browse to find its location.
6. Set Backup Options: Customize the backup options according to your preferences. You can choose to enable compression, encryption, or select specific file types to include or exclude in the backup process.
7. Schedule the Backup: Decide on the frequency and time of your backups. You can choose daily, weekly, or monthly backups and set a specific time for the backup to start. Ensure that the external hard drive is connected and powered on during the scheduled backup time.
8. Configure Advanced Settings (Optional): If you have specific requirements or advanced preferences, you can explore the advanced settings options. These may include options such as email notifications, versioning, or advanced filters.
9. Save and Start the Backup Task: Once you have configured all the necessary settings, click on “Save”, “Apply”, or “Start” to initiate the backup task. The backup will begin according to the schedule you have set.
By following these steps, you can configure the backup settings on your Synology NAS to ensure that your data is securely backed up to the connected external hard drive. In the next section, we will guide you on performing the first-time backup and explain how to schedule regular backups to keep your data up to date.
Performing a First-time Backup
Performing a first-time backup is a crucial step to ensure that all your important data is securely stored on the external hard drive. Follow these steps to initiate the initial backup:
1. Ensure External Hard Drive Connectivity: Make sure that the external hard drive is still connected to your Synology NAS and powered on.
2. Open the Backup & Replication Application: Access the DSM interface of your Synology NAS and open the “Backup & Replication” application.
3. Select the Backup Task: In the backup management interface, locate the backup task you previously created or click on “Create” to set up a new one.
4. Check Source and Destination Configuration: Verify that the source data selected for the backup task is accurate and includes all the necessary files and folders. Ensure that the destination is set to the external hard drive.
5. Initiate the Backup: Once you have confirmed the configuration, click on “Start” or “Backup Now” to initiate the backup process. The duration of the backup will depend on the amount of data being transferred and the speed of the external hard drive.
6. Monitor the Progress: During the backup process, you can monitor the progress in the Backup & Replication interface. It will display the percentage completed and provide an estimated time remaining for the backup.
7. Verify Successful Completion: Once the backup is finished, check the backup status in the Backup & Replication interface. Ensure that there are no error messages and that the backup task is marked as completed successfully.
8. Verify Data on the External Hard Drive: To ensure the integrity of your backup, navigate to the file explorer in the DSM interface and browse the external hard drive. Verify that all the backed-up data is present and accessible.
Congratulations! You have successfully performed the first-time backup of your Synology NAS to the external hard drive. The initial backup ensures that your data is securely stored and ready for future updates. In the next section, we will discuss how to schedule regular backups to keep your data up to date and protected.
Scheduling Regular Backups
Scheduling regular backups ensures that your data is continuously protected and up to date. Follow these steps to set up scheduled backups on your Synology NAS:
1. Access the Backup & Replication Application: Open the DSM interface of your Synology NAS and navigate to the “Backup & Replication” application.
2. Modify or Create a Backup Task: Locate the backup task you previously created or click on “Create” to set up a new task if needed.
3. Adjust the Schedule: In the backup task settings, modify the schedule to suit your preferences. Choose the desired frequency (daily, weekly, or monthly) and specify the time you want the backup to start.
4. Select the Backup Mode: Depending on your requirements, you can choose either an incremental backup mode or a full backup mode. Incremental backups only back up changes since the last backup, while full backups copy all selected data every time.
5. Configure Additional Options: Explore the advanced options available, such as email notifications, backup exclusions, or versioning settings. Customize these settings based on your specific needs and preferences.
6. Save the Changes: After making the necessary adjustments, click on “Save” or “Apply” to save the updated backup task settings.
7. Monitor the Scheduled Backups: On the Backup & Replication interface, you can monitor the scheduled backups. The progress, status, and logs for each backup task will be displayed, allowing you to ensure the regular backup process is running smoothly.
8. Regularly Review and Update Backup Settings: It’s important to periodically review and update your backup settings to cater to any changes in your data or backup requirements. Adjust the schedule, destination, or other settings as needed to align with your evolving needs.
By scheduling regular backups, you can automate the process and ensure that your data is protected without the need for manual intervention. Regular backups are crucial in safeguarding your important files, providing peace of mind, and ensuring quick recovery in the event of data loss.
Next, we will discuss how to monitor the backup process and how to restore data from the external hard drive if the need arises.
Monitoring the Backup Process
Monitoring the backup process is essential to ensure that your data is successfully backed up and that any potential issues or errors are promptly addressed. Follow these steps to effectively monitor the backup process on your Synology NAS:
1. Open the Backup & Replication Application: Access the DSM interface of your Synology NAS and navigate to the “Backup & Replication” application.
2. View the Backup Tasks: In the backup management interface, you will see a list of all the backup tasks that have been set up. Each task will display its status, such as “In Progress,” “Completed,” or “Failed.”
3. Check the Progress: Click on a specific backup task to view its details and progress. You can track the percentage completed and the estimated time remaining for the backup.
4. Review the Logs: The logs provide detailed information about the backup process, including any errors, warnings, or informational messages. Check the logs regularly to identify and troubleshoot any issues that may arise.
5. Set up Email Notifications: Configure email notifications regarding the backup status. This allows you to receive regular updates on the completion or failure of backup tasks, ensuring that you stay informed even if you are not actively monitoring the backup process.
6. Monitor Storage Usage: Keep an eye on the storage usage of both your Synology NAS and the external hard drive. Regularly check the available free space to prevent any potential storage capacity issues that may affect the backup process.
7. Perform Test Restores: Occasionally, verify that the backups are working properly by performing test restores. This ensures that the data on the external hard drive is accessible and can be restored when needed.
8. Troubleshoot Issues: If you encounter any errors or failures during the backup process, consult the documentation and knowledge base provided by Synology. Utilize online forums and communities to seek assistance from other users who may have encountered similar situations.
By actively monitoring the backup process, you can ensure the integrity and effectiveness of your backups. Regularly reviewing the backup status, checking logs, and addressing any issues promptly will give you peace of mind, knowing that your data is safely backed up and secured.
Next, we will explore how to restore data from the external hard drive in case of data loss or the need to retrieve specific files or folders.
Restoring Data from the External Hard Drive
In the unfortunate event of data loss or the need to retrieve specific files or folders, you can restore data from the external hard drive connected to your Synology NAS. Follow these steps to restore your data:
1. Launch the DiskStation Manager (DSM) Interface: Open a web browser and enter the IP address or hostname of your Synology NAS to access the DSM interface. Log in with your administrator credentials.
2. Navigate to the File Explorer: Locate the “File Station” or “File Explorer” application in the DSM menu. Click on it to open the file management interface.
3. Access the External Hard Drive: In the file management interface, browse to the location where the external hard drive is mounted. It should be listed as an available storage option.
4. Locate your Backup Data: Navigate through the file directory of the external hard drive to find the specific backup data you want to restore. You can search by file name, folder name, or creation date to make the process easier.
5. Select and Restore the Data: Once you have found the files or folders you want to restore, select them and choose the option to restore them to their original location or a new destination on your Synology NAS.
6. Monitor the Restore Process: The restore process may take some time depending on the size and number of files being restored. Monitor the progress and ensure that it completes successfully.
7. Verify Restored Data: After the restore completes, verify that the restored data is accessible and intact. Double-check file contents and folder structures to ensure that everything has been restored as desired.
8. Perform Test Access and Validation: To ensure the accuracy of the restored data, test access and opening of the files to validate their integrity. This ensures that the restored files are usable and free from any corruption.
If you are restoring a large amount of data or need to restore an entire system, it is recommended to perform a system restore using the backup and restoration tools provided by Synology. Consult the documentation or seek assistance from Synology support for more in-depth guidance on system-level restoration.
By following these steps, you can restore your data from the external hard drive connected to your Synology NAS in the event of data loss or the need for specific file retrieval. Regularly perform test restores to ensure the accessibility and reliability of your backups.
Next, we will provide you with some useful tips for optimizing the backup process to maximize efficiency and reliability.
Tips for Optimizing the Backup Process
To maximize the efficiency and reliability of your backup process on your Synology NAS, consider implementing the following tips:
1. Organize and Prioritize your Data: Categorize your data into logical folders and prioritize the most critical files or folders for backup. This helps ensure that essential data is backed up first, saving time and storage space.
2. Utilize Incremental Backups: Take advantage of incremental backup options whenever possible. Incremental backups only backup changes made since the last backup, significantly reducing the backup time and storage requirements.
3. Optimize Backup Schedule: Align your backup schedule with periods of low activity on your Synology NAS. This reduces the impact on system resources and allows for faster and smoother backups.
4. Consider Offsite Backups: To enhance data protection, consider implementing offsite backups in addition to your external hard drive backup. This can be done by utilizing cloud backup services or having a backup stored at a different physical location.
5. Enable Data Deduplication: If your Synology NAS supports it, enable data deduplication. This feature eliminates redundant data by identifying and storing only unique data blocks, reducing storage space requirements for backups.
6. Regularly Verify Backups: Perform periodic checks to verify the integrity of your backups. Ensure that the files are accessible and undamaged, and compare them to the source data to detect any discrepancies.
7. Test Restoration Process: Regularly test the restoration process by restoring a small sample of files or folders from your backups. This ensures that your backups are viable and that you can successfully retrieve your data in a timely manner.
8. Maintain Adequate Storage Capacity: Monitor the storage capacity on both your Synology NAS and the external hard drive. Ensure that you have enough free space to accommodate new backups and avoid any disruptions or failures.
9. Update Software and Firmware: Keep your Synology NAS and external hard drive firmware and backup software up to date. Regular updates often include bug fixes, security improvements, and performance enhancements that can optimize the backup process.
10. Regularly Review Backup Strategy: Periodically reassess your backup strategy to ensure that it aligns with your changing data needs. Evaluate the effectiveness of your backup plan and make necessary adjustments as your data storage and backup requirements evolve.
By implementing these tips, you can optimize the backup process on your Synology NAS, enhance data protection, and ensure the efficient and reliable creation of backups. Consistently monitoring and refining your backup strategy will provide peace of mind and safeguard your valuable data.
Conclusion
Backing up your Synology NAS to an external hard drive is a significant step in ensuring the security and availability of your valuable data. By choosing the right external hard drive, connecting it to your NAS, configuring backup settings, and scheduling regular backups, you can protect your data from various risks, including hardware failures, power outages, and security breaches.
In this comprehensive guide, we have walked through the process of selecting an external hard drive, connecting it to your Synology NAS, configuring backup settings, performing the first-time backup, scheduling regular backups, monitoring the backup process, and restoring data from the external hard drive.
Remember to regularly review and update your backup strategy to align with changing data needs, optimize the backup process, and enhance data protection. By following best practices such as organizing and prioritizing your data, utilizing incremental backups, and maintaining adequate storage capacity, you can ensure the efficiency and reliability of your backup process.
Backup is not a task to be taken lightly, as it plays a vital role in safeguarding your important files, documents, photos, and videos. Investing time and effort into implementing a robust backup strategy on your Synology NAS will grant you peace of mind, knowing that your data is secure and easily recoverable in the event of data loss or system failure.
Take the necessary steps now to backup your Synology NAS to an external hard drive and ensure the protection of your valuable data. Start by selecting the suitable external hard drive, connecting it to your Synology NAS, and configuring the backup settings. With regular backups in place, you can rest assured that your data remains safe and accessible at all times.