Introduction
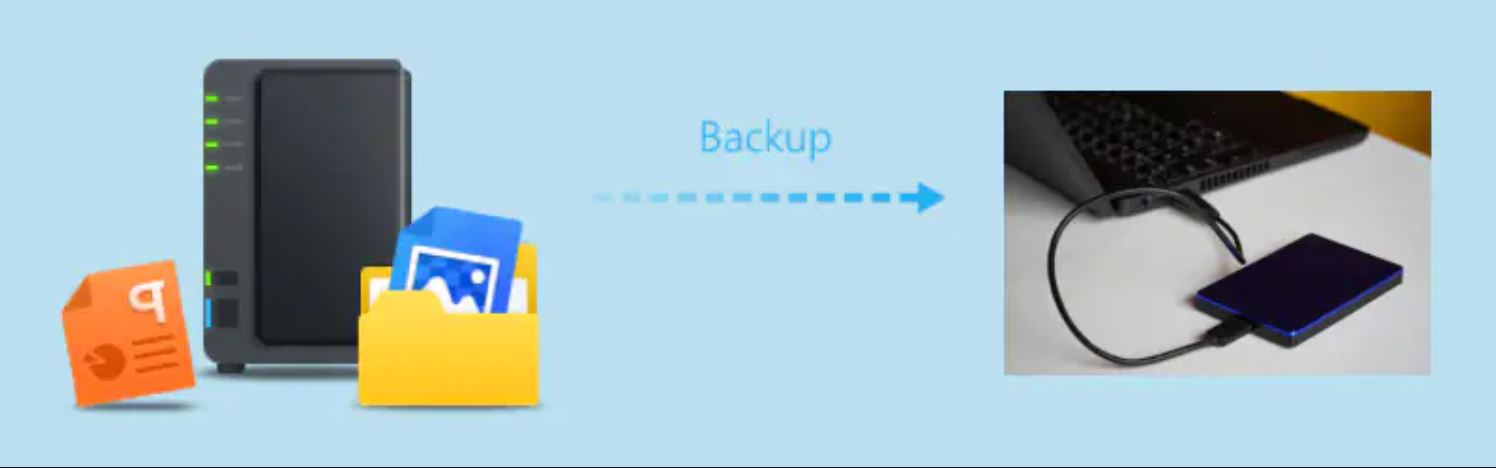
Copying files from your Synology NAS to an external hard drive is a convenient way to create a reliable backup and free up storage space on your network-attached storage device. Whether you want to transfer large media files, important documents, or even entire folders, the process can be straightforward and hassle-free.
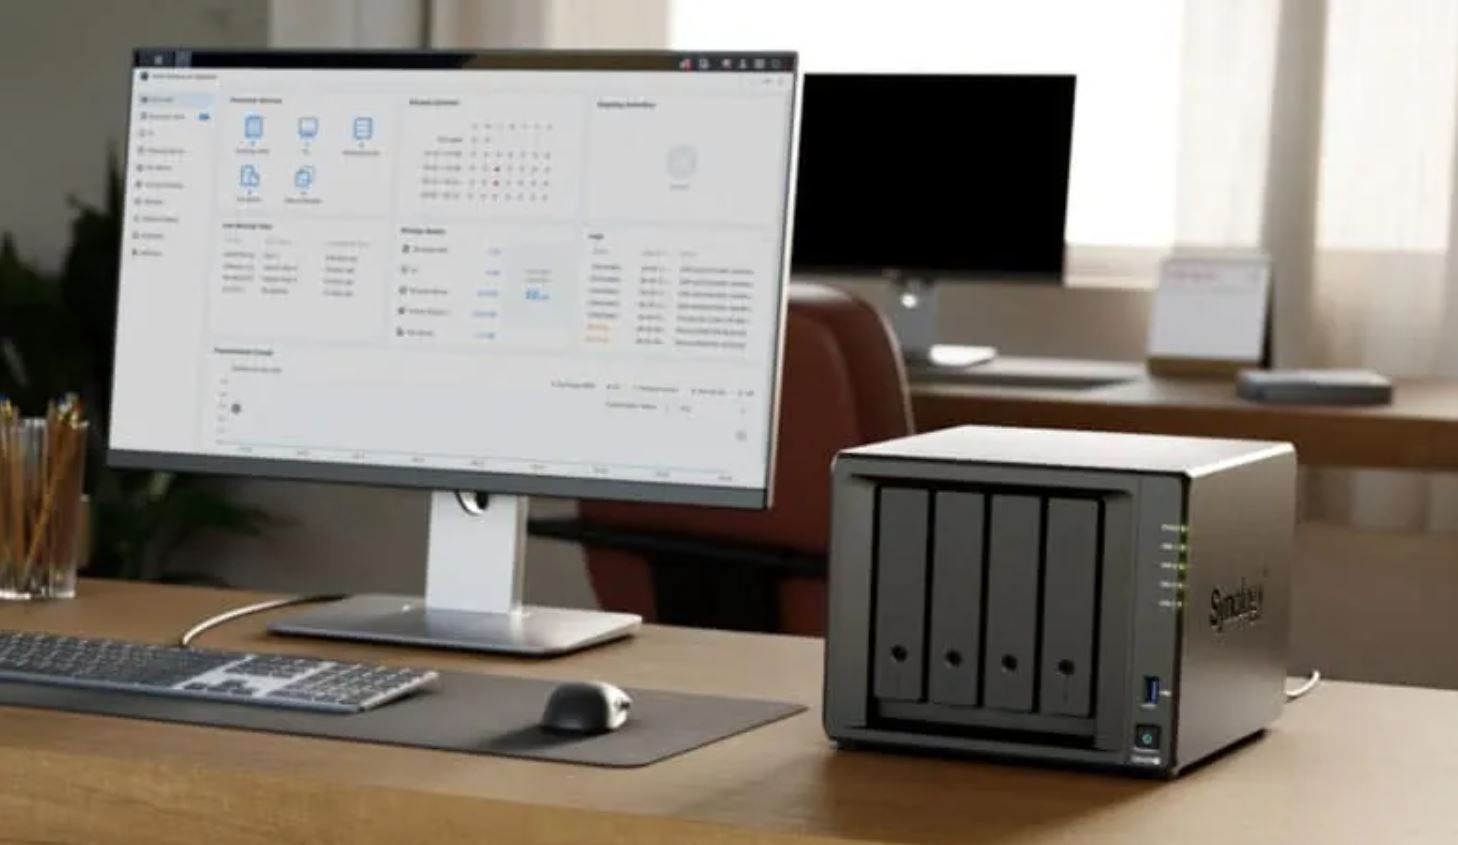
Synology NAS devices are renowned for their robustness and feature-rich software, making it easier for users to manage their data. With the File Station application, you can effortlessly copy files from your NAS to an external hard drive connected to the NAS itself. This eliminates the need to connect the external hard drive directly to your computer and simplifies the file transfer process.
In this step-by-step guide, we will walk you through the process of copying files from your Synology NAS to an external hard drive. By following these instructions, you will be able to create backups of your crucial files and have them readily accessible on an external storage device.
Step 1: Connect External Hard Drive to Synology NAS
Before you can start copying files from your Synology NAS to an external hard drive, you need to make sure that the external hard drive is properly connected to your NAS. Here’s how you can do it:
- Locate an available USB port on your Synology NAS and insert the USB cable of your external hard drive into the port.
- Ensure that the external hard drive is powered on and properly detected by your Synology NAS.
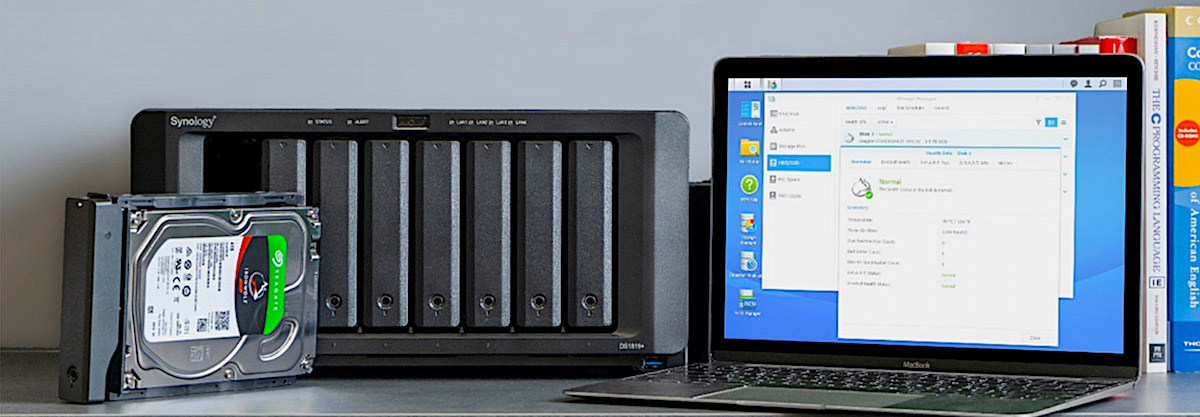
- Check the DiskStation Manager (DSM) interface of your NAS to ensure that the external hard drive is recognized. You can do this by logging in to the DSM and navigating to the Control Panel.
Once you have successfully connected the external hard drive to your Synology NAS, you are ready to proceed with the file copying process. It is crucial to ensure that the connection is secure and stable to prevent any interruptions during the file transfer process.
Step 2: Access File Station
To copy files from your Synology NAS to an external hard drive, you will need to access the File Station application. File Station is a powerful file management tool that allows you to navigate and manipulate files on your Synology NAS. Follow these steps to access File Station:
- Open a web browser on your computer and enter the IP address of your Synology NAS in the address bar.
- Enter your login credentials to access the DiskStation Manager (DSM) interface.
- Once logged in, locate and click on the “File Station” application icon.
Upon accessing File Station, you will be able to view the file directory of your Synology NAS. This comprehensive file management tool provides an intuitive interface that allows you to easily browse through folders, create new folders, and perform various file-related actions. It is essential to have File Station open in order to proceed with the next steps of copying files to your external hard drive.
Step 3: Select and Copy Files
Now that you have accessed File Station, you can begin selecting the files or folders that you want to copy from your Synology NAS to the external hard drive. Follow these steps to select and copy your files:
- Navigate to the directory on your Synology NAS where the files or folders are located.
- Click on the checkbox next to the files or folders that you want to copy.
- To select all files in the current directory, click on the checkbox at the top-left corner of the file list.
- Once you have selected the desired files, right-click on one of the selected files and choose the “Copy” option from the context menu.
By following these steps, you have successfully selected the files or folders that you want to copy. The files will be temporarily stored in the clipboard, ready to be pasted onto the external hard drive in the next step. It is worth mentioning that File Station supports the selection of multiple files and folders, allowing you to copy a batch of files at once, further streamlining the file transfer process.
Step 4: Paste Files to External Hard Drive
With the files or folders copied to the clipboard, it’s time to paste them onto the connected external hard drive. Follow these steps to complete the file transfer process:
- In File Station, navigate to the directory where you want to paste the files on the external hard drive.
- Right-click on an empty space within the directory and select the “Paste” option from the context menu.
- The files or folders that you previously copied will now be pasted onto the external hard drive in the selected directory.
File Station will initiate the file transfer process, copying the selected files from your Synology NAS to the external hard drive. The time it takes to complete the transfer will depend on various factors, including the size and number of files being copied, as well as the speed of your NAS and external hard drive. It is important to ensure a stable and uninterrupted connection throughout the transfer process to avoid any data loss or corruption.
Step 5: Monitor File Transfer Progress
While the files are being copied from your Synology NAS to the external hard drive, it is helpful to monitor the file transfer progress to ensure that the process is running smoothly. Here are a few ways to keep an eye on the transfer progress:
- Within File Station, you can view a progress bar indicating the overall progress of the file transfer. This progress bar shows the percentage of files that have been copied and provides an estimate of the remaining time.
- You can also check the system tray or taskbar of your Synology NAS’s interface for a notification or status icon related to the file transfer process. This can provide you with a quick visual indication of the progress.
- In some cases, Synology NAS devices may have a “Transfer Manager” or similar application that allows you to monitor and manage ongoing file transfers. This application provides more detailed information about the transfer speed, completion status, and any potential errors or warnings.
By keeping an eye on the file transfer progress, you can ensure that the copying process is proceeding as expected and address any issues promptly. It is essential to have a reliable and stable network connection between your Synology NAS, your computer, and the external hard drive during the transfer to avoid interruptions or data corruption.
Step 6: Safely Eject the External Hard Drive
After the file transfer is completed and you have confirmed that all the files have been copied successfully to the external hard drive, it is important to safely eject the device from your Synology NAS. Safely ejecting the external hard drive helps ensure that no data loss or damage occurs. Follow these steps to safely eject the external hard drive:
- Open File Station or navigate to the desktop of your Synology NAS.
- Locate the external hard drive icon or the directory where it is mounted in File Station.
- Right-click on the external hard drive icon or the directory and select the “Eject” or “Safely Remove” option from the context menu.
- Wait for the NAS to complete the ejection process. This ensures that all pending read/write operations are completed before disconnecting the external hard drive.
- Once the ejection is complete, you can safely disconnect the USB cable of the external hard drive from your Synology NAS.
Safely ejecting the external hard drive prevents any potential data corruption or loss that can occur if files are still being accessed or written to the device. It is crucial to follow this step to ensure the integrity and usability of the copied files on the external hard drive.
Conclusion
Copying files from your Synology NAS to an external hard drive can provide you with a reliable backup solution and free up storage space on your NAS device. By following the step-by-step guide outlined above, you can easily transfer your important files to an external storage device. Here’s a quick recap of the process:
- Connect the external hard drive to your Synology NAS.
- Access the File Station application to manage your files.
- Select the files or folders you want to copy.
- Paste the files onto the connected external hard drive.
- Monitor the file transfer progress to ensure a smooth process.
- Safely eject the external hard drive from your Synology NAS.
Remember to maintain a stable network connection throughout the file transfer process to prevent any interruptions or data corruption. It is also important to regularly back up your files to ensure their safety and security.
By following these steps, you can efficiently and effectively copy files from your Synology NAS to your external hard drive, ensuring that your important data is safely stored and easily accessible when needed.