Introduction
Welcome to the ultimate guide on how to add RAM to your Synology DS220+ NAS. The Synology DS220+ is a powerful network-attached storage solution that offers a wide range of features for home and small office use. While the DS220+ comes with a decent amount of RAM, there may be scenarios where you need to upgrade it to enhance its performance and meet your specific needs.
In this guide, we will walk you through the step-by-step process of adding RAM to your Synology DS220+. Whether you want to increase the multitasking capabilities of your NAS, boost its performance when running resource-intensive applications, or simply future-proof your storage system, upgrading the RAM can make a significant difference.
Before we dive into the process, it’s important to understand why adding RAM to your Synology DS220+ can be beneficial. We’ll also discuss the specifications of compatible RAM modules and provide you with a detailed guide on how to add the RAM module to your NAS.
So, if you’re ready to supercharge your Synology DS220+ and take your network storage experience to the next level, let’s get started!
Why Add RAM to Synology DS220+?
The Synology DS220+ is a feature-packed NAS device that offers high performance and excellent storage capabilities. However, there are several reasons why you might consider adding more RAM to your DS220+:
- Improved Multitasking: By increasing the RAM capacity, you can enhance the multitasking capabilities of your NAS. It allows your NAS to handle multiple concurrent tasks efficiently, such as running applications, serving files to multiple users, and performing backups simultaneously.
- Enhanced Performance: Adding more RAM can significantly boost the overall performance of your DS220+. It allows the NAS to process data faster, resulting in faster file transfers, quicker application launches, and smoother operation of resource-intensive tasks.
- Support for Resource-Intensive Applications: If you frequently use your DS220+ for running applications like virtual machines, Docker containers, or multimedia servers, upgrading the RAM is highly beneficial. It provides the necessary resources for these applications to run smoothly and ensures a seamless user experience.
- Future-Proofing: As technology advances and applications become more demanding, having additional RAM can help future-proof your DS220+. By adding more RAM now, you ensure that your NAS can keep up with future software updates and new features without experiencing performance bottlenecks.
- Customization and Flexibility: Upgrading the RAM gives you the flexibility to tailor your DS220+ to your specific needs. Whether you require more memory for running demanding applications, handling large file transfers, or creating a robust backup solution, having additional RAM allows for greater customization and improved performance.
With these reasons in mind, it’s clear that adding RAM to your Synology DS220+ is a valuable investment that can significantly enhance its capabilities and provide a better user experience. Now, let’s explore the compatible RAM specifications for the DS220+ and learn how to add the RAM module to your NAS.
Compatible RAM Specifications
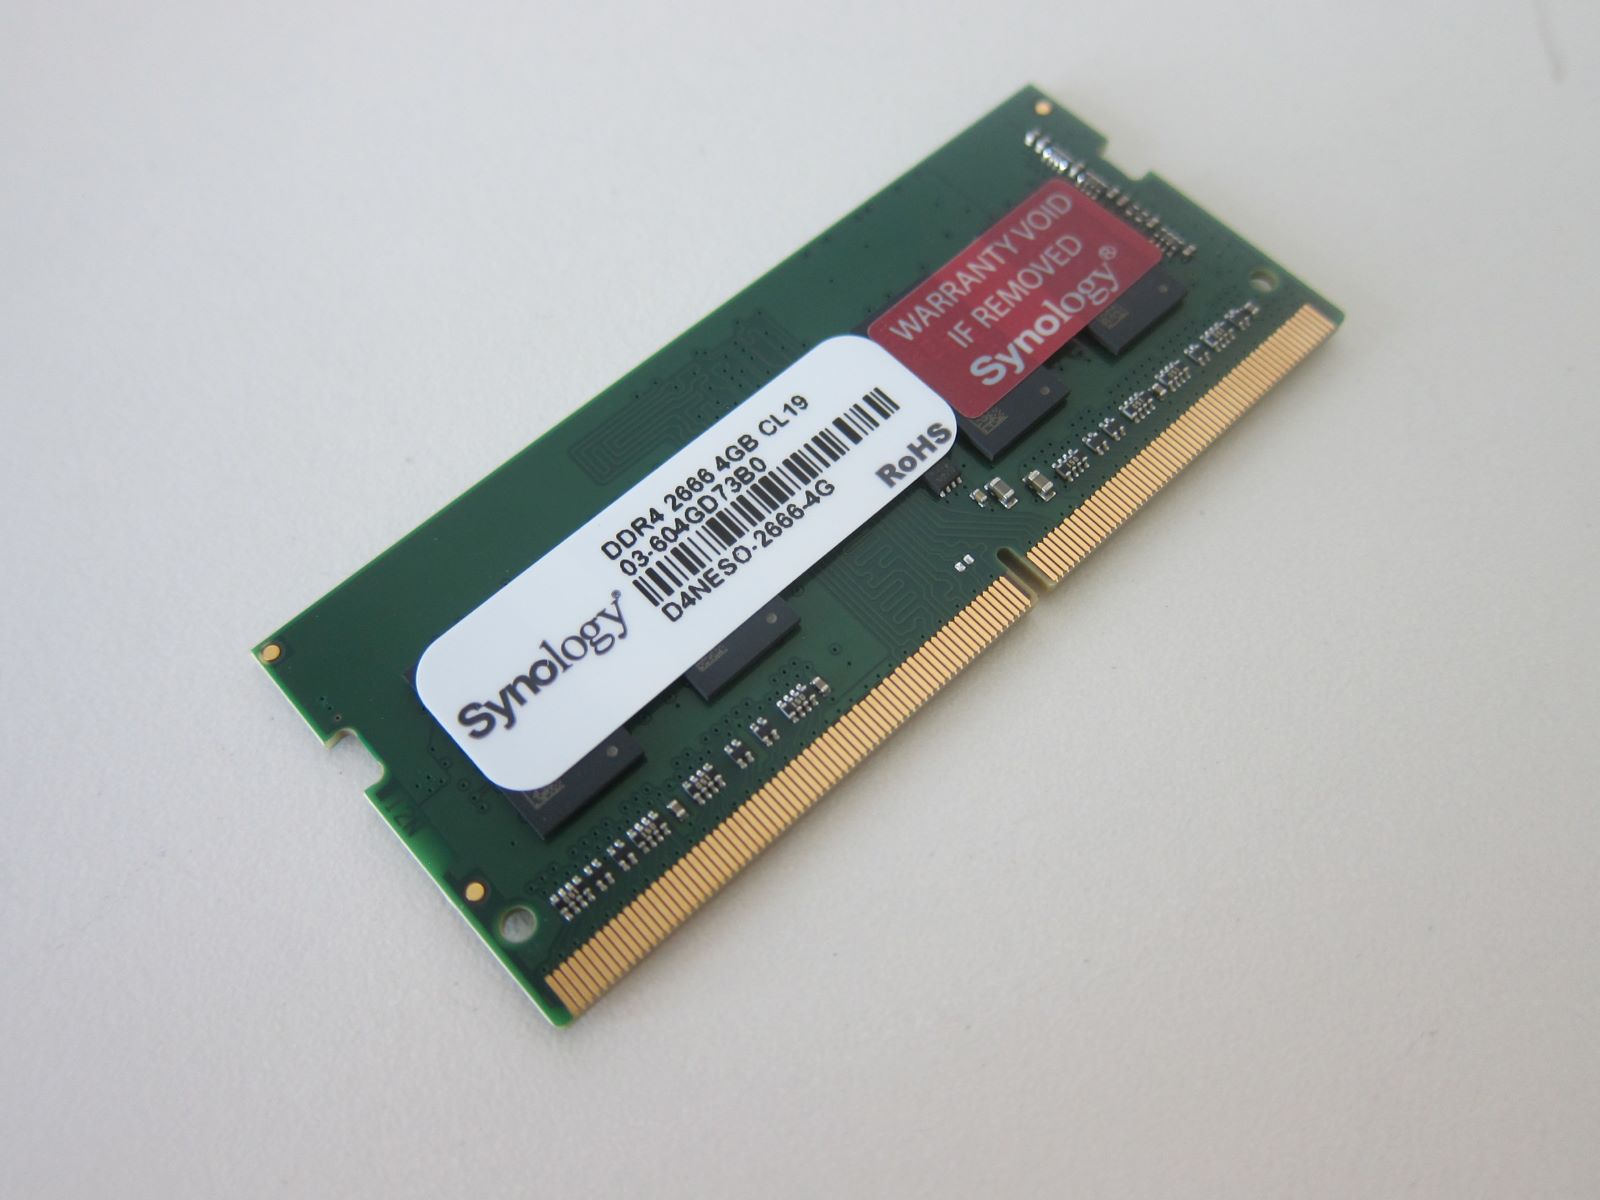
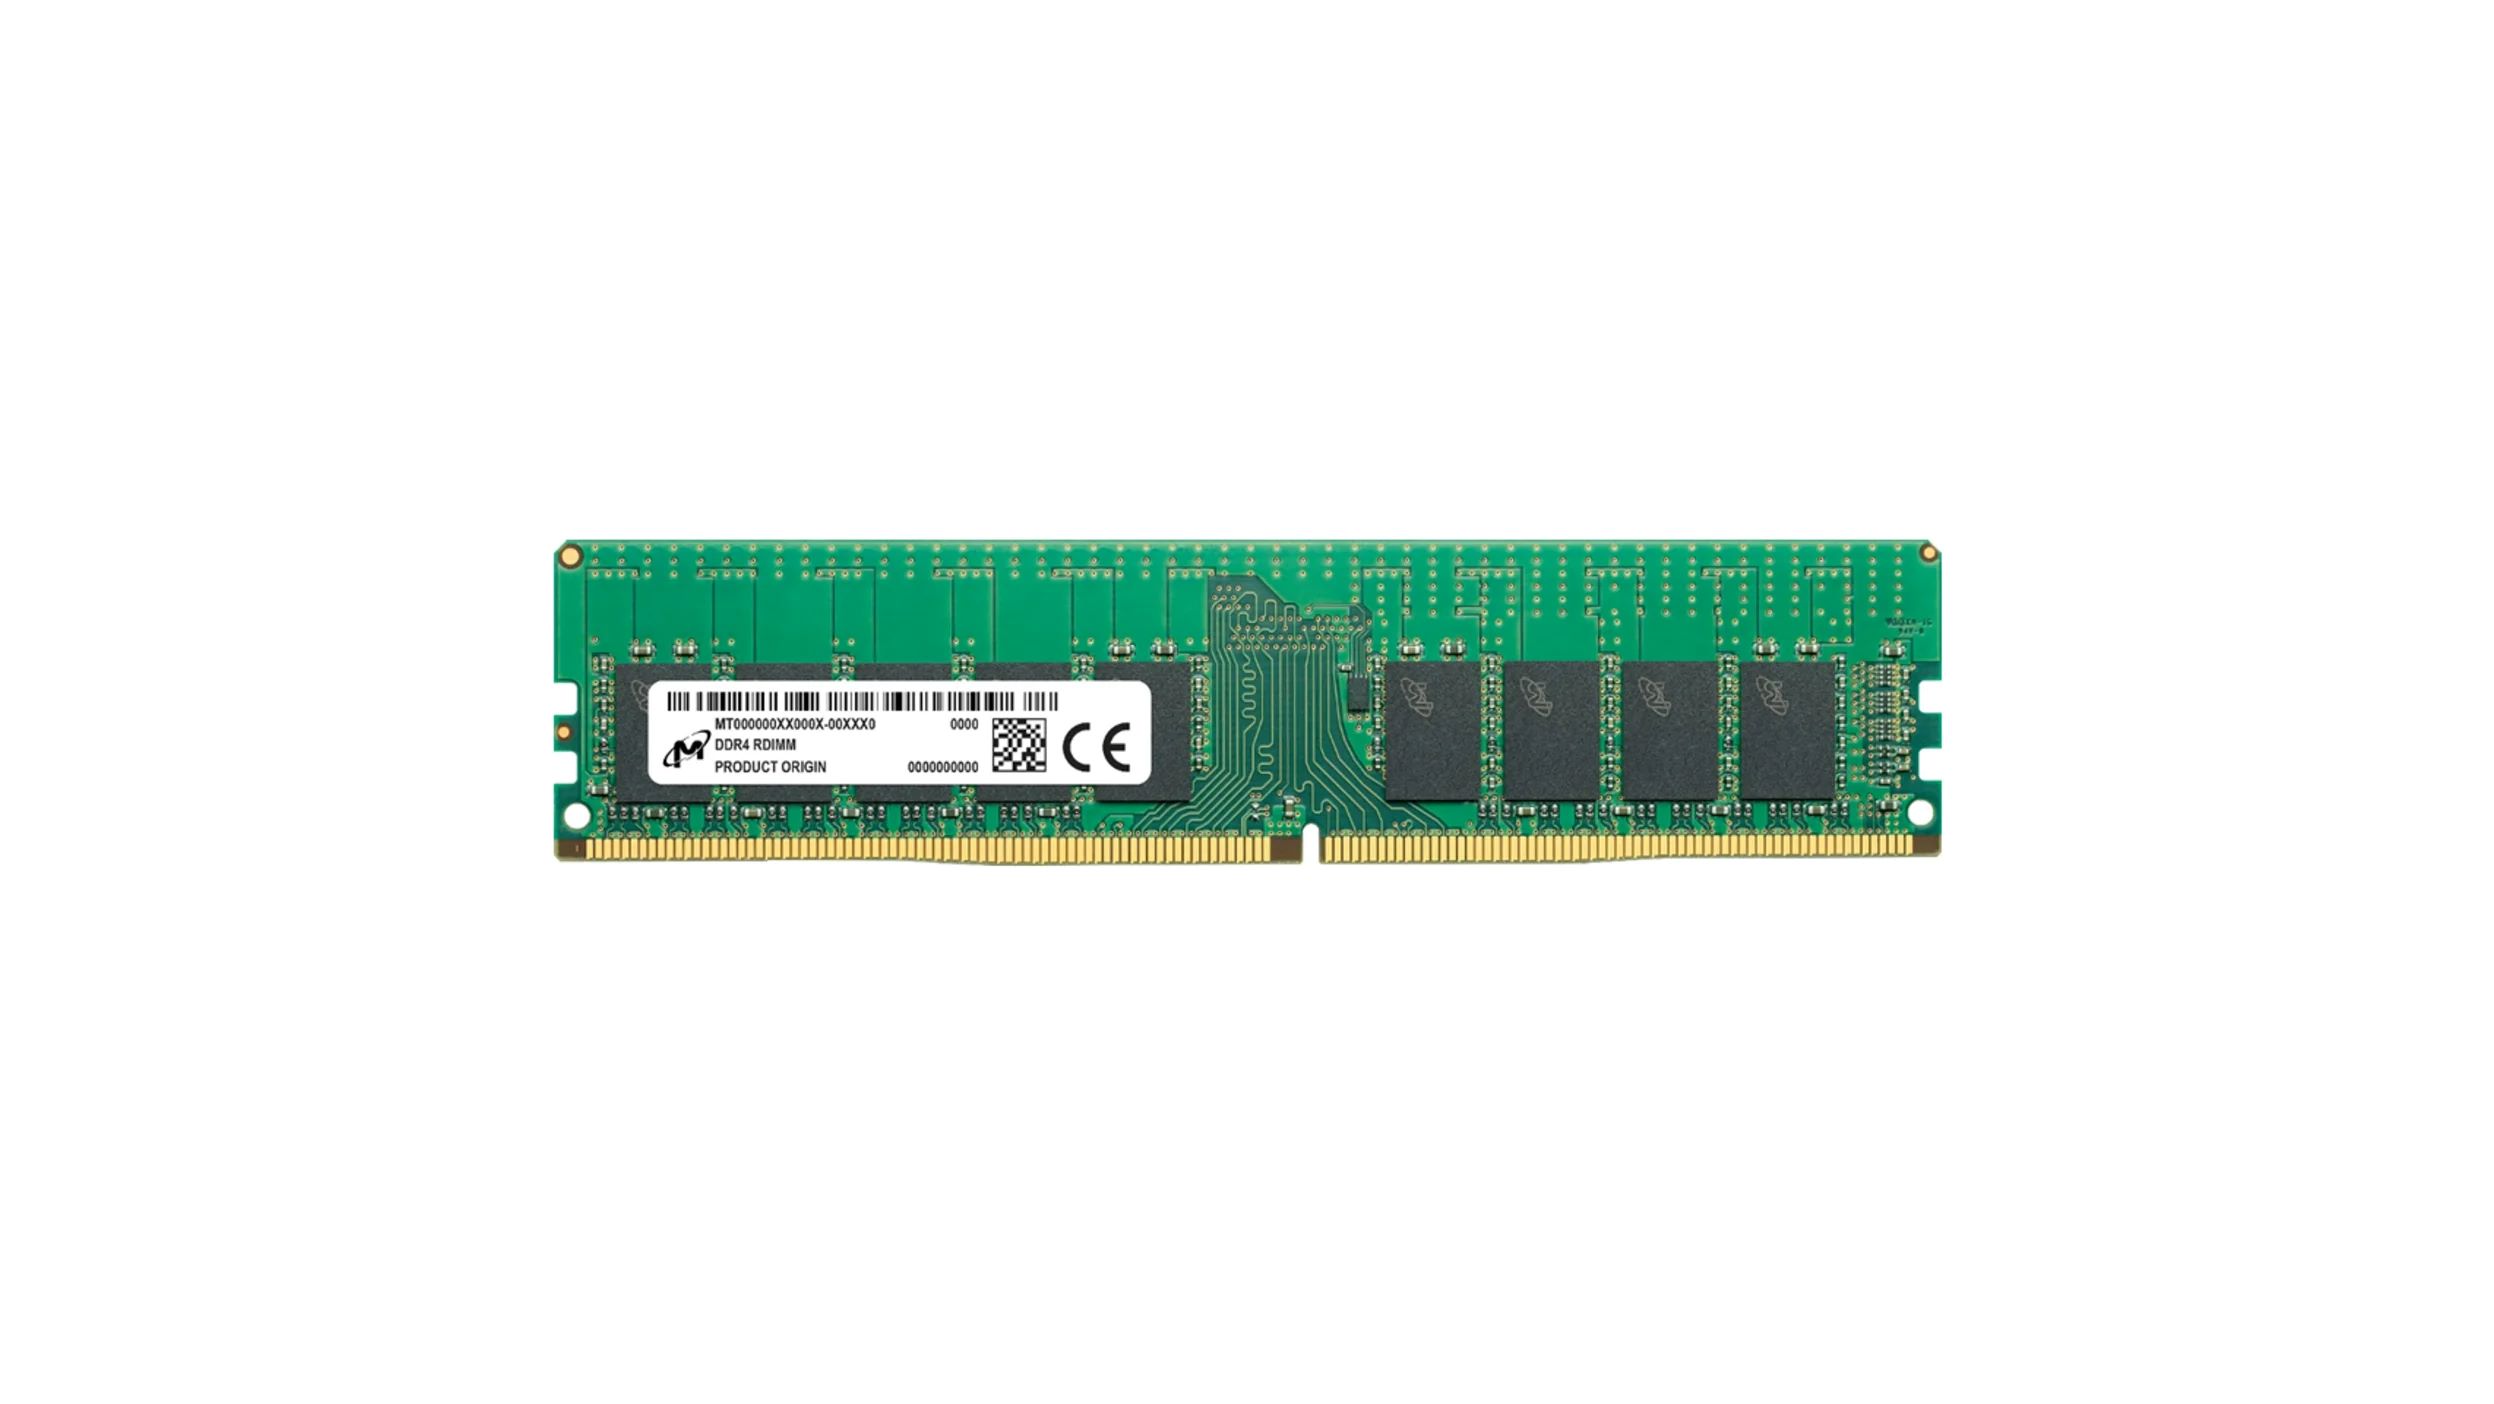
Before adding RAM to your Synology DS220+, it’s crucial to choose the right RAM module that is compatible with your NAS. The DS220+ supports DDR4 non-ECC SO-DIMM RAM modules with the following specifications:
- Capacity: The DS220+ supports RAM modules with a capacity of up to 32GB. It is important to note that the maximum RAM capacity depends on the type of module used. For example, the DS220+ has two RAM slots, and each slot can accommodate a maximum of 16GB, totaling 32GB.
- Type: Make sure to choose DDR4 non-ECC SO-DIMM RAM modules. ECC (Error-Correcting Code) RAM modules are not supported by the DS220+.
- Speed: The recommended RAM speed for the DS220+ is DDR4-2666. However, the DS220+ is backward compatible, so RAM modules with lower speeds, such as DDR4-2400, will also work without any issues. It’s important to note that using higher-speed RAM modules will be automatically downgraded to match the DS220+’s supported speed.
- Form Factor: SO-DIMM (Small Outline Dual In-Line Memory Module) is the form factor supported by the DS220+. Ensure that the RAM module you choose has the correct physical dimensions for proper installation into the NAS.
When shopping for compatible RAM modules, it’s recommended to buy from reputable manufacturers or consult the official Synology website for a list of compatible RAM models. This ensures compatibility and mitigates the risk of any potential compatibility issues or instability.
Now that you’re aware of the compatible RAM specifications for the DS220+, it’s time to proceed with the step-by-step guide on how to add the RAM module to your Synology DS220+ NAS. Let’s get started!
Step-by-Step Guide to Adding RAM to Synology DS220+
Adding RAM to your Synology DS220+ is a straightforward process. Follow these steps to ensure a successful installation:
- Shutting Down and Disassembling the NAS: Before you begin, power off your DS220+ by selecting “Shut down” from the DSM interface. Once the NAS is powered down, disconnect the power cord, Ethernet cable, and any other external connections. Make sure to place the NAS in a clean and static-free area.
- Identifying the RAM Slot: Locate the RAM slot on your DS220+ NAS. In most cases, it’ll be a rectangular opening on the motherboard. You may refer to the DS220+ user manual for the exact location of the RAM slot.
- Inserting the RAM Module: Gently remove the RAM module from its packaging and align the notch on the module with the notch on the RAM slot in the DS220+. Ensure that the module is perpendicular to the slot. Apply even pressure on both ends of the module until it clicks into place.
- Reassembling and Powering On the NAS: Once the RAM module is securely inserted, reattach any components that were removed during the disassembly process. Reconnect the power cord, Ethernet cable, and other external connections. Power on the NAS and wait for it to boot up.
- Verifying the New RAM Capacity: Once your DS220+ is powered on, log in to the DSM interface. Navigate to the Control Panel and select “Info Center.” Under the “Memory” section, you should see the new RAM capacity listed. If the new RAM is not detected or the capacity is not displayed correctly, double-check the installation to ensure the module is properly inserted.
Congratulations! You have successfully added RAM to your Synology DS220+ NAS. Enjoy the enhanced performance and capabilities that the upgraded RAM brings to your storage solution.
Now that we’ve covered the step-by-step guide, let’s explore the benefits of upgrading the RAM in your Synology DS220+.
Shutting Down and Disassembling the NAS
Before you begin the process of adding RAM to your Synology DS220+ NAS, it’s crucial to shut down the NAS and carefully disassemble it. Follow these steps:
- Shut Down the NAS: Access the DiskStation Manager (DSM) interface on your DS220+ by entering the NAS IP address in a web browser. Once logged in, navigate to the main dashboard and select the “Shut down” option from the top-right corner. This will initiate the orderly shutdown of the NAS.
- Disconnect External Connections: Once the DS220+ is powered down, disconnect the power cord from the NAS and unplug any other external connections, such as Ethernet cables or USB devices. This ensures your safety and prevents any potential damage during the disassembly process.
- Choose a Suitable Workspace: Find a clean and well-lit workspace where you can comfortably work on the DS220+. Ideally, use an anti-static mat or wear an anti-static wristband to minimize the risk of electrostatic discharge damaging sensitive components.
- Open the NAS: Carefully remove the screws that secure the outer casing of the DS220+. Depending on the model, you may need to remove screws from the sides, rear, or bottom. Refer to your DS220+ user manual for the specific screw locations.
- Remove the Outer Casing: Gently slide or lift the outer casing to remove it from the DS220+. Take your time and be cautious not to apply excessive force or damage any internal components.
With the NAS shut down and the outer casing removed, you’re now ready to proceed with the next steps of adding RAM to your Synology DS220+. In the next section, we will guide you in identifying the RAM slot on your DS220+.
Identifying the RAM Slot
Once you have safely shut down and disassembled your Synology DS220+ NAS, it’s time to identify the RAM slot where the new RAM module will be installed. Follow these steps to locate the RAM slot:
- Refer to the DS220+ User Manual: Consult the user manual that came with your DS220+ NAS. The manual provides detailed information about the internal components and their locations. Look for the section that describes the RAM slot and its position on the motherboard.
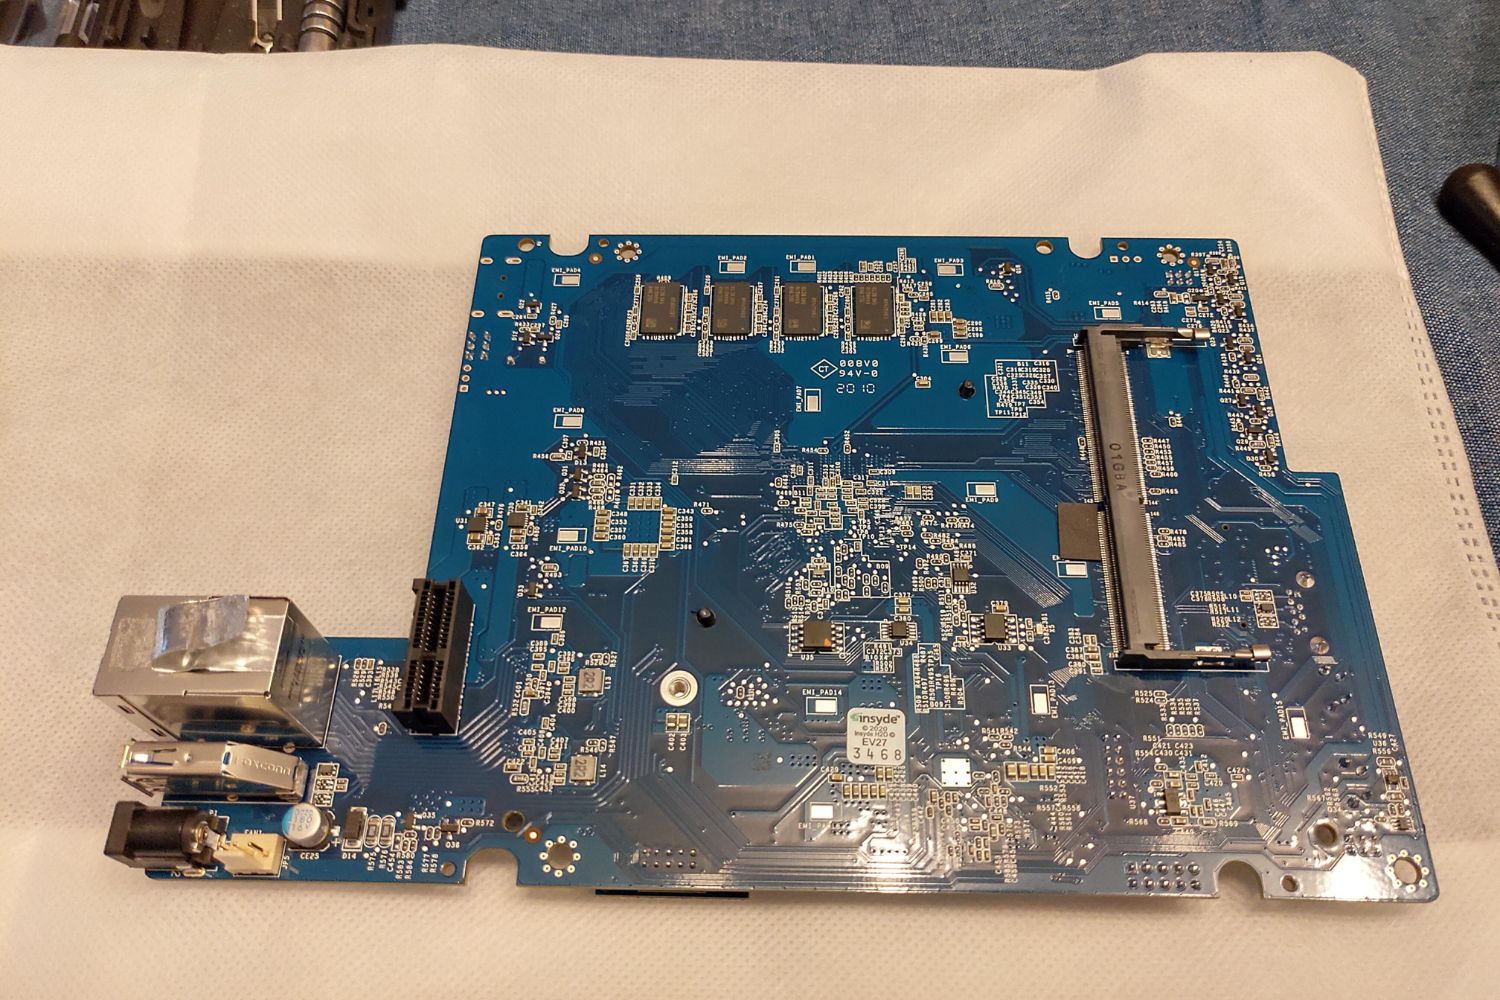
- Inspect the Motherboard: Carefully examine the motherboard of your DS220+ NAS. Look for a rectangular opening or slot that matches the dimensions of a RAM module. The RAM slot is usually located near the CPU or the backside of the NAS enclosure.
- Identify the RAM Slot Labeling: Some motherboards may have labels or markings next to the RAM slot, indicating its position or the number of RAM slots available. Look for labels such as “DIMM” or “RAM” to help you identify the correct slot.
- Note the Orientation: Take note of the orientation of the RAM slot. Look for notches or keying that ensures the RAM module can only be inserted in the correct alignment. This helps prevent accidental damage and ensures proper installation.
- Take Precautions: As you locate the RAM slot, be cautious not to touch any exposed electronic components. Handle the motherboard with care to avoid static electricity discharge, which can damage sensitive parts.
By following these steps, you should be able to successfully identify the RAM slot on your Synology DS220+ NAS. Once you have located the RAM slot, you’re ready to proceed with the next section and learn how to insert the new RAM module into your DS220+.
Inserting the RAM Module
After identifying the RAM slot in your Synology DS220+ NAS, you’re ready to insert the new RAM module. Follow these steps to ensure a successful installation:
- Gently Handle the RAM Module: Before touching the RAM module, make sure to discharge any static electricity by touching a grounded metal surface or wearing an anti-static wristband. Handle the RAM module by its edges, avoiding contact with the gold contacts or any sensitive components.
- Align the Notch: Orient the RAM module properly by aligning the notch on the module with the notch on the RAM slot in the DS220+. This ensures that the RAM module is inserted in the correct alignment and prevents any potential damage. Take your time to align the module accurately.
- Insert the RAM Module: Once aligned, gently insert the RAM module into the RAM slot. Apply even pressure on both ends of the module, ensuring it is perpendicular to the slot. Continue to apply firm pressure until the module is fully inserted and the retaining clips on both sides click into place.
- Double-Check the Installation: After inserting the RAM module, visually inspect the module to ensure it is properly seated in the slot. The module should be level, with both retaining clips securely holding it in place. Avoid excessive force during installation, as this can cause damage to the module or the motherboard.
- Secure the Outer Casing: With the RAM module inserted, carefully reattach the outer casing of the DS220+. Align the case with the appropriate screw holes and secure the screws tightly, but not overly tightened, to avoid damaging the case or the internal components.
With the RAM module successfully inserted into the DS220+ NAS and the outer casing securely fastened, you’re now ready to reassemble and power on the NAS. In the next section, we will guide you through the final steps to complete the process and verify the new RAM capacity.
Reassembling and Powering On the NAS
With the RAM module securely inserted into your Synology DS220+ NAS, it’s time to reassemble the device and power it on. Follow these steps to complete the process:
- Align the Outer Casing: Carefully position the outer casing of the DS220+ over the device, making sure it aligns properly with the screw holes. Take your time to ensure a precise fit and avoid any unnecessary force or pressure.
- Secure the Outer Casing Screws: Once the outer casing is aligned, use the appropriate screws to secure it back into place. Start by tightly screwing the screws, but be careful not to overtighten them, as it may damage the casing or the internal components.
- Reconnect External Connections: After reassembling the casing, reconnect the power cord, Ethernet cable, and any other external connections that were previously disconnected. Ensure the connections are secure and properly inserted.
- Power On the NAS: With all the external connections reestablished, plug the power cord back into a power outlet. Press the power button to turn on the DS220+. Allow the NAS to boot up and initialize, which may take a few minutes.
- Wait for the NAS to Complete Startup: Once powered on, wait for the NAS to complete its startup process. The LED indicators on the DS220+ will provide feedback on the status of the device. When the NAS is fully operational, the LED indicators should indicate a stable and normal status.
After following these steps, your Synology DS220+ NAS should be fully reassembled and powered on, ready to take advantage of the upgraded RAM. In the next section, we will discuss how to verify the new RAM capacity to ensure it was successfully recognized by the NAS.
Verifying the New RAM Capacity
After adding a new RAM module to your Synology DS220+ NAS, it’s essential to verify that the NAS recognizes the new RAM capacity correctly. Follow these steps to confirm the successful upgrade:
- Login to the DSM Interface: Open a web browser and enter the IP address of your DS220+ NAS to access the DiskStation Manager (DSM) interface. Login using your credentials.
- Navigate to the Control Panel: Once logged into the DSM interface, locate and click on the “Control Panel” icon. This will open the Control Panel settings for your NAS.
- Select “Info Center”: In the Control Panel, find and click on the “Info Center” option. This will display detailed system information about your DS220+ NAS.
- Check the Memory Section: Within the Info Center section, locate the “Memory” category. Here, you should see the newly installed RAM capacity listed. The displayed capacity should match the specifications of the RAM module you installed.
- Confirm Correct Capacity: Ensure that the listed RAM capacity matches the capacity of the RAM module you installed. If the capacity is not displayed correctly or if the new RAM is not detected, double-check the installation and make sure the module is properly inserted in the RAM slot.
- Perform a System Test (Optional): If you want to further verify the stability and performance of the RAM upgrade, you can run a system test from within the DSM interface. This will assess the overall system performance, including the impact of the upgraded RAM.
By following these steps and confirming that the new RAM capacity is correctly displayed in the Info Center, you can ensure the successful recognition and utilization of the upgraded RAM in your Synology DS220+ NAS.
With the verification process done, you can now enjoy the benefits of the increased RAM capacity, such as improved multitasking, enhanced performance, and support for resource-intensive applications.
In the next section, we will discuss the numerous benefits of upgrading the RAM in your Synology DS220+ NAS.
Benefits of Upgrading RAM in Synology DS220+
Upgrading the RAM in your Synology DS220+ NAS offers several significant benefits that can enhance its overall performance and user experience. Here are some of the advantages of adding more RAM to your DS220+:
- Improved Multitasking: With upgraded RAM, your DS220+ can efficiently handle multiple tasks simultaneously. You can run multiple applications, virtual machines, or Docker containers without experiencing performance slowdowns or bottlenecks.
- Enhanced Performance: Adding more RAM significantly improves the overall performance of your DS220+. It allows for faster data processing, smoother file transfers, and quicker response times when accessing files or running demanding applications.
- Smooth Resource-Intensive Application Operation: Upgraded RAM provides the necessary resources for running resource-intensive applications like multimedia servers or virtual machines. This ensures seamless operation and a better user experience without any lags or performance issues.
- Increased Storage Capacity Support: By upgrading the RAM, you future-proof your DS220+ and ensure it can handle larger storage capacities. This is particularly beneficial when it comes to managing and accessing vast volumes of data or expanding your storage solution in the future.
- Better System Stability: Additional RAM helps maintain system stability and prevents crashes or freezes, especially when the NAS is under heavy load. It reduces the risk of memory-related errors and improves the overall reliability of your DS220+.
- Flexibility and Customization: Upgrading the RAM in your DS220+ allows for greater flexibility and customization options. You can allocate more memory to specific applications or processes, ensuring optimal performance for your specific needs.
- Future-Proofing: By upgrading the RAM, you future-proof your DS220+ and ensure it can handle upcoming software updates, features, and advancements in technology. This extends the lifespan of your NAS and saves you the hassle of frequent hardware upgrades.
With these benefits in mind, upgrading the RAM in your Synology DS220+ NAS is a worthwhile investment that significantly enhances its capabilities and performance. Whether you need improved multitasking, better application performance, or enhanced system stability, adding more RAM empowers your NAS to handle demanding tasks with ease.
Now that you’re aware of the benefits, you can make an informed decision about upgrading the RAM in your Synology DS220+ NAS.
Conclusion
In conclusion, adding RAM to your Synology DS220+ NAS is a straightforward process that can significantly enhance its performance and capabilities. By increasing the RAM capacity, you can improve multitasking, boost overall system performance, and support resource-intensive applications.
Before adding RAM, it’s crucial to ensure compatibility by selecting DDR4 non-ECC SO-DIMM modules with the appropriate capacity, speed, and form factor. Referring to the DS220+ user manual and consulting reputable manufacturers can help you make an informed choice.
The step-by-step guide outlined in this article provides clear instructions for shutting down and disassembling the NAS, identifying the RAM slot, inserting the new RAM module, reassembling the NAS, and powering it on. Verifying the new RAM capacity through the DSM interface ensures a successful upgrade.
The benefits of upgrading the RAM in your DS220+ include improved multitasking, enhanced performance, support for resource-intensive applications, increased storage capacity, better system stability, flexibility, customization options, and future-proofing of your NAS.
By upgrading the RAM in your Synology DS220+ NAS, you empower it to meet your growing storage needs and handle demanding tasks efficiently. Experience smoother operation, faster file transfers, and the ability to run applications seamlessly without encountering performance bottlenecks.
So why wait? Unlock the full potential of your Synology DS220+ by upgrading its RAM and enjoy a more powerful and responsive network-attached storage solution.