Introduction
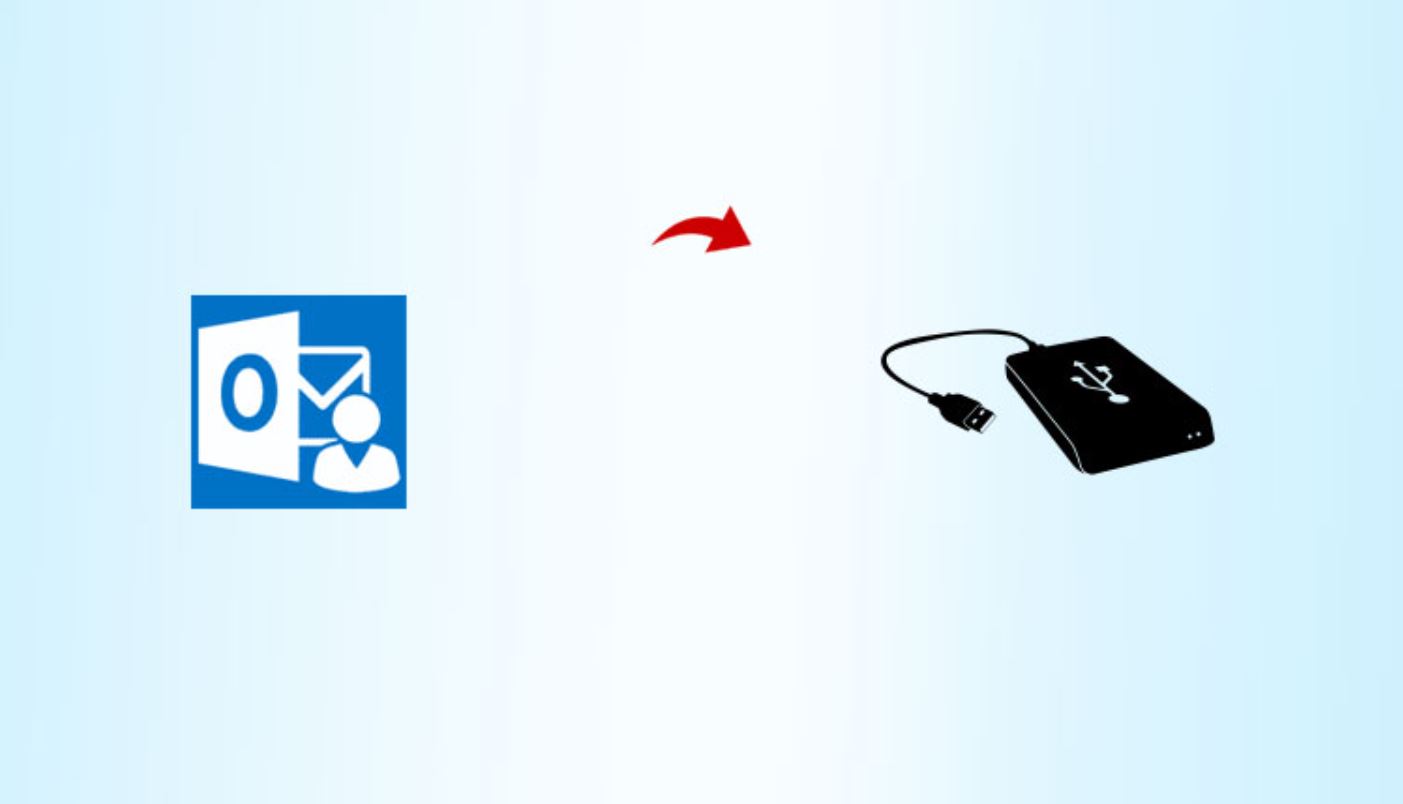
Welcome to the world of data backup! In this digital age, it has become more important than ever to protect our valuable files and documents from potential loss or damage. One of the most reliable and convenient methods of data backup is using an external hard drive.
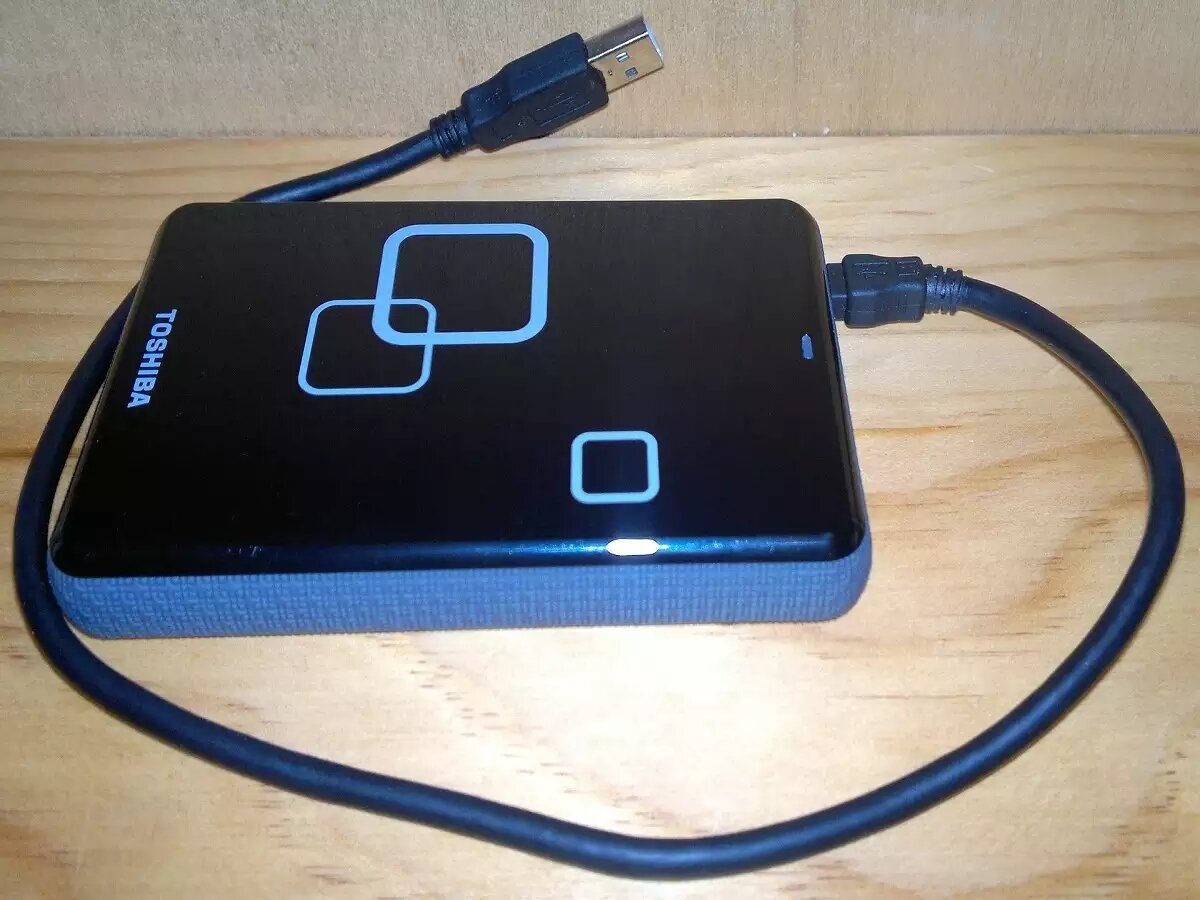
An external hard drive is a portable storage device that can be easily connected to your computer to store and backup files of all types, including documents, photos, videos, and more. With its large storage capacity and fast transfer speeds, an external hard drive provides a secure and efficient way to keep your data safe.
In this article, we will guide you through the process of backing up your files on an external hard drive. Whether you are a student, professional, or someone who values their digital memories, this step-by-step guide will help you safeguard your data.
Throughout this article, we will explore the different aspects of using an external hard drive for backup purposes. We will start by discussing how to choose the right external hard drive that suits your needs. Then, we will explain the process of connecting the drive to your computer and transferring files to it.
Next, we will cover essential tips on organizing and categorizing your files for easy retrieval. We will also emphasize the importance of creating multiple backups and scheduling automatic backups to ensure the safety of your data. Additionally, we will provide guidance on safely ejecting the external hard drive to avoid data corruption or loss.
To help you protect your external hard drive from potential damage, we will share useful tips on handling and storing it in a safe location. Finally, we will discuss the process of restoring files from the external hard drive, enabling you to retrieve your data whenever needed.
Are you ready to learn how to backup files on an external hard drive? Let’s dive in and discover the world of data backup together!
Choosing the Right External Hard Drive
When it comes to choosing an external hard drive for backup purposes, there are a few key factors to consider. By understanding your needs and evaluating these factors, you can make an informed decision and select the right external hard drive for your requirements.
The first factor to consider is the storage capacity of the external hard drive. Assess the amount of data you need to back up and choose a drive with sufficient storage space. Remember to account for future data growth as well.
Next, consider the type of connection interface offered by the external hard drive. The most common interfaces are USB 2.0, USB 3.0, and USB-C. USB 3.0 and USB-C offer faster transfer speeds compared to USB 2.0, so if speed is important to you, opt for a drive that supports one of these interfaces.
Another important aspect to look at is the durability and reliability of the external hard drive. Look for a drive that has a sturdy construction and is designed to withstand accidental drops or bumps. Reading customer reviews and checking the manufacturer’s reputation can also help determine the reliability of the drive.
Consider the physical size and weight of the external hard drive as well. If you need a portable drive that you can easily carry around, choose a compact and lightweight option. However, if you are looking for a drive to primarily stay on your desk, then a larger size may be more suitable.
Additionally, take into account any additional features or software that the external hard drive may offer. Some drives come with built-in encryption, backup software, or compatibility with specific operating systems. Assess whether these features align with your backup requirements and enhance your overall experience.
Last but not least, consider the price range that fits your budget. External hard drives are available in a wide range of prices, so establish a budget and compare the features and specifications of different models to find the best value for your money.
By carefully considering these factors – storage capacity, connection interface, durability, size and weight, additional features, and price – you can select the perfect external hard drive for your backup needs. Remember, investing in a reliable and suitable drive will ensure the safety and accessibility of your valuable data for years to come.
Connecting the External Hard Drive to Your Computer
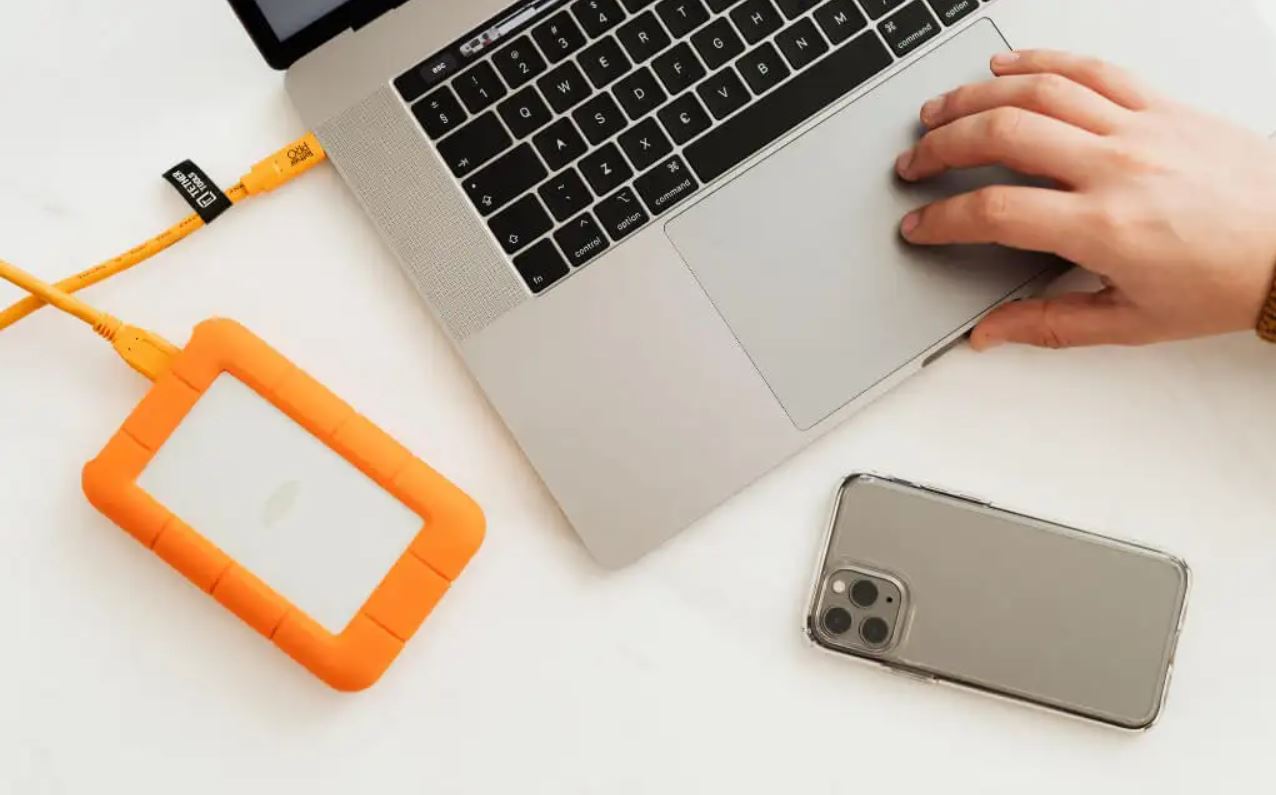
Once you’ve chosen the perfect external hard drive, it’s time to connect it to your computer so you can begin the backup process. Connecting the drive is a simple and straightforward process, and there are a few different methods you can use depending on the type of external hard drive you have.
Most external hard drives connect to your computer using a USB cable. Start by locating the USB port on your computer. It is usually found on the side or back of a desktop computer, or on the sides or back of a laptop. Plug one end of the USB cable into the external hard drive and the other end into the USB port on your computer. Make sure the connection is secure.
If your external hard drive has a power adapter, plug it into an electrical outlet as well. This will ensure that the drive receives power and can function properly. Some smaller external hard drives get their power directly from the computer through the USB connection, so they may not require a separate power adapter.
Once the drive is connected and powered on, your computer will recognize it as a new device. It may take a moment for the computer to install any necessary drivers or software for the drive. You may see a notification or prompt indicating that the device is being installed.
After the installation is complete, you can access the external hard drive by opening “My Computer” (Windows) or “Finder” (Mac). The external hard drive should appear as a new drive or volume. You can double-click on it to open it and view the files and folders stored on the drive.
At this point, you are ready to start transferring files to the external hard drive. Simply select the files or folders you want to backup and drag them to the external hard drive window. Alternatively, you can right-click on the files and choose the “Copy” option, then navigate to the external hard drive window and right-click again to select “Paste” to transfer the files.
It’s important to note that while the external hard drive is connected to your computer, it is best to leave it undisturbed and avoid moving it around. This will help prevent any accidental disconnections and ensure that the file transfer process goes smoothly.
When you are finished transferring files, you can safely disconnect the external hard drive from your computer. This will be covered in more detail in the next section.
Now that you know how to connect your external hard drive to your computer, you can move on to the important task of transferring your valuable files and backing them up securely. Let’s continue to the next step and explore how to transfer files to the external hard drive.
Transferring Files to the External Hard Drive
Now that your external hard drive is connected to your computer, it’s time to transfer your files and start the backup process. Whether you have important documents, cherished photos, or a collection of videos, transferring them to the external hard drive is a simple and efficient way to keep them safe.
There are several methods you can use to transfer files to the external hard drive, depending on your preference and the operating system you are using. Here are a few commonly used methods:
- Drag and Drop: Open the folder on your computer where the files you want to transfer are located. Then, open the external hard drive folder and arrange the windows side by side. Simply click and hold the desired files or folders, then drag them across to the external hard drive folder and release the mouse button. The files will then be copied to the external hard drive.
- Copy and Paste: Another method is to select the files or folders you want to transfer, right-click and choose the “Copy” option. Then, navigate to the external hard drive folder, right-click, and select the “Paste” option. This will copy the files from your computer to the external hard drive.
- Backup Software: Some external hard drives come with backup software or utilities that facilitate the file transfer process. These programs may offer features such as automatic backups, syncing specific folders, and scheduling regular backups. Install and set up the software according to the manufacturer’s instructions to easily transfer and manage your files.
While transferring your files, it’s a good practice to organize them in a logical and structured manner. Create folders and subfolders on the external hard drive to categorize your files based on their type, date, or any other classification that suits your needs. This will help you locate and retrieve specific files more easily in the future.
During the file transfer process, keep an eye on the progress bar to ensure that the files are being copied successfully. Avoid interrupting the transfer by disconnecting the external hard drive or shutting down your computer. Instead, let the process complete to avoid any potential data loss or corruption.
Once the transfer is complete, you can disconnect the external hard drive from your computer. This will be covered in more detail later in the article.
Remember that backing up your files to an external hard drive is not a one-time task. It is recommended to establish a regular backup routine to ensure that your data is always up to date. Schedule regular backups or manually transfer new or modified files to the external hard drive to keep your backups current.
Now that you know how to transfer files to the external hard drive, you are one step closer to securing your valuable data. In the next section, we will explore how to organize and categorize your files for easy retrieval.
Organizing and Categorizing Your Files
Once you have transferred files to your external hard drive, it’s essential to organize and categorize them for easy retrieval in the future. A well-organized file structure will not only save you time but also make it easier to locate specific files when you need them.
Here are some tips to help you organize and categorize your files on the external hard drive:
- Create Folders: Begin by creating folders on the external hard drive to group similar files together. For example, you could create folders for documents, photos, videos, music, or any other relevant categories. This will provide a clear structure for your files and make them easier to navigate.
- Subdivide Folders: If you have a large number of files within a specific category, consider further subdividing the folders into subfolders. This can be based on date, project name, or any other criteria that make sense for your files. Subdividing will help keep your files organized and prevent a cluttered file structure.
- Use Descriptive Names: Give your folders and files descriptive names that clearly indicate their content. Avoid generic or vague names that may make it difficult to identify the file’s purpose. For example, instead of naming a document “Document1,” give it a specific name like “Quarterly Sales Report 2021.”
- Add Metadata: Utilize metadata to provide additional information about your files. Metadata includes details such as file tags, keywords, and descriptions that can help with search and retrieval. Many file systems and operating systems allow you to add metadata, making it easier to locate files based on specific criteria.
- Implement a Versioning System: If you frequently work on documents or files that undergo multiple revisions, consider implementing a versioning system. This involves creating separate folders or subfolders for different versions of a file. It allows you to easily track changes and revert to previous versions if necessary.
- Regularly Review and Update: Schedule regular reviews of your file organization system to ensure it remains effective. As your files and needs change, you may need to reorganize or restructure your folders to accommodate new additions or changes.
Remember, the goal of organizing and categorizing your files is to make them easily accessible and manageable. Take some time to set up a structure that aligns with your workflow and preferences. Consistency and attention to detail during the organizing process will pay off in the long run as you navigate and utilize your backed-up files.
By organizing your files on the external hard drive, you will save time and frustration when searching for specific documents, photos, or any other files you need. Now that your files are organized, it’s important to take steps to protect your data further by creating multiple backups, which we’ll cover in the next section.
Creating Multiple Backups
When it comes to backing up your files, it’s important to remember the golden rule: always have multiple backups. While an external hard drive provides a reliable storage solution, unforeseen events such as hardware failure, theft, or natural disasters can still put your data at risk.
By creating multiple backups, you significantly reduce the chances of permanent data loss. Here are some strategies for creating additional backups:
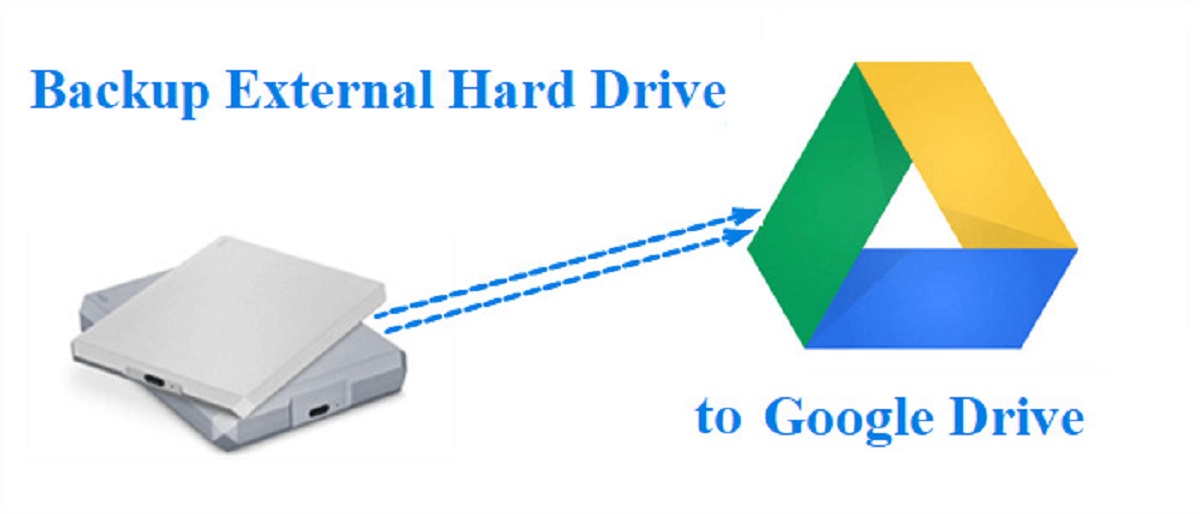
- Cloud Storage: Consider using cloud storage services, such as Google Drive, Dropbox, or Microsoft OneDrive, to create an additional backup. These services offer secure storage on remote servers, allowing you to access your files from any device with an internet connection. Simply upload your important files to the cloud storage platform, and they will be safely stored and synced across devices.
- Network Attached Storage (NAS): A NAS device is a dedicated storage device that connects to your home or office network. It provides a central location for storing and backing up multiple devices on the network. With a NAS, you can create automatic backups of your files and have them accessible to all connected devices.
- Offline Storage: Consider making offline backups by creating copies of your files on other external hard drives or storage devices. Store these backups in separate physical locations away from your primary backup. This provides an extra layer of protection against theft, damage, or disasters that may affect your primary backup location.
- Scheduled and Incremental Backups: To ensure that your backups are up to date, schedule regular backups of your files. This can be done using backup software that allows you to set specific intervals or automated backup tasks. Incremental backups, which only back up files that have changed since the last backup, can also save time and storage space.
Remember to periodically check the integrity of your backups to ensure they are not corrupted and can be restored when needed. Verify that files can be accessed and restored from each backup location to guarantee their reliability.
Additionally, keep in mind that creating multiple backups does not mean simply duplicating your files on different devices. Make sure to establish a proper backup strategy, involving different types of backups and storage locations, to provide redundancy and comprehensive protection for your valuable data.
By creating multiple backups, you minimize the risk of data loss and ensure that your files are safely stored in multiple locations. Now that you’ve learned about the importance of multiple backups, let’s move on to the next section and explore how to schedule automatic backups for added convenience and peace of mind.
Scheduling Automatic Backups
Scheduling automatic backups is a convenient way to ensure that your files are regularly backed up without the need for manual intervention. By setting up automated backups, you can have peace of mind knowing that your data is constantly protected, even if you forget to initiate the backup process.
There are various methods and tools you can use to schedule automatic backups, depending on your operating system and preferences. Here are a few options to consider:
- Backup Software: Many external hard drives come with backup software that allows you to schedule automatic backups. These software solutions often offer a range of customizable features, such as selecting specific folders, setting backup frequency, and defining retention policies. Explore the options available with your external hard drive and configure the software according to your backup requirements.
- Operating System Tools: Most operating systems provide built-in backup tools that allow you to set up automatic backups. For example, on Windows, you can use the built-in File History or Backup and Restore features to automatically back up specific folders or your entire system. On Mac, the Time Machine feature provides automated backups of your files and system settings.
- Third-Party Backup Applications: There are numerous third-party backup applications available that offer advanced features for scheduling and automating backups. These applications often provide more flexibility and customization options compared to built-in tools. Look for reputable applications that suit your needs and preferences, ensuring compatibility with your external hard drive.
When scheduling automatic backups, consider the frequency at which your files are changing or being updated. If you frequently work on important documents or files, you may want to schedule backups more frequently to capture the latest versions.
It’s also important to ensure that your computer or external hard drive is powered on and connected when the scheduled backup is set to occur. This will ensure that the backup process is successfully initiated. Some backup tools may allow you to set specific conditions, such as only backing up when the external hard drive is connected or when your computer is idle, to optimize the backup process.
Regularly review and monitor your scheduled backups to ensure they are functioning as intended. Pay attention to any error messages or notifications that may indicate issues with the backup process. It’s recommended to periodically test the restoration process from your scheduled backups to ensure that your files can be successfully recovered when needed.
By scheduling automatic backups, you remove the burden of manually initiating the backup process and ensure that your files are consistently protected. With regular backups in place, you can rest easy knowing that your valuable data is safe and can be easily restored if the need arises.
Now that you understand the importance of scheduling automatic backups, let’s proceed to the next section and learn about safely ejecting your external hard drive to avoid any potential data loss or corruption.
Safely Ejecting the External Hard Drive
After transferring and backing up your files on the external hard drive, it’s crucial to safely eject the device from your computer to prevent data loss or corruption. Safely ejecting ensures that any pending file transfers or operations are completed, and the hard drive is ready to be disconnected without any potential risks.
Here’s how you can safely eject your external hard drive:
- Windows: On Windows, locate the “Safely Remove Hardware” icon in the system tray, which is usually found in the bottom right corner of the taskbar. Click on the icon to open a list of connected devices, and then select your external hard drive from the list. Windows will notify you when it’s safe to disconnect the drive, at which point you can safely remove the USB cable from your computer.
- Mac: On a Mac, click on the external hard drive icon on your desktop or in the Finder sidebar. Then, select “Eject” from the context menu, or drag the drive icon into the Trash. Mac will inform you when it’s safe to disconnect the external hard drive from your computer.
- Command Line: Alternatively, you can use the command line or terminal to safely eject the external hard drive. On Windows, open the command prompt and type “diskpart” to open the DiskPart utility. Then, enter “list disk” to view a list of connected drives. Identify the external hard drive number and use the “select disk [number]” command followed by “remove all” to safely remove the device. On Mac, open the terminal and use the “diskutil eject [disk name]” command to safely eject the external hard drive.
It’s crucial to always follow the proper ejection procedures to prevent data loss or damage to the external hard drive. Removing the device without safely ejecting it may result in incomplete file transfers, data corruption, or even damage to the drive.
Before physically disconnecting the external hard drive, ensure that there are no ongoing file transfers or operations involving the drive. Check for any indicator lights on the external hard drive to confirm that it is not actively reading or writing data.
Additionally, avoid disconnecting the external hard drive during a power outage or when your computer is in sleep or hibernation mode. It’s best to disconnect the drive when your computer is fully powered on and active to ensure smooth disconnection.
Safely ejecting your external hard drive provides peace of mind that your files are safely stored and that the drive is ready to be disconnected. By following the proper procedures, you can maintain the integrity of your data and prolong the lifespan of your external hard drive.
Now that you know how to safely eject your external hard drive, let’s move on to the next section and explore tips for protecting the physical integrity of your external hard drive.
Protecting Your External Hard Drive from Damage
Ensuring the physical integrity of your external hard drive is essential to maintain its performance and prevent data loss. By implementing a few simple measures, you can protect your external hard drive from damage and prolong its lifespan. Here are some tips to help you safeguard your valuable storage device:
- Handle with Care: Treat your external hard drive with care and avoid dropping or mishandling it. Even small drops or bumps can cause damage to the internal components, leading to data loss. Always pick up and move the external hard drive using proper grip and support.
- Keep it Cool: Heat can negatively impact the performance and lifespan of your external hard drive. Keep the drive in a well-ventilated area to prevent it from overheating. Avoid placing the drive near heat sources, direct sunlight, or in enclosed spaces where heat can accumulate.
- Avoid Moisture and Liquids: Exposure to moisture or liquids can cause irreversible damage to your external hard drive. Keep the drive away from areas prone to spills or high humidity, such as kitchens or bathrooms. In case of accidental spills, immediately disconnect the drive and allow it to fully dry before reconnecting or using it.
- Protect from Dust and Debris: Dust and debris can accumulate on the external hard drive and impact its performance. Keep the drive in a clean environment and periodically wipe it with a soft, lint-free cloth to remove any dust or debris. Avoid using harsh chemicals or solvents, as they may damage the drive’s surface.
- Use a Protective Case: Investing in a protective case or cover for your external hard drive can provide an extra layer of protection. Look for a case that fits your specific model and offers padding and shock absorption. This will safeguard the drive from accidental drops, impacts, and scratches.
- Keep Away from Magnets and Electrical Interference: Magnetic fields and electrical interference can cause data corruption on your external hard drive. Avoid placing the drive next to devices with strong magnets, such as speakers, or near electrical appliances that generate significant electromagnetic fields.
It’s important to note that although these measures can significantly reduce the risk of damage, they do not guarantee absolute protection. External hard drives, like any electronic device, are still susceptible to wear and tear over time. Regularly backing up your files to multiple locations, as discussed earlier, is crucial to minimizing the impact of potential physical damage.
By implementing these protective measures, you can mitigate the risk of damage to your external hard drive and ensure the safety of your valuable data. Now that you know how to protect your external hard drive, it’s equally important to consider the safety of its storage location, as we’ll discuss in the next section.
Storing Your External Hard Drive in a Safe Location
Proper storage of your external hard drive is crucial to ensure its longevity and protect the safety of your data. Storing it in a safe location minimizes the risk of physical damage, theft, or exposure to harmful elements. Here are some tips for storing your external hard drive in a secure and suitable location:
- Choose a Cool and Dry Environment: Opt for a storage location that is cool, dry, and well-ventilated. Excessive heat or humidity can damage the drive and impact its performance. Avoid storing the drive in basements, attics, or areas prone to temperature fluctuations or high moisture levels.
- Avoid Sunlight Exposure: Sunlight, particularly direct and prolonged exposure, can cause damage to your external hard drive. UV rays can degrade the drive’s materials and potentially affect stored data. Store the drive in an area away from windows or use a protective cover or case to shield it from sunlight.
- Consider Fire Protection: In the event of a fire, your external hard drive and its data may be at risk. To enhance protection, consider storing the drive in a fire-resistant safe or cabinet. These specially designed safes can provide an additional layer of protection against heat and flame damage.
- Keep Away from Dust and Static Electricity: Dust and static electricity can harm the internal components of your external hard drive. Choose a storage location that is clean and free from excessive dust. Additionally, avoid storing the drive near devices or materials that generate static electricity, such as carpets, rugs, or plastic surfaces.
- Secure the Drive: If the data stored on your external hard drive is sensitive or confidential, consider using a lockbox or secure storage container to store the drive. This adds an extra level of protection against unauthorized access or tampering.
- Label and Organize: Ensure that your external hard drive is easily identifiable by labeling it with its name or purpose. This helps in quick and accurate retrieval when needed. Additionally, store it in a location that allows easy access and minimizes the risk of it being accidentally knocked over or damaged.
- Offsite Storage: To further protect your data, consider storing a backup copy of your external hard drive offsite. This can be in a secure location, such as a trusted friend’s house, a bank safe deposit box, or a reputable offsite storage facility. Offsite storage provides an additional layer of protection against theft, natural disasters, or other catastrophic events.
By storing your external hard drive in a safe and appropriate location, you can reduce the risk of physical damage, unauthorized access, or data loss. Regularly check the storage environment for any changes or potential risks to ensure the ongoing protection of your valuable data.
Now that you know how to store your external hard drive safely, let’s move on to the next section and learn how to restore files from the external hard drive when needed.
Restoring Files from the External Hard Drive
Restoring files from your external hard drive is a straightforward process that allows you to retrieve your backed-up data whenever needed. Whether you accidentally delete a file, experience data loss on your computer, or simply want to access an older version of a file, the restoration process gives you the ability to recover your valuable data. Here’s how to restore files from your external hard drive:
- Connect the External Hard Drive: Start by connecting the external hard drive to your computer following the steps outlined in section 2. Once connected, ensure that the drive is recognized by your operating system.
- Navigate to the Backup Location: Open “My Computer” (Windows) or “Finder” (Mac) and navigate to the external hard drive folder where your files are stored. Depending on your file organization, you may need to locate the specific folder or subfolder where the files you want to restore are located.
- Select and Copy Files: Once you’ve located the files you want to restore, select them either individually or by using a combination of keyboard shortcuts (ctrl/cmd + click) or a selection box. Right-click on the selected files and choose “Copy” from the context menu.
- Paste and Restore: Navigate to the location on your computer where you want to restore the files. This can be a specific folder or your desktop. Right-click in the destination folder and choose “Paste” from the context menu. The selected files will start copying from the external hard drive to the specified location on your computer.
- Verify and Test: After the restoration process, double-check that the restored files are complete and accessible. Open them to ensure that they are intact and functional. If you were restoring files due to data loss on your computer, it’s recommended to test the restored files in their intended applications.
It’s important to note that the restoration process may vary slightly depending on your operating system and file management preferences. However, the general steps mentioned above should provide you with a solid foundation for restoring your files from the external hard drive.
Remember to keep your external hard drive connected during the restoration process to ensure that the files are accurately transferred to the intended location on your computer. Once the restoration is complete and you’ve confirmed the integrity of the restored files, you can safely disconnect the external hard drive following the steps outlined in section 7.
The ability to restore files from your external hard drive provides peace of mind knowing that your valuable data is safe and recoverable. By regularly backing up your files and having a reliable restoration process in place, you can confidently navigate any unforeseen data loss situations.
Now that you understand how to restore files from the external hard drive, you are equipped with the knowledge to protect, backup, and restore your valuable data. Remember to follow best practices and maintain a consistent backup routine to ensure the safety and accessibility of your files.
Conclusion
Congratulations! You have now learned the essential steps to backup and protect your files on an external hard drive. By following these guidelines, you can safeguard your valuable data from potential loss or damage. Here’s a quick recap of what we covered:
We began by discussing the importance of choosing the right external hard drive based on storage capacity, connection interface, durability, size, and additional features. Then, we explored how to connect the external hard drive to your computer using a USB cable and safely transfer files through methods like drag and drop or copy and paste.
Organizing and categorizing your files on the external hard drive became the next focus, allowing for easier retrieval and efficient management. We highlighted the importance of using descriptive names, creating folders, subdividing them, and utilizing metadata to enhance organization.
Creating multiple backups was emphasized as a crucial step to ensure the safety of your data. We discussed options such as cloud storage, network attached storage (NAS), offline storage, and scheduled incremental backups to provide redundancy and data protection.
Scheduling automatic backups using backup software, operating system tools, or third-party applications can save time and guarantee regular backups. We stressed the significance of testing and monitoring these automated backups to maintain their reliability.
We covered the importance of safely ejecting the external hard drive to avoid data loss or corruption. Following the proper procedures for disconnecting the drive from your computer is essential for maintaining data integrity.
To protect your external hard drive from physical damage, we provided tips such as handling the drive with care, keeping it cool, protecting it from moisture and liquids, avoiding dust and static electricity, using a protective case, and keeping it away from magnets and electrical interference.
Storing the external hard drive in a safe location was given prominence to prevent damage, theft, or exposure to harmful elements. We recommended choosing a cool and dry environment, avoiding sunlight exposure, considering fire protection, keeping away from dust and static electricity, securing the drive, labeling and organizing it, and utilizing offsite storage.
Finally, we discussed the process of restoring files from the external hard drive, allowing you to retrieve your valuable data whenever needed. By connecting the drive, navigating to the backup location, selecting and copying files, pasting and restoring them, and verifying their integrity, you can confidently recover your files.
By implementing these practices and continuously prioritizing the backup and protection of your data, you can minimize the risk of data loss and ensure the safety and accessibility of your files for years to come.
Now that you have equipped yourself with the knowledge and tools to backup, protect, and restore your data, it’s time to put them into action. Take proactive steps to establish a regular backup routine, prioritize the safety of your external hard drive, and ensure the integrity of your stored data. Remember, a little effort and planning can go a long way in safeguarding your valuable files. Happy backup!