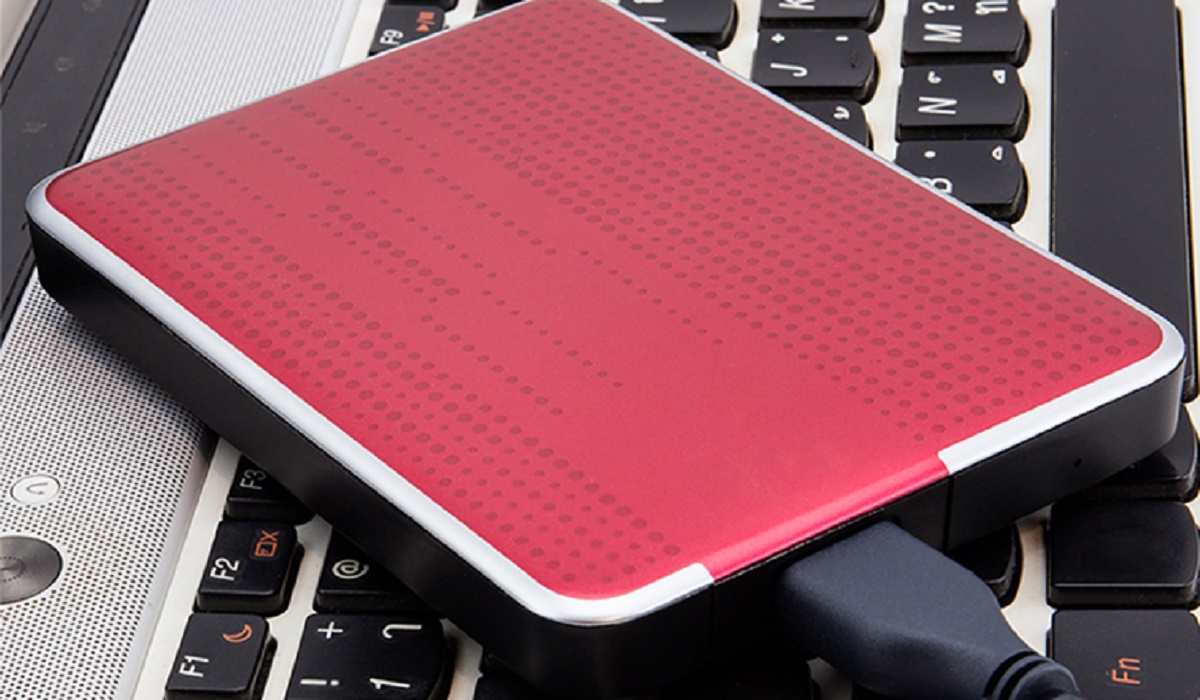
Why It’s Important to Safely Eject External Hard Drive
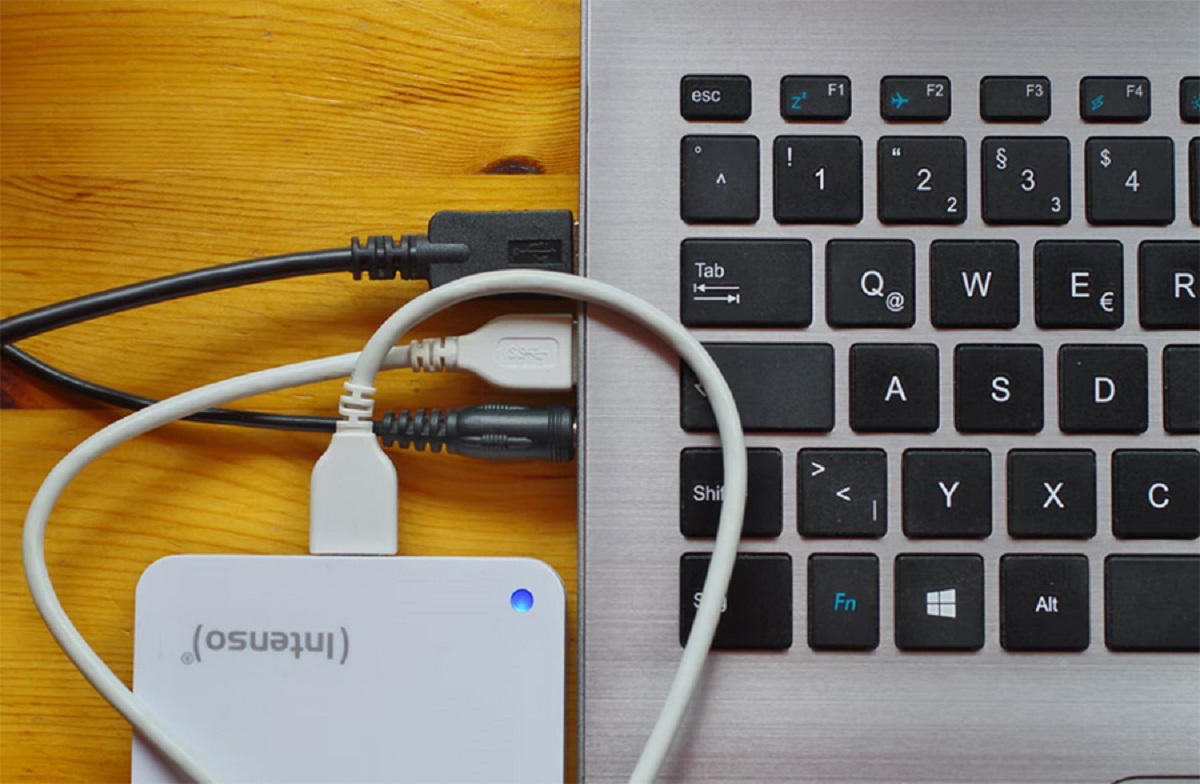
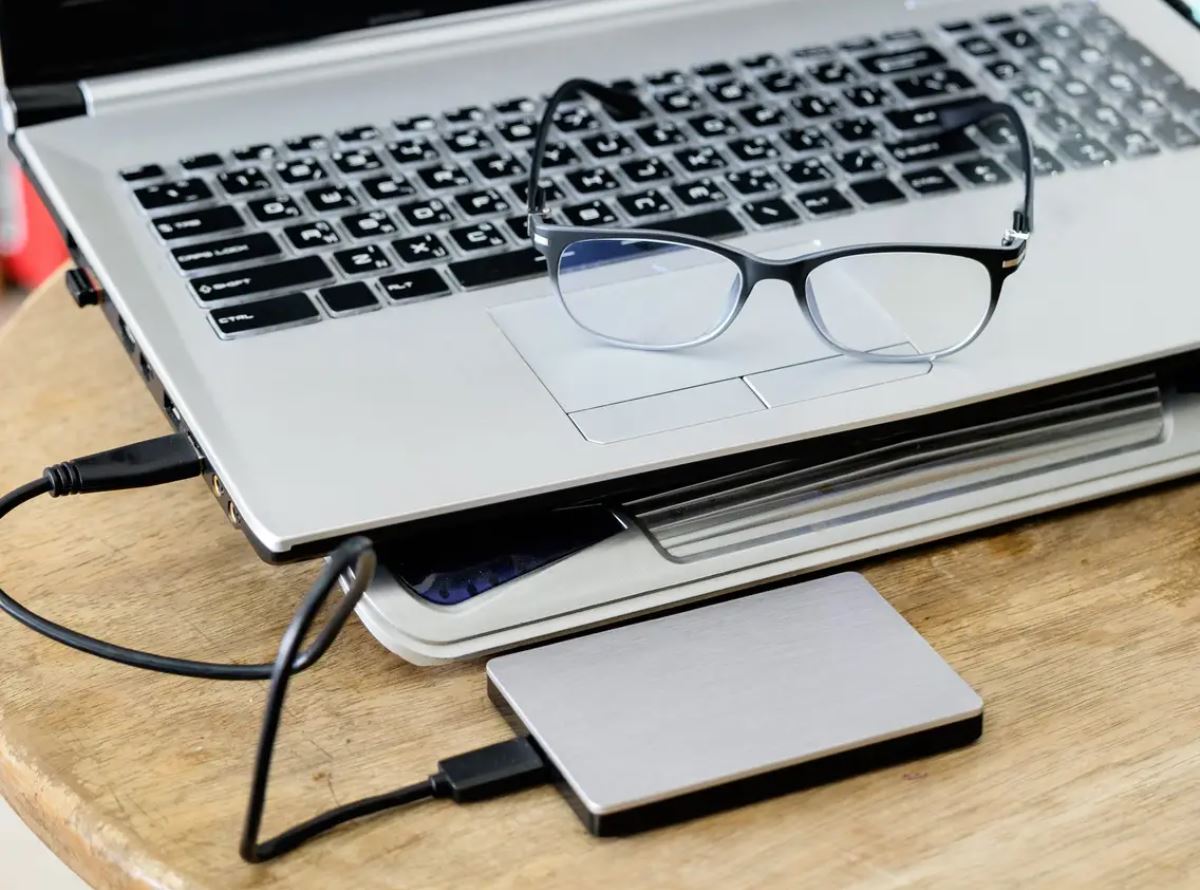
External hard drives have become an essential tool for many computer users, allowing them to store and transfer large amounts of data conveniently. However, when it comes to removing these drives from your computer, it is crucial to follow the proper procedure and safely eject them. Failing to do so can result in data corruption, potential loss of files, and even damage to the external drive itself.
When you connect an external hard drive to your computer, the operating system establishes a connection with the drive, allowing you to access and modify the files stored on it. Safely ejecting the drive ensures that all ongoing read and write operations are complete and that the operating system has finished using the drive. This prevents any corruption or loss of data that could occur if you were to unplug the device abruptly.
Additionally, safely ejecting an external hard drive helps protect the longevity of the drive itself. The process ensures that all pending operations are completed, including flushing the drive’s cache and closing any open files or applications that may be using it. By doing so, you reduce the risk of potential data errors or physical damage to the drive caused by sudden disconnection.
Furthermore, some external hard drives use caching mechanisms to improve performance. While this caching can speed up data transfer, it also means that not all data is immediately written to the drive. Safely ejecting the drive allows the caching system to flush any pending data and ensures that all data is written correctly before disconnecting the drive.
Overall, taking the extra time to follow the proper procedure and safely eject your external hard drive is a small but essential step in maintaining data integrity and protecting your valuable files. By doing so, you can minimize the risk of data corruption, file loss, and potential damage to the drive itself. So, always make sure to safely eject your external hard drive before unplugging it from your computer.
How to Safely Eject External Hard Drive from Windows
Safely ejecting an external hard drive from a Windows computer is a straightforward process. Here’s a step-by-step guide to help you do it:
- First, ensure that all the files and applications using the external hard drive are closed. This includes any open documents or programs that may be accessing the drive.
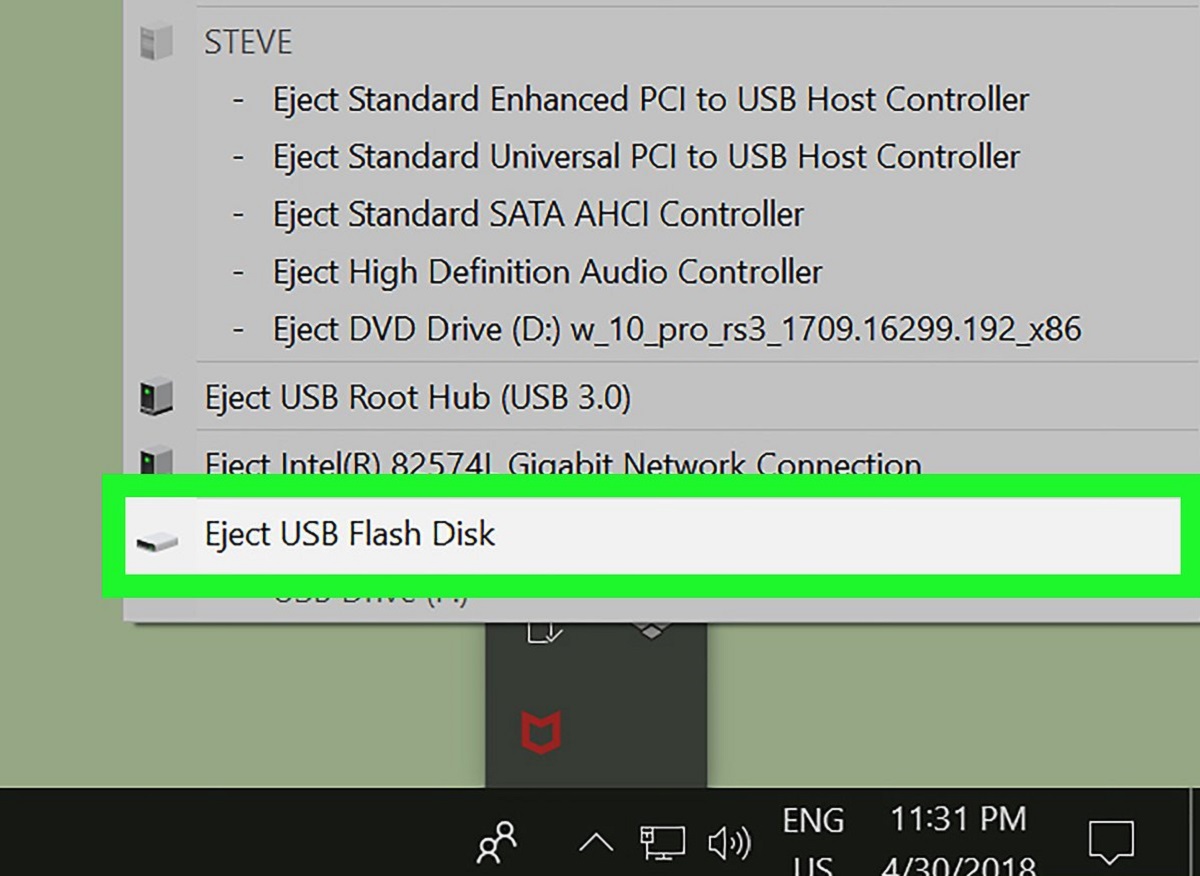
- Locate the “Safely Remove Hardware” icon in the system tray, which is usually located on the right side of the taskbar. It may appear as a small USB drive icon with a green checkmark.
- Click on the “Safely Remove Hardware” icon to open the menu.
- A list of connected devices will be displayed. Locate the external hard drive you wish to eject and click on it.
- Windows will display a notification informing you that it’s safe to remove the device. Wait for this notification to appear.
- Once you see the notification, carefully disconnect the external hard drive from your computer.
It’s important to note that if you don’t see the “Safely Remove Hardware” icon in the system tray, you can still eject the external hard drive using File Explorer:
- Open File Explorer by pressing the Windows key + E on your keyboard or by clicking on the File Explorer icon in the taskbar.
- In the left-hand sidebar, locate and click on “This PC.”
- Find the external hard drive among the listed drives and right-click on it.
- In the context menu that appears, select “Eject.”
- Wait for Windows to confirm that it’s safe to remove the device, and then disconnect the external hard drive.
Remember, always double-check that no files or applications are actively using the external hard drive before ejecting it. This ensures that all data is saved correctly and prevents any potential data loss or corruption. Taking this extra step will help protect your valuable files and maintain the health of your external hard drive.
How to Safely Eject External Hard Drive from Mac
When using an external hard drive with your Mac, it’s important to follow the proper procedure to safely eject the drive. Ejecting the drive ensures that all data has been written and any active processes have completed before disconnecting it. Here’s how you can safely eject an external hard drive from your Mac:
- Make sure all applications and files on the external hard drive are closed. This includes any files you might have open directly from the drive or any applications that use the drive for storing data.
- Locate the external hard drive icon on your desktop or in the Finder sidebar. It will be represented by an icon with the drive’s name or an image that symbolizes an external storage device.
- Click on the external hard drive icon once to select it.
- From the top menu bar, click on “File” and then select “Eject” from the drop-down menu. Alternatively, you can right-click on the external hard drive icon and choose “Eject” from the context menu.
- After selecting “Eject”, the icon for the external hard drive should disappear from your desktop or Finder sidebar. This indicates that the drive has been safely ejected.
- Wait for a few seconds to ensure that all processes involving the drive have completed before physically disconnecting the external hard drive from your Mac.
- Disconnect the external hard drive by gently unplugging the cable from your Mac’s USB or Thunderbolt port.
It’s important to note that if the external hard drive is actively being used by any applications or processes, macOS may display a notification informing you that the drive is in use and cannot be ejected. In this case, make sure to close any files or applications using the drive, and then try ejecting it again.
By following these steps, you can safely eject your external hard drive from your Mac and minimize any potential data loss or corruption. Taking the time to properly eject the drive ensures that all data is written correctly and protects the integrity of your files and the external hard drive itself.
Troubleshooting Common Issues When Ejecting External Hard Drive
While ejecting an external hard drive is generally a straightforward process, there may be instances where you encounter issues. Here are some common problems that may arise when ejecting an external hard drive and how to troubleshoot them:
- Drive is in use: If your operating system displays a message indicating that the drive is in use and cannot be ejected, it means that there are active processes or applications accessing the drive. Make sure to close any open files or applications that might be using the drive, and then try ejecting it again.
- Slow ejection: Sometimes, the ejection process may take longer than usual. This could be due to ongoing read or write operations occurring on the external hard drive. In such cases, it’s best to wait until the activity completes before attempting to eject the drive.
- Eject button not responding: If you are unable to eject the external hard drive using the designated eject button or menu option, you can try alternative methods. On Windows, you can eject the drive using File Explorer as mentioned earlier. On Mac, you can try right-clicking the drive icon on the desktop and selecting “Eject” from the context menu.
- Drive is not recognized: In some cases, the operating system may not recognize the external hard drive when attempting to eject it. This can happen if there is a problem with the drive’s connection or if it’s not properly mounted. Try disconnecting and reconnecting the drive or restarting your computer to see if it resolves the issue.
- Error message when ejecting: If you receive an error message while trying to eject the external hard drive, take note of the specific error details. These messages can provide valuable information about the cause of the issue. Search for the error message online or consult the drive’s manufacturer documentation for troubleshooting steps specific to that error.
- Unmounting instead of ejecting: Sometimes, you may accidentally unmount the external hard drive instead of ejecting it. Unmounting simply removes the drive’s icon from the desktop or Finder sidebar but keeps it connected. To properly eject the drive, follow the steps outlined in the respective section for your operating system.
If you continue to experience issues when ejecting your external hard drive, it’s recommended to consult the drive’s documentation or contact the manufacturer’s support for further assistance. Additionally, keeping your operating system and external drive firmware up to date can help avoid potential compatibility issues and improve overall performance.
By troubleshooting common issues that arise when ejecting an external hard drive, you can ensure a smooth and hassle-free experience while disconnecting your drive from your computer.
Summary and Additional Tips for Safely Ejecting External Hard Drive
Ejecting an external hard drive safely is a crucial step to protect your data and preserve the health of the drive. Here’s a summary of the key points discussed, along with some additional tips:
- It’s important to safely eject an external hard drive to prevent data corruption, file loss, and drive damage.
- Safely ejecting ensures that all ongoing read and write operations are complete, and the operating system has finished using the drive.
- On Windows, use the “Safely Remove Hardware” icon in the system tray or the “Eject” option in File Explorer to safely eject the drive.
- On Mac, select the drive icon and choose “Eject” from the “File” menu or right-click on the icon and select “Eject” from the context menu.
- Ensure that all files and applications using the external hard drive are closed before ejecting it.
- If encountering issues, such as the drive being in use or slow ejection, ensure that no active processes or applications are accessing the drive.
- If the designated eject button or option doesn’t work, try alternative methods mentioned or restart your computer.
- Unrecognized drives can be resolved by reconnecting the drive or restarting your computer.
- Pay attention to any error messages received while ejecting and refer to online resources or the drive’s documentation for troubleshooting.
- Accidentally unmounting the drive instead of ejecting it can be avoided by following the proper steps.
- Keep your operating system and external drive firmware up to date to avoid compatibility issues.
By following these steps and additional tips, you can ensure the safe ejection of your external hard drive, minimize the risk of data loss, and prolong the lifespan of your drive. Remember to always take the extra time to safely eject your external hard drive to protect your valuable files and maintain the integrity of your storage device.