Introduction:
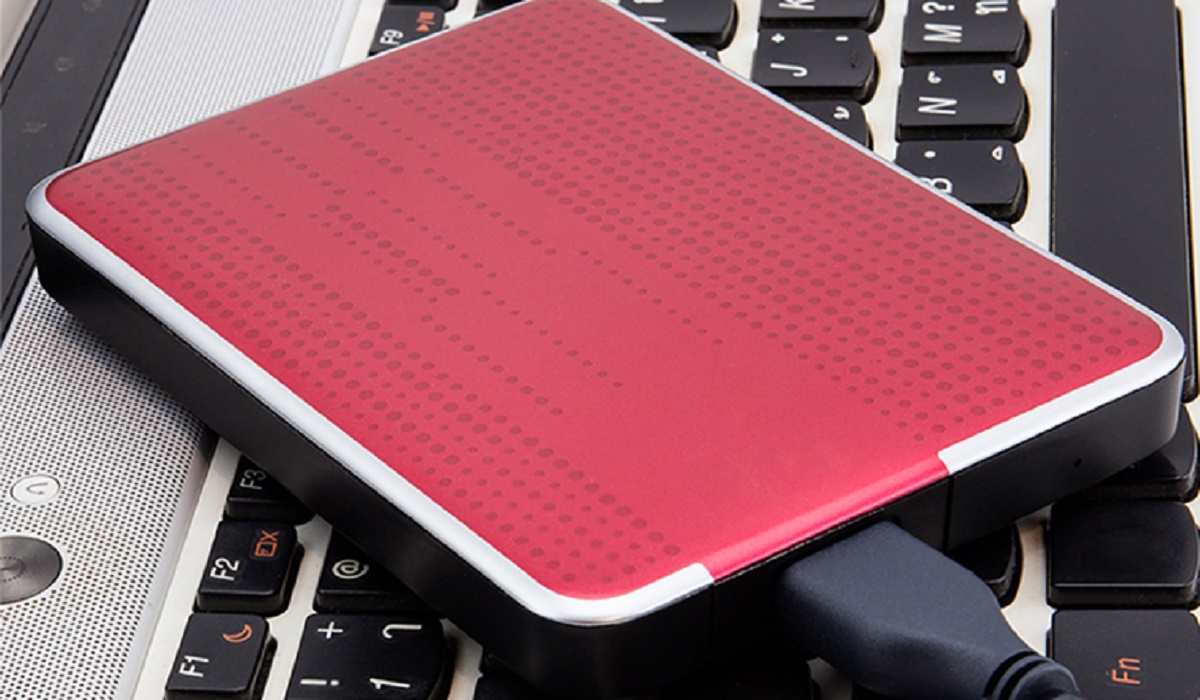
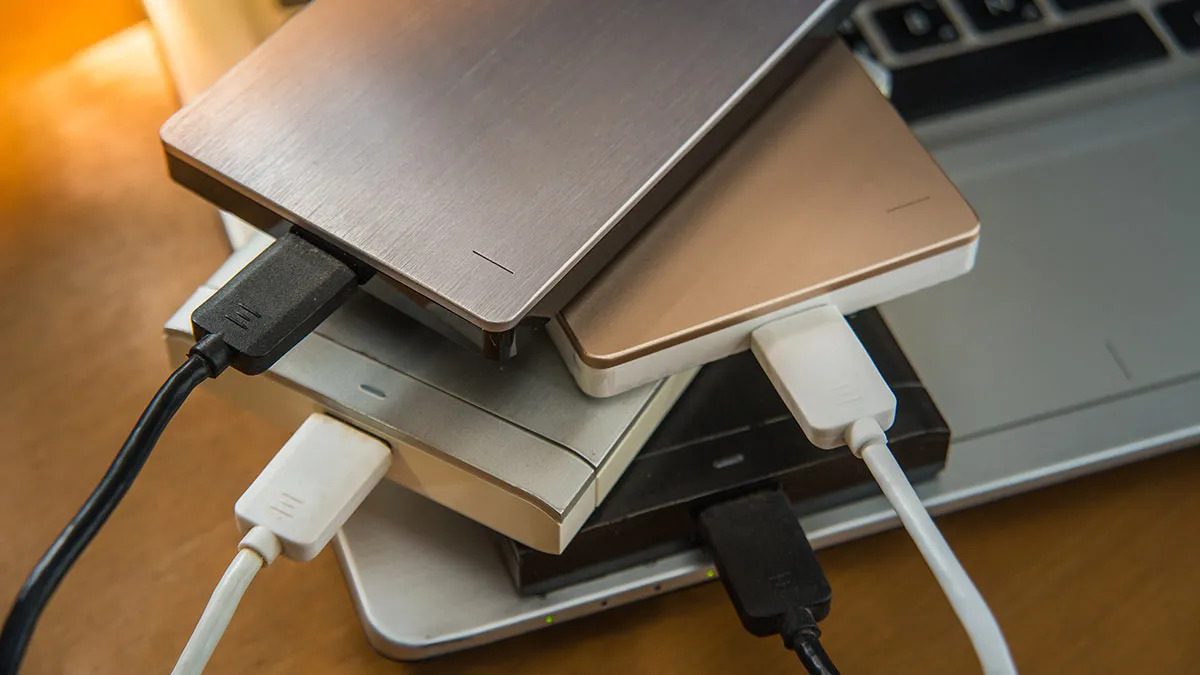
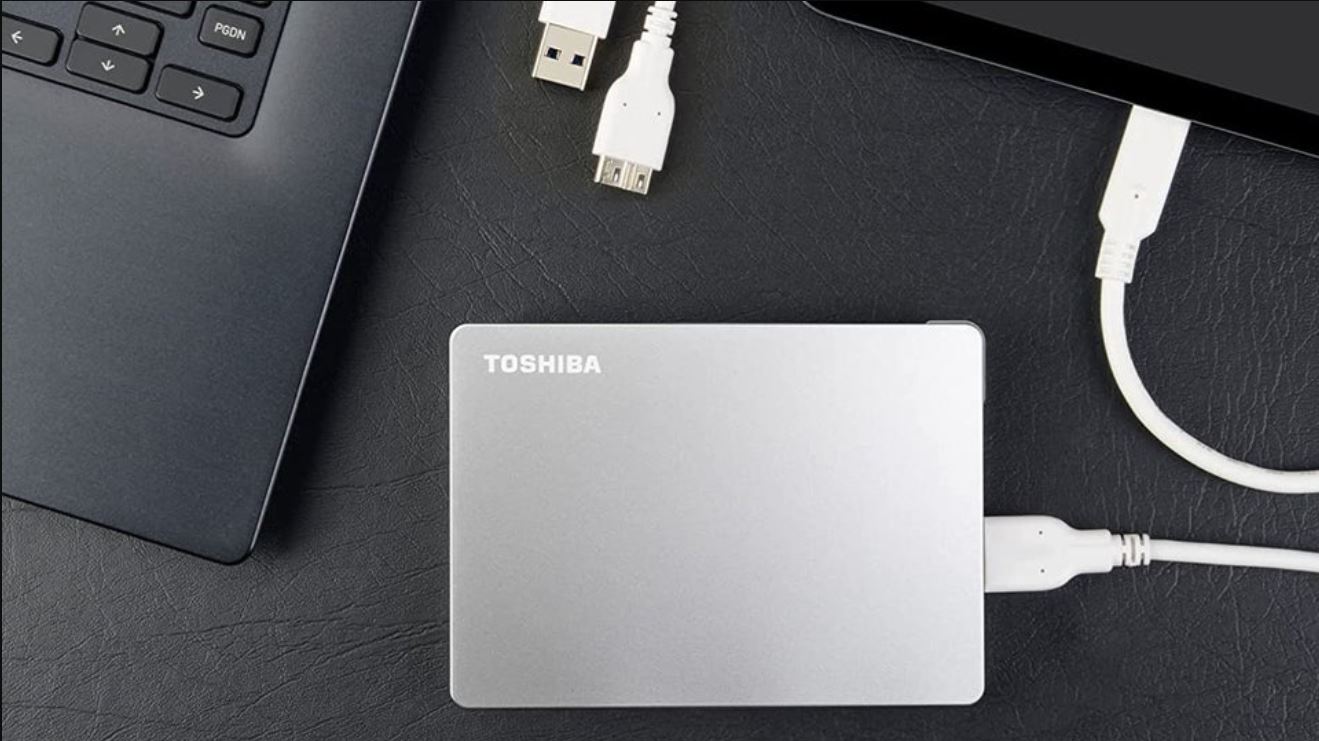
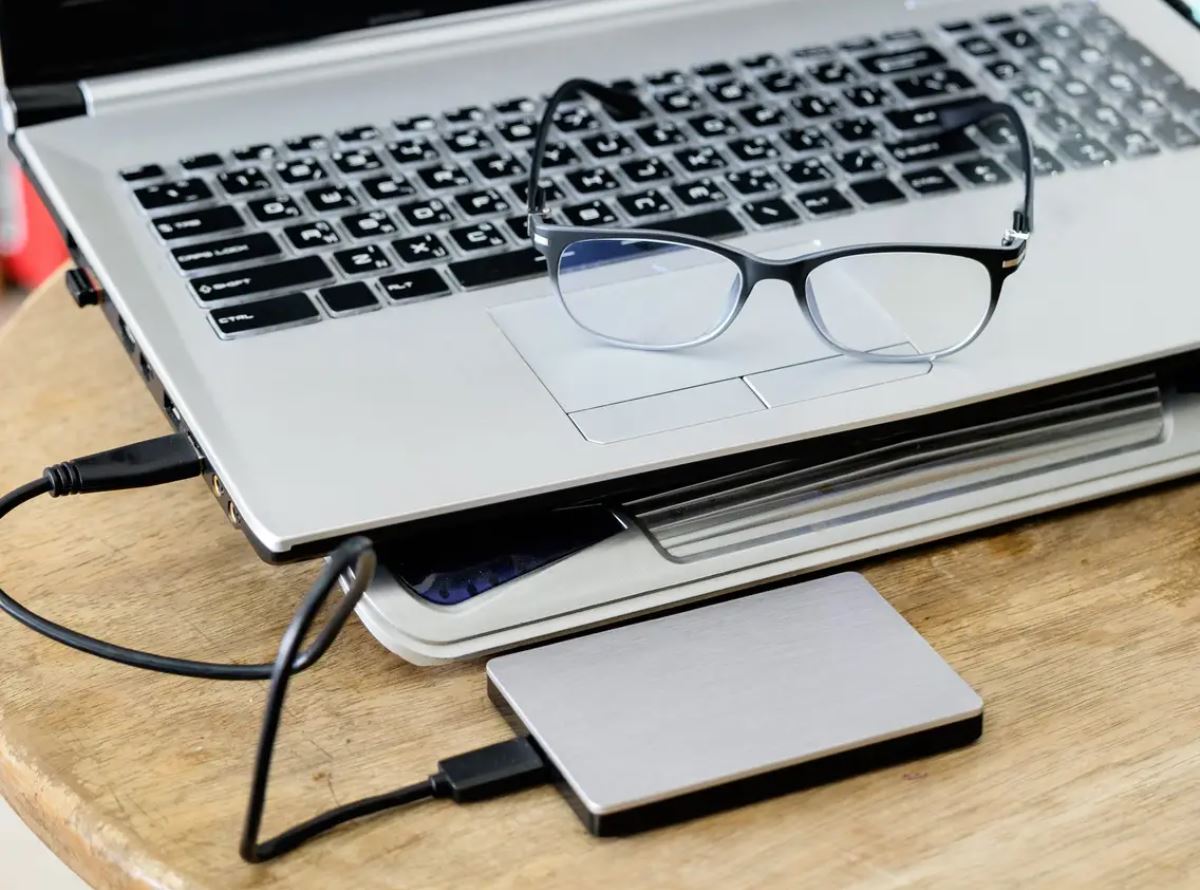
Welcome to the world of external hard drives! These handy devices are indispensable for storing and transferring large amounts of data, whether it be personal photos and videos, important work documents, or your extensive music library. However, when it comes to using an external hard drive on both Mac and PC systems, there are a few considerations to keep in mind.
Both Mac and PC have different file systems that are not always compatible with each other. Mac uses the HFS+ or APFS file system, while PC uses the NTFS file system. This can pose a challenge when you want to use the same external hard drive on both platforms, as they won’t be able to read each other’s file systems by default.
Fortunately, there are ways to overcome this hurdle. In this article, we will dive into the ins and outs of formatting an external hard drive for both Mac and PC systems. We will explore the process of formatting an external hard drive specifically for Mac, for PC, as well as formatting it in a way that is compatible with both systems. Additionally, we will provide some tips to help you choose the right file system for your needs and troubleshoot common issues that may arise along the way.
By the end of this article, you will have a clear understanding of how to format your external hard drive for Mac and PC, allowing you to seamlessly access and share your files on both platforms. Let’s get started!
Understanding the Difference Between Mac and PC File Systems:
Before we delve into the process of formatting an external hard drive for both Mac and PC, it’s essential to have a basic understanding of the differences between their file systems.
Mac computers traditionally utilize the Hierarchical File System Plus (HFS+) or the newer Apple File System (APFS) for storing and organizing data. These file systems are designed specifically for Mac and offer features such as time machine backups, file versioning, and enhanced security.
On the other hand, PCs primarily use the New Technology File System (NTFS) as their default file system. NTFS provides better performance, advanced security permissions, and support for larger file sizes compared to FAT32, which was used in older Windows versions. However, it comes with limited compatibility with Mac systems.
The difference in file systems means that an external hard drive formatted for Mac may not be recognized by a PC, and vice versa. This limitation can be a challenge if you frequently switch between Mac and PC platforms or need to share files across them.
To address this compatibility issue, there are a few options available. One approach is to format the external hard drive specifically for Mac or PC. Another option is to choose a file system that is supported by both platforms, allowing seamless file sharing.
In the next sections, we will explore how to format an external hard drive for Mac, for PC, as well as a method for formatting it in a way that is compatible with both systems. Stay tuned!
Formatting an External Hard Drive for Mac:
If you primarily use a Mac system and want to ensure compatibility and optimal performance, it’s recommended to format your external hard drive specifically for Mac. Here’s how you can do it:
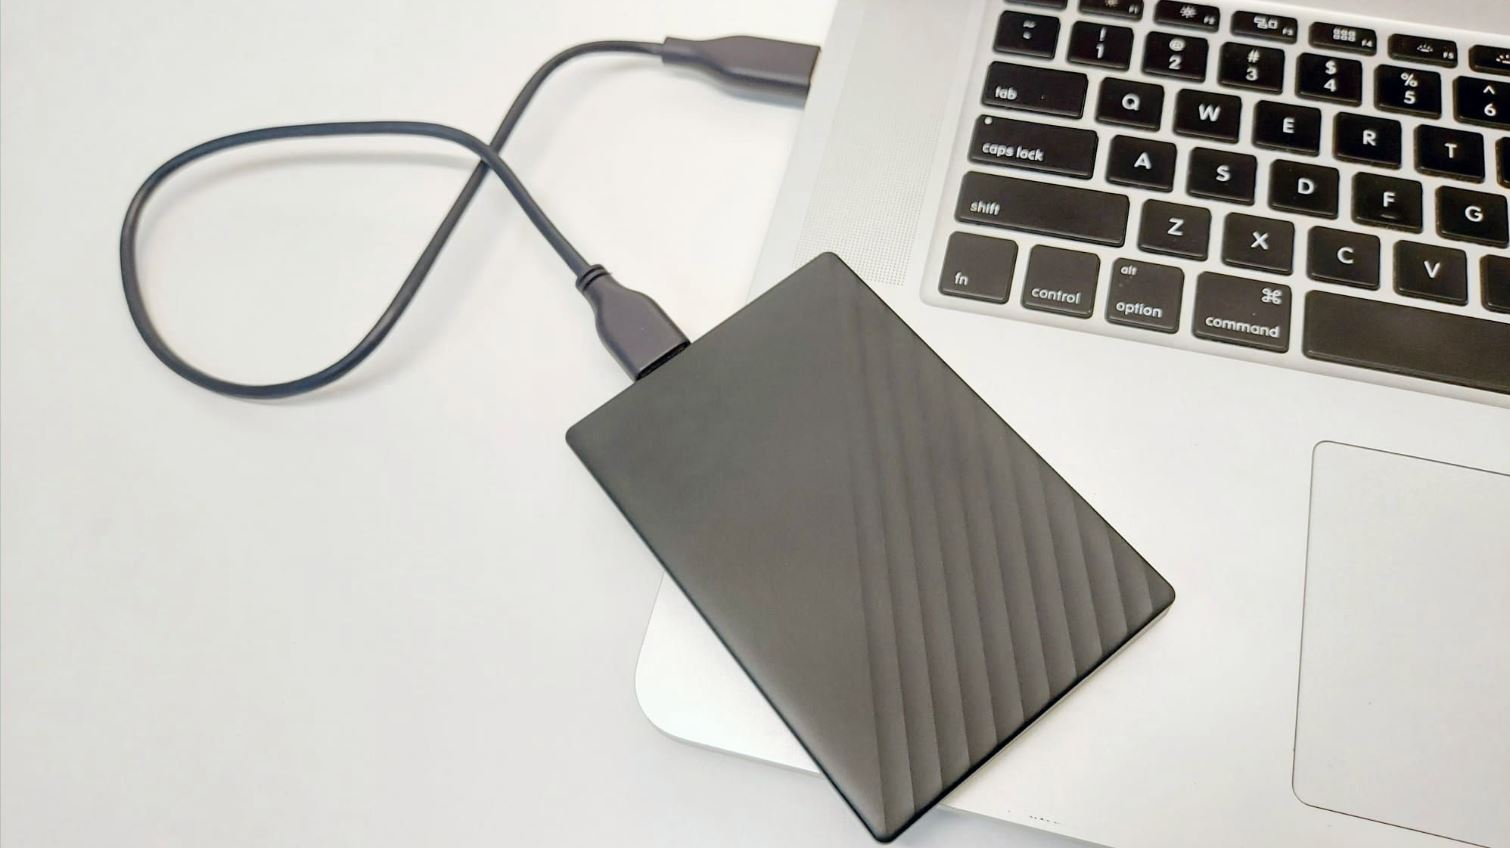
- Connect the External Hard Drive: Plug in the external hard drive to your Mac using the appropriate cable or connector.
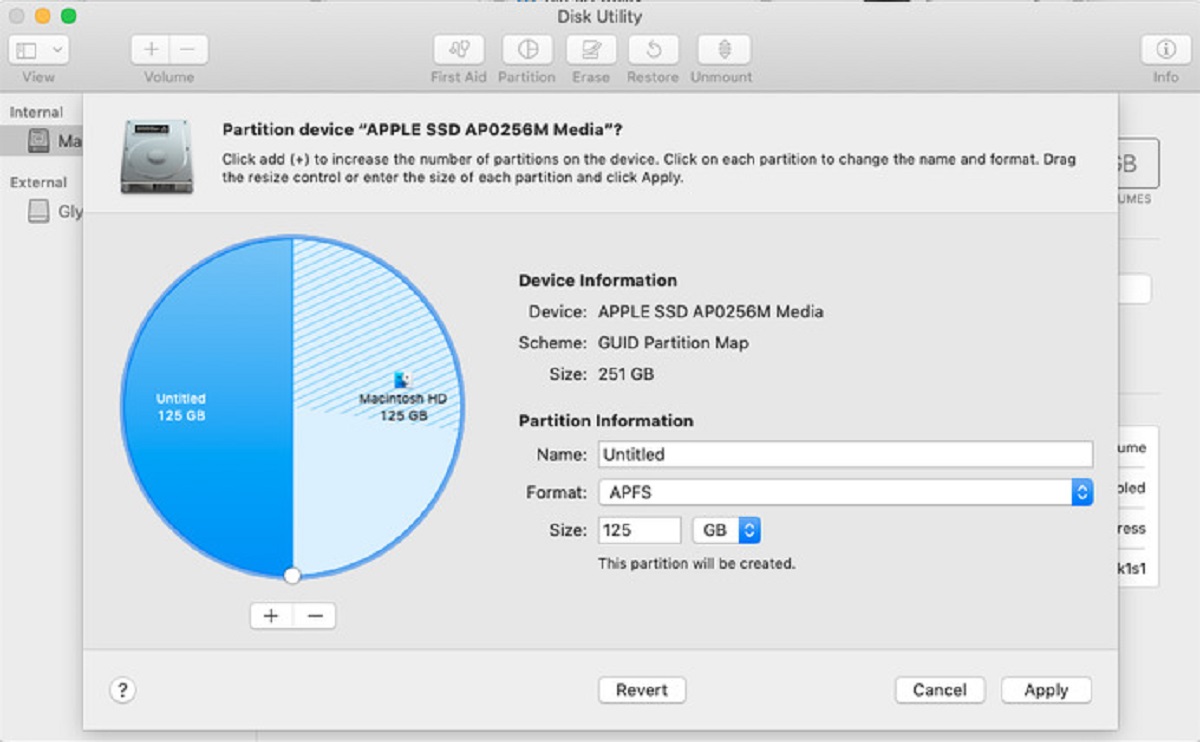
- Open Disk Utility: Go to “Applications” > “Utilities” > “Disk Utility”.
- Select the External Hard Drive: In Disk Utility, you will see a list of drives and volumes. Select the external hard drive you want to format from the left sidebar.
- Erase the Drive: Click on the “Erase” tab at the top of the Disk Utility window. Choose a name for your drive and select the desired format (HFS+ or APFS). Ensure “Scheme” is set to “GUID Partition Map”.
- Start the Formatting Process: Double-check the selected options, then click on the “Erase” button to initiate the formatting process. Be aware that this will erase all existing data on the external hard drive, so ensure you have a backup if needed.
- Wait for the Format to Complete: The formatting process may take a few minutes, depending on the size of the drive. Once it’s completed, you will see a confirmation message.
- Eject the Drive: After the formatting is finished, eject the external hard drive by right-clicking on its icon on the desktop and selecting “Eject”.
Now that your external hard drive is formatted for Mac, you can start using it to store and manage your files on your Mac system. However, keep in mind that this formatting may not be compatible with PCs. If you plan to use the same external hard drive on both Mac and PC systems, read on to the next section to learn how to format it for PC.
Formatting an External Hard Drive for PC:
If you primarily use a PC system and need to ensure compatibility and optimal performance, formatting your external hard drive specifically for PC is the way to go. Follow these steps to format your external hard drive for PC:
- Connect the External Hard Drive: Use the appropriate cable or connector to connect the external hard drive to your PC.
- Open File Explorer: Open the File Explorer by pressing the Windows key and E on your keyboard, or by clicking on the folder icon in the taskbar.
- Select the External Hard Drive: In File Explorer, you should see a list of drives and storage devices. Find and select the external hard drive you want to format.
- Format the Drive: Right-click on the selected drive and choose “Format” from the context menu.
- Choose the File System: In the Format window, select the desired file system for your PC. The default option is usually set to NTFS, which is compatible with most PC systems.
- Customize Formatting Options: You can give a name to your drive, adjust the allocation unit size (usually leave it as default), and enable quick format if desired.
- Start the Formatting Process: After confirming the formatting options, click on the “Start” button to initiate the formatting process.
- Wait for the Format to Complete: The formatting process may take a few minutes, depending on the size of the drive. Once it’s completed, you will see a confirmation message.
- Safely Eject the Drive: After formatting is finished, safely eject the external hard drive from your PC by right-clicking on its icon in File Explorer and selecting “Eject.
Now your external hard drive is formatted for PC and ready to be used on your Windows system. However, keep in mind that this formatting may not be compatible with Macs. If you want to use the same external hard drive on both Mac and PC systems, continue reading to the next section to learn how to format it to be compatible with both platforms.
Formatting an External Hard Drive for Both Mac and PC:
If you frequently switch between Mac and PC systems or need to share files across both platforms, formatting your external hard drive in a way that is compatible with both is the ideal solution. Follow these steps to format your external hard drive for both Mac and PC:
- Connect the External Hard Drive: Connect the external hard drive to your computer using the appropriate cable or connector.
- Backup Your Existing Data: Before proceeding with the formatting process, it’s essential to back up any important data on the external hard drive.
- Decide on the File System: There are a few file systems that offer cross-platform compatibility, such as FAT32 and exFAT. FAT32 is widely supported but has limitations on file size and partition size. On the other hand, exFAT supports larger file sizes and partition sizes but may have limited compatibility with older Mac or PC systems.
- Open Disk Utility on Mac: If you’re using a Mac, open Disk Utility by going to “Applications” > “Utilities” > “Disk Utility”.
- Select the External Hard Drive: In Disk Utility, select the external hard drive from the left sidebar.
- Erase and Format the Drive: Click on the “Erase” tab at the top of the Disk Utility window. Choose a name for your drive and select the desired format (FAT32 or exFAT). Make sure the “Scheme” is set to “GUID Partition Map”.
- Start the Formatting Process: Double-check the selected options and click on the “Erase” button to initiate the formatting process. Remember that this will erase all existing data on the external hard drive.
- Format the Drive on PC: If you’re using a PC, connect the external hard drive and follow the steps mentioned in the previous section to format the drive with the chosen file system (FAT32 or exFAT).
- Eject the Drive Safely: After the formatting process is complete, safely eject the external hard drive from your computer before disconnecting it.
Now, your external hard drive is formatted in a way that is compatible with both Mac and PC systems. You can freely use it to store, access, and share files across platforms without any issues. It’s important to note that formatting the drive for cross-platform compatibility may result in certain limitations, so make sure to choose the file system that best suits your needs.
Tips for Choosing the Right File System:
When it comes to formatting an external hard drive for both Mac and PC compatibility, selecting the right file system is crucial. Here are some tips to help you make the best choice:
- Consider the Operating Systems: Take into account the Mac and PC systems you will be using the external hard drive with. Ensure that the chosen file system is compatible with the versions of macOS and Windows you have.
- File Size Limitations: If you regularly work with large files, such as high-resolution videos or professional audio recordings, make sure the chosen file system supports the size of files you typically deal with. FAT32, for example, has a maximum file size limit of 4GB, while exFAT doesn’t have such restrictions.
- Partition Size Limitations: If you plan to create multiple partitions on your external hard drive, consider the limitations of the chosen file system. Some systems, like FAT32, have a maximum partition size of 2TB, while others, like exFAT, can handle larger partitions.
- Compatibility with Other Devices: Think about whether you will be using the external hard drive with other devices, such as gaming consoles or multimedia players. Ensure the file system you choose is recognized and supported by those devices as well.
- Backup Considerations: If you plan to use the external hard drive for regular backups, ensure the chosen file system is compatible with the backup software you intend to use. Some backup solutions have specific requirements regarding file systems.
- Future Compatibility: Consider the longevity of your chosen file system. Will it still be widely supported and compatible with future versions of operating systems? Research the file system’s track record and potential for future interoperability.
By keeping these tips in mind, you can make an informed decision when choosing the file system for your external hard drive. It’s important to assess your specific needs and prioritize compatibility and functionality to ensure seamless data sharing across Mac and PC systems.
Troubleshooting Common Issues:
While formatting an external hard drive for both Mac and PC compatibility is usually a straightforward process, you may encounter some common issues along the way. Here are a few troubleshooting tips to help you overcome these challenges:
- Drive Not Recognized: If your external hard drive is not being recognized by either your Mac or PC after formatting, try reconnecting it to a different USB port. Additionally, check if the drive is properly powered, and ensure that the cable or connector is functioning correctly.
- File System Incompatibility: If you have already formatted the external hard drive for one specific operating system and it is not being recognized by the other, you may need to reformat the drive using the appropriate file system. Remember to back up your data before formatting.
- File Corruption: If you experience file corruption or errors while using the external hard drive, it could indicate issues with the hardware or the file system. Try running disk repair utilities specific to your operating system to diagnose and fix any potential issues.
- Drive Performance: If you notice a decrease in the performance of your external hard drive, such as slow read or write speeds, it could be a sign of hardware issues or file system fragmentation. Consider defragmenting your drive (if applicable) or running diagnostic tests to identify any underlying problems.
- Incompatibility with Other Devices: If your externally formatted drive is not compatible with other devices, such as gaming consoles or multimedia players, check if those devices have specific file system requirements. In some cases, additional software or firmware updates may be necessary for proper compatibility.
- Data Loss: Formatting an external hard drive will erase all existing data, so it’s important to back up any important files before proceeding. If you’ve accidentally formatted the drive without backup, there are data recovery software available that can potentially recover lost files. However, the success of data recovery depends on various factors, so it’s not guaranteed.
If you encounter any of these issues or encounter other difficulties during the formatting or use of your external hard drive, consult the documentation or support resources provided by the device manufacturer. They may have additional troubleshooting steps specific to your device model.
With a little patience and troubleshooting, most common issues can be overcome, allowing you to fully utilize your external hard drive on both Mac and PC systems.
Conclusion:
Formatting an external hard drive for both Mac and PC compatibility can open up a world of convenience and flexibility when it comes to storing and sharing your files. By understanding the differences between Mac and PC file systems and following the steps outlined in this article, you can format your external hard drive to work seamlessly across both platforms.
Whether you choose to format the drive specifically for Mac or PC, or opt for a file system that is compatible with both, it’s important to consider your specific needs and requirements. Keep in mind factors such as file size limitations, partition size limitations, compatibility with other devices, and the longevity of the chosen file system.
Should you encounter any issues during the formatting process or while using your external hard drive, refer to the troubleshooting tips provided in this article. Issues such as unrecognized drives, file system incompatibility, file corruption, and more can often be resolved with a few simple steps.
Remember, before formatting your external hard drive, make sure to back up any important data to prevent data loss. Although formatting erases all existing data, there are data recovery solutions available in case of accidental data loss.
By following the guidelines and tips presented here, you can ensure that your external hard drive is properly formatted and compatible with both Mac and PC. This will enable you to effortlessly access, store, and share your files across different systems, making your workflow more efficient and streamlined.
Now that you are equipped with the knowledge and steps required, go ahead and format your external hard drive to enjoy the convenience of cross-platform compatibility. Happy formatting!