Introduction
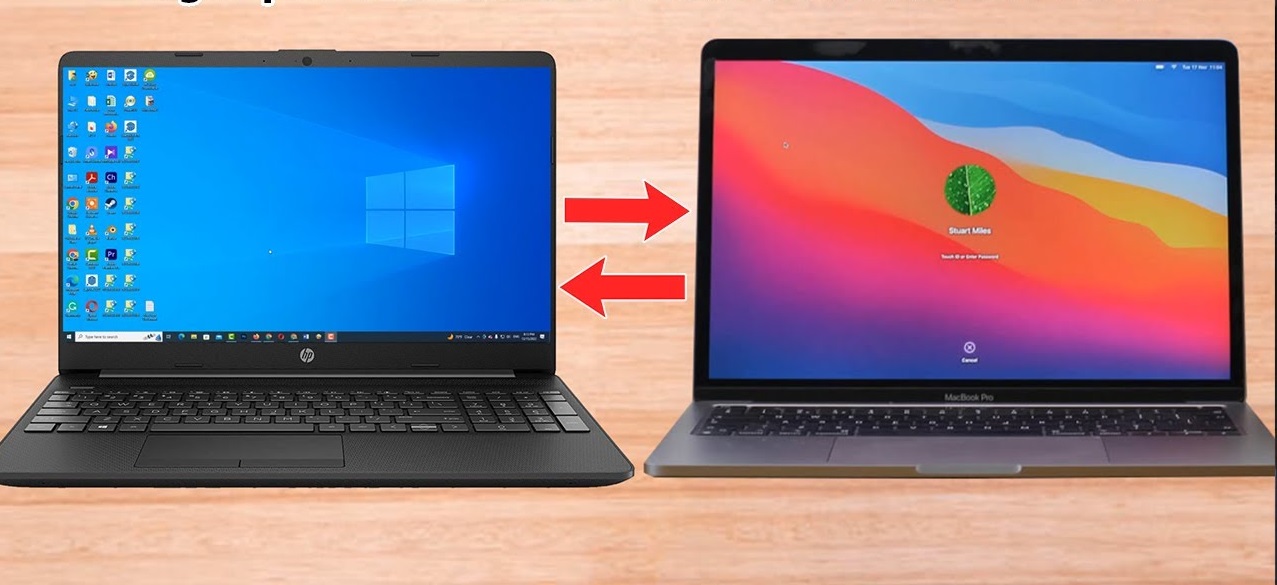
Transferring files from a Mac to a PC can seem like a daunting task, especially if you’re not familiar with the different operating systems and file systems they use. However, with the help of an external hard drive, the process becomes much simpler and efficient.
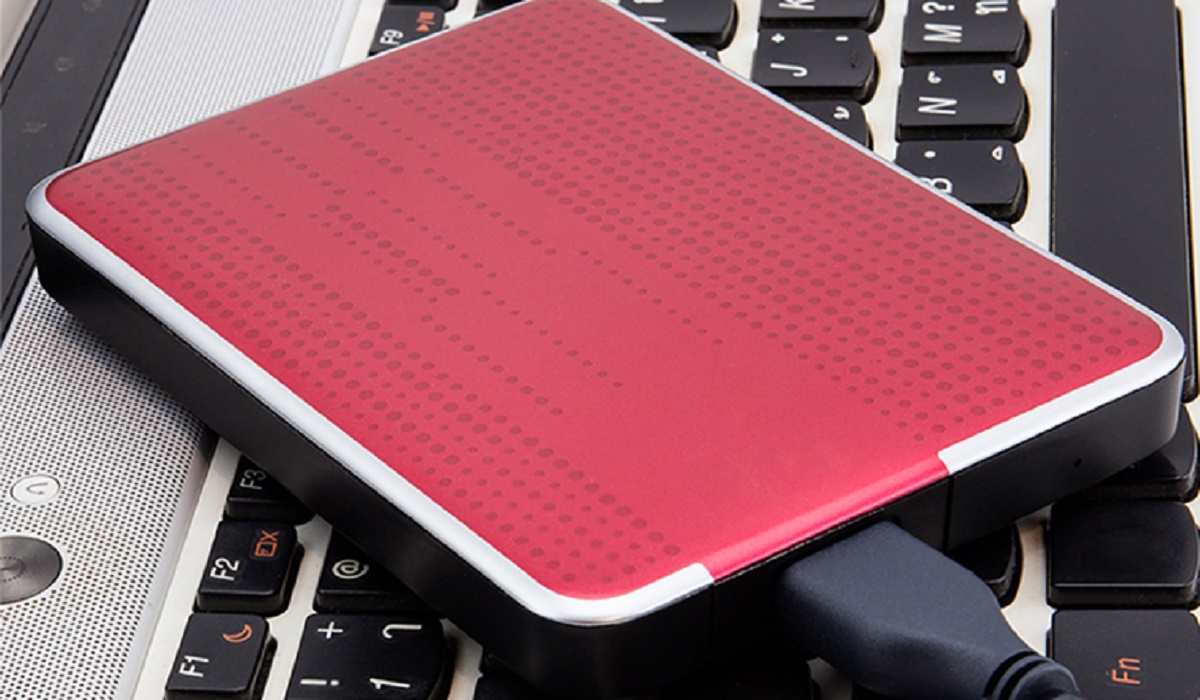
An external hard drive serves as a bridge between the two systems, allowing you to transfer files seamlessly. Whether you need to transfer documents, photos, videos, or any other type of files, an external hard drive is a reliable and convenient solution.
In this guide, we’ll walk you through the step-by-step process of transferring files from a Mac to a PC using an external hard drive. Whether you’re transitioning from a Mac to a PC for the first time or simply need to transfer files between the two, this guide will make the process hassle-free for you.
We’ll cover everything from formatting the external hard drive to connecting it to your Mac, copying files from the Mac to the external hard drive, disconnecting the hard drive from the Mac, connecting it to the PC, and finally, transferring files from the external hard drive to the PC.
By following these steps, you’ll be able to successfully transfer your files and ensure that they are accessible on your PC without any compatibility issues. So, let’s dive in and get started with the process!
Step 1: Formatting the External Hard Drive
Before you can begin transferring files from your Mac to a PC using an external hard drive, it’s important to ensure that the hard drive is properly formatted. This step is necessary to ensure compatibility between the Mac and PC.
To format the external hard drive, follow these steps:
- Connect the external hard drive to your Mac using the USB cable.
- Open “Finder” on your Mac and navigate to the “Applications” folder.
- Open the “Utilities” folder and launch “Disk Utility.”
- In the Disk Utility window, select the external hard drive from the left sidebar.
- Click on the “Erase” tab at the top of the Disk Utility window.
- Choose a suitable format for the external hard drive. For maximum compatibility with both Mac and PC, select “ExFAT.”
- Enter a name for the external hard drive in the “Name” field.
- Click on the “Erase” button to begin formatting the external hard drive. Note that this will erase all existing data on the hard drive, so make sure you have a backup if needed.
- Once the formatting process is complete, close the Disk Utility window.
Formatting the external hard drive ensures that it uses a file system compatible with both Mac and PC. The ExFAT format allows for larger file sizes and is supported by both operating systems. By following these steps, you have successfully formatted the external hard drive, preparing it for file transfer between the Mac and PC.
Step 2: Connecting the External Hard Drive to the Mac
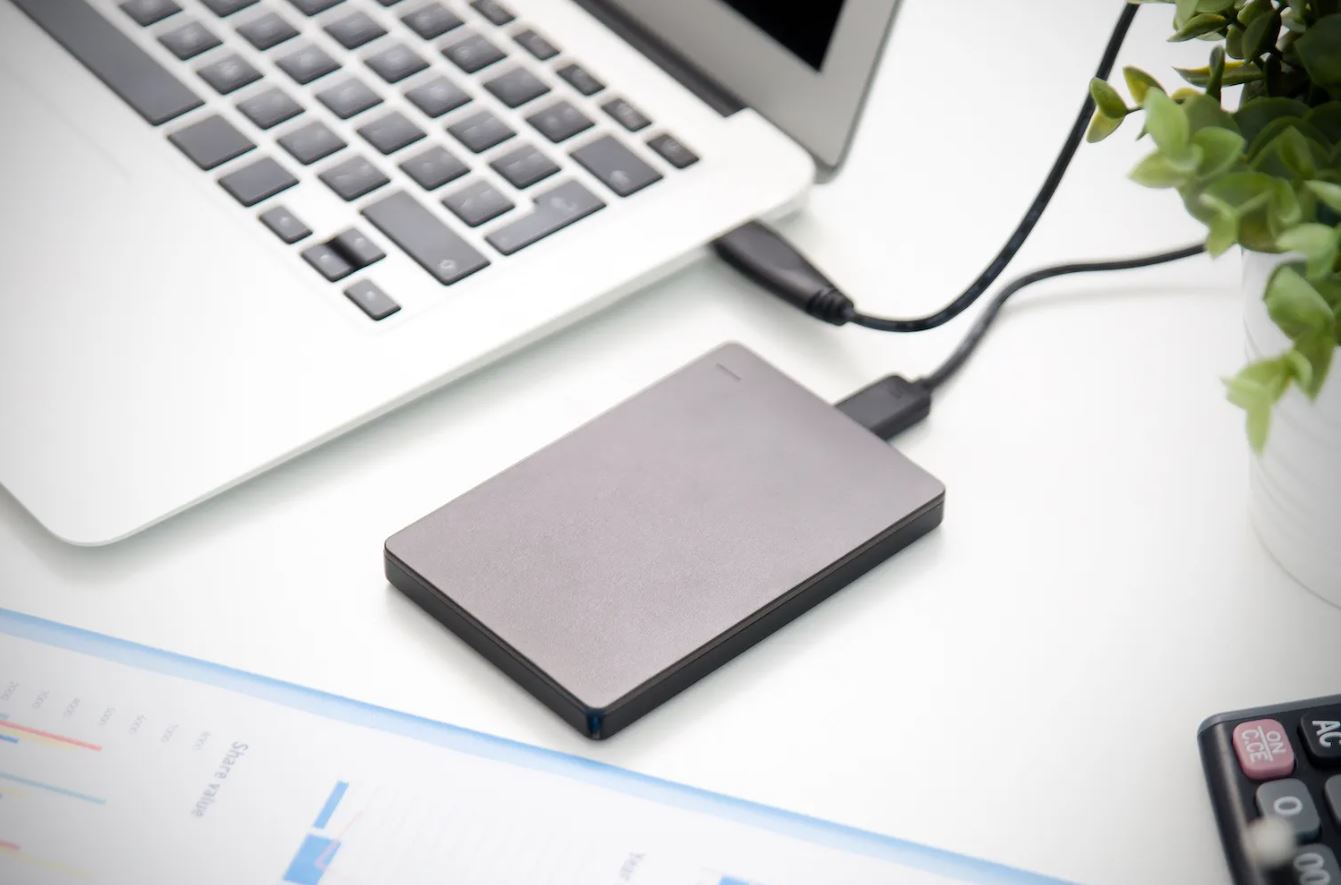
After formatting the external hard drive, the next step is to connect it to your Mac. This will allow you to easily transfer files from your Mac to the external hard drive.
To connect the external hard drive to your Mac, follow these steps:
- Locate the USB port on your Mac.
- Take the USB cable attached to the external hard drive and insert one end into the USB port on your Mac.
- Insert the other end of the USB cable into the appropriate port on the external hard drive.
- Wait for a moment while your Mac recognizes the external hard drive.
- The external hard drive should now appear on your desktop as a new drive icon.
- You can also verify the connection by opening “Finder” and checking if the external hard drive is listed in the left sidebar under “Devices.”
Once the external hard drive is connected to your Mac, you are ready to proceed with transferring files from your Mac to the external hard drive. This connection ensures that the two devices are linked and ready to exchange data smoothly.
Note that if the external hard drive does not appear on your Mac, try restarting your computer or disconnecting and reconnecting the USB cable. If the issue persists, ensure that the external hard drive is properly formatted and functional.
Step 3: Copying Files from the Mac to the External Hard Drive
Now that you have connected the external hard drive to your Mac, it’s time to start copying files from your Mac to the external hard drive. This step allows you to transfer your desired files and ensure they are safely stored on the external hard drive.
Follow these steps to copy files from your Mac to the external hard drive:
- Open a new Finder window on your Mac.
- Navigate to the location where the files you want to transfer are stored.
- Select the files you want to copy by clicking and dragging a selection box around them or by holding the Command key and clicking each file individually.
- With the selected files highlighted, right-click on one of them and choose “Copy.” Alternatively, you can use the keyboard shortcut Command + C.
- Now, navigate to the external hard drive in the Finder window.
- Right-click on an empty area within the external hard drive and choose “Paste.” Alternatively, you can use the keyboard shortcut Command + V.
- The selected files will start copying to the external hard drive. The time it takes to complete the copying process will depend on the size of the files and the speed of your Mac and the external hard drive.
- Once the copying process is finished, you can verify that the files have been successfully transferred by checking the external hard drive’s content in the Finder window.
Remember to be patient while the files are being copied, especially if you are transferring a large amount of data. Avoid disconnecting the external hard drive or interrupting the copying process, as it may result in data loss or corruption.
Once the files are copied to the external hard drive, you can safely disconnect it from your Mac and proceed to connect it to your PC for the next steps of the file transfer process.
Step 4: Disconnecting the External Hard Drive from the Mac
After successfully copying files from your Mac to the external hard drive, it’s important to safely disconnect the hard drive from your Mac to avoid data loss or corruption. Properly ejecting the external hard drive ensures that all files have been written and transferred correctly before removing the device.
Follow these steps to safely disconnect the external hard drive from your Mac:
- Click on the external hard drive icon on your desktop or in the Finder window.
- With the external hard drive selected, go to the top menu and click on “File.”
- In the drop-down menu, select “Eject [external hard drive name].” Alternatively, you can right-click on the external hard drive icon and choose “Eject” from the context menu.
- Wait for a moment until you receive a notification that it is safe to disconnect the external hard drive.
- Once you see the notification, you can safely disconnect the USB cable from your Mac. Ensure that no file transfer processes are still ongoing before unplugging the cable.
- Store the external hard drive safely to protect it from any physical damage or accidents.
By properly ejecting the external hard drive, you minimize the risk of data loss and ensure that all files have been successfully transferred. This step is essential to maintain the integrity of your data and keep it safe for further use on your PC.
Now that the external hard drive is disconnected from your Mac, you can proceed to connect it to your PC for the next steps of the file transfer process.
Step 5: Connecting the External Hard Drive to the PC
Now that you have safely disconnected the external hard drive from your Mac, it’s time to connect it to your PC. This step will enable you to transfer the files from the external hard drive to your PC without any compatibility issues.
Follow these steps to connect the external hard drive to your PC:
- Locate an available USB port on your PC.
- Take the USB cable that came with the external hard drive and insert one end into the USB port on your PC.
- Insert the other end of the USB cable into the appropriate port on the external hard drive.
- Wait for a moment while your PC recognizes the external hard drive.
- Once the external hard drive is recognized, it will appear as a new drive in “File Explorer” or “My Computer” on your PC.
- You can double-click on the external hard drive to open it and view the files stored on it.
Now, you have successfully connected the external hard drive to your PC, and it is ready for the next step of transferring files from the external hard drive to your PC.
Keep in mind that if the external hard drive doesn’t appear in “File Explorer” or “My Computer,” try restarting your PC or reconnecting the USB cable. Also, ensure that the external hard drive is functional and properly formatted for compatibility with your PC.
With the external hard drive connected to your PC, you can proceed to the next step to transfer files from the external hard drive to your PC.
Step 6: Transferring Files from the External Hard Drive to the PC
With the external hard drive successfully connected to your PC, you can now proceed to transfer files from the external hard drive to your PC. This step allows you to access and utilize the files that were previously copied from your Mac.
Follow these steps to transfer files from the external hard drive to your PC:
- Open “File Explorer” or “My Computer” on your PC.
- Locate and select the external hard drive from the list of drives in the left sidebar.
- Double-click on the external hard drive to open it and view the files stored on it.
- Navigate to the location on your PC where you want to transfer the files from the external hard drive.
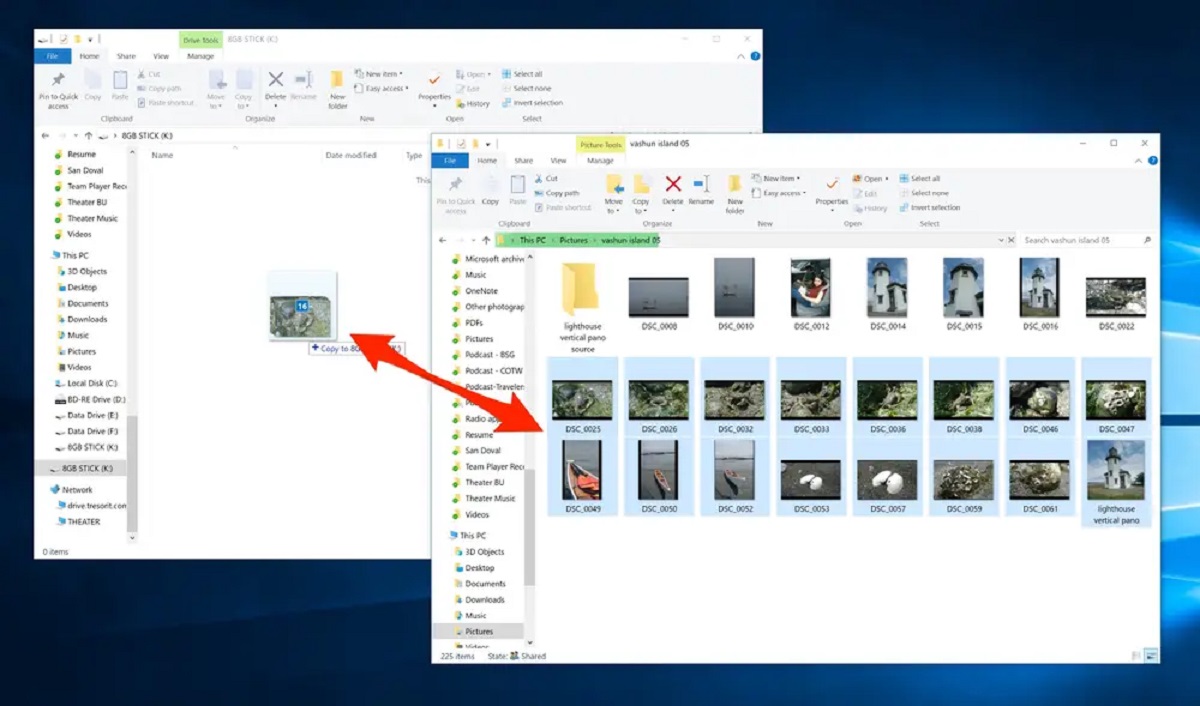
- Select the files you want to transfer from the external hard drive by clicking and dragging a selection box around them or by holding the Ctrl key and clicking each file individually.
- With the selected files highlighted, right-click on one of them and choose “Copy.” Alternatively, you can use the keyboard shortcut Ctrl + C.
- Go to the destination folder on your PC and right-click on an empty space, then choose “Paste.” Alternatively, you can use the keyboard shortcut Ctrl + V.
- The selected files will start transferring from the external hard drive to the PC. The time it takes to complete the transfer process depends on the size of the files and the speed of your PC and the external hard drive.
- Once the transfer is complete, you can verify that the files have been successfully copied to your PC by navigating to the destination folder and checking the files there.
It’s important to note that during the file transfer process, avoid disconnecting the external hard drive or interrupting the transfer, as it may result in data loss or file corruption. Be patient, especially when transferring large files or a significant amount of data.
Once all the desired files have been transferred from the external hard drive to your PC, you can safely disconnect the external hard drive and store it for future use.
Conclusion
Transferring files from a Mac to a PC can be a seamless process when utilizing an external hard drive. By following the steps outlined in this guide, you can efficiently and effectively transfer your files without worrying about compatibility issues or data loss.
We started by formatting the external hard drive to ensure compatibility between the Mac and PC. Then, we connected the external hard drive to the Mac and copied the files from the Mac to the external hard drive. After safely disconnecting the external hard drive from the Mac, we connected it to the PC and transferred the files from the external hard drive to the PC.
This method provides a convenient solution for individuals who are transitioning from a Mac to a PC or need to transfer files between the two systems. With the external hard drive acting as a bridge, you can confidently transfer documents, photos, videos, and other types of files.
Remember to safely disconnect and store the external hard drive once the file transfer process is complete. This will ensure the longevity of your files and preserve the integrity of your data.
Whether you’re a student, professional, or simply someone who needs to transfer files between a Mac and a PC, using an external hard drive is a reliable and efficient method. By following the steps outlined in this guide, you can easily transfer your files and seamlessly transition between operating systems.
Now that you have the knowledge and understanding of how to transfer files from a Mac to a PC using an external hard drive, you can confidently tackle this process whenever the need arises.