Introduction
Welcome to the world of external hard drives! Whether you’re a casual computer user or a tech-savvy professional, having an external hard drive can greatly expand your storage capabilities and provide a convenient way to backup and transfer files. In this article, we’ll guide you through the process of setting up an external hard drive, from choosing the right one to safely ejecting it.
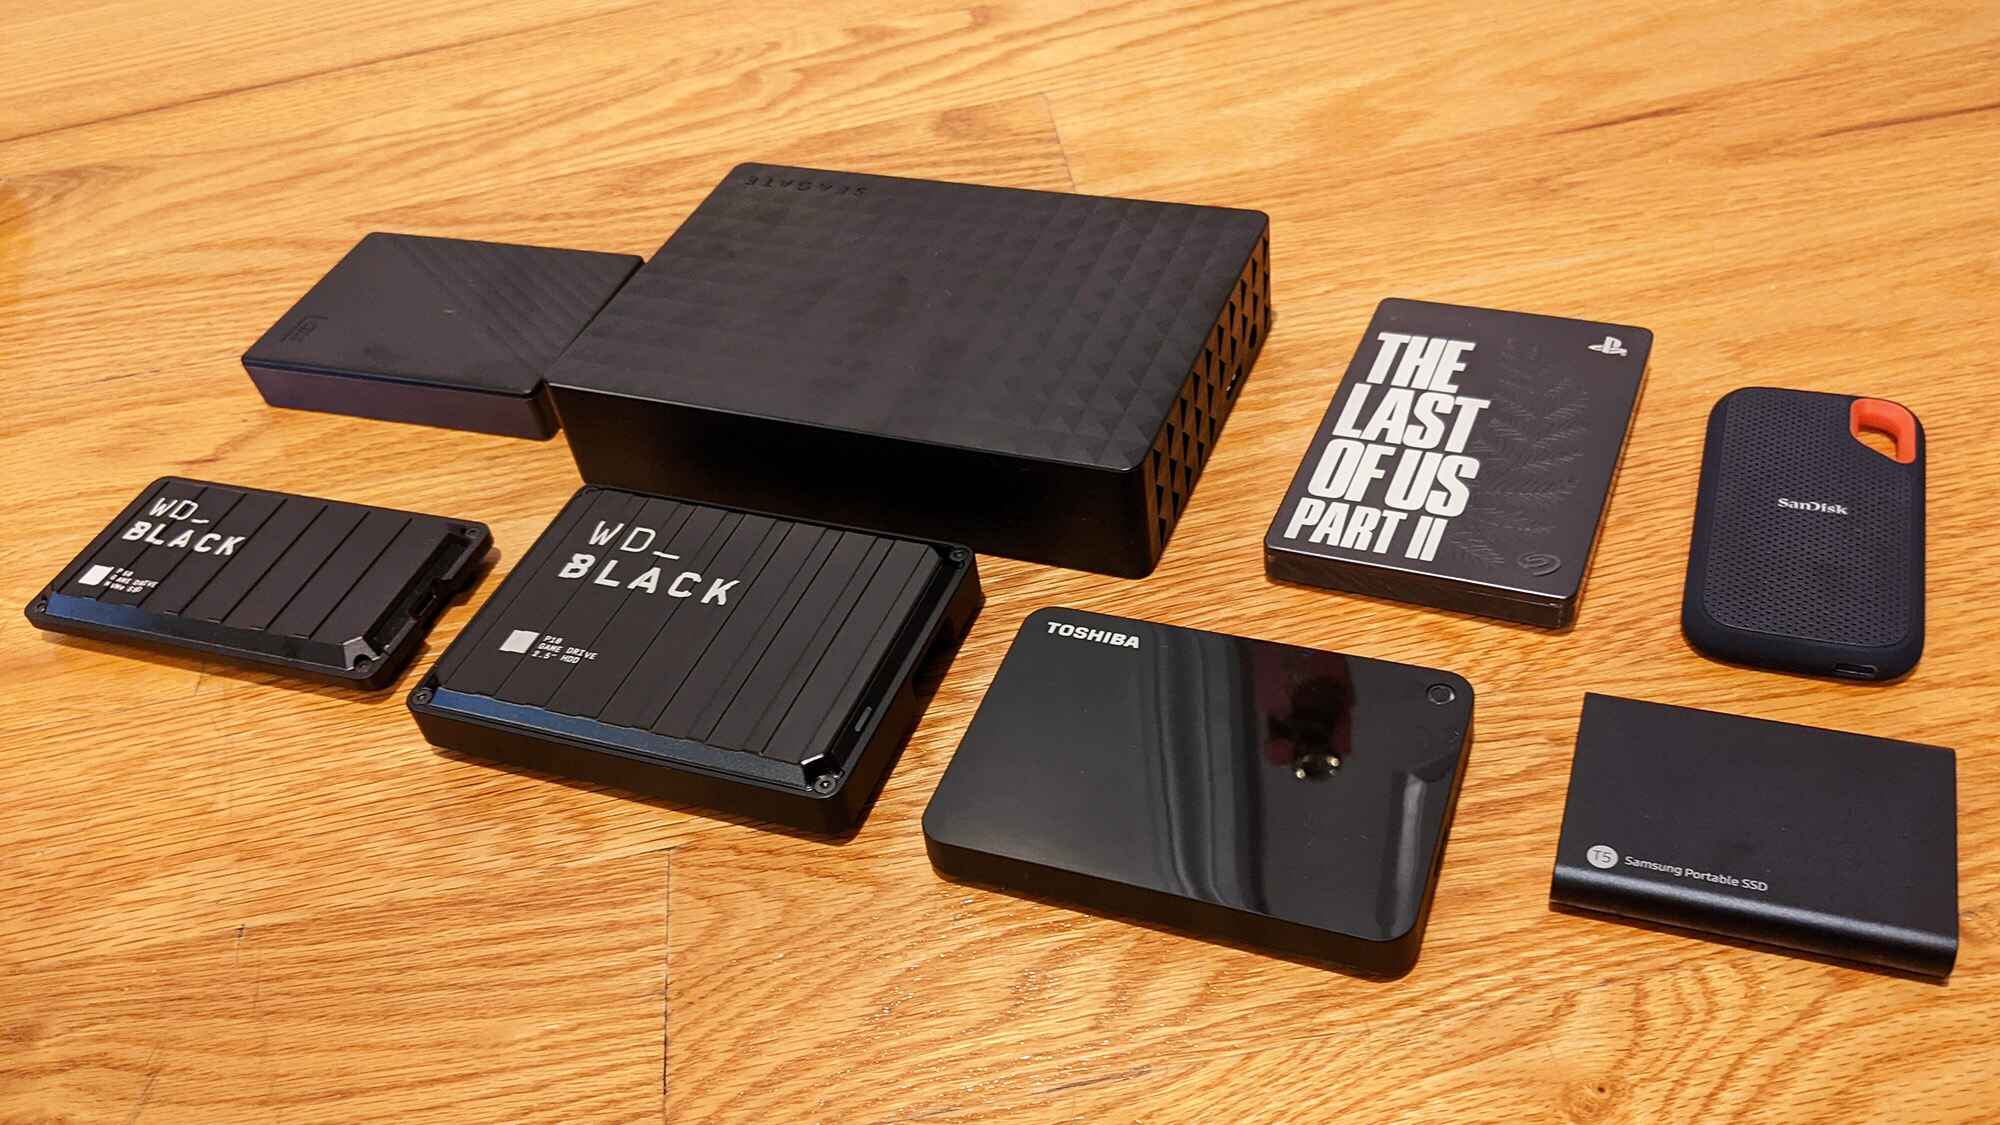
External hard drives are portable storage devices that connect to your computer via a USB, Thunderbolt, or other types of cables. They come in various sizes and capacities, allowing you to store anything from documents and photos to music and videos. By connecting an external hard drive to your computer, you can free up space on your internal drive, ensure your important files are safely stored, and easily transfer data between devices.
While the concept of setting up an external hard drive may seem daunting for some, rest assured that it’s a straightforward process that can be accomplished by anyone, regardless of their level of technical expertise. By following a few simple steps, you’ll be up and running in no time.
In the following sections, we’ll cover the key steps to set up your external hard drive, including choosing the right one for your needs, connecting it to your computer, formatting it, transferring files, and safely ejecting it. So, let’s dive in and get started on this exciting journey of expanding your storage capabilities!
Choosing the Right External Hard Drive
When it comes to selecting the right external hard drive, there are a few factors to consider. Here are some key points to keep in mind:
- Storage Capacity: Determine how much storage space you’ll need. Consider the types of files you’ll be storing, such as documents, photos, videos, or large software programs. Take into account future storage needs as well, to ensure your external hard drive can accommodate your expanding collection.
- Form Factor: Consider the physical size and portability of the external hard drive. If you need a portable solution that you can easily carry with you, opt for a smaller form factor. However, if you require higher storage capacity and are willing to sacrifice portability, a larger-sized external hard drive might be the right choice.
- Connectivity: Check the available ports on your computer. Ensure that the external hard drive you choose is compatible with the available ports, whether it’s USB, USB-C, Thunderbolt, or eSATA. Compatibility ensures a seamless connection and data transfer speed.
- Reliability and Durability: Look for a reputable brand that offers reliability and durability. Read customer reviews and consider factors such as shock resistance, data encryption, and backup software bundled with the external hard drive.
- Price: Set a budget for your external hard drive purchase. Compare prices across different brands and models to find the best value for your money. Keep in mind that higher storage capacities and additional features may come at a higher price point.
Take your time to research and compare different options before making a decision. Consider your specific needs and preferences to find the external hard drive that ticks all the boxes. Remember, choosing the right external hard drive is essential for a smooth and efficient storage experience.
Connecting the External Hard Drive
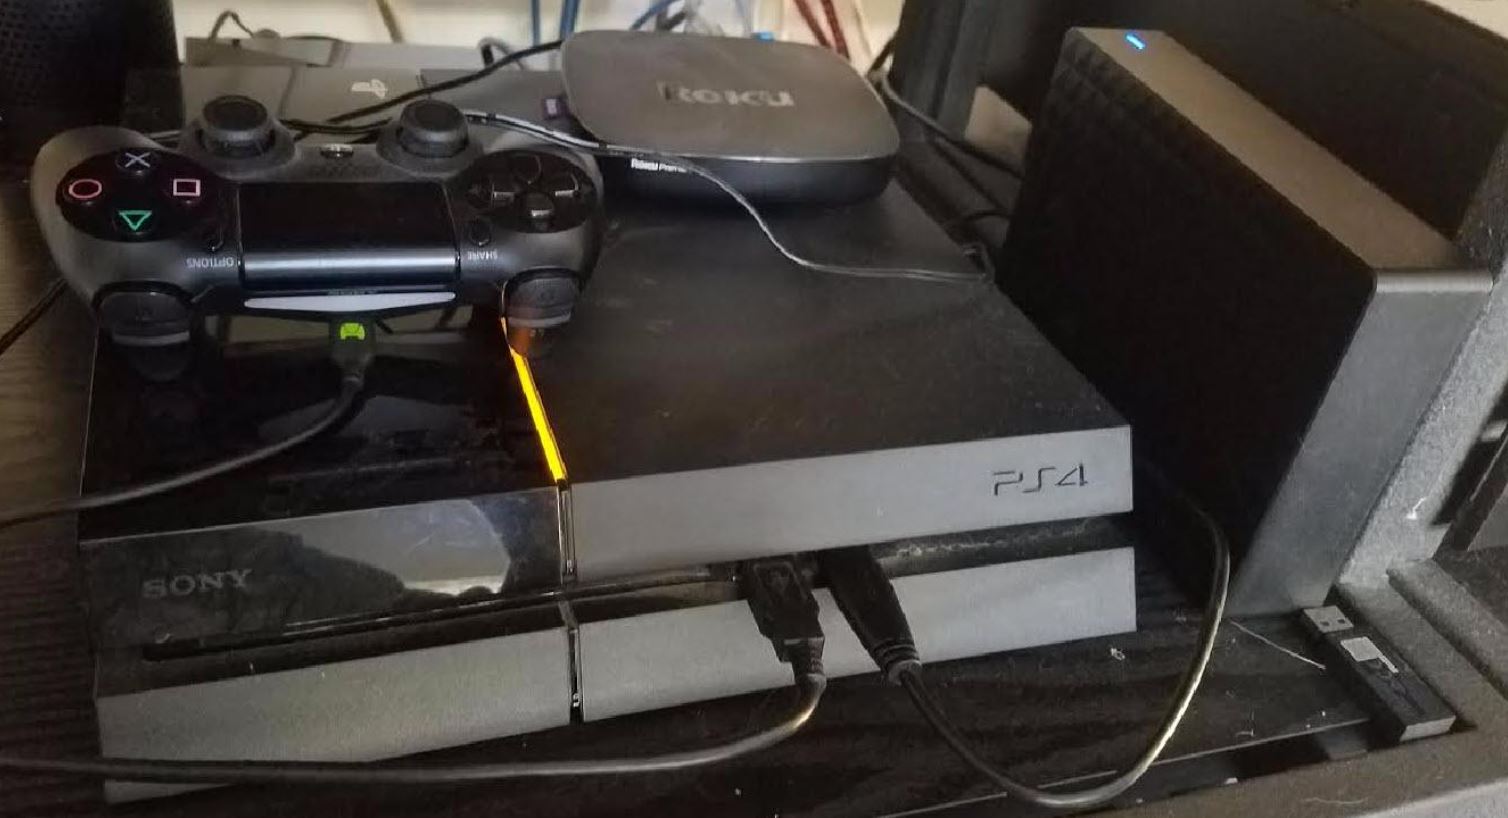
After you’ve chosen the perfect external hard drive, it’s time to connect it to your computer. Follow these simple steps to ensure a successful connection:
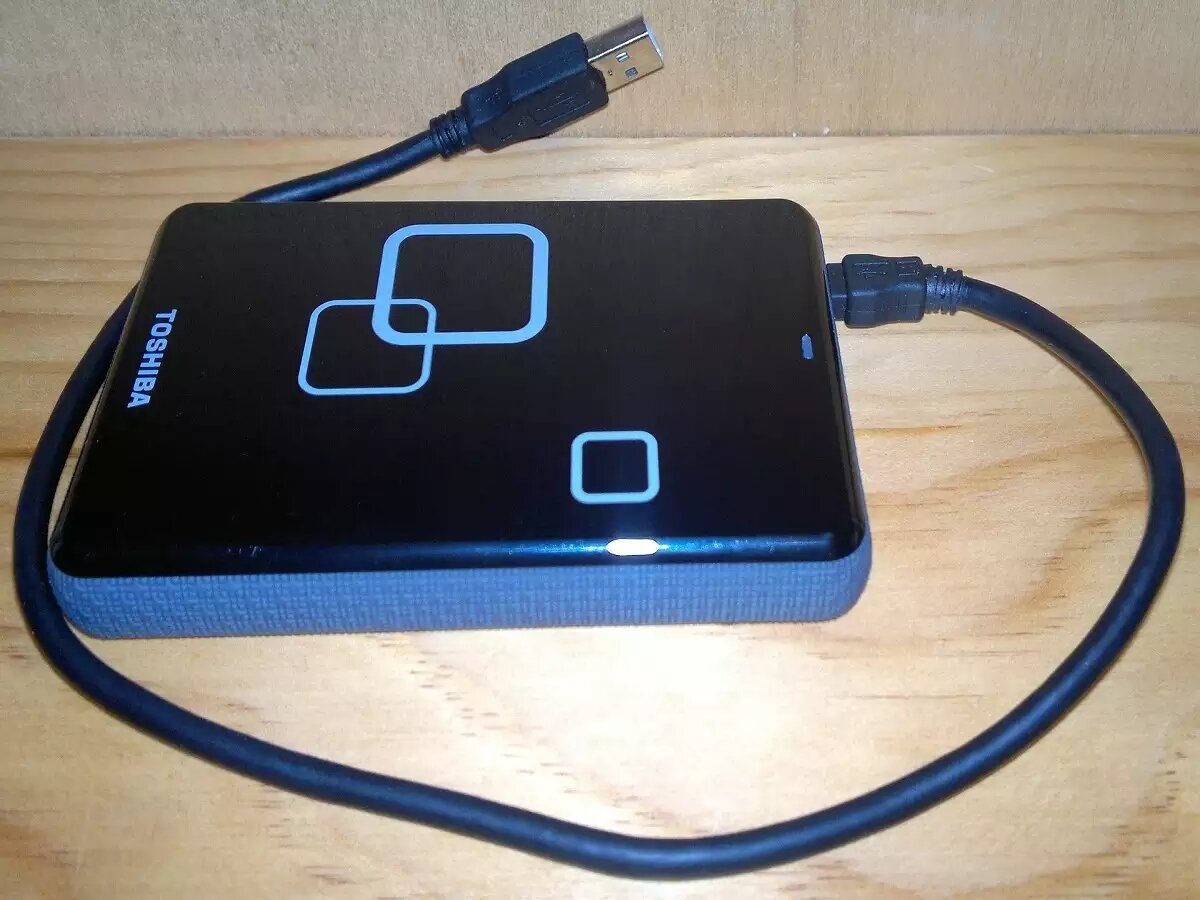
- Check the Cable: Locate the cable that came with your external hard drive. Make sure it’s in good condition and matches the port on your computer. Common cable types include USB, USB-C, Thunderbolt, or eSATA. If necessary, you may need to purchase a compatible cable.
- Power Up the External Hard Drive: If your external hard drive requires external power, ensure that it’s plugged into a power source and turned on. Some smaller portable drives are powered directly through the USB connection and won’t require external power.
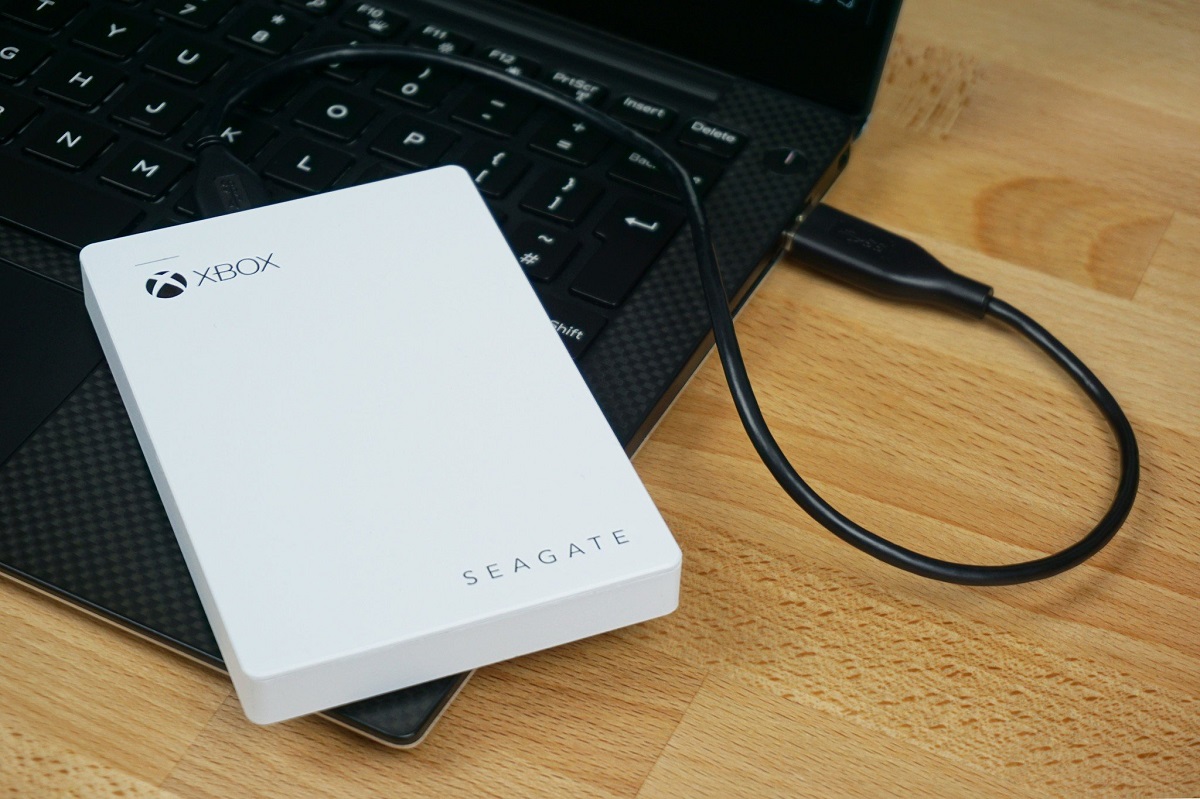
- Connect the Cable: Insert one end of the cable into the port on the external hard drive and the other end into an available USB, USB-C, Thunderbolt, or eSATA port on your computer. Ensure a secure connection on both ends.
- Wait for Recognition: Once connected, your computer should recognize the external hard drive and automatically install any necessary drivers. You may receive a notification that a new storage device has been detected.
- Access the External Hard Drive: Open the file explorer or finder on your computer. You should see the external hard drive listed as a new storage device. Click on it to access its contents.
Note that some external hard drives may require additional steps, such as installing specific software or configuring settings. Refer to the manufacturer’s instructions or user manual for any additional setup requirements.
Once the connection is established, you’re ready to start using your external hard drive. Whether you want to store files, transfer data, or back up your important documents, the external hard drive provides a reliable and convenient storage solution.
Formatting the External Hard Drive
Before you can start using your newly connected external hard drive, you may need to format it. Formatting prepares the drive for use with your operating system and ensures compatibility. Follow these steps to format your external hard drive:
- Backup Important Data: If you have any data on the external hard drive that you want to keep, make sure to back it up before formatting. Formatting erases all existing data on the drive.
- Open Disk Management (Windows) or Disk Utility (Mac): In Windows, right-click on the Start menu, select “Disk Management,” and wait for it to open. In macOS, go to “Applications,” then “Utilities,” and open “Disk Utility.”
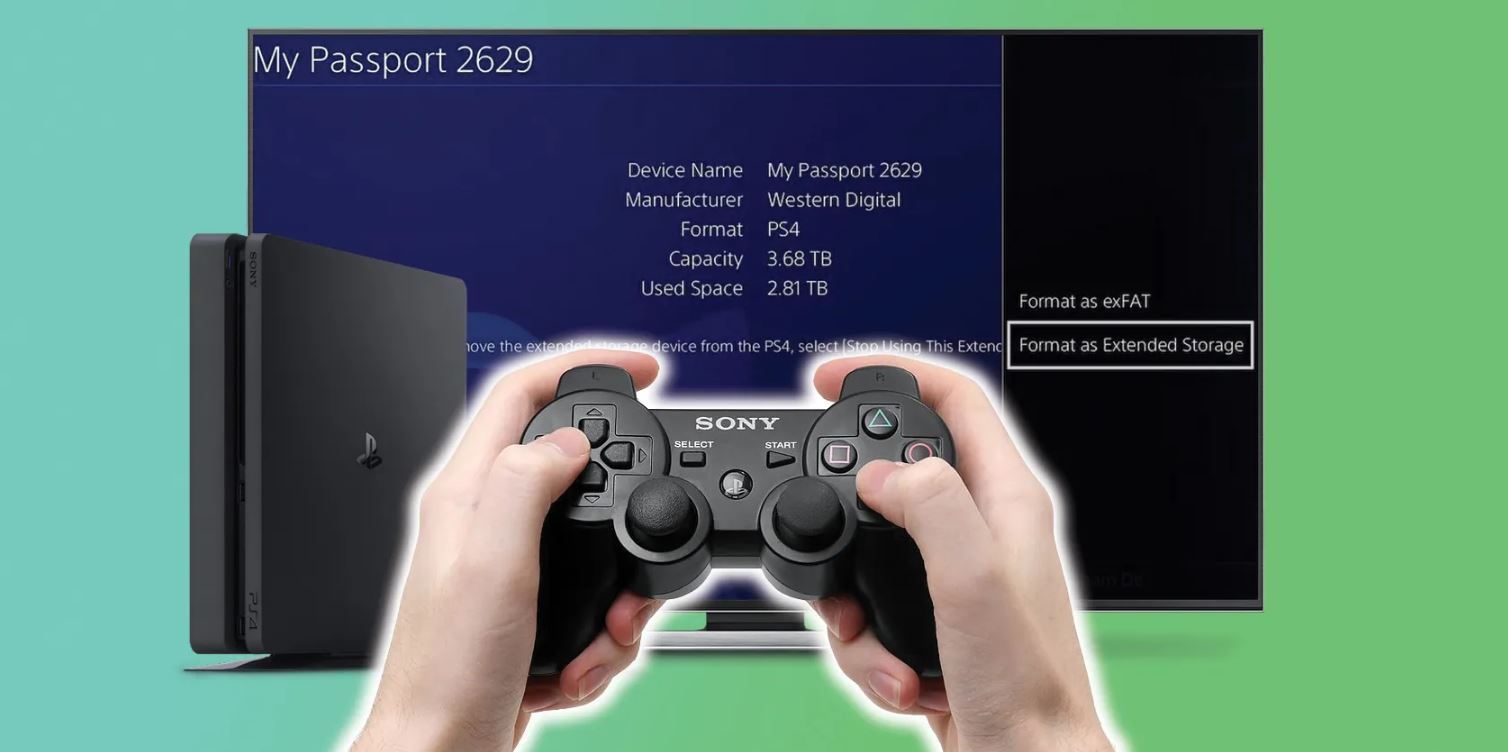
- Identify the External Hard Drive: In Disk Management or Disk Utility, look for your external hard drive in the list of connected drives. It should be labeled with its brand or capacity.
- Format the Drive: Right-click on the external hard drive and select “Format” (Windows) or click on the “Erase” tab and choose a file system from the “Format” dropdown menu (Mac). Windows commonly uses the NTFS file system, while Mac uses the APFS or Mac OS Extended (Journaled) file system.
- Assign a Drive Letter or Name: In Windows, you’ll be prompted to assign a drive letter to your newly formatted external hard drive. Choose an available letter or use the default. In macOS, you can optionally assign a name to the drive.
- Confirm the Format: Double-check the selected format settings and ensure that you have selected the correct external hard drive. Formatting will erase all data, so proceed with caution.
- Start the Format: Click “OK” or “Format” to begin the formatting process. The time required to format the drive will depend on its size and the chosen file system.
- Completion: Once the formatting process is complete, you should receive a notification indicating the successful format.
After formatting, your external hard drive is now ready for use. It will be recognized by your operating system, and you can start transferring files or performing other tasks with it.
Note that formatting is not always necessary, especially if the external hard drive is already formatted in a compatible file system. However, it’s recommended to format the drive if it was previously used on a different operating system or if you encounter any issues with file system compatibility.
Transferring Files to the External Hard Drive
Now that you have successfully connected and formatted your external hard drive, it’s time to start transferring files to it. Follow these steps to move your data to the external hard drive:
- Open File Explorer (Windows) or Finder (Mac): Navigate to the location on your computer where the files you want to transfer are stored. This could be your Documents, Pictures, or Downloads folder.
- Select the Files: Use your mouse or keyboard to select the files or folders you want to transfer. You can select multiple files by holding the Ctrl (Windows) or Command (Mac) key while clicking on each file.
- Copy or Cut the Files: Right-click on the selected files and choose either “Copy” or “Cut.” Alternatively, you can use the Ctrl+C (Copy) or Ctrl+X (Cut) keyboard shortcuts.
- Open the External Hard Drive: In File Explorer (Windows) or Finder (Mac), locate your external hard drive in the list of available drives. Click on it to open.
- Paste the Files: Right-click on an empty space within the external hard drive and choose “Paste.” Alternatively, you can use the Ctrl+V keyboard shortcut.
- Wait for the Transfer: The files will begin to transfer from your computer to the external hard drive. The time required will depend on the size and number of files being transferred. Make sure not to disconnect the external hard drive or interrupt the transfer process.
- Verify the Transfer: Once the transfer is complete, double-check that the files have been successfully copied to the external hard drive. You can open the drive and navigate to the respective folders to ensure the files are there.
Remember, you can organize your files within the external hard drive by creating folders and subfolders, similar to how you would manage files on your computer. This can help keep your files organized and easily accessible.
Transferring files to the external hard drive provides an efficient way to free up space on your computer’s internal drive while keeping your important files safe and accessible. Whether you’re archiving old documents, storing multimedia files, or creating backups, your external hard drive is a reliable storage solution.
Safely Ejecting the External Hard Drive
Before disconnecting your external hard drive from your computer, it’s important to safely eject it to prevent data loss or damage. Follow these steps to safely eject your external hard drive:
- Save and Close Files: Make sure to save and close any files that you may have open on the external hard drive. This ensures that all changes are properly saved.
- Check for Active Processes: Ensure that no active processes or applications are using files on your external hard drive. If any processes are currently accessing the drive, wait for them to finish before ejecting.
- Click on the Eject Icon: On your computer’s system tray (Windows) or menu bar (Mac), look for the icon representing your external hard drive. It might appear as a small USB symbol or the name of the drive.
- Eject the Drive: Right-click (Windows) or click on the eject icon (Mac) and choose the option to eject the external hard drive. Alternatively, you can also drag the drive icon to the trash can (Mac).
- Wait for Confirmation: After ejecting, you’ll receive a notification or indication that it’s safe to disconnect the external hard drive. This usually signifies that all read and write processes have been completed.
- Disconnect the Cable: Gently remove the cable from both the external hard drive and your computer’s USB, USB-C, Thunderbolt, or eSATA port. Take care not to tug or pull forcefully to avoid damaging the connectors.
Safely ejecting your external hard drive ensures that all data is written and no ongoing processes are interrupted. If you simply unplug the drive without ejecting it, you risk corruption or data loss, as some files may still be in use or in the process of being written to the drive.
By following these steps to safely disconnect your external hard drive, you can protect your data and prolong the lifespan of the drive, ensuring many reliable and error-free uses in the future.