Introduction
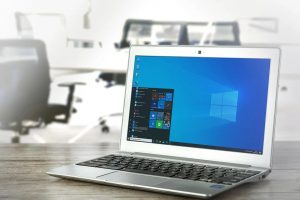
Welcome to the world of Photoshop! As a talented graphic designer or a passionate photographer, you know how powerful and resource-intensive Adobe Photoshop can be. With its vast array of features and tools, it’s no wonder that Photoshop has become the go-to software for professionals and enthusiasts in the creative industry.
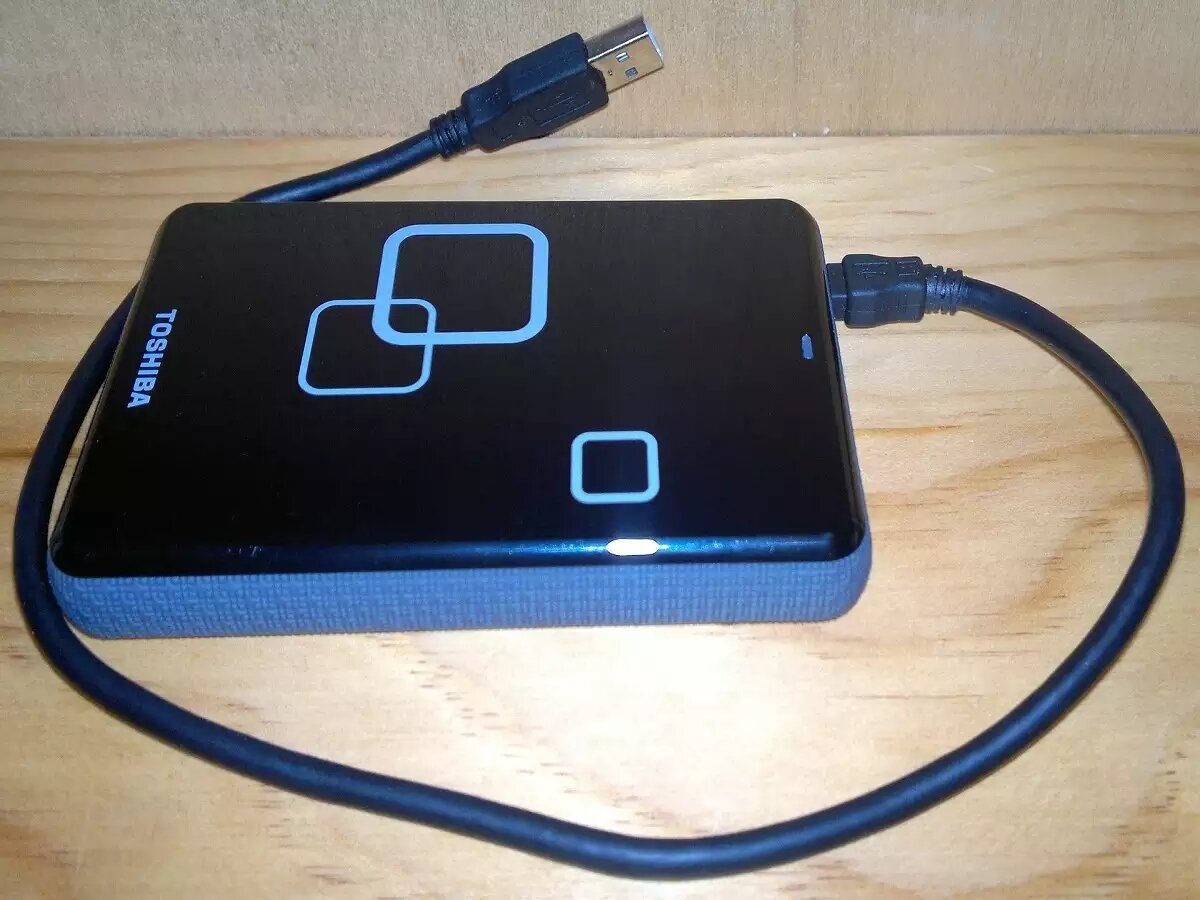
However, running Photoshop on your computer’s internal hard drive can sometimes lead to performance issues and slower processing times. This is especially true if you’re working with large files or complex projects. Fortunately, there’s a solution: running Photoshop from an external hard drive.
This article will guide you through the process of setting up and running Photoshop from an external hard drive, giving you the freedom to work on your projects without worrying about storage limitations or slowing down your computer. You’ll discover the benefits of using an external hard drive for Photoshop, important considerations to keep in mind, and step-by-step instructions to help you get started.
By the end of this article, you’ll have all the information you need to run Photoshop from an external hard drive successfully, optimizing your workflow and enjoying a seamless editing experience. Let’s dive in!
Benefits of Running Photoshop from an External Hard Drive
Running Photoshop from an external hard drive offers several advantages that can greatly enhance your creative process. Here are some key benefits:
- Increased Storage Space: One of the primary benefits of using an external hard drive for Photoshop is the ability to expand your storage capacity. As Photoshop files and projects can consume a significant amount of space, utilizing an external hard drive allows you to store your work without worrying about filling up your computer’s internal storage.
- Better Performance: By running Photoshop from an external hard drive, you can free up system resources on your computer, which can lead to improved performance. This is particularly beneficial if you have a relatively old or low-spec computer that may struggle to handle the demands of running Photoshop.
- Portability and Flexibility: Carrying your Photoshop workspace with you becomes a breeze when using an external hard drive. Whether you’re traveling, working from different locations, or collaborating with others, you can easily connect your external hard drive to any computer and continue working on your projects without any interruption.
- Protection Against Data Loss: External hard drives offer an additional layer of protection for your Photoshop files. By storing your work on a separate device, you reduce the risk of losing your projects due to computer crashes or hardware failures. Additionally, you can easily back up your external hard drive to further safeguard your data.
- Improved Organization: With the extra storage space provided by an external hard drive, you can keep your Photoshop files neatly organized. This makes it easier to locate, manage, and archive your projects, ensuring efficient workflow and saving you valuable time in the long run.
These benefits make running Photoshop from an external hard drive an appealing option for individuals and businesses alike. With the added storage, performance improvements, portability, and enhanced data protection, you can take your Photoshop work to the next level, all while enjoying a seamless and efficient editing experience.
Things to Consider Before Running Photoshop from an External Hard Drive
Before diving into the process of setting up and running Photoshop from an external hard drive, there are a few important factors to consider. These considerations will help ensure that you have a smooth experience and avoid any potential issues. Here are some key things to keep in mind:
- Compatibility: Ensure that your external hard drive is compatible with your computer’s operating system, specifically for running Photoshop. Different file systems and device formats may have limitations or require additional configurations to work optimally.
- Speed and Performance: Take into account the speed and performance capabilities of your external hard drive. A faster and reliable hard drive with USB 3.0 or Thunderbolt connections can significantly enhance your Photoshop experience, especially when working with large files.
- Storage Capacity: Consider the amount of storage space you’ll need for your Photoshop projects. Analyze your current and future requirements to ensure that the external hard drive you choose can accommodate your growing library of files.
- Backup Strategy: Implement a reliable backup strategy for your external hard drive. Regularly backing up your Photoshop files will help protect your work in case of data loss or hardware failure. Consider using cloud storage or additional external drives as a backup solution.
- File Management: Develop a system for organizing your Photoshop files on the external hard drive. By creating a logical folder structure and implementing consistent naming conventions, you’ll be able to quickly locate and manage your projects, saving time and avoiding confusion.
- Security: Take necessary precautions to ensure the security of your external hard drive and the files stored on it. Consider encrypting sensitive files and using password protection to prevent unauthorized access.
By considering these factors, you can select the right external hard drive, optimize its performance, ensure sufficient storage capacity, establish a solid backup strategy, and implement effective file management practices. This preparation will set you up for success when setting up and running Photoshop from an external hard drive.
Step 1: Selecting the Right External Hard Drive
Selecting the right external hard drive for running Photoshop is crucial for a seamless editing experience. Here’s what you need to consider when choosing the perfect external hard drive:
- Storage Capacity: Assess your storage needs based on the size and number of Photoshop files you work with. Consider future growth and factor in other files, such as backups or additional software.
- Transfer Speed: Look for an external hard drive with fast transfer speeds to minimize delays when accessing and saving large Photoshop files. USB 3.0 or Thunderbolt connections provide faster data transfer rates.
- Reliability: Opt for a reputable brand known for producing reliable external hard drives. Read reviews and choose a product with high ratings, good warranty terms, and a proven track record for durability.
- Portability: If you frequently work on different computers or need to travel with your external hard drive, choose a compact and lightweight option that fits easily in your bag or pocket.
- Compatibility: Ensure that the external hard drive is compatible with your operating system. Check whether it supports both Windows and Mac, as well as the specific versions you’re using.
- Build Quality: Consider the build quality and physical design of the external hard drive. Look for features like shock resistance and durability, especially if you’ll be carrying it around regularly.
- Price: Set a budget that suits your needs and research external hard drives within that price range. Compare different options to find the best value for your money.
By carefully considering these factors, you can select an external hard drive that meets your requirements and maximizes your Photoshop performance and productivity. Once you’ve chosen the right external hard drive, you can proceed to the next steps of setting it up for running Photoshop.
Step 2: Formatting the External Hard Drive
Before you can start using your external hard drive for running Photoshop, you need to format it to ensure compatibility and optimal performance. Follow these steps to format your external hard drive:
- Backup Your Data: If you have any important files on the external hard drive, make sure to back them up before formatting. Formatting erases all data on the drive.
- Connect the External Hard Drive: Plug in your external hard drive to your computer using the appropriate cable or connector. Ensure that your computer recognizes the drive and assigns it a drive letter.
- Open Disk Management (Windows) or Disk Utility (Mac): On Windows, right-click on the Start button and select “Disk Management”. On Mac, go to “Applications” > “Utilities” > “Disk Utility”.
- Select the External Hard Drive: In Disk Management (Windows) or Disk Utility (Mac), locate your external hard drive from the list of available drives. Be careful not to select any other drive to prevent accidental data loss.
- Format the Drive: In Disk Management (Windows), right-click on the external hard drive and select “Format”. Choose the appropriate file system (usually NTFS for Windows or exFAT for cross-platform compatibility) and give the drive a name. On Mac, click on the “Erase” tab, select the appropriate file system, and give the drive a name.
- Confirm the Formatting: Double-check your choices and ensure that you have selected the correct drive for formatting. Once you are certain, click “Format” (Windows) or “Erase” (Mac) to begin the formatting process.
- Wait for the Formatting to Complete: The formatting process may take some time, depending on the size of the external hard drive. Be patient and wait for the formatting to finish.
- Eject the External Hard Drive: Once the formatting is complete, safely eject the external hard drive from your computer. This ensures that all changes are saved and that the drive can be safely disconnected.
After formatting your external hard drive, it is now ready to be set up as your dedicated Photoshop storage. In the next steps, we will explore how to transfer Photoshop to the external hard drive and configure it for seamless operation.
Step 3: Transferring Photoshop to the External Hard Drive
Now that your external hard drive is formatted and ready, you can proceed with transferring your Photoshop installation to the drive. Follow these steps to transfer Photoshop to the external hard drive:
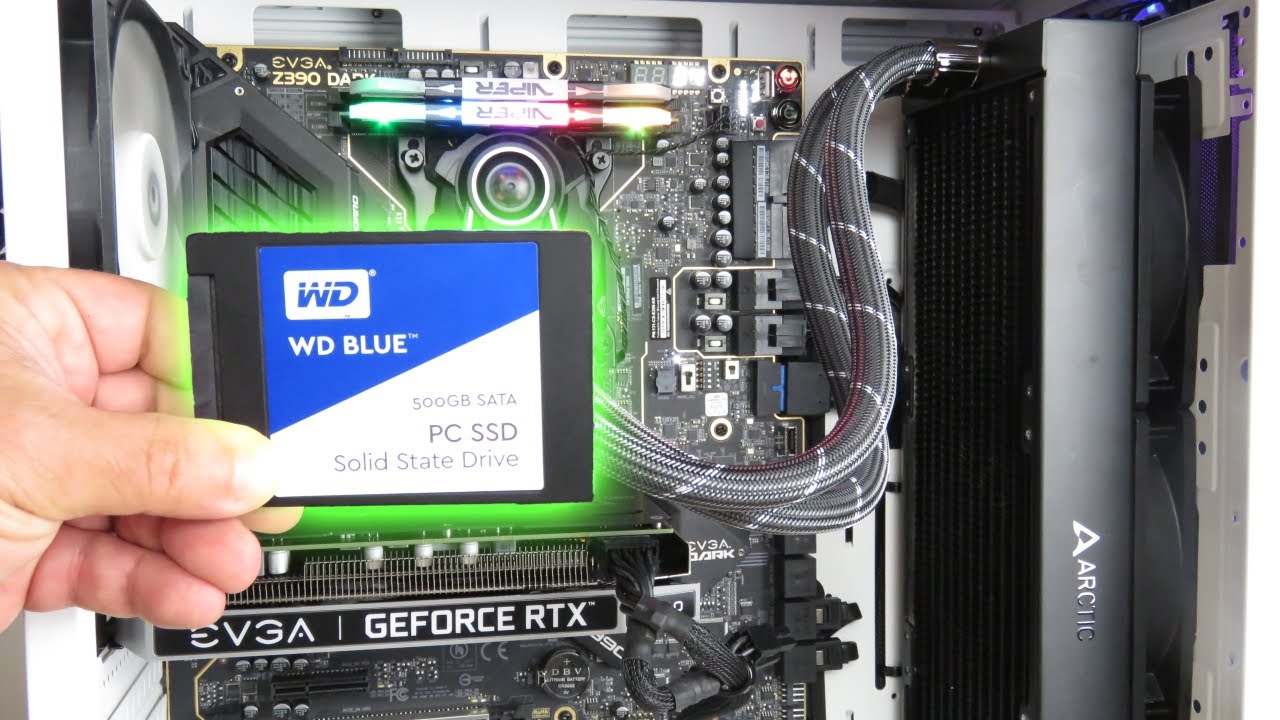
- Locate the Photoshop Installation: On your computer, navigate to the folder where Photoshop is currently installed. Typically, this is found in the “Program Files” folder (Windows) or the “Applications” folder (Mac).
- Copy the Photoshop Files: Select all the files and folders associated with the Photoshop installation, and copy them to a temporary location on your computer, such as the desktop or a dedicated folder.
- Connect the External Hard Drive: Plug in your external hard drive to your computer using the appropriate cable or connector. Ensure that your computer recognizes the drive and assigns it a drive letter.
- Create a Photoshop Folder: On the external hard drive, create a new folder named “Photoshop” or any other name of your choosing. This will be the directory where you will transfer the Photoshop files.
- Paste the Copied Files: Open the temporary location where you copied the Photoshop files on your computer and paste them into the newly created “Photoshop” folder on the external hard drive.
- Confirm File Transfer: Wait for the files to finish copying to the external hard drive. This may take some time, depending on the size and number of files being transferred.
Once the file transfer is completed, you have successfully transferred the Photoshop installation to the external hard drive. In the next steps, we will configure Photoshop to recognize the new installation location and ensure smooth operation from the external hard drive.
Step 4: Setting Up Photoshop on the External Hard Drive
After transferring Photoshop to the external hard drive, it’s time to set up the software to run seamlessly from the new installation location. Follow these steps to configure Photoshop on your external hard drive:
- Open Photoshop: Make sure that your external hard drive is connected to your computer. Launch the Photoshop application from its new location on the external hard drive by double-clicking on the Photoshop icon.
- Verify the Installation: Once Photoshop opens, ensure that it recognizes the new installation location on the external hard drive. Check if your preferences and workspace settings are intact.
- Update File Paths: If Photoshop prompts you to locate any missing or disconnected files, browse to the corresponding files on the external hard drive. Update the file paths to ensure that Photoshop can access all necessary files and resources.
- Reinstall Plugins and Extensions: If you had any third-party plugins or extensions installed in Photoshop, make sure to reinstall them to the external hard drive. Check the plugin or extension documentation for instructions on how to install them in the new location.
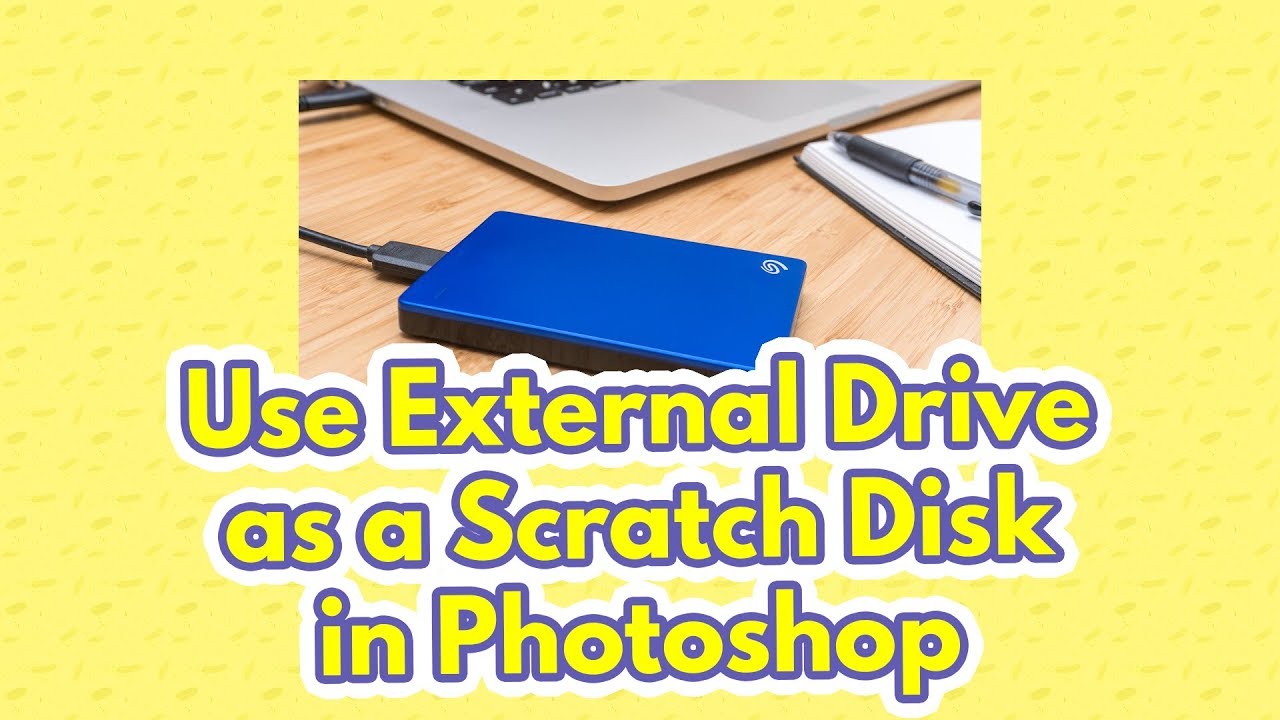
- Configure Scratch Disk: Adjust the scratch disk settings in Photoshop to utilize the external hard drive for temporary file storage. Go to “Edit” > “Preferences” > “Performance” (Windows) or “Photoshop” > “Preferences” > “Performance” (Mac), and select the external hard drive as one of the available scratch disks.
- Save Preferences: Once you have made all the necessary configurations, save your preferences to ensure that Photoshop remembers the changes the next time you use it from the external hard drive. Go to “Edit” > “Preferences” > “General” (Windows) or “Photoshop” > “Preferences” > “General” (Mac), and click on “Save Preferences”.
By following these steps, you have successfully set up Photoshop to run from the external hard drive. The next step involves configuring preferences and settings to optimize the performance and functionality of Photoshop on the external hard drive.
Step 5: Configuring Preferences and Settings
Now that Photoshop is set up on your external hard drive, it’s time to configure preferences and settings to ensure optimal performance and functionality. Follow these steps to configure Photoshop on your external hard drive:
- Customize Workspace: Arrange your workspace to suit your preferences. Rearrange panels, create custom workspaces, and save them for easy access in the future. Go to “Window” > “Workspace” (Windows) or “Window” > “Workspace” (Mac) to explore available workspace options.
- Set Performance Preferences: Adjust Photoshop’s performance settings to make use of the resources available on your external hard drive. Go to “Edit” > “Preferences” > “Performance” (Windows) or “Photoshop” > “Preferences” > “Performance” (Mac) to fine-tune memory usage, cache settings, and GPU acceleration.
- Configure File Saving Options: Decide on the file format, quality settings, and save locations for your Photoshop files. Define your preferences under “Edit” > “Preferences” > “File Handling” (Windows) or “Photoshop” > “Preferences” > “File Handling” (Mac).
- Manage Color Settings: Ensure color consistency and accuracy by configuring the color settings in Photoshop. Go to “Edit” > “Color Settings” (Windows) or “Photoshop” > “Color Settings” (Mac) to set your preferred color profiles and rendering intents.
- Adjust Performance Preferences: Fine-tune Photoshop’s performance settings to optimize its performance on the external hard drive. Go to “Edit” > “Preferences” > “Performance” (Windows) or “Photoshop” > “Preferences” > “Performance” (Mac) to configure options like memory usage, cache levels, and scratch disk allocation.
- Set Keyboard Shortcuts: Customize keyboard shortcuts to streamline your workflow and improve efficiency. Access the Keyboard Shortcuts panel under “Edit” > “Keyboard Shortcuts” (Windows) or “Photoshop” > “Keyboard Shortcuts” (Mac), and customize shortcuts to your liking.
- Configure Brushes and Tools: Customize brushes, swatches, and other tools to suit your specific needs. Explore the available brush options, create custom brush presets, and adjust tool settings based on your desired workflow.
By configuring these preferences and settings, you can tailor Photoshop to your exact requirements and optimize its performance on the external hard drive. Take the time to explore and experiment with different settings to find what works best for you and your workflow.
Step 6: Launching Photoshop from the External Hard Drive
With all the necessary configurations and settings in place, it’s time to launch Photoshop directly from the external hard drive. Follow these steps to launch Photoshop from the external hard drive:
- Connect the External Hard Drive: Ensure that your external hard drive is securely connected to your computer via the appropriate cable or connector.
- Locate and Open Photoshop: Navigate to your external hard drive using the file explorer or Finder on your computer. Locate the Photoshop application in the external hard drive and double-click on it to launch Photoshop.
- Wait for Launch: Give Photoshop a moment to load from the external hard drive. Depending on the speed of the hard drive and your computer, it may take slightly longer to launch compared to running it from the internal drive.
- Verify Functionality: Once Photoshop has launched, verify that all features, tools, and plugins are functional by performing some basic operations. Open and save files, experiment with different tools, and ensure that everything is working smoothly.
- Test Performance: Test the performance of Photoshop on the external hard drive by working on sample projects or large files. Monitor how Photoshop handles resource-intensive tasks such as filters, layers, and rendering. Compare the performance to previous experiences running Photoshop on your internal hard drive.
- Ensure Stability: Make sure that Photoshop remains stable during your testing period on the external hard drive. Monitor for any slowdowns, crashes, or errors that may indicate compatibility issues or hardware limitations. Troubleshoot and address any issues accordingly.
By following these steps, you can successfully launch Photoshop directly from the external hard drive. Enjoy the freedom and convenience of working on your projects without worrying about storage limitations or impacting the performance of your computer’s internal hard drive.
Step 7: Backing Up Your Files and Important Data
Backing up your files and important data is crucial to ensure the safety and security of your work. Follow these steps to effectively back up your Photoshop files and other important data:
- Identify Critical Files: Identify the files and folders that are essential for your Photoshop projects. This includes your actual Photoshop files, brushes, presets, fonts, and any other custom resources that you use regularly.
- Choose a Backup Method: Select a reliable backup method that suits your needs and preferences. This could include cloud storage services, external hard drives, NAS (Network Attached Storage) devices, or a combination of multiple backup options for redundancy.
- Automate the Backup Process: Set up a regular backup schedule to automate the process and ensure that your files are continuously backed up without any manual intervention. Utilize backup software or built-in features in your chosen backup solution to streamline this process.
- Create Versioned Backups: Consider creating versioned backups of your Photoshop files. This allows you to retain multiple versions of your work, allowing you to revisit previous iterations or recover from accidental changes or corruption.
- Verify Backup Integrity: Regularly check and verify the integrity of your backups to ensure that your files are being successfully backed up and can be restored if needed. Perform test restores periodically to confirm that your backup process is working as expected.
- Secure Your Backups: Depending on the sensitivity of your files, consider encrypting your backups and implementing additional security measures to protect your data from unauthorized access. Use strong and unique passwords or encryption keys to safeguard your backup files.
- Store Backups Offsite: It is advisable to keep backup copies of your files in a separate physical location from your primary solution. This protects your data from disasters such as fires, floods, or theft. Consider storing backups in a different physical location or utilizing cloud storage as an offsite backup solution.
- Monitor and Maintain Backups: Regularly monitor and maintain your backups to ensure their continued reliability. Remove outdated or unnecessary backup files, update your backup schedules as needed, and periodically test the restore process to confirm that your backups are usable.
By following these steps and implementing a robust backup strategy, you can have peace of mind knowing that your Photoshop files and important data are safeguarded against data loss or corruption. Investing in regular backups is a proactive measure that can save you from potential headaches and ensure the longevity and accessibility of your work.
Conclusion
Running Photoshop from an external hard drive has numerous benefits, including increased storage capacity, improved performance, portability, better organization, and enhanced data protection. By following the step-by-step guide provided in this article, you can successfully set up and run Photoshop from an external hard drive, optimizing your workflow and enjoying a seamless editing experience.
Before getting started, it is important to carefully consider compatibility, speed, storage capacity, backup strategies, file management, and security. Selecting the right external hard drive is crucial for a smooth experience, and formatting the drive is a necessary step to ensure compatibility with your operating system.
Transferring Photoshop files to the external hard drive is followed by configuring preferences and settings to optimize performance. Launching Photoshop from the external hard drive provides the freedom to work on projects without limitations. It is important to regularly back up your files and important data to ensure their safety and security.
By understanding the benefits and considerations of running Photoshop from an external hard drive and following the step-by-step instructions provided, you can maximize your creative potential, improve productivity, and have greater control over your Photoshop workspace.
So, take the leap and enjoy the flexibility, portability, and expanded storage capacity that running Photoshop from an external hard drive can offer. Experiment, create, and unleash your creativity while maintaining a seamless and efficient editing experience.