Introduction
Welcome to the guide on how to transfer files to an external hard drive. As our digital lives become more and more data-centric, it is essential to have a reliable backup system in place. An external hard drive offers a convenient and secure solution for storing and transferring large amounts of data. Whether you need to free up space on your computer’s internal drive or want to create a backup of important files, transferring them to an external hard drive is a straightforward process.
In this step-by-step guide, we will walk you through the process of transferring files to an external hard drive. We will cover everything from connecting the drive to your computer to safely ejecting it once the transfer is complete. No matter if you are a tech-savvy individual or a beginner, this guide will help you navigate the transfer process with ease.
Before we dive into the steps, it is essential to note that the process may vary slightly depending on your operating system and the type of external hard drive you are using. However, the basic principles remain the same, and this guide will provide you with the general steps to follow.
By the end of this guide, you will have a clear understanding of how to transfer files to an external hard drive, ensuring that your data is secure and easily accessible. So let’s get started with the first step: connecting the external hard drive to your computer.
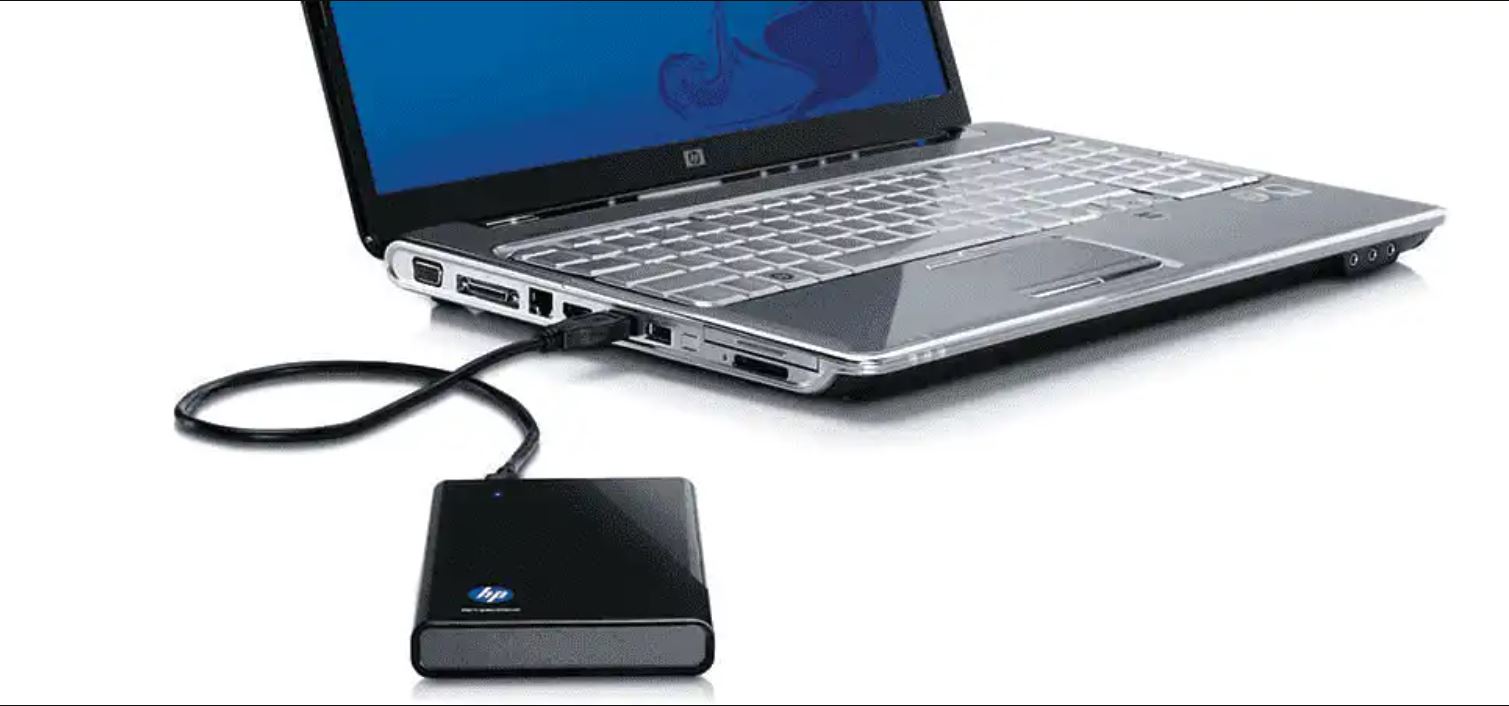
Step 1: Connect the external hard drive to your computer
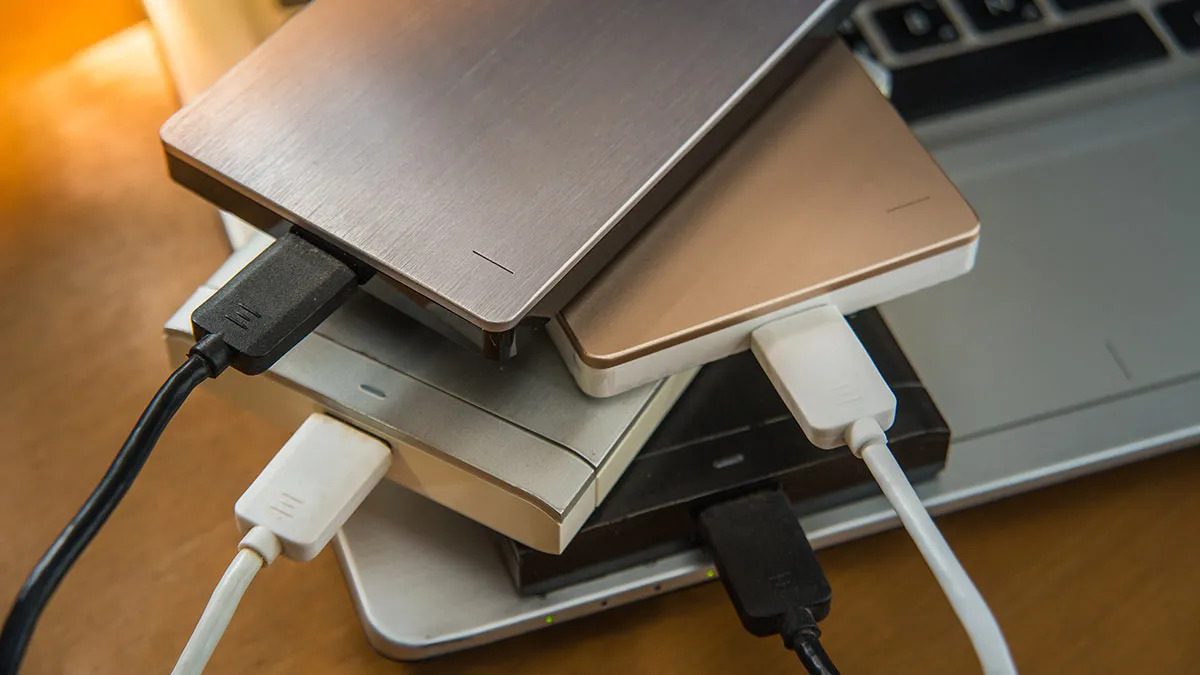
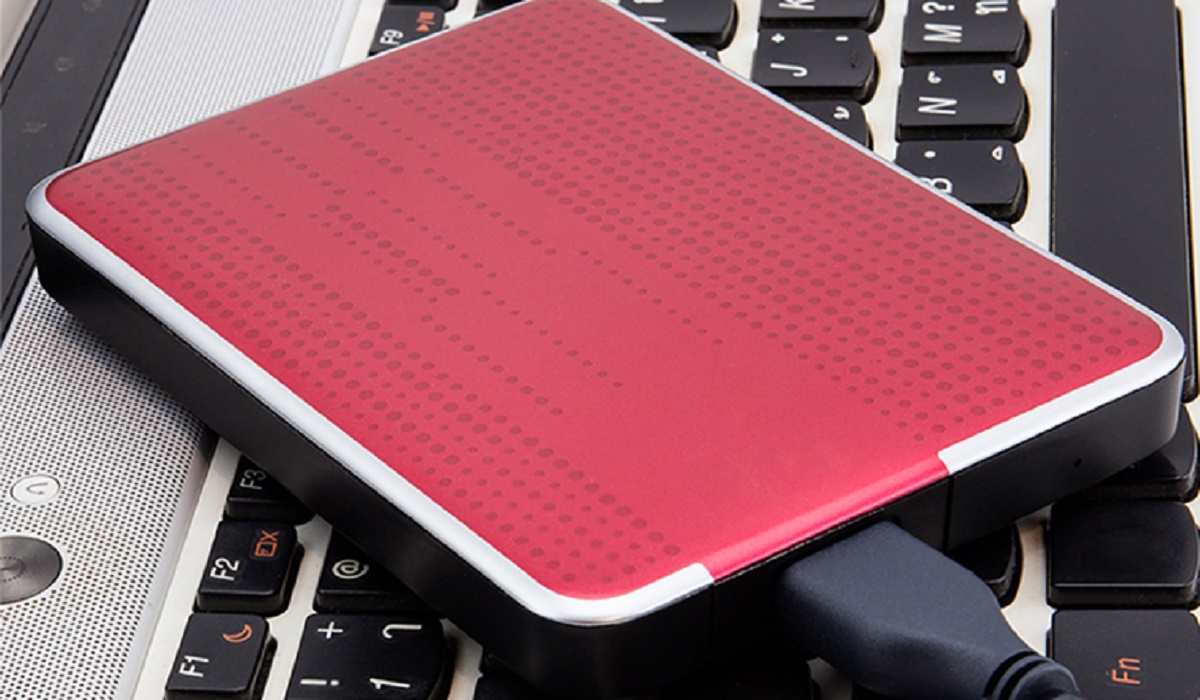
The first step in transferring files to an external hard drive is to connect the drive to your computer. Depending on the type of external hard drive you have, there are different connection options available. The most common types include USB, Thunderbolt, and FireWire.
If your external hard drive has a USB connection, simply locate an available USB port on your computer and insert the USB cable securely. If the drive requires a power source, make sure it is plugged into an electrical outlet as well. If you’re using a Thunderbolt or FireWire connection, ensure that your computer has the respective port and connect the cable accordingly.
Once the external hard drive is connected, your computer should recognize it as a new storage device. Depending on your operating system, you may receive a prompt confirming the detection of the drive, or you may need to manually navigate to the file explorer or disk utility to access it.
It is essential to ensure that the connection between your computer and the external hard drive is secure before proceeding to the next step. Loose connections can lead to data transfer issues or even data loss. Take a moment to double-check that the cables are firmly attached and that the drive is properly powered.
With the external hard drive successfully connected to your computer, you are now ready to move on to the next step: opening the file explorer.
Step 2: Open the file explorer on your computer
After connecting the external hard drive to your computer, the next step is to open the file explorer. The file explorer allows you to navigate your computer’s storage system and access the files and folders stored on it.
To open the file explorer, you can either use the shortcut on your taskbar or access it through the Start menu. On Windows, you can press the Windows key + E simultaneously to open the file explorer. On Mac, you can click on the Finder icon located at the bottom of your screen or use the Command + Space shortcut to access the Spotlight search and type in “finder.”
Once the file explorer is open, you will see a window displaying the various drives, folders, and files on your computer. Look for the external hard drive that you connected in the previous step. It should be listed under the “Devices” or “This PC” section on Windows or in the sidebar under “Devices” on Mac.
Click on the external hard drive’s name or icon to select it. This will show you the contents of the drive, including any existing files or folders stored on it. Take a moment to familiarize yourself with the file explorer interface so that you can easily navigate through your computer’s file system and locate the files you want to transfer.
With the file explorer open and the external hard drive selected, you are now prepared to move on to the next step: selecting the files you want to transfer.
Step 3: Select the files you want to transfer
Now that you have the file explorer open and your external hard drive selected, it’s time to choose the files you want to transfer. This step involves locating and selecting the specific files or folders on your computer that you wish to move to the external hard drive.
Start by navigating through the file explorer to find the location of your files. This could be your Documents, Pictures, or any other folder where your desired files are stored. You can click on the folder names and subfolders to expand them and view the files within.
Once you locate the files you want to transfer, you can select them by either clicking on each file individually while holding down the Ctrl key (Windows) or Command key (Mac) or by clicking and dragging your cursor to select multiple files at once. Alternatively, you can use the Ctrl + A (Windows) or Command + A (Mac) shortcut to select all the files in a folder.
It’s important to consider the available space on your external hard drive when selecting your files. Make sure you have enough space on the drive to accommodate the files you want to transfer. If necessary, you may need to prioritize and transfer your most important or frequently accessed files first.
Once you have selected the files you want to transfer, they will be highlighted or selected in the file explorer. You’re now ready to proceed to the next step: copying the selected files.
Step 4: Copy the selected files
With the files selected, it’s time to make copies of them on your external hard drive. This step involves the process of copying the selected files from their current location on your computer to the external hard drive.
Right-click on the selected files and folders, and a context menu will appear. From the menu options, choose the “Copy” or “Copy to” option. You can also use the Ctrl + C (Windows) or Command + C (Mac) shortcut to copy the files.
After clicking on the “Copy” or “Copy to” option, a new window will open displaying your computer’s file system. From this window, navigate to the location of your external hard drive. This might be listed under “Devices” or “This PC” on Windows or in the sidebar on Mac.
Once you have located the external hard drive in the file explorer, select it by clicking on its name or icon. Now, right-click on the empty space within the external hard drive’s location, and select the “Paste” option. Alternatively, you can use the Ctrl + V (Windows) or Command + V (Mac) shortcut to paste the copied files onto the external hard drive.
The file transfer process will then begin, and you will see progress indicators as the files are being copied to the external hard drive. The speed of the transfer depends on the size of the files and the transfer rate of the drive. Larger files may take longer to copy, so be patient during the process.
It’s important to note that during the file copy process, it’s best to avoid interrupting or disconnecting the external hard drive or shutting down your computer. Doing so may result in incomplete file transfers or data loss. Allow the process to complete before moving on to the next step.
Now that you have successfully copied the selected files to your external hard drive, you are ready to move on to the next step: pasting the files onto the external hard drive.
Step 5: Paste the files onto the external hard drive
Now that you have copied the files to your computer’s clipboard, it’s time to paste them onto your external hard drive. This step involves transferring the selected files from your computer’s memory to the storage space of the external hard drive.
Navigate back to the file explorer window where you previously selected the files, and locate the external hard drive. It should be displayed under “Devices” or “This PC” on Windows or in the sidebar on Mac.
Click on the name or icon of the external hard drive to open it in the file explorer. You will see an empty window representing the storage space of the external hard drive.
Right-click on the empty space within the external hard drive’s window, and select the “Paste” option from the context menu. Alternatively, you can use the Ctrl + V (Windows) or Command + V (Mac) shortcut to paste the files from the clipboard onto the external hard drive.
The file transfer process will now begin, and you will see a progress indicator as the files are being pasted onto the external hard drive. The transfer speed depends on factors such as the size of the files and the transfer rate of the drive. Larger files may take longer to paste, so be patient during the process.
It’s important to note that during the file pasting process, it’s best to avoid interrupting or disconnecting the external hard drive or shutting down your computer. Doing so may result in incomplete file transfers or data loss. Allow the process to complete before moving on to the next step.
Once the files have been successfully pasted onto the external hard drive, you can verify their presence by checking the file explorer window representing the external hard drive. You should see the transferred files within their respective folders.
Congratulations! You have successfully pasted the files onto the external hard drive. Now you can proceed to the next step: monitoring the file transfer process.
Step 6: Monitor the file transfer process
After pasting the files onto the external hard drive, it’s important to monitor the file transfer process to ensure that all files are copied successfully without any errors or interruptions. This step allows you to keep track of the progress and address any issues that may arise during the transfer.
Depending on the file explorer you are using, you may see a progress bar or status indicator that displays the transfer status of the files. This can give you an estimate of how much time is remaining for the transfer to complete.
During the file transfer process, it’s advisable to avoid using or accessing the external hard drive for other tasks to prevent any potential conflicts or errors. It’s also recommended to keep an eye on your computer’s resources, such as CPU and memory usage, to ensure that the transfer process doesn’t slow down or cause any performance issues.
If you encounter any errors or interruptions during the file transfer, such as a failed transfer or a file that couldn’t be copied, you may need to retry the transfer or troubleshoot the issue. In such cases, it’s recommended to check the file sizes, file formats, and file permissions to ensure they are compatible with the external hard drive.
Some file explorers also provide an option to generate a log or summary of the file transfer process. This can be useful for reviewing the transfer details and identifying any potential errors or discrepancies that need to be addressed.
Once the file transfer process is complete and you have verified that all files have been successfully transferred to the external hard drive, you can proceed to the final step: safely ejecting the external hard drive from your computer.
Remember to exercise caution and patience during the file transfer process and regularly save your work to prevent any possible data loss. Monitoring the transfer process allows you to ensure the integrity and completeness of your transferred files.
Step 7: Safely eject the external hard drive from your computer
After the file transfer process is complete, it’s important to safely eject the external hard drive from your computer. This step ensures that all data is written and saved to the drive before disconnecting it, preventing any potential data corruption or loss.
To safely eject the external hard drive, locate its icon or name in the file explorer window. Right-click on the drive and select the “Eject” or “Safely Remove” option from the context menu. On some operating systems, you may also find a small icon next to the drive, which you can click to initiate the ejection process.
Once you click on the “Eject” or “Safely Remove” option, you will see a notification indicating that it is safe to remove the external hard drive. This notification serves as a confirmation that all data has been written and cached on the drive, eliminating the risk of data loss or corruption.
It is crucial to wait for the notification before physically disconnecting the external hard drive from your computer. Prematurely removing the drive can lead to file system errors or even damage to the drive itself.
Once you receive the notification, you can safely disconnect the external hard drive from your computer. Carefully unplug the USB, Thunderbolt, or other cable connecting the drive to your computer. If the drive has a separate power source, ensure that you have safely unplugged it as well.
It is recommended to store your external hard drive in a safe place, away from dust, moisture, and extreme temperatures, when not in use. Additionally, consider creating regular backups of your important files to ensure the safety and availability of your data in case of any unforeseen circumstances.
Congratulations! You have successfully completed the process of transferring and safely ejecting files to an external hard drive. By following these steps, you can keep your data organized, accessible, and secure while freeing up space on your computer’s internal drive.
Conclusion
Transferring files to an external hard drive is a simple and effective way to create backups, free up space on your computer’s internal drive, and ensure the security of your important data. By following the steps outlined in this guide, you can easily complete the transfer process and keep your files organized and accessible.
Throughout this guide, we have covered the essential steps involved in transferring files to an external hard drive, including connecting the drive to your computer, opening the file explorer, selecting the files you want to transfer, copying and pasting the files onto the external hard drive, monitoring the file transfer process, and safely ejecting the drive from your computer.
Remember to double-check your connections, ensure you have enough space on the external hard drive before transferring files, and monitor the process to prevent any potential errors or interruptions. Furthermore, it is crucial to safely eject the external hard drive before physically disconnecting it to avoid data loss or corruption.
By maintaining a regular backup routine and utilizing external hard drives for file storage and transfers, you can safeguard your important data from accidental loss, hardware failures, and other unforeseen events. Whether you’re a tech-savvy individual or a beginner, following these steps will help you transfer files to an external hard drive with ease.
Always remember to create backups and keep your important files safe. In addition to external hard drives, there are other backup options available, such as cloud storage, network-attached storage (NAS), and online backup services. Consider implementing a multi-tiered backup strategy to maximize the protection and availability of your data.
Now that you’re well-versed in transferring files to an external hard drive, you can confidently manage your data storage needs and ensure the longevity and security of your files. Enjoy the convenience of easily accessing your files on the go and the peace of mind that comes with having a reliable backup solution in place.