Introduction
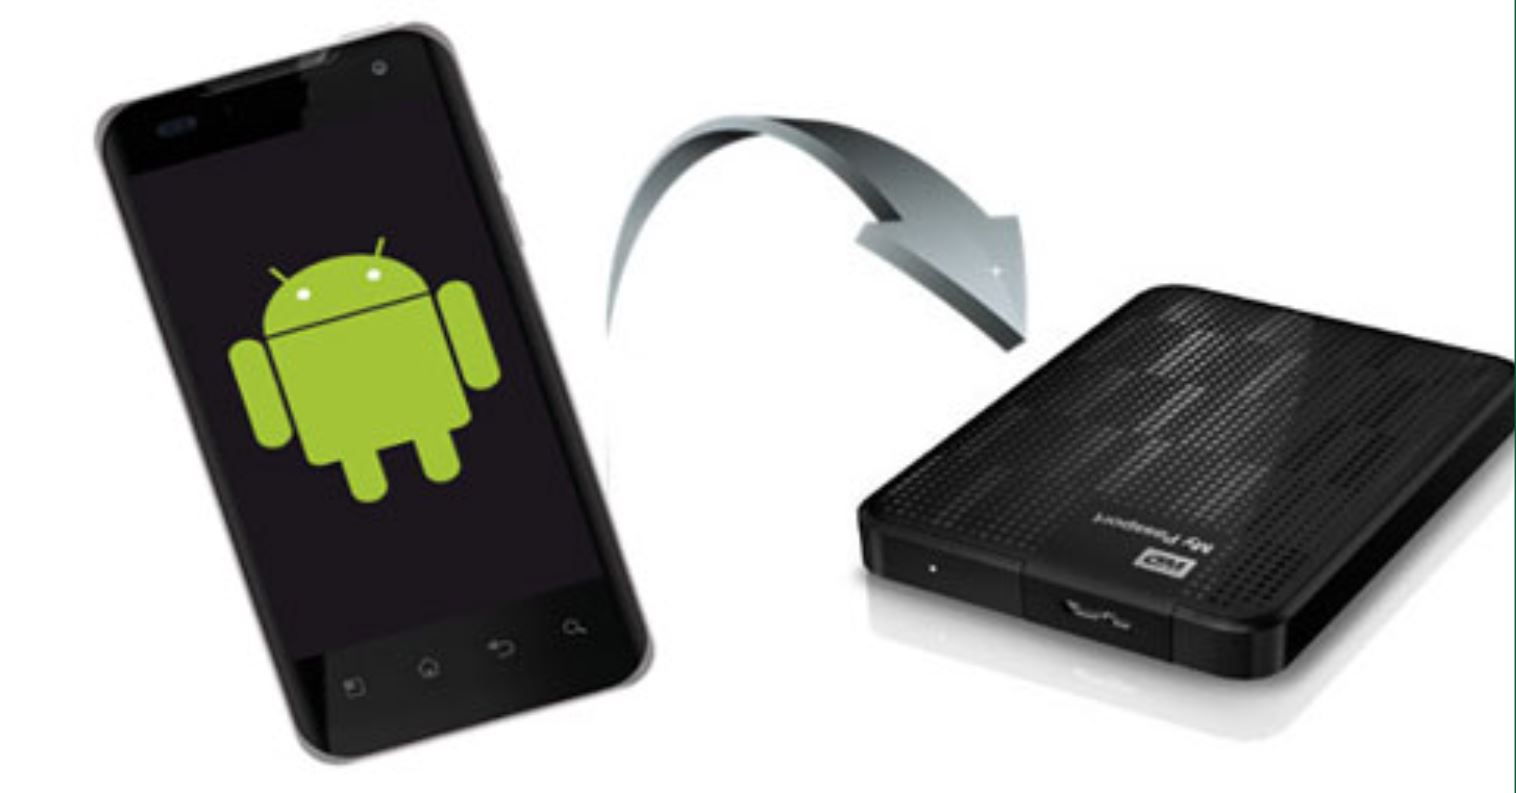
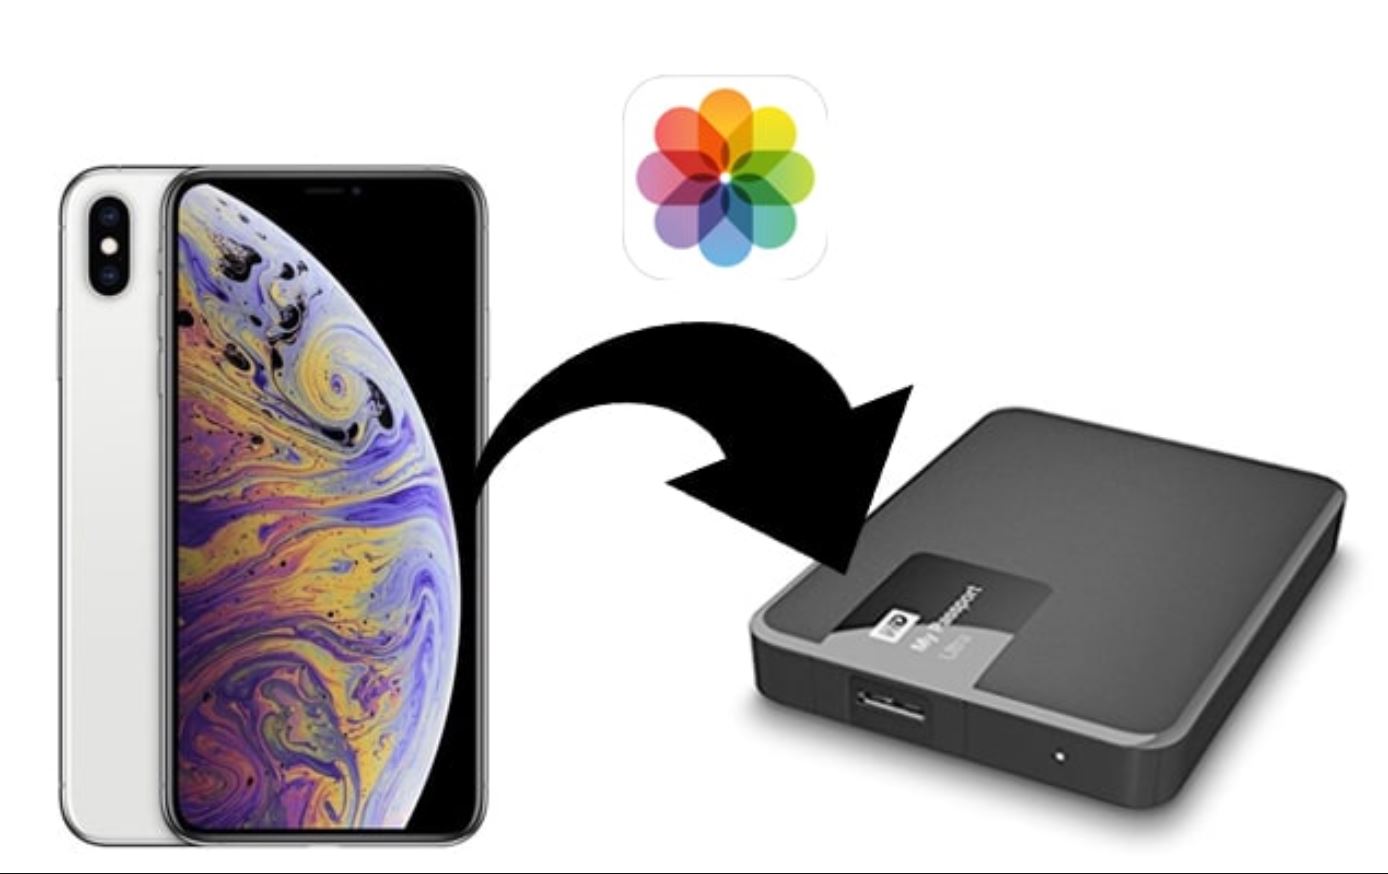
Welcome to our guide on how to move photos to an external hard drive. If you’re someone who loves taking pictures, you know how quickly your computer’s storage can fill up with precious memories. That’s where an external hard drive comes in handy – it provides a reliable and convenient solution for storing and organizing your photos.
By transferring your photos to an external hard drive, you’ll free up valuable space on your computer and ensure that your memories are safely backed up. Whether you’re a professional photographer or simply enjoy capturing special moments with your camera or smartphone, this guide will walk you through the step-by-step process of moving your photos to an external hard drive.
Don’t worry if you have never done this before – our instructions are straightforward and easy to follow. All you need is a computer, an external hard drive, and the photos you want to transfer. Let’s get started on preserving your treasured memories!
Step 1: Connect the External Hard Drive
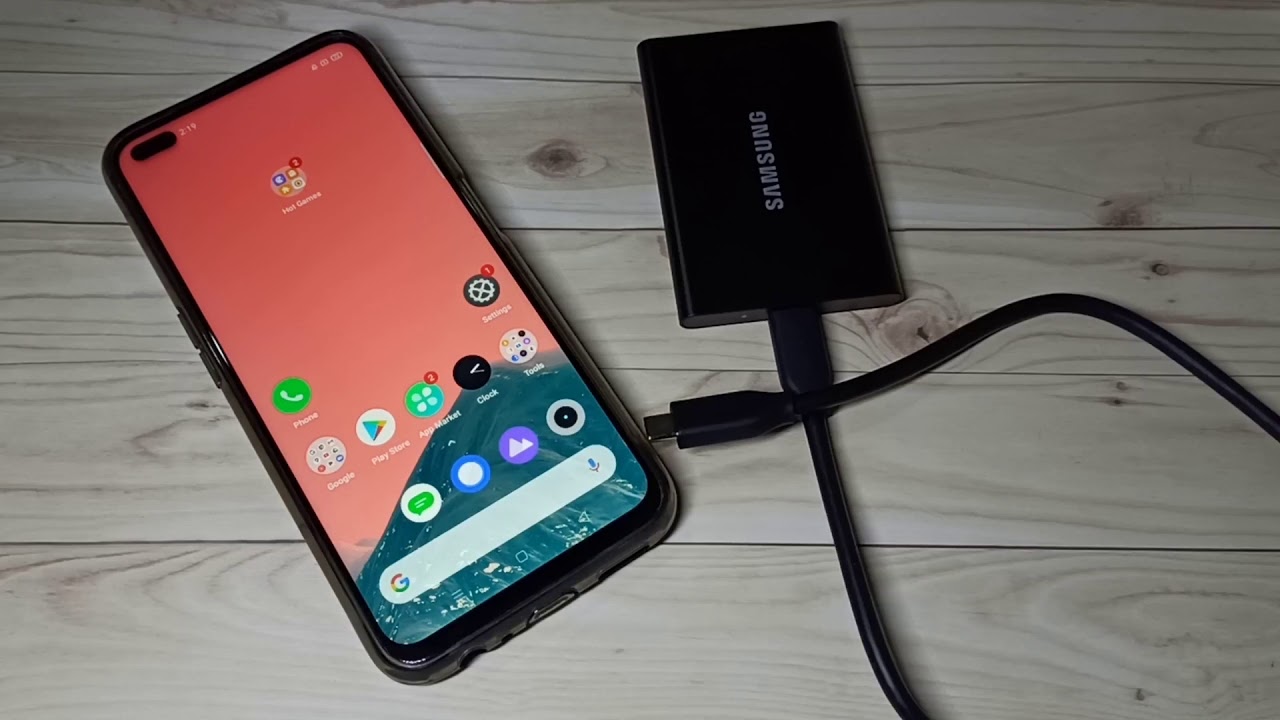
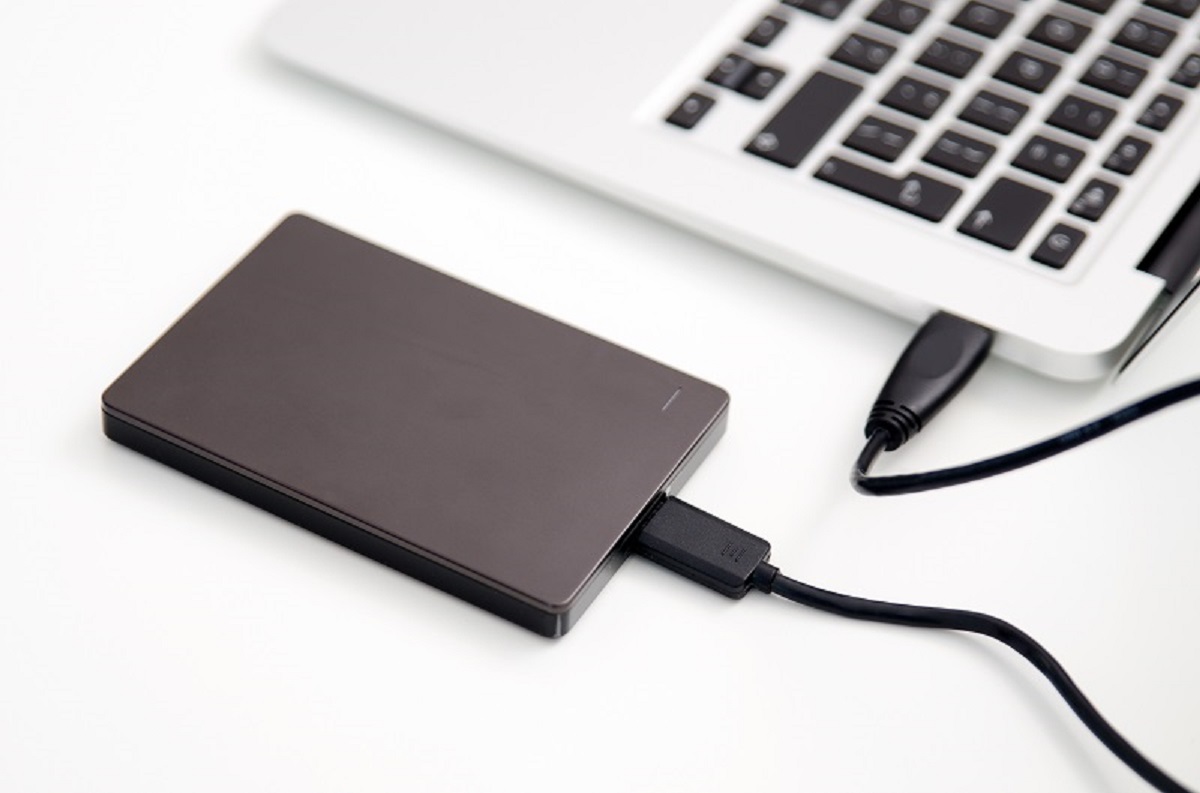
The first step in moving your photos to an external hard drive is to connect the device to your computer. Start by locating the USB port(s) on your computer – these are typically found on the side or back of the machine. Choose an available USB port where you can plug in your external hard drive.
Once you’ve identified the USB port, take the USB cable that came with your external hard drive and connect one end to the USB port on your computer. Then, take the other end of the cable and plug it into the corresponding port on your external hard drive. Make sure the connections are secure.
Depending on the type of external hard drive you have, you may need to provide external power by plugging it into an electrical outlet. Some external hard drives draw power directly from the USB port, while others require an additional power source. Consult the user manual or manufacturer’s instructions for your specific device to determine if you need to connect it to a power source.
Once you have connected the external hard drive to your computer and, if necessary, provided external power, your computer will recognize the device. It will appear as a new drive in the File Explorer (Windows) or Finder (Mac) application.
Note: If your computer doesn’t automatically recognize the external hard drive, you may need to install drivers or software provided by the manufacturer. Refer to the documentation that came with your device for further instructions.
Now that you have successfully connected the external hard drive to your computer, you’re ready to move on to the next step: opening File Explorer (Windows) or Finder (Mac).
Step 2: Open File Explorer
With your external hard drive connected to the computer, it’s time to open File Explorer (Windows) or Finder (Mac) to access and manage your files.
If you are using a Windows computer, you can open File Explorer by clicking on the “Start” button located in the bottom-left corner of your screen. From the Start menu, select “File Explorer” or simply click on the folder icon in the taskbar.
On a Mac computer, Finder is typically found in the dock at the bottom of the screen. Simply click on the Finder icon, which resembles a smiling face, to open it.
Once File Explorer or Finder is open, you will see a sidebar on the left-hand side of the window that displays various folders and drives. Look for the external hard drive, which should be listed under the “Devices” or “External Devices” section. You may see it labeled with the manufacturer’s name or as a generic “External Drive” or “USB Drive.”
Click once on the external hard drive’s name to select it. This will display the contents of the drive in the main window of File Explorer or Finder.
Now that you have successfully opened File Explorer or Finder and selected your external hard drive, you are one step closer to moving your photos. In the next step, we will discuss how to select the photos you want to transfer.
Step 3: Select the Photos to Transfer
After opening File Explorer (Windows) or Finder (Mac) and selecting your external hard drive, it’s time to choose the photos you want to transfer. Depending on how your photos are organized, there are a few different ways to select them.
If your photos are stored in a specific folder on your computer, navigate to that folder within File Explorer or Finder. You can do this by clicking on the appropriate folders in the sidebar or by using the search function to locate the specific photos you want to transfer.
Once you have located the folder containing the photos, you can select individual photos by clicking on them while holding the Ctrl (Windows) or Command (Mac) key. To select multiple photos that are next to each other, click on the first photo, hold down the Shift key, and then click on the last photo in the series. This will select all the photos in between.
If you want to select all the photos in the folder, you can use the Ctrl+A (Windows) or Command+A (Mac) keyboard shortcut to select everything in the folder.
Another option is to use the search function within File Explorer or Finder to find specific photos based on file names, keywords, or dates. Simply enter the search criteria in the search bar located at the top-right corner of the application. Once the search results are displayed, you can select the desired photos using the aforementioned methods.
Regardless of the method you choose, take your time to carefully select the photos you want to transfer. Double-check that you have included all the photos you wish to move to the external hard drive.
Now that you have selected the photos, it’s time to proceed to the next step: copying the photos to the external hard drive.
Step 4: Copy the Photos
With your desired photos selected, it’s time to copy them from your computer to the external hard drive. This process ensures that the original files remain on your computer while creating a duplicate copy on the external hard drive.
In File Explorer (Windows) or Finder (Mac), right-click on the selected photos. This will open a context menu where you can choose the “Copy” option. Alternatively, you can use the Ctrl+C (Windows) or Command+C (Mac) keyboard shortcut to copy the selected photos.
Next, navigate to the external hard drive in File Explorer (Windows) or Finder (Mac) and open it. You can either double-click on the external hard drive’s name in the sidebar or right-click and choose the “Open” option.
Once inside the external hard drive, right-click anywhere within the window and select “Paste” from the context menu. Alternatively, you can use the Ctrl+V (Windows) or Command+V (Mac) keyboard shortcut to paste the photos.
As the copying process takes place, you will see a progress bar or a notification indicating the transfer status. The time it takes to copy the photos will depend on the size and number of files being transferred, as well as the speed of your computer and external hard drive.
It is important to note that during the copying process, refrain from disconnecting or turning off your computer or the external hard drive. Doing so may interrupt the transfer and potentially lead to data loss or corruption.
Once the copying process is complete, the selected photos will be successfully transferred to the external hard drive. You can verify this by navigating through the folders on the external hard drive and confirming that the photos are present.
Congratulations! You have successfully copied the photos to your external hard drive. In the next step, we will discuss how to safely eject the external hard drive before disconnecting it from your computer.
Step 5: Paste the Photos to the External Hard Drive
Now that you’ve copied the photos from your computer, it’s time to paste them onto the external hard drive. This step ensures that the photos are transferred and stored securely on the external storage device.
To begin, navigate to the external hard drive on your File Explorer (Windows) or Finder (Mac) application. You can do this by double-clicking on the external hard drive’s name in the sidebar or by selecting it from the list of drives.
Once inside the external hard drive’s folder, right-click anywhere within the window and select the “Paste” option from the context menu. Alternatively, you can use the Ctrl+V (Windows) or Command+V (Mac) keyboard shortcut to paste the photos onto the external hard drive.
The photos will now begin to transfer from your computer to the external hard drive. This process may take some time, depending on the file sizes and the speed of both your computer and the external hard drive. You may see a progress bar indicating the transfer status, allowing you to track the progress.
It’s important to ensure that the photos are pasted into a desired folder on the external hard drive. If you want to organize your photos into specific folders on the external hard drive, create a new folder by right-clicking and selecting “New Folder,” and then give it a descriptive name. Once the folder is created, open it and paste the photos into it.
During the transfer process, it’s recommended not to remove or disconnect the external hard drive, as this can cause data loss or corruption. Allow the transfer to complete before proceeding to the next step.
Once the transfer is finished, you can confirm that the photos have been successfully pasted onto the external hard drive by navigating through the folders and checking that the files are present.
Great job! You have now successfully pasted the photos onto the external hard drive. In the next step, we will discuss important instructions on safely ejecting the external hard drive from your computer.
Step 6: Wait for the Transfer to Complete
After pasting the photos onto your external hard drive, it’s important to wait for the transfer to complete before proceeding. This ensures that all the files are successfully transferred and prevents any data loss or corruption.
The time it takes for the transfer to complete depends on various factors such as the size and number of files being transferred, the speed of your computer and external hard drive, and other system resources. It’s important to allow ample time for the transfer process to finish.
You may see a progress bar or a notification indicating the transfer status during the copying process. This provides you with an estimate of the time remaining for the transfer to complete. Avoid interrupting or stopping the transfer by not disconnecting or turning off your computer or the external hard drive.
Note that it’s normal for larger transfers to take more time. Patience is key during this step, as rushing or prematurely disconnecting the external hard drive can lead to incomplete transfers or potential data loss.
While waiting for the transfer to complete, you can utilize this time to perform other tasks on your computer or take a break. It’s a good practice to avoid heavy usage of your computer during the transfer process, as this can potentially slow down the transfer or affect its performance.
Once the transfer is complete, ensure that all the files have been successfully transferred to the external hard drive. You can navigate through the folders on the external hard drive and verify the presence of the photos you’ve copied.
By allowing the transfer to complete, you can have peace of mind knowing that your precious photos are securely stored on the external hard drive. Now, let’s move on to the last step where we’ll discuss how to safely eject the external hard drive from your computer.
Step 7: Safely Eject the External Hard Drive
Once you have confirmed that the transfer is complete and all your photos are safely stored on the external hard drive, it’s important to properly eject the device from your computer. This ensures that all data is written to the external hard drive and reduces the risk of data corruption.
To safely eject the external hard drive, first, close any open windows or applications that are accessing files on the device. This includes File Explorer (Windows) or Finder (Mac), as well as any photo editing software or viewers that might be using the files.
In File Explorer (Windows), locate the external hard drive in the sidebar or under the “This PC” section. Right-click on the external hard drive’s name and select the “Eject” or “Safely Remove Hardware” option from the context menu. Wait for a notification or confirmation message that it’s safe to remove the device.
On a Mac computer, you can simply drag the external hard drive’s icon to the trash or use the eject button located next to the device in Finder. Once ejected, you can safely disconnect the external hard drive from your computer.
It’s important to note that removing the external hard drive without properly ejecting it can result in data loss or corruption. The safe ejection process ensures that all data is written and cached properly before disconnecting the device.
Once you have safely ejected the external hard drive, you can unplug the USB cable from both the computer and the device. Store the external hard drive in a safe location, preferably away from any potential physical damage or excessive heat.
Congratulations! You have successfully completed the process of transferring and safely ejecting your photos to an external hard drive. Your photos are now securely backed up and easily accessible whenever you need them. Enjoy the additional storage space on your computer and the peace of mind knowing that your memories are protected.
Conclusion
Transferring your photos to an external hard drive is a smart and efficient way to free up storage space on your computer while ensuring the safety of your valuable memories. With just a few simple steps, you can securely store and organize your photos on an external storage device.
In this guide, we covered the step-by-step process for moving photos to an external hard drive. We started by connecting the external hard drive to your computer and opening the File Explorer (Windows) or Finder (Mac) application. Then, we discussed how to select the photos you want to transfer and copy them from your computer to the external hard drive.
After pasting the photos onto the external hard drive, it’s crucial to patiently wait for the transfer to complete to avoid any data loss or corruption. Finally, we emphasized the importance of safely ejecting the external hard drive from your computer to ensure that all data is finalized and properly written to the device.
By following this guide, you have successfully moved your photos to an external hard drive, freeing up valuable storage space on your computer and providing a secure backup for your cherished memories. Remember to keep your external hard drive in a safe place and regularly back up your photos to ensure their long-term preservation.
Thank you for using our guide. We hope it has been helpful and that you now feel confident in managing and organizing your photo collection using an external hard drive. Enjoy the peace of mind and convenience that comes with securely storing your photos on a dedicated storage device.