Introduction
Transferring photos from Google to an external hard drive is a smart way to create a backup of your cherished memories and free up space on your Google account. Whether you’re downsizing your storage or simply want to keep your photos safe and accessible offline, this step-by-step guide will show you how to easily transfer photos from Google to an external hard drive.
In today’s digital age, we capture countless moments through our smartphones and cameras, and storing them in the cloud has become a popular choice. Google Photos, with its unlimited storage option for high-quality photos, has emerged as a go-to platform for many users. However, relying solely on cloud storage may leave you vulnerable to potential data loss or account breaches. That’s where backing up your photos to an external hard drive comes in handy.
By transferring your photos to an external hard drive, you not only create an additional copy of your images but also gain full control over their accessibility and security. This means you can access your photos even without an internet connection and protect them from accidental deletion, file corruption, or security breaches. Plus, an external hard drive offers ample storage capacity, allowing you to store all your photos in one place, freeing up space on your Google account for new memories to be captured.
In this guide, we will walk you through the process of transferring photos from Google to an external hard drive. We’ll cover the necessary steps starting from connecting the external hard drive to setting up and configuring Google Backup and Sync, a powerful tool that allows you to seamlessly transfer and back up your photos to your preferred location.
Let’s dive in and discover how you can easily and efficiently transfer your photos from Google to an external hard drive, ensuring that your precious memories stay safe and easily accessible for years to come.
Step 1: Connect the External Hard Drive
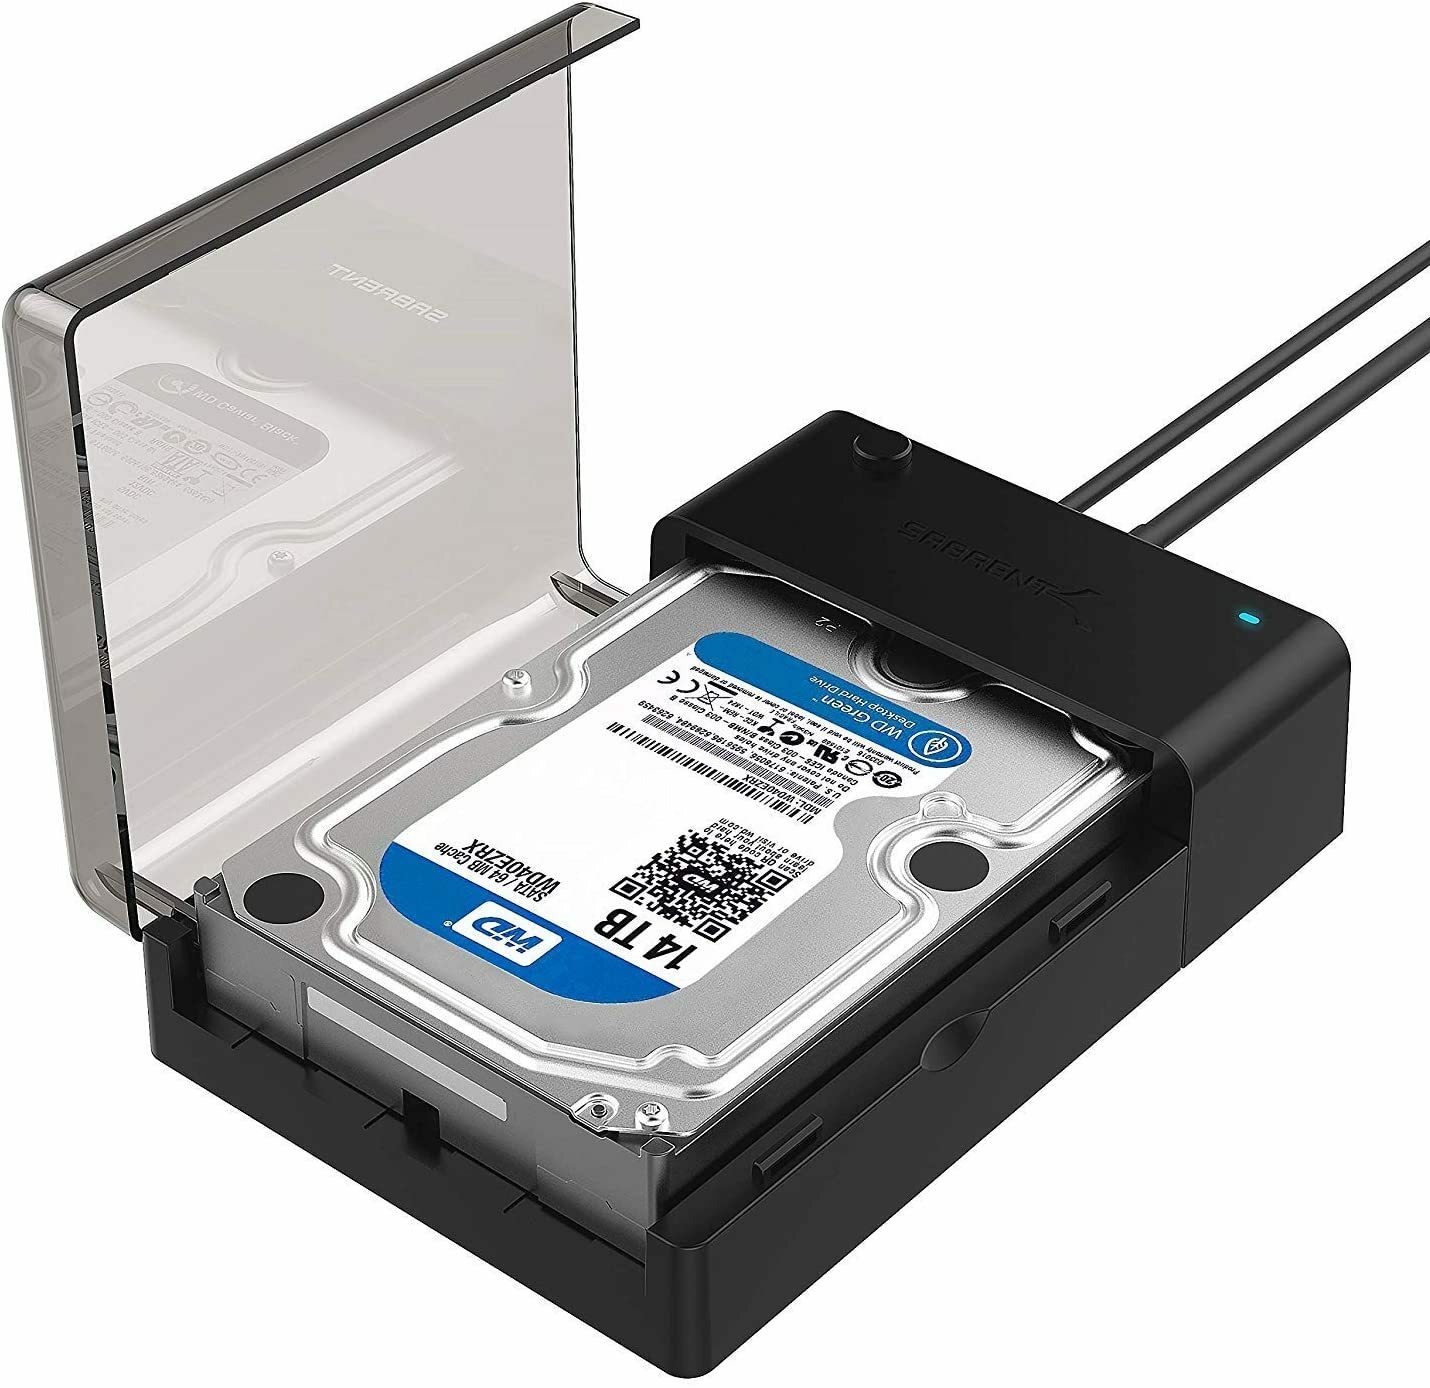
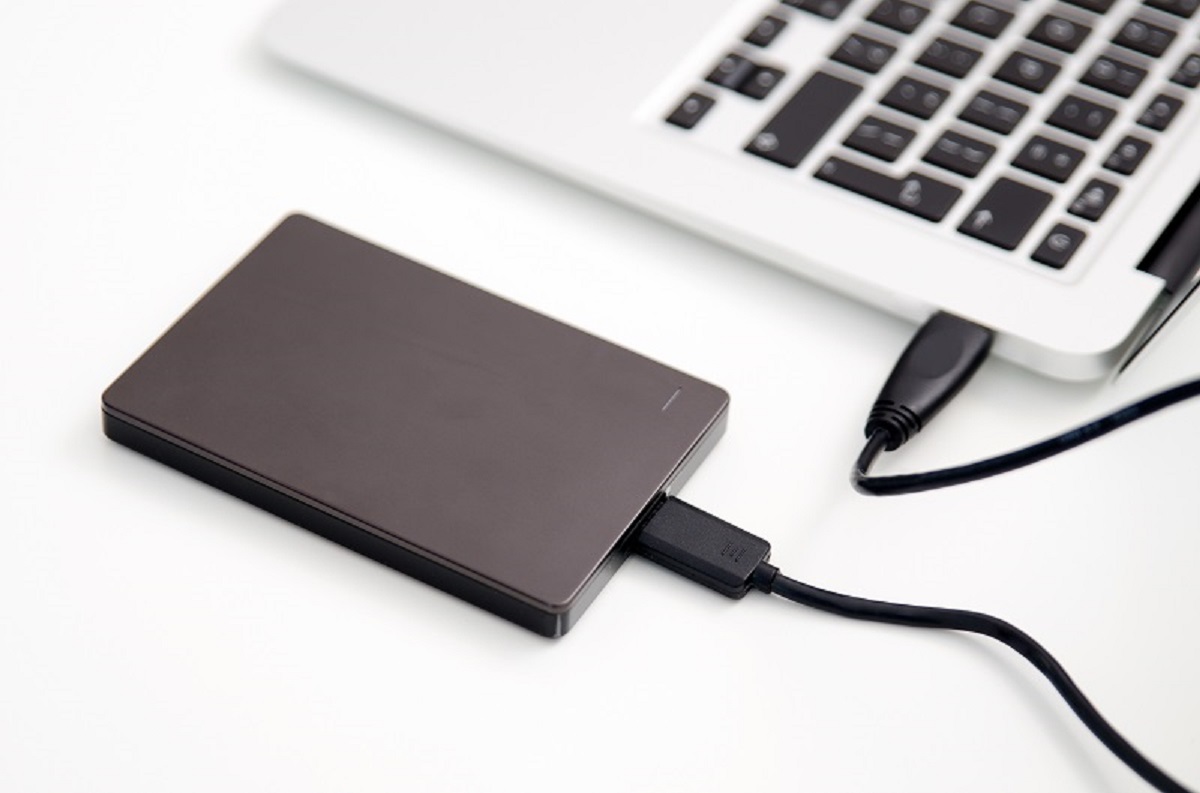
The first step in transferring your photos from Google to an external hard drive is to ensure that the external hard drive is properly connected to your computer. Follow these simple steps to connect the external hard drive:
- Locate an available USB port on your computer. Most computers have multiple USB ports located on the front or back panel.
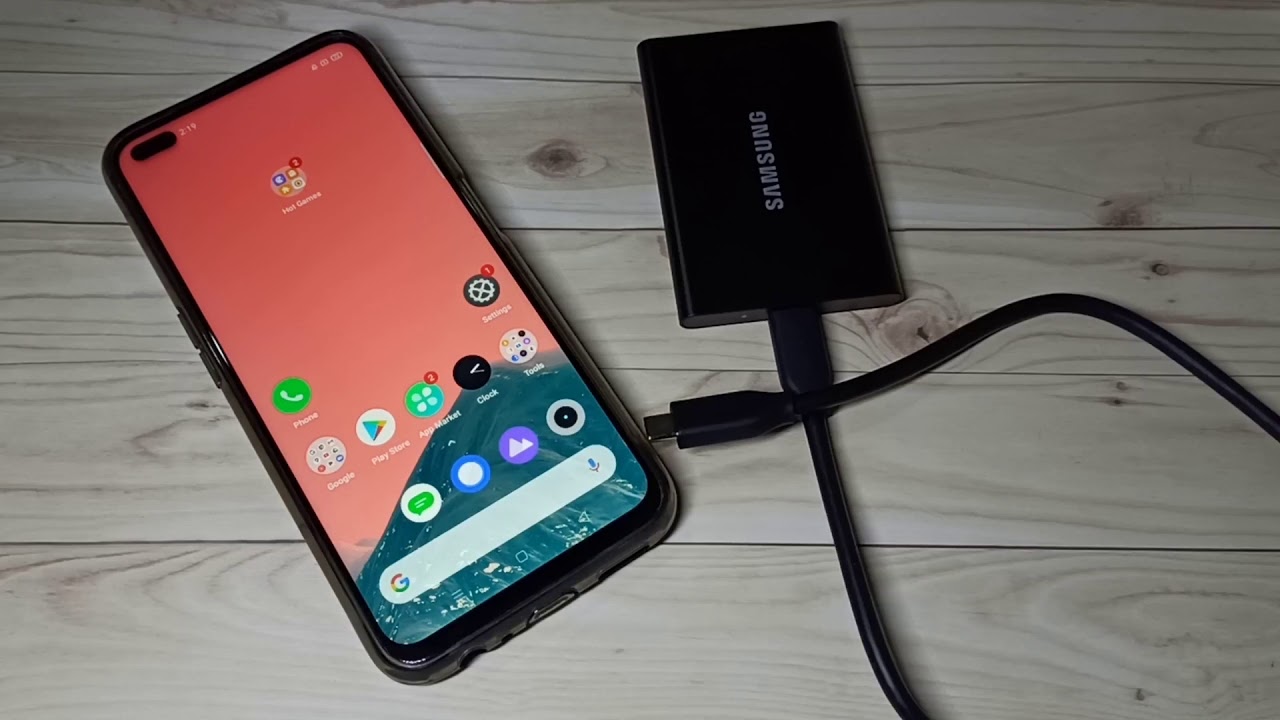
- Take the USB cable that came with your external hard drive and connect one end into the USB port on your computer.
- Take the other end of the USB cable and connect it to the USB port on your external hard drive.
- Once the connection is made, you’ll typically see a notification on your computer indicating that a new device has been connected.
- Wait for a few moments to allow your computer to detect and recognize the external hard drive. This may take a few seconds or minutes depending on your system.
Ensure that your external hard drive is properly connected and recognized by your computer before proceeding to the next steps. If your computer does not detect the external hard drive, try using a different USB cable or port. If the issue persists, consult the user manual or contact the manufacturer for further assistance.
Connecting the external hard drive is an important initial step to ensure the successful transfer of your photos. Once the connection is established, you’re ready to move on to the next step of installing Google Backup and Sync, which will enable you to synchronize and store your photos from Google to your external hard drive.
Step 2: Install Google Backup and Sync
To transfer your photos from Google to an external hard drive, you’ll need to install and set up Google Backup and Sync. This powerful tool allows you to automatically sync and back up files, including your precious photos, from your Google account to your external hard drive. Follow these steps to install Google Backup and Sync:
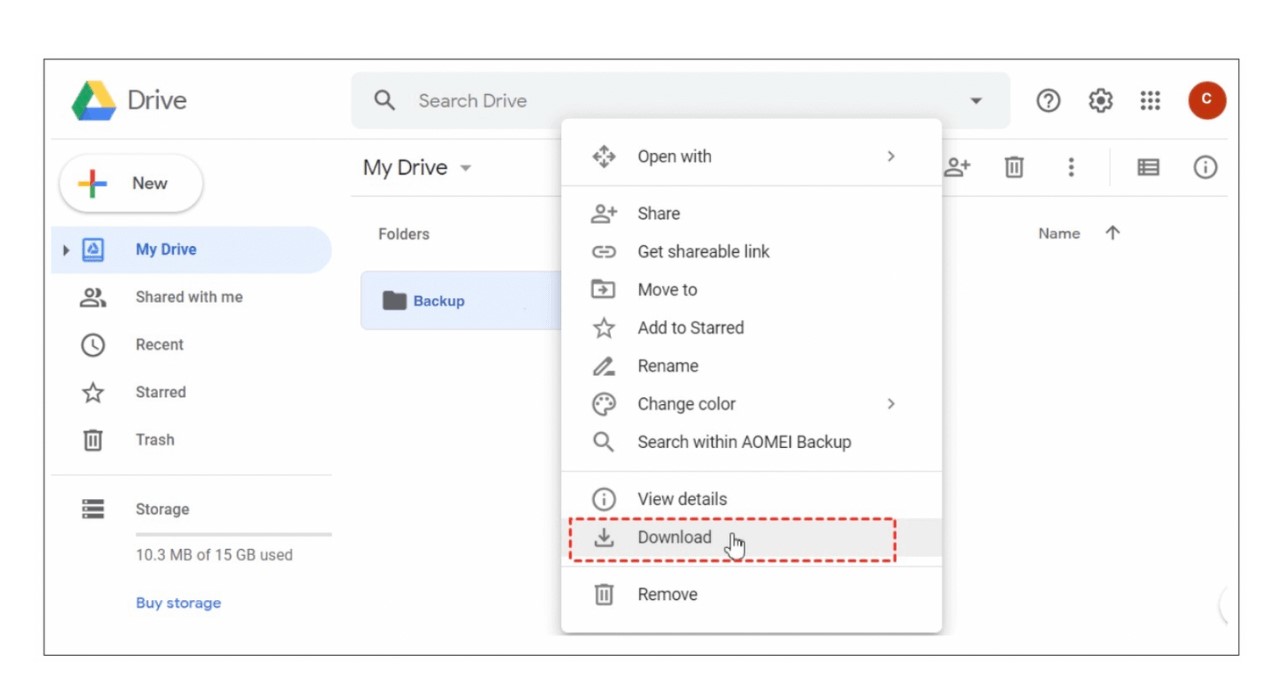
- Open your preferred web browser and navigate to the Google Backup and Sync download page.
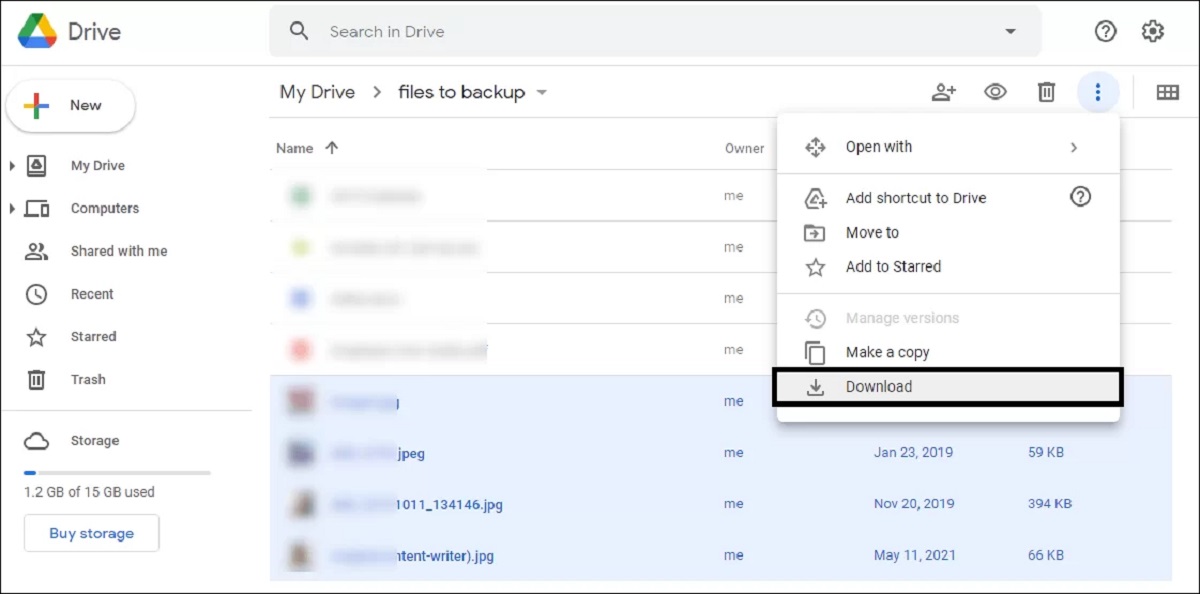
- Click on the “Download” button to initiate the download of the installation file.
- Once the download is complete, locate the downloaded file (usually in the “Downloads” folder) and double-click on it to start the installation process.
- Follow the on-screen prompts to complete the installation. You may be asked to agree to the terms and conditions, select the installation location, and customize installation options.
- After the installation is complete, the Google Backup and Sync application will launch automatically.
With Google Backup and Sync installed on your computer, you can easily synchronize your Google Photos to your external hard drive and keep them updated with any changes or additions made to your Google account.
During the installation process, you’ll also be prompted to sign in to your Google account. Make sure to use the same Google account that contains the photos you want to transfer. If you don’t have a Google account, you’ll need to create one before proceeding. Without signing in, you won’t be able to access your Google Photos and complete the transfer process.
Now that you have Google Backup and Sync installed and ready to go, you’re one step closer to transferring your cherished photos from Google to your external hard drive. Let’s move on to the next step of signing in to your Google account using the Google Backup and Sync application.
Step 3: Sign in to Google Account
To proceed with transferring your photos from Google to an external hard drive using Google Backup and Sync, you’ll need to sign in to your Google account from within the application. Follow these steps to sign in:
- Launch the Google Backup and Sync application from your computer’s applications or programs list.
- On the welcome screen, click on the “Get Started” button.
- A sign-in window will appear, prompting you to enter your Google account credentials.
- Enter your email address or phone number associated with your Google account in the appropriate field.
- Click “Next” to proceed.
- Enter your password in the designated field and click “Next” again.
If you have enabled two-factor authentication on your Google account, you may be prompted to provide the verification code sent to your mobile device or alternative email address. Follow the instructions provided to complete the sign-in process.
Once you have successfully signed in to your Google account within the Google Backup and Sync application, you’ll have access to your Google Photos and be able to configure the backup and sync settings to transfer your photos to the external hard drive.
It’s important to sign in to the correct Google account that contains the photos you want to transfer. Using the wrong Google account may result in transferring the wrong set of photos or not being able to access your desired photos at all.
Now that you’re signed in to your Google account through the Google Backup and Sync application, let’s move on to the next step of setting up backup preferences to specify which photos you want to transfer to the external hard drive.
Step 4: Set Up Backup Preferences
After signing in to your Google account within the Google Backup and Sync application, it’s time to configure your backup preferences. These settings will determine which photos from your Google account will be transferred to the external hard drive. Follow these steps to set up your backup preferences:
- In the Google Backup and Sync application, click on the three-dot menu icon located in the top-right corner.
- Select “Preferences” from the drop-down menu.
- A new window will open with various tabs. Click on the “Google Drive” tab.
- Under the “Google Photos” section, you’ll find different options to choose from:
- All photos and videos: This option will back up and sync all the photos and videos from your Google Photos library to your external hard drive.
- Google Photos Folder: Select this option if you only want to back up specific photos and videos from a specific folder within your Google Photos library. You can navigate to the folder and select it.
- Selected albums: Choose this option if you want to back up specific albums from your Google Photos library to your external hard drive. You can select individual albums by checking the box next to each album’s name.
- Once you have selected your preferred option, click on the “OK” button to save the changes.
By customizing your backup preferences, you can ensure that only the desired photos and videos are transferred to your external hard drive, saving time and storage space. Whether you want to back up your entire Google Photos library or just a specific folder or albums, Google Backup and Sync gives you the flexibility to choose what’s right for you.
Now that you have set up your backup preferences, let’s move on to the next step of selecting the photos you want to transfer from Google to the external hard drive.
Step 5: Select Photos to Transfer
Now that you have configured your backup preferences, it’s time to select the specific photos you want to transfer from your Google account to the external hard drive. Follow these steps to choose the photos:
- Open the Google Backup and Sync application on your computer.
- Click on the application icon in your taskbar or system tray to bring up the main window.
- In the main window, you’ll see a section labeled “Sync only these folders.” Click on the “Choose Folder” button next to it.
- A file browser window will open, displaying your Google Drive folders. Navigate to the “Google Photos” folder.
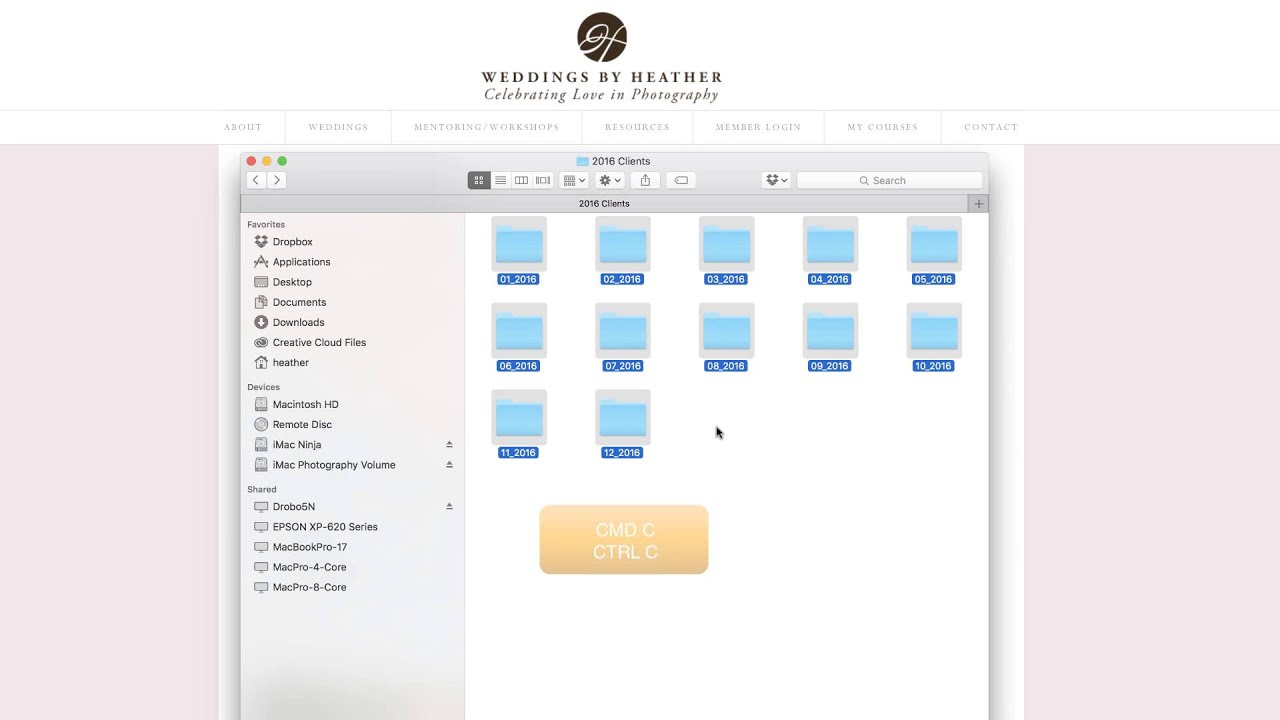
- Within the “Google Photos” folder, you’ll find sub-folders containing your albums. Select the specific album(s) you want to transfer to the external hard drive.
- Once you have chosen the album(s), click on the “OK” button to save your selection.
By selecting specific albums to transfer, you have the flexibility to choose the photos that are most important or meaningful to you. This allows you to save storage space on your external hard drive by excluding photos that may not be relevant or necessary.
It’s worth noting that any changes made to the selected albums in your Google Photos library will automatically be reflected in the synced folder on your external hard drive. This ensures that your photos stay up to date and synchronized between your Google account and the external hard drive.
Now that you have selected the photos you want to transfer, you’re ready to specify the location on your external hard drive where the photos will be stored. Let’s move on to the next step of choosing the external hard drive location.
Step 6: Choose External Hard Drive Location
After selecting the specific photos you want to transfer, it’s time to choose the location on your external hard drive where the photos will be stored. Follow these steps to specify the external hard drive location:
- In the Google Backup and Sync application, click on the three-dot menu icon located in the top-right corner.
- Select “Preferences” from the drop-down menu.
- A new window will open with various tabs. Click on the “Google Drive” tab.
- Under the “Location” section, click on the “Change” button.
- A file browser window will appear, allowing you to navigate to the external hard drive location.
- Select the desired folder or create a new folder on your external hard drive where you want to store the transferred photos.
- Click on the “Open” or “Select Folder” button to save the changes.
By specifying the location on your external hard drive, you have control over where the transferred photos will be stored. It is recommended to choose a location that is easily accessible and organized for future reference.
Ensure that your external hard drive has sufficient storage space to accommodate the transferred photos. Consider the size of the selected photos and the available capacity of your external hard drive to avoid any storage limitations.
Now that you have chosen the external hard drive location, it’s time to initiate the transfer process and start moving your photos from Google to the external hard drive. Let’s move on to the next step of starting the transfer process.
Step 7: Start the Transfer Process
With the external hard drive location set, it’s time to initiate the transfer process and start moving your selected photos from Google to the external hard drive. Follow these steps to begin the transfer:
- In the Google Backup and Sync application, click on the application icon in your taskbar or system tray to bring up the main window.
- On the main window, click on the “Sync” button to start the synchronization process.
- The application will begin transferring the selected photos from your Google account to the specified location on your external hard drive.
- Depending on the number of photos and their file sizes, the transfer process may take some time. You can monitor the progress of the transfer in the Google Backup and Sync application window.
- During the transfer process, it is important to keep the external hard drive connected to your computer to ensure a seamless transfer without interruptions.
- Once the transfer is complete, you will have successfully transferred your selected photos from Google to your external hard drive.
The speed of the transfer process depends on various factors such as the size of the photos, the speed of your internet connection, and the performance of your computer and external hard drive. It is normal for larger photo collections to take longer to transfer.
While the transfer is in progress, it’s best to avoid making any changes to the selected albums or modifying the photos within your Google Photos library. This helps to ensure that the transfer is completed accurately and no conflicts or discrepancies arise.
Congratulations! You have reached a significant milestone in transferring your photos from Google to an external hard drive. Now, let’s move on to the next step of monitoring the transfer progress to ensure a successful and complete transfer.
Step 8: Monitor the Transfer Progress
As the transfer process takes place, it’s important to monitor the progress to ensure that all of your selected photos are successfully transferred from Google to the external hard drive. Follow these steps to keep an eye on the transfer progress:
- In the Google Backup and Sync application, click on the application icon in your taskbar or system tray to bring up the main window.
- In the main window, you’ll see a progress bar or status indicator that shows the ongoing transfer process.
- The progress bar will indicate the percentage of completion or show a visual representation of files being transferred.
- You can also check the status or progress in the “Syncing” tab in the Google Backup and Sync application.
- During the transfer, the application may display the number of files remaining, the estimated time remaining, or the file sizes being transferred.
- Keep an eye on any error messages or notifications that may appear during the transfer process. In case of any issues, refer to the troubleshooting guide provided by Google Backup and Sync.
- Ensure that the external hard drive remains connected to your computer throughout the transfer process to prevent any disruptions.
- Once the transfer progress reaches 100% or the status indicates a successful completion, you can be confident that your selected photos have been transferred from Google to the external hard drive.
Monitoring the transfer progress allows you to verify that all of your photos are successfully moved to the external hard drive. If you encounter any difficulties or the transfer process seems to be taking an unusually long time, refer to the help resources provided by Google Backup and Sync or seek assistance from their support team.
Congratulations! You have completed the transfer process and successfully transferred your precious photos from Google to an external hard drive. Now, you can enjoy peace of mind knowing that your memories are safely stored and easily accessible from your external hard drive.
In this guide, we have walked through the step-by-step process of transferring photos from Google to an external hard drive. From connecting the external hard drive to configuring backup preferences and monitoring the transfer progress, you have learned how to safeguard your photos and create an additional backup option.
Remember to regularly update your backup and sync settings to ensure that any new photos added to your Google Photos library continue to be transferred to the external hard drive. This will help you keep your photo collection up to date and the external hard drive in sync with your Google account.
Thank you for following this guide, and we hope it has been helpful in preserving and organizing your treasured photos!
Conclusion
Transferring your photos from Google to an external hard drive is a valuable precaution to safeguard your cherished memories and create an additional layer of backup. By following the step-by-step guide provided, you have learned how to connect the external hard drive, install Google Backup and Sync, sign in to your Google account, set up backup preferences, select the photos to transfer, choose the external hard drive location, start the transfer process, and monitor the progress.
Moving your photos from Google to an external hard drive offers several advantages. It allows you to create a physical copy of your photos, protecting them from accidental deletion or loss due to technical issues. Additionally, it provides offline accessibility to your photo collection, enabling you to view and share your memories even without an internet connection. By freeing up space on your Google account, you can continue capturing new moments without worrying about storage limitations.
Remember to periodically update your backup preferences and monitor the synchronization process to ensure that your photo collection remains up to date on both Google Photos and the external hard drive. Regularly backing up new photos will help you maintain an organized and secure archive of your memories.
Now that you have successfully transferred your photos from Google to an external hard drive, you can enjoy peace of mind knowing that your cherished memories are protected and easily accessible whenever you need them. Take the time to organize your photo collection on the external hard drive, create backup copies, and consider implementing additional measures such as cloud storage or multiple external hard drives for extra protection.
Preserving your memories should be a priority, and by following this guide, you have taken a significant step toward securing and organizing your photo collection. Enjoy the convenience, reliability, and peace of mind that comes with having your photos safely stored on an external hard drive.
Thank you for following this guide, and we hope it has provided you with valuable insights and guidance in successfully transferring your photos from Google to an external hard drive. Keep exploring and capturing more moments to create a vibrant collection of memories that can be treasured for years to come!