Introduction
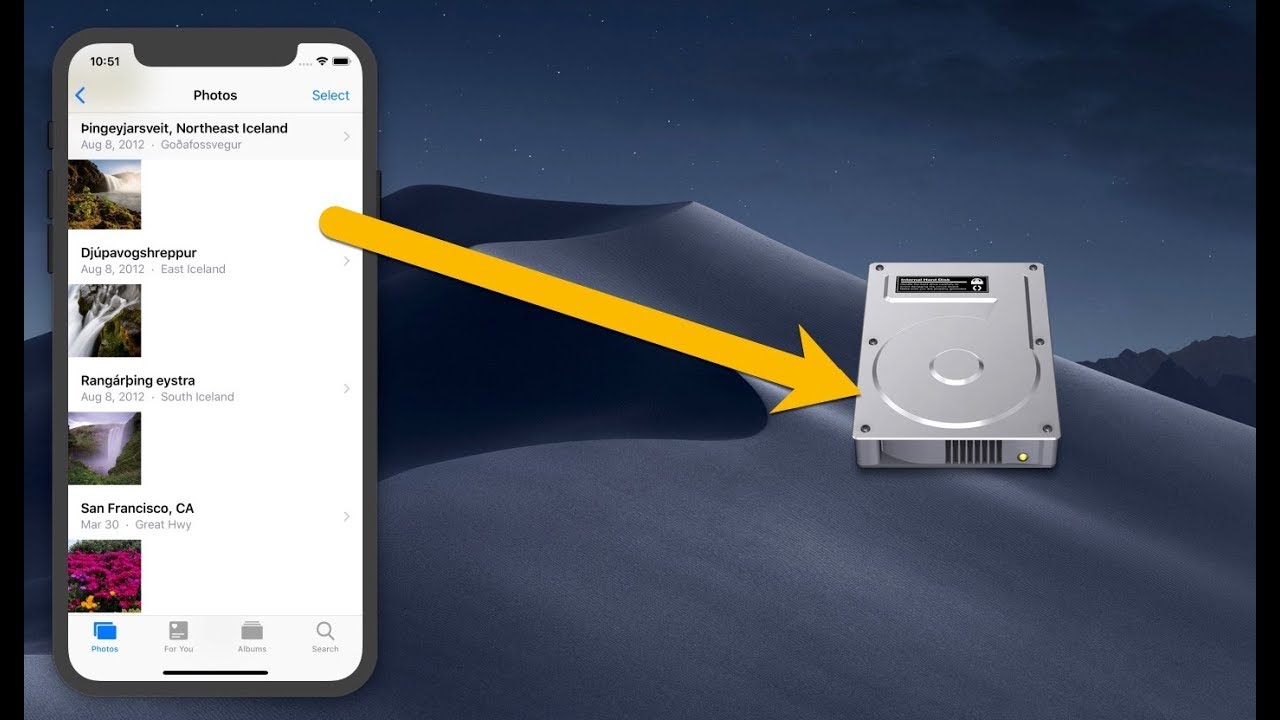
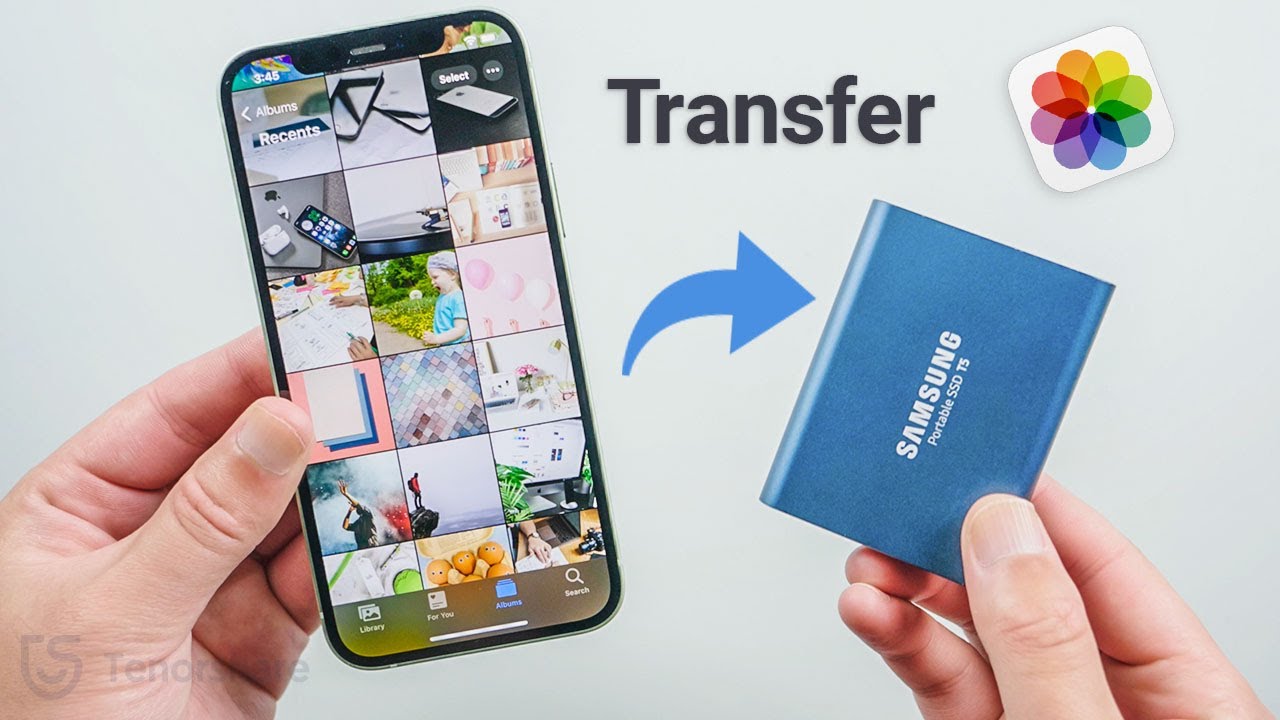
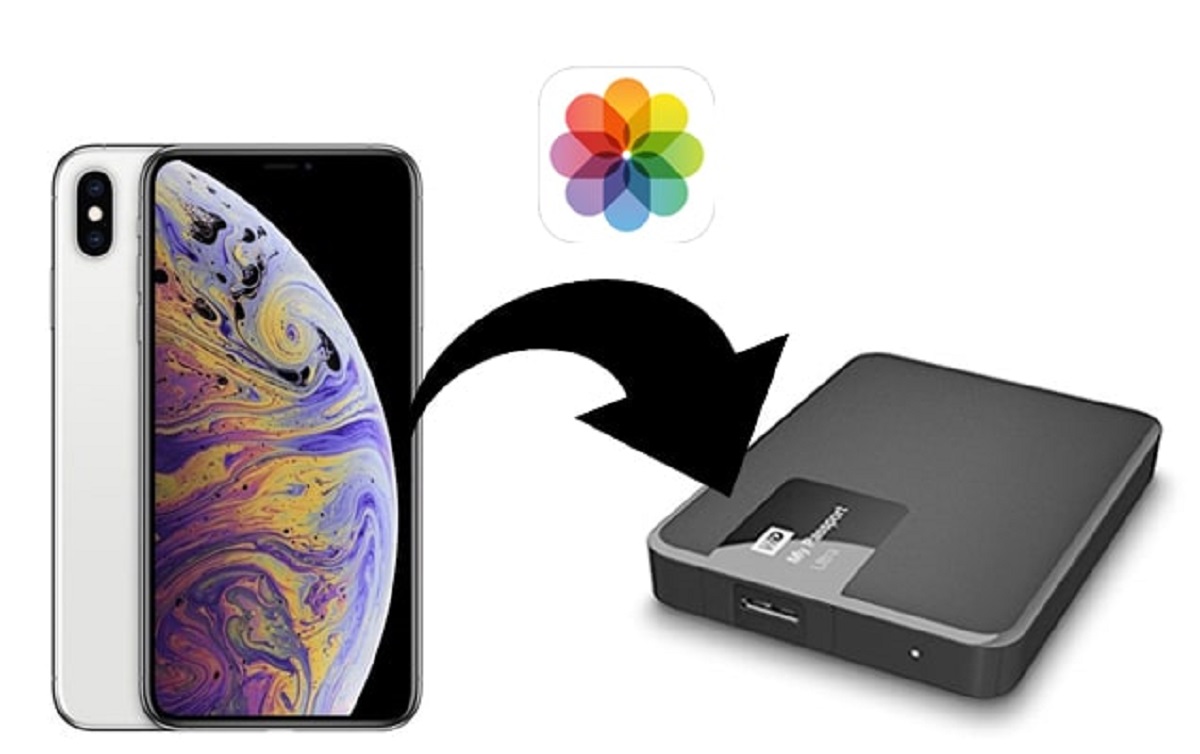
As smartphones continue to advance in camera technology, it’s no wonder that our iPhones have become our go-to devices for capturing precious moments through photos. However, the growing collection of photos can quickly eat up the storage space on your iPhone. To free up space and ensure the safety of your valuable memories, it is important to transfer your iPhone photos to an external hard drive.
Transferring your iPhone photos to an external hard drive not only helps to expand your storage capacity but also serves as a backup solution in case of accidental loss or damage to your iPhone. By keeping a copy of your photos on an external device, you can have peace of mind knowing that your memories are securely stored.
In this article, we will explore three different options for transferring iPhone photos to an external hard drive. Whether you prefer to use a computer, an adapter, or cloud storage, there is a method that best suits your needs. Let’s dive in and discover how you can conveniently and efficiently transfer your iPhone photos to an external hard drive.
Option 1: Transfer iPhone photos to external hard drive using a computer
One of the most common and straightforward methods of transferring iPhone photos to an external hard drive involves using a computer. This method allows you to have more control over the transfer process and provides you with the flexibility to organize your photos as desired. Here’s how you can do it:
- Connect your iPhone to your computer using a USB cable.
- Unlock your iPhone and trust the computer if prompted.
- On your computer, open the File Explorer (Windows) or Finder (Mac).
- Navigate to the location where you want to store the transferred photos on your external hard drive.
- Open a separate File Explorer (Windows) or Finder (Mac) window and locate your iPhone device.
- Within your iPhone device, you should find a “DCIM” folder. Open it to reveal the folders containing your iPhone photos.
- Select the photos you want to transfer to the external hard drive, either individually or by using the Ctrl (Windows) or Command (Mac) key along with the mouse click.
- Drag and drop the selected photos from the iPhone folder to the destination folder on your external hard drive.
- Wait for the photos to be copied over. The time taken will depend on the number and size of the photos.
- Once the transfer is complete, you can safely disconnect your iPhone from the computer.
This method allows you to directly transfer the photos from your iPhone to the external hard drive, ensuring that you have duplicates of your photos stored on both devices. You can now enjoy the extra storage space on your iPhone and access your photos from the external hard drive whenever you need them.
Remember to periodically back up your external hard drive to another location to further safeguard your precious memories.
Option 2: Transfer iPhone photos directly to an external hard drive using an adapter
If you prefer a more direct and efficient method of transferring iPhone photos to an external hard drive, you can use an adapter specifically designed for this purpose. These adapters allow you to connect your iPhone directly to the external hard drive without the need for a computer. Here’s how you can do it:
- Purchase an adapter that supports both your iPhone’s charging port and the connection type of your external hard drive (such as USB-C or Lightning to USB).
- Connect the adapter to your iPhone’s charging port.
- Insert the cable of your external hard drive into the corresponding port on the adapter.
- Your iPhone should recognize the external hard drive. If prompted, grant access to the hard drive.
- Open the Photos app on your iPhone.
- Select the photos you want to transfer to the external hard drive.
- Tap the “Share” icon and select “Save to Files” or “Save Image”.
- Choose the external hard drive as the destination for the saved photos.
- Wait for the transfer to complete. The time taken will depend on the number and size of the photos.
- Once the transfer is finished, you can safely disconnect the adapter and the external hard drive from your iPhone.
Using an adapter provides a convenient solution for directly transferring iPhone photos to an external hard drive without the need for a computer. This method allows you to quickly backup and access your photos on the go. However, it’s important to ensure that the adapter you choose is compatible with both your iPhone and the external hard drive.
By utilizing this method, you can free up space on your iPhone and keep your valuable memories safe and secure on an external hard drive.
Option 3: Transfer iPhone photos to external hard drive using cloud storage
If you prefer a wireless and hassle-free method of transferring iPhone photos to an external hard drive, utilizing cloud storage services can be a great option. Cloud storage allows you to store your photos remotely and access them from any device with an internet connection. Here’s how you can transfer your iPhone photos to an external hard drive using cloud storage:
- Sign up for a cloud storage service such as Google Drive, Dropbox, or iCloud.
- Download the cloud storage app on your iPhone and sign in to your account.
- Open the app and navigate to the “Photos” or “Camera Roll” folder where your iPhone photos are stored.
- Select the photos you want to transfer to the external hard drive.
- Tap the “Upload” or “Save” button within the cloud storage app and choose your desired storage location.
- If prompted, you can create new folders within your cloud storage to organize your photos.
- Wait for the upload process to complete. The time taken will depend on the number and size of the photos as well as the speed of your internet connection.
- Once the upload is finished, log in to your cloud storage account on your computer.
- Download the photos from the cloud storage to your external hard drive by dragging and dropping them into the desired location.
- Ensure that the photos are successfully transferred to the external hard drive before deleting them from the cloud storage or your iPhone.
Using cloud storage offers a convenient way to transfer iPhone photos to an external hard drive without the need for physical connectivity. This method not only frees up space on your iPhone but also provides an additional layer of backup for your photos. However, keep in mind that you may need a stable internet connection and sufficient storage space in your cloud storage account to accommodate all your photos.
By leveraging cloud storage services, you can easily and securely transfer your iPhone photos to an external hard drive, allowing you to access them from multiple devices and ensuring their safety.
Conclusion
Transferring your iPhone photos to an external hard drive is a practical and efficient way to free up storage space on your device and ensure the safety of your valuable memories. In this article, we explored three different options for transferring photos:
- Using a computer: This method provides more control over the transfer process and allows you to organize your photos as desired.
- Using an adapter: This direct method enables you to connect your iPhone directly to the external hard drive, without the need for a computer.
- Using cloud storage: This wireless approach offers convenience and accessibility, allowing you to access your photos from any device with an internet connection.
Each method has its own advantages and considerations. The choice ultimately depends on your preferences, available resources, and desired level of convenience. Regardless of the method you choose, transferring your iPhone photos to an external hard drive is a smart move to preserve and protect your memories.
Remember to regularly back up your external hard drive to another location to ensure the redundancy of your photos and maintain their long-term safety. Additionally, always double-check the transfer process to ensure the successful completion of the task before deleting any photos from your iPhone or other devices.
With the proper transfer method and a reliable external hard drive, you can enjoy the additional storage space on your iPhone, have a backup of your photos, and easily access your memories whenever you want.