Introduction
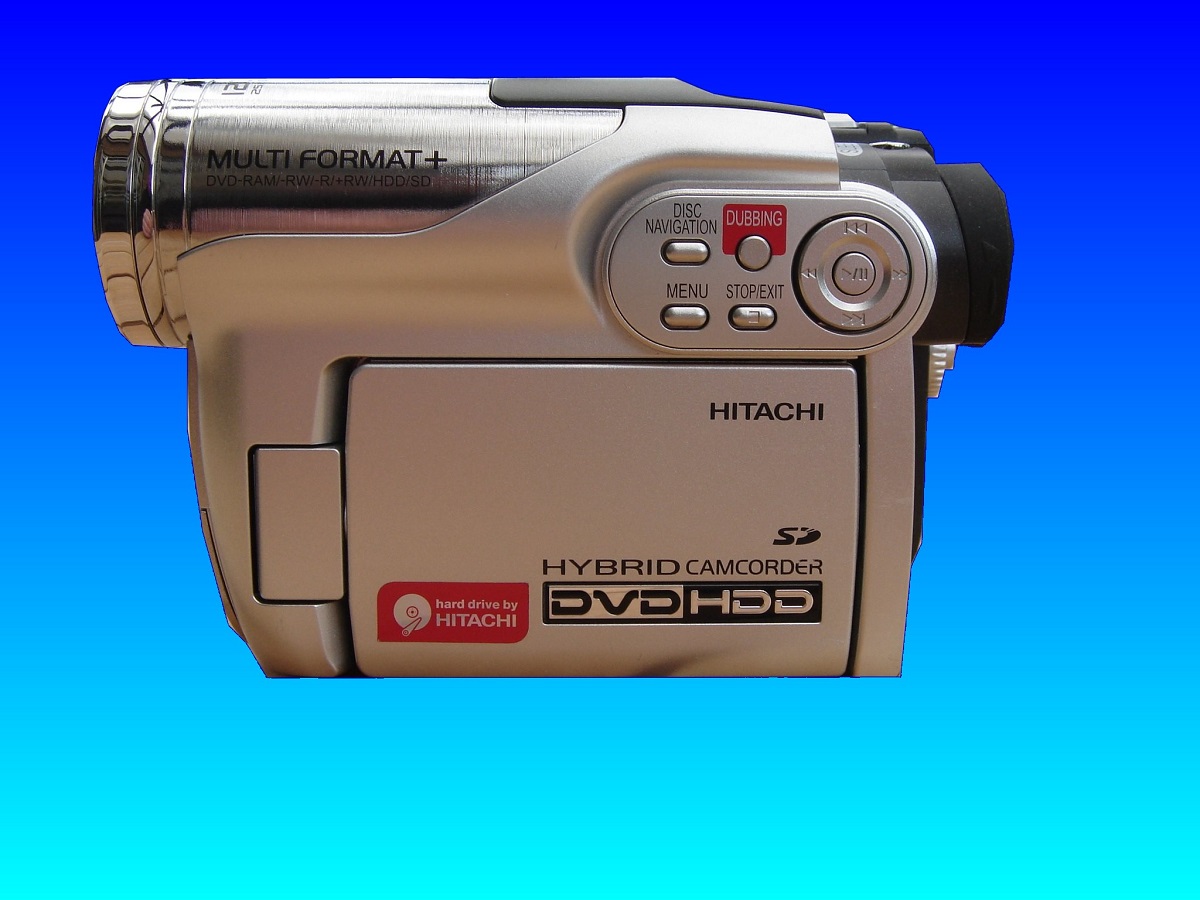
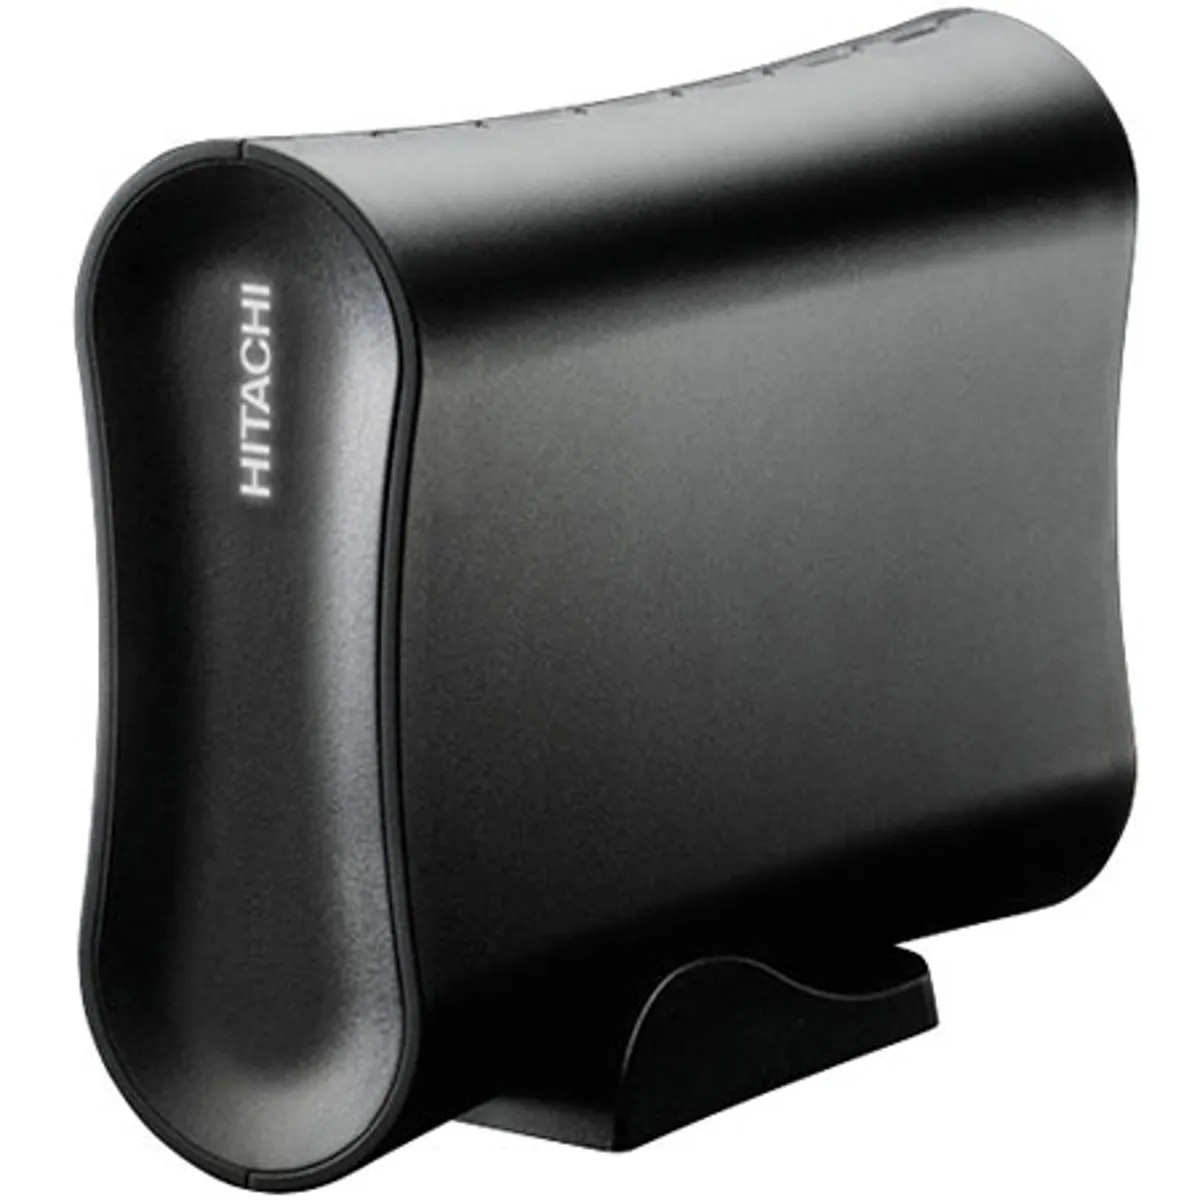
External hard drives are a convenient and popular choice for expanding storage space, backing up data, and transporting files between computers. If you own a Hitachi external hard drive and want to use it with your computer, you will need to format it to ensure compatibility and proper functioning. This article will guide you through the step-by-step process of formatting a Hitachi external hard drive.
Formatting a hard drive erases all existing data on the drive, so it’s important to back up any important files before proceeding. After formatting, the hard drive will be ready for use and will be compatible with your operating system.
In this article, we will provide instructions for formatting a Hitachi external hard drive on both Windows and Mac operating systems. We will also address common troubleshooting issues that may arise during the formatting process.
Before we dive into the instructions, make sure you have the necessary materials ready. You will need:
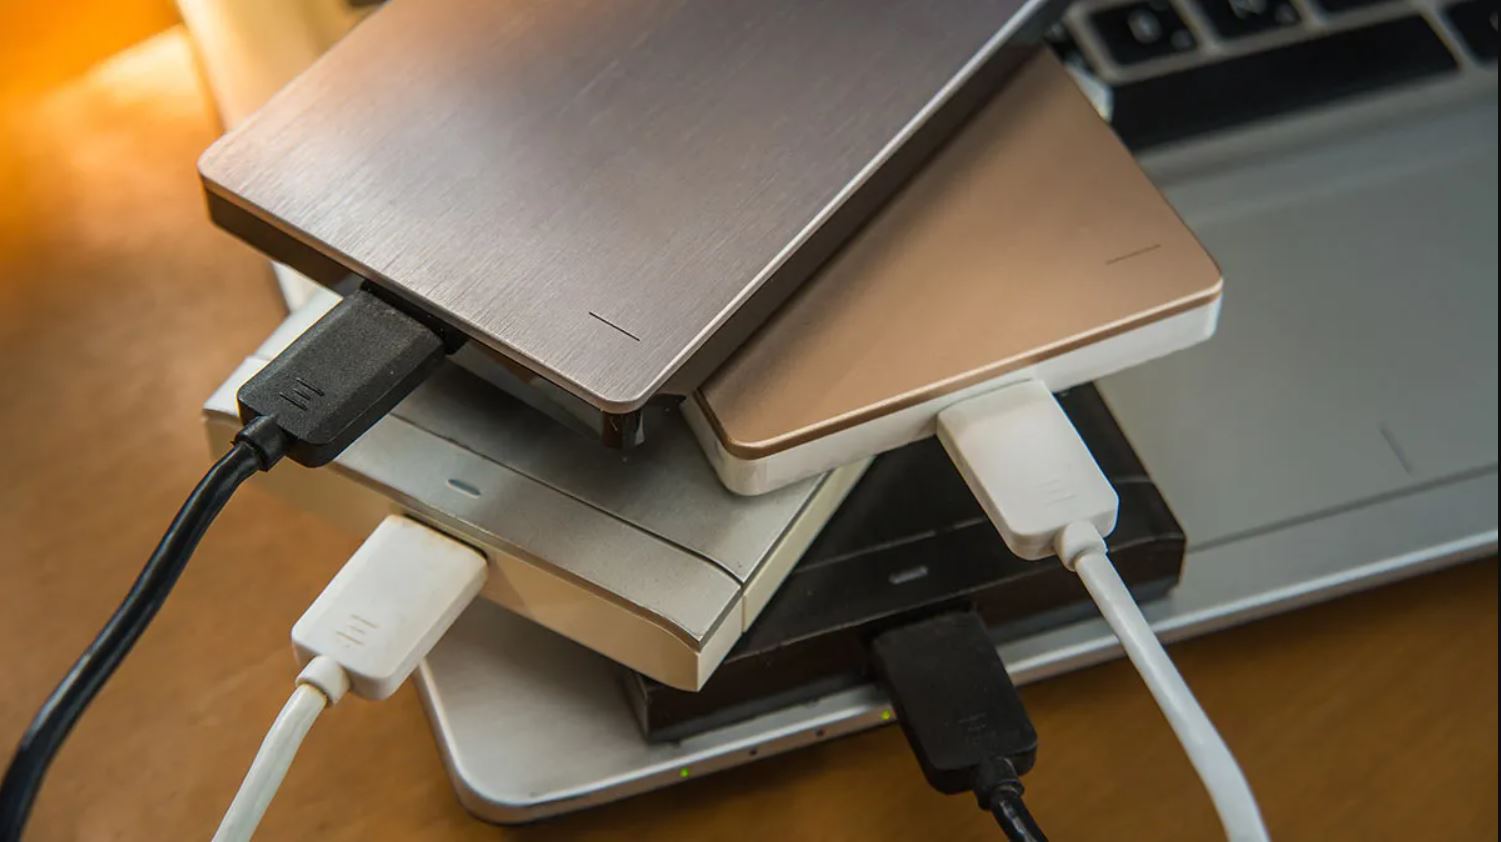
- Your Hitachi external hard drive
- A compatible computer (Windows PC or Mac)
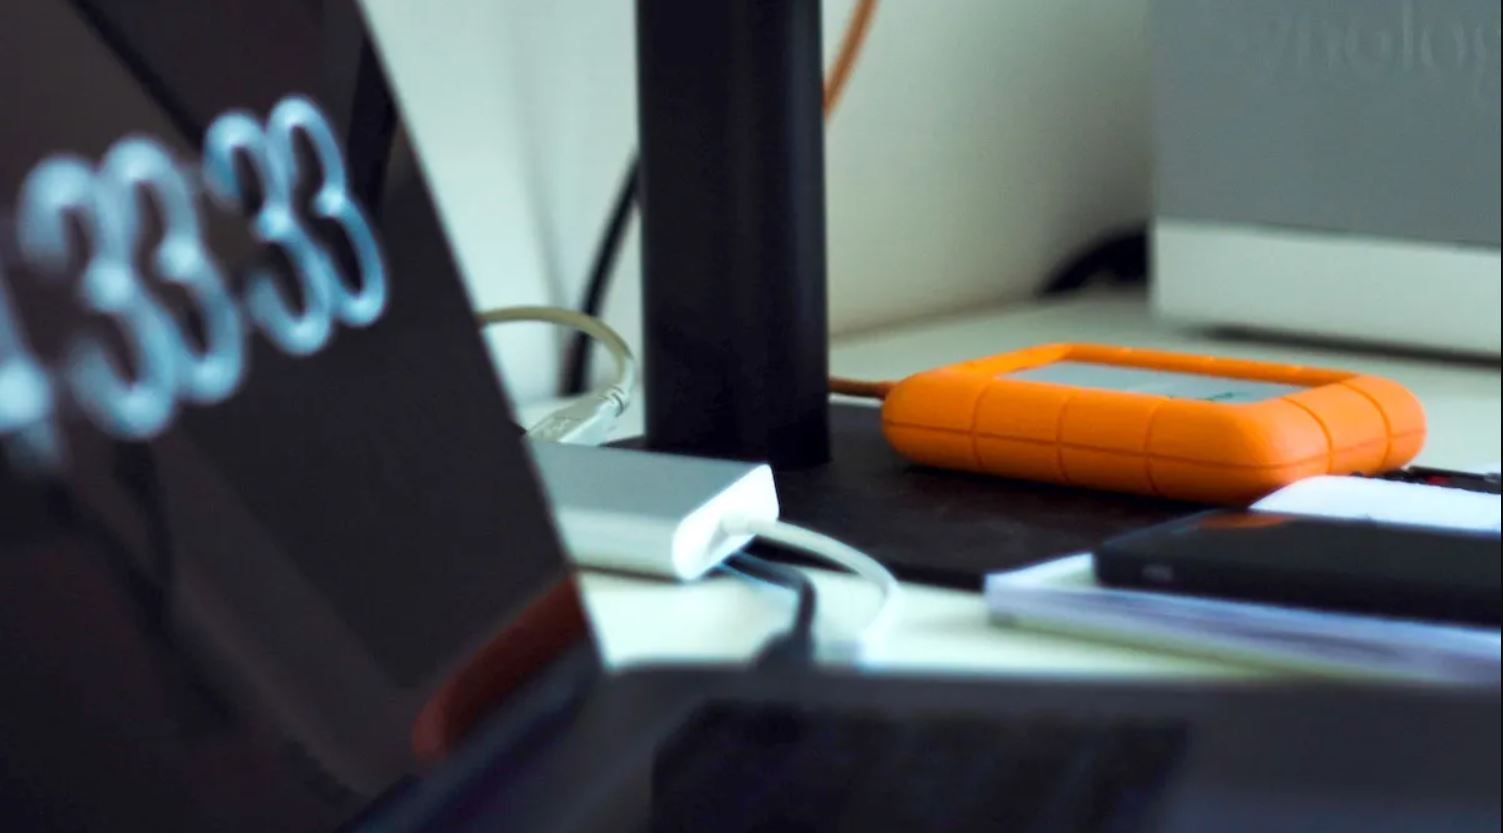
- USB cable to connect the hard drive to your computer
With these materials in hand, you are now ready to start formatting your Hitachi external hard drive and unleash its full potential for storage and data management.
Preparing the Necessary Materials
Before you can begin formatting your Hitachi external hard drive, it’s important to ensure that you have all the necessary materials ready. Gathering these materials beforehand will help ensure a smooth and hassle-free process. Here’s what you’ll need:
- Your Hitachi External Hard Drive: Make sure you have your Hitachi external hard drive at hand. Check that it’s in good condition and free from any physical damage.
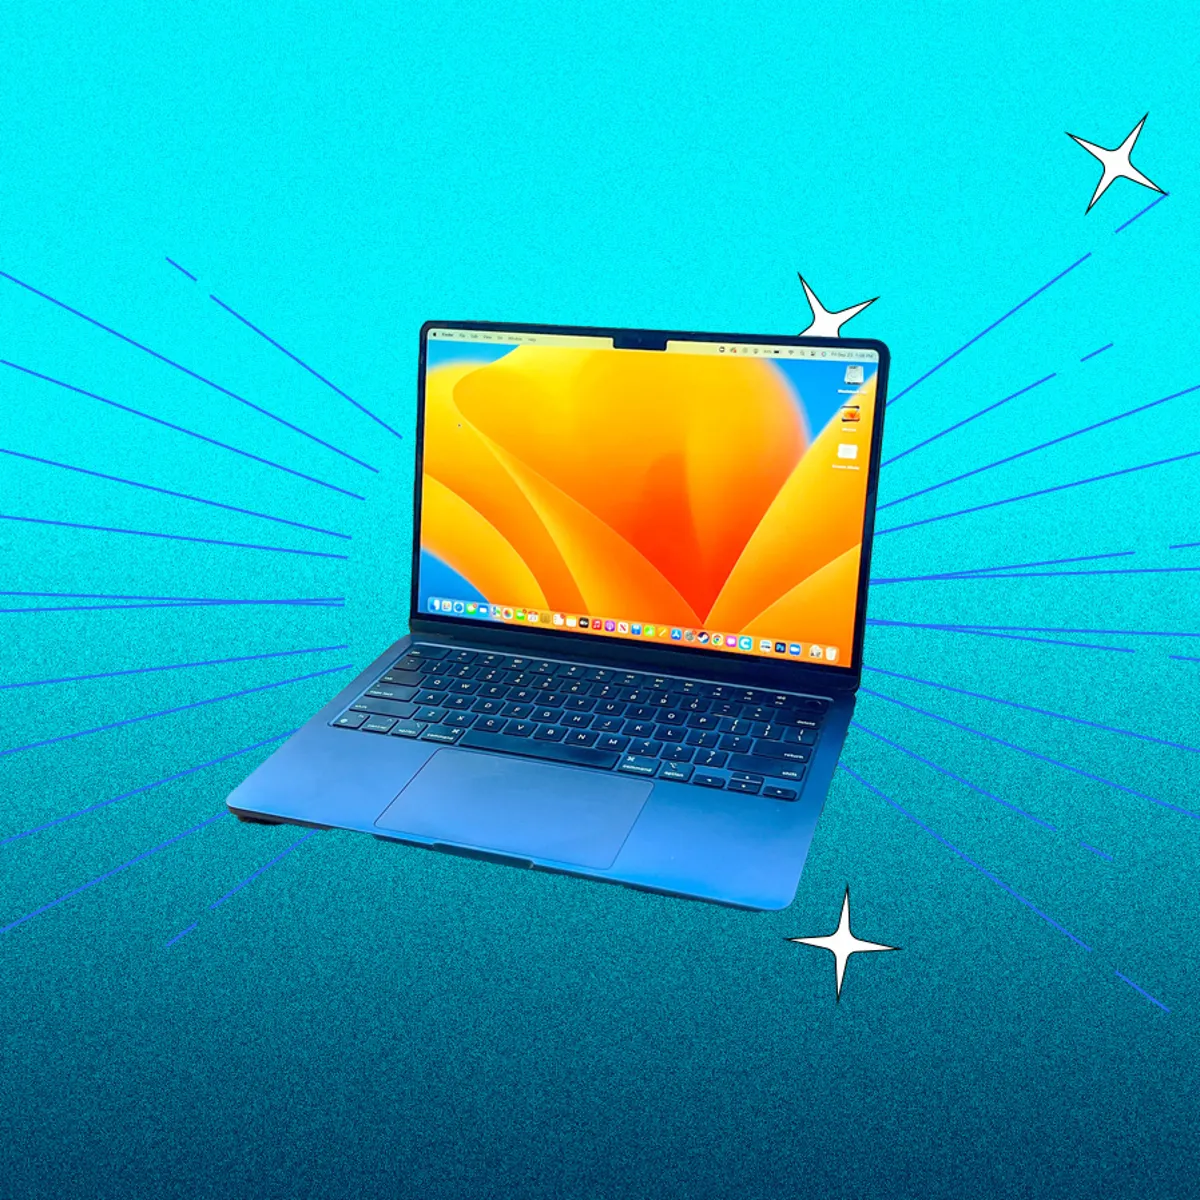
- A Compatible Computer: You’ll need a computer that is compatible with your Hitachi external hard drive. Whether you’re using a Windows PC or a Mac, verify that your computer meets the requirements for connecting and formatting the hard drive.
- USB Cable: Locate the USB cable that came with your Hitachi external hard drive or any other USB cable that is compatible with the device. Ensure that the cable is in good working condition and not frayed or damaged.
It’s also a good idea to have a backup of any important files that are stored on the Hitachi external hard drive. Formatting the drive will erase all existing data, so making a backup will help safeguard your important documents, photos, videos, or any other files stored on the drive.
Ensure that you have enough free space on your computer’s hard drive to accommodate the data you’re backing up. If necessary, you may want to consider using cloud storage services or an additional external hard drive to create a backup of your files.
By having all the necessary materials and a backup ready, you can proceed with peace of mind knowing that your important data is safe and that you’re well-prepared for the formatting process. Let’s move on to the next section to learn how to connect your Hitachi external hard drive to your computer.
Connecting the Hard Drive to Your Computer
Before you can start formatting your Hitachi external hard drive, you need to establish a physical connection between the hard drive and your computer. Follow these steps to connect the two:
- Locate the USB cable that came with your Hitachi external hard drive or use a compatible USB cable.
- Connect one end of the USB cable to the USB port on your Hitachi external hard drive.
- Connect the other end of the USB cable to an available USB port on your computer. Ensure that the connection is secure.
- Wait for your computer to recognize the external hard drive. Depending on your operating system, you may see a notification or an icon on your desktop or in the taskbar indicating that a new device has been connected.
- If necessary, install any additional drivers or software that are required for your Hitachi external hard drive to work properly. These drivers or software can usually be found on the Hitachi website or on the installation disc that came with your hard drive.
Once the connection is established and your computer recognizes the external hard drive, you’re ready to proceed with formatting it. The next sections will provide instructions for formatting the Hitachi external hard drive on both Windows and Mac operating systems.
Note: If your computer does not detect the Hitachi external hard drive or you encounter any issues during the connection process, refer to the troubleshooting section of this article for possible solutions.
Now that your Hitachi external hard drive is connected to your computer, let’s move on to the specific instructions for formatting it on Windows and Mac systems.
Formatting the Hitachi External Hard Drive on Windows
Formatting your Hitachi external hard drive on a Windows computer is a straightforward process. Follow these steps to format the hard drive:
- Open File Explorer by pressing the Windows key + E on your keyboard or by clicking on the File Explorer icon on the taskbar.
- Locate and right-click on “This PC” or “My Computer” (depending on your Windows version) in the left-hand navigation pane.
- Select “Manage” from the context menu. This will open the Computer Management window.
- In the Computer Management window, click on “Disk Management” under the “Storage” section in the left-hand navigation pane.
- On the right-hand side, you will see a list of all the connected drives, including your Hitachi external hard drive.
- Find your Hitachi external hard drive in the list. It will be labeled with a name or drive letter which can help you identify it.
- Right-click on the Hitachi external hard drive and select “Format” from the context menu.
- A Format window will appear. Choose the file system you want to use for the hard drive (e.g., NTFS, exFAT, or FAT32).
- Specify a volume label for the hard drive. This name will be displayed when you connect the drive to your computer.
- Ensure that the “Quick Format” option is selected to speed up the formatting process.
- Click on “OK” to start the formatting process.
- Wait for the formatting process to complete. This may take a few minutes.
- Once the formatting is done, a notification will appear confirming that the format was successful.
After the Hitachi external hard drive is formatted, it will be ready to use on your Windows computer. You can now transfer files, create folders, and manage your data on the external hard drive.
Remember, formatting your hard drive erases all existing data. Ensure that you have made a backup of any important files before proceeding with the formatting process.
Now that you’ve successfully formatted your Hitachi external hard drive on Windows, let’s move on to formatting it on a Mac system in the next section.
Formatting the Hitachi External Hard Drive on Mac
If you’re using a Mac computer, formatting your Hitachi external hard drive is a straightforward process. Follow these steps to format the hard drive on your Mac:
- Connect your Hitachi external hard drive to your Mac computer using the USB cable.
- Open Finder by clicking on the Finder icon in the dock or by pressing Command + Space and typing “Finder” in the Spotlight search.
- In the Finder window, select “Applications” from the left-hand sidebar.
- Scroll down and open the “Utilities” folder.
- Open “Disk Utility” to launch the Disk Utility application.
- In the Disk Utility window, you will see a list of all connected drives, including your Hitachi external hard drive.
- Click on the Hitachi external hard drive from the list to select it.
- Click on the “Erase” button at the top of the Disk Utility window.
- Choose the format for your hard drive from the drop-down menu. It’s recommended to select “Mac OS Extended (Journaled)” as the format option.
- Enter a name for your hard drive in the “Name” field.
- Ensure that the scheme is set to “GUID Partition Map”.
- Double-check the settings to make sure everything is correct.
- Click on the “Erase” button to start the formatting process.
- Wait for the formatting process to complete. This may take a few minutes.
- Once the formatting is finished, you will see a notification confirming the successful format.
Once the Hitachi external hard drive is formatted, it will be compatible with your Mac computer, and you can start using it to store and manage your files.
Remember to back up any important files before formatting the hard drive, as the process erases all existing data.
You have now successfully formatted your Hitachi external hard drive on your Mac, and it’s ready for use. In the next section, we will discuss some common issues that may arise during the formatting process and how to troubleshoot them.
Troubleshooting Common Issues
While formatting your Hitachi external hard drive, you may encounter some common issues. Here are a few troubleshooting steps to help you overcome these problems:
1. External Hard Drive Not Recognized: If your computer does not detect the Hitachi external hard drive, try the following:
- Ensure that the USB cable is securely connected to both the hard drive and your computer.
- Try using a different USB port on your computer to rule out any port-related issues.
- Check if the hard drive is getting enough power and try connecting it to a different power source if possible.
- Test the USB cable with another device to determine if the cable itself is faulty.
- Update your computer’s USB drivers or try connecting the hard drive to another computer to see if it is recognized.
2. Formatting Error: If you encounter an error message during the formatting process, consider the following steps:
- Ensure that you have the necessary permissions to format the hard drive. You may need to log in as an administrator.
- Check if the hard drive is write-protected. If it is, remove the write protection or switch to a different storage device.
- Scan the hard drive for any errors using the built-in disk utility tools on your operating system.
3. Slow Formatting Process: If the formatting process is taking an unusually long time, try these suggestions:
- Make sure your computer is not running any resource-intensive tasks in the background.
- Check the health of your hard drive using diagnostic tools and verify if there are any issues affecting its performance.
- Consider using a different USB port or cable, as faulty connections can lead to slower data transfer rates.
If you have tried the troubleshooting steps above and are still experiencing issues with formatting your Hitachi external hard drive, it may be helpful to consult the Hitachi support website or contact their customer support for further assistance.
Now that you are aware of some common issues and their troubleshooting steps, you should be well-equipped to resolve any problems that may arise during the formatting process.
Conclusion
Formatting your Hitachi external hard drive is a crucial step to ensure compatibility and optimal performance on your computer. It allows you to utilize the full potential of the hard drive for storing, backing up, and transferring files. Throughout this article, we have provided step-by-step instructions on how to format your Hitachi external hard drive on both Windows and Mac operating systems.
Remember, before formatting, always make sure to back up any important data stored on the hard drive to avoid permanent data loss. Additionally, ensure that you have all the necessary materials, such as the Hitachi external hard drive, a compatible computer, and a USB cable, before proceeding.
On both Windows and Mac, the formatting process involves accessing the Disk Management or Disk Utility tool, selecting the Hitachi external hard drive, and choosing the desired format and options. By following these instructions, you can easily format your hard drive and prepare it for use.
If you encounter any issues during the formatting process, refer to the troubleshooting section for helpful tips to resolve common problems. However, if the issues persist, consider reaching out to Hitachi customer support for further assistance.
Now that you have successfully formatted your Hitachi external hard drive, you can enjoy the benefits of expanded storage, efficient data management, and secure file backups. Whether you’re using it for personal or professional purposes, the formatted Hitachi external hard drive will serve as a reliable storage solution for all your needs.
Thank you for reading this guide, and we hope it has been helpful in assisting you with formatting your Hitachi external hard drive.