Introduction
Are you a proud owner of a Hitachi camcorder with an integrated hard disk drive (HDD)? If so, you're in for a treat. This innovative piece of technology allows you to capture precious moments with unparalleled ease and convenience. However, you may be wondering how to access the files stored on the camcorder's integrated HDD. Whether you're a novice user or a seasoned tech enthusiast, this guide will walk you through the process of connecting your Hitachi camcorder to a computer and accessing the files stored on its integrated HDD.
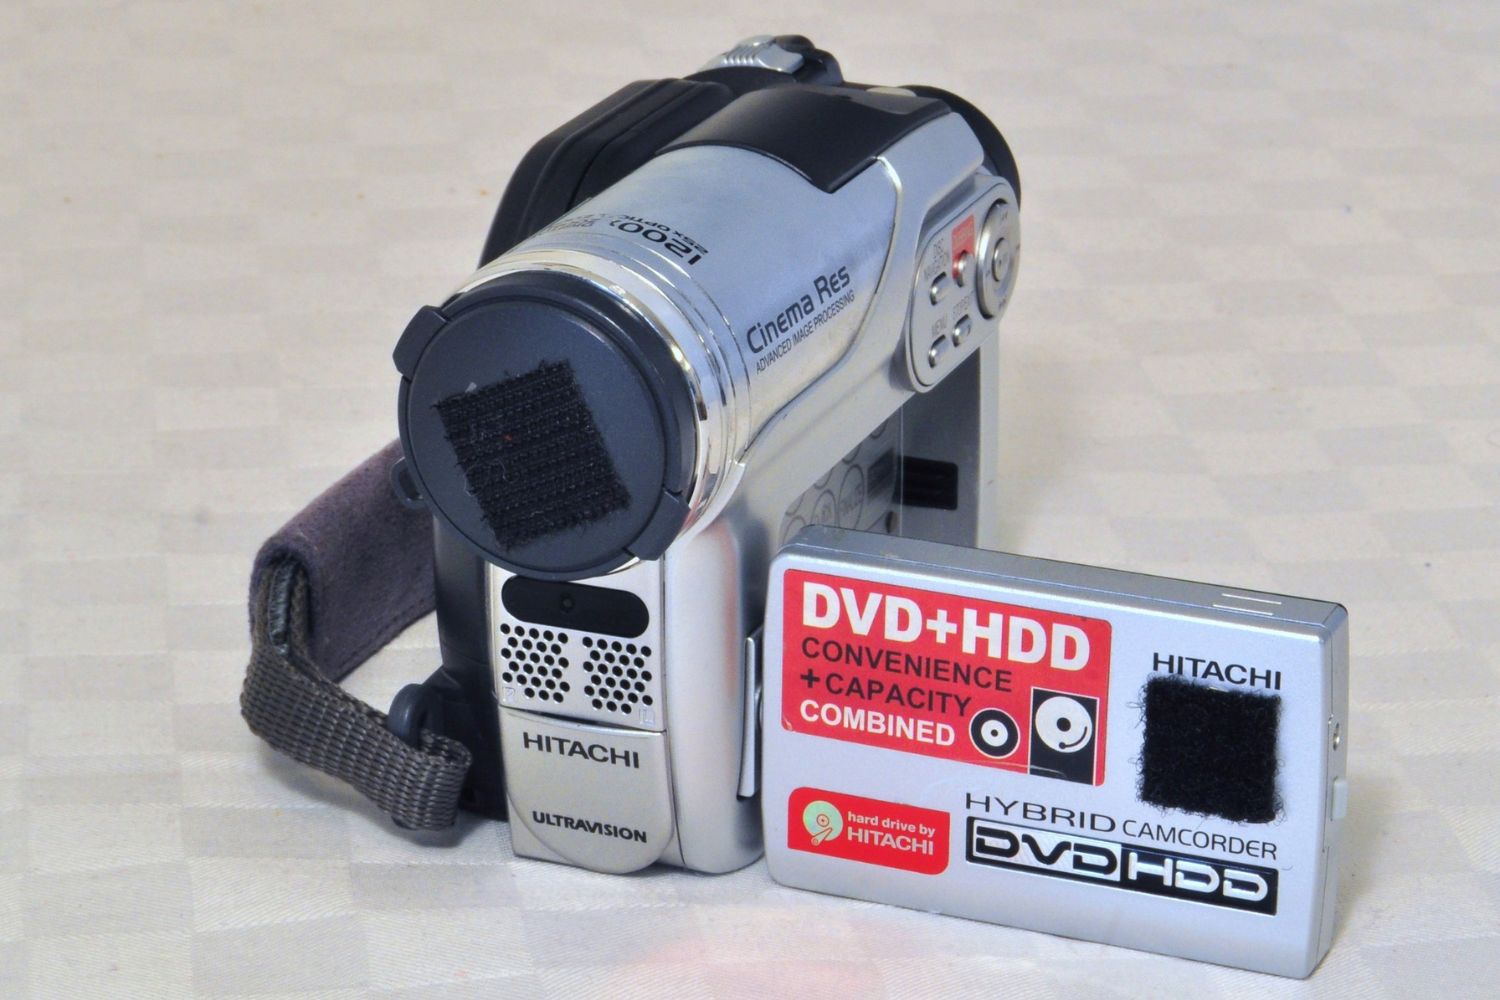
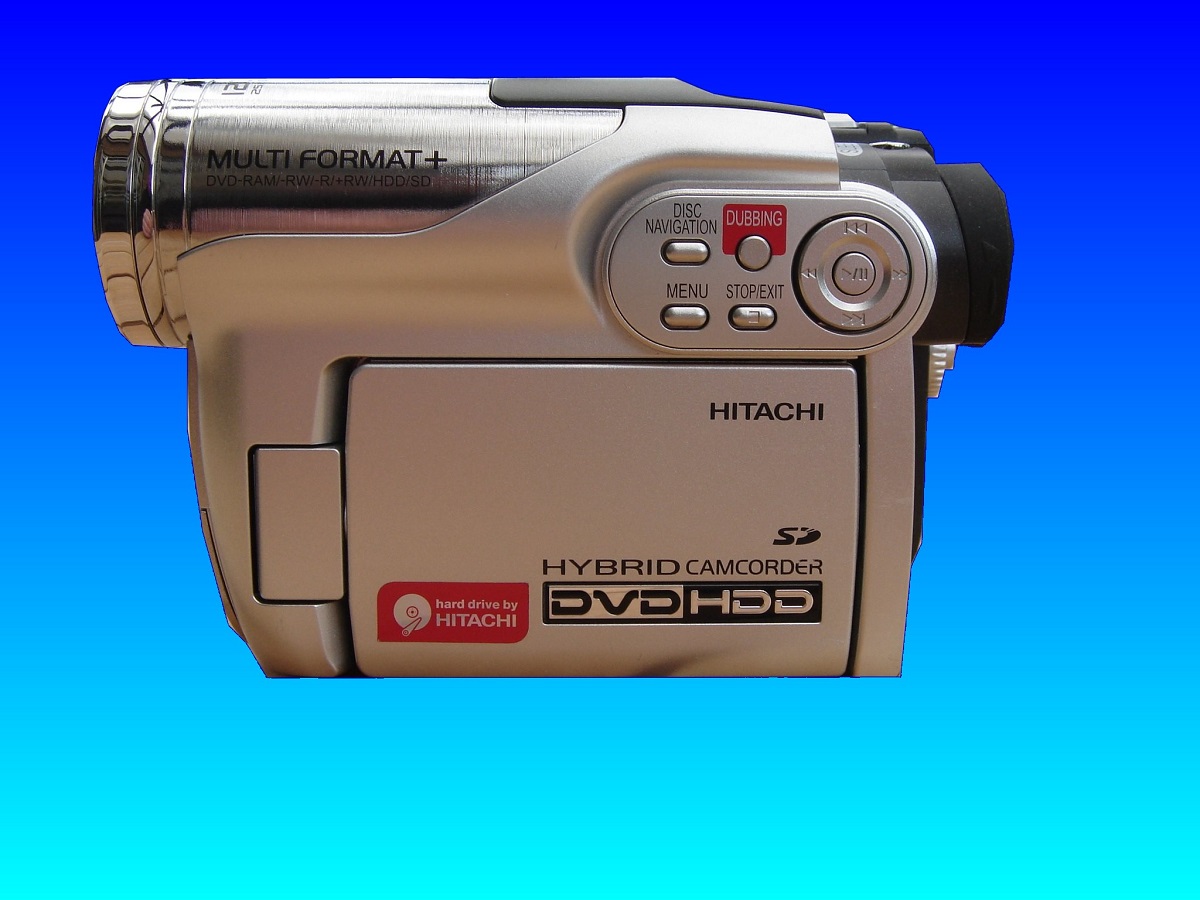
The Hitachi camcorder integrated HDD is a marvel of modern engineering, offering ample storage space for your videos and photos. With its user-friendly design and high-capacity storage, this device ensures that you can document life's most memorable moments without worrying about running out of space. However, to make the most of your Hitachi camcorder, it's essential to understand how to connect it to your computer and transfer files seamlessly.
In this guide, we'll delve into the intricacies of the Hitachi camcorder integrated HDD and provide you with step-by-step instructions for accessing and transferring your files. By the end of this tutorial, you'll be equipped with the knowledge and confidence to harness the full potential of your Hitachi camcorder, allowing you to relive and share your cherished memories with ease.
So, without further ado, let's embark on this enlightening journey to unlock the capabilities of your Hitachi camcorder integrated HDD. Whether you're looking to preserve family gatherings, capture breathtaking landscapes, or document life's milestones, this guide will empower you to access and manage your files with precision and efficiency. Let's dive in and discover the seamless process of connecting your Hitachi camcorder to your computer and accessing its integrated HDD.
Understanding the Hitachi Camcorder Integrated HDD
Before delving into the process of accessing and transferring files from your Hitachi camcorder integrated HDD, it’s essential to grasp the fundamentals of this cutting-edge technology. The integrated HDD, or hard disk drive, serves as the primary storage medium for your camcorder, allowing you to store a vast collection of videos and photos without the need for external memory cards. This built-in storage solution eliminates the hassle of constantly swapping out memory cards and provides a seamless recording experience.
The Hitachi camcorder integrated HDD offers substantial storage capacity, enabling you to capture extended footage and numerous high-resolution images without worrying about running out of space. This feature is particularly advantageous during extended recording sessions, such as family vacations, special events, or professional projects, where the ability to store a large volume of data is paramount.
Furthermore, the integrated HDD enhances the portability and convenience of the Hitachi camcorder, as you can record and store media without the need for additional accessories. This streamlined approach simplifies the recording process and ensures that you can focus on capturing the moment without being encumbered by external storage devices.
Understanding the Hitachi camcorder integrated HDD also involves recognizing its compatibility with various file formats. Whether you’re recording in standard definition or high definition, the integrated HDD accommodates a diverse range of file types, including video formats such as AVCHD and MP4, as well as image formats like JPEG. This versatility allows you to capture media in your preferred format and seamlessly access and transfer the files to your computer for editing or sharing.
As you familiarize yourself with the capabilities of the Hitachi camcorder integrated HDD, you’ll gain a deeper appreciation for its role in preserving your cherished memories. The seamless integration of high-capacity storage within the compact camcorder design signifies a harmonious blend of convenience and functionality, empowering you to capture life’s extraordinary moments with unparalleled ease.
Connecting the Hitachi Camcorder to a Computer
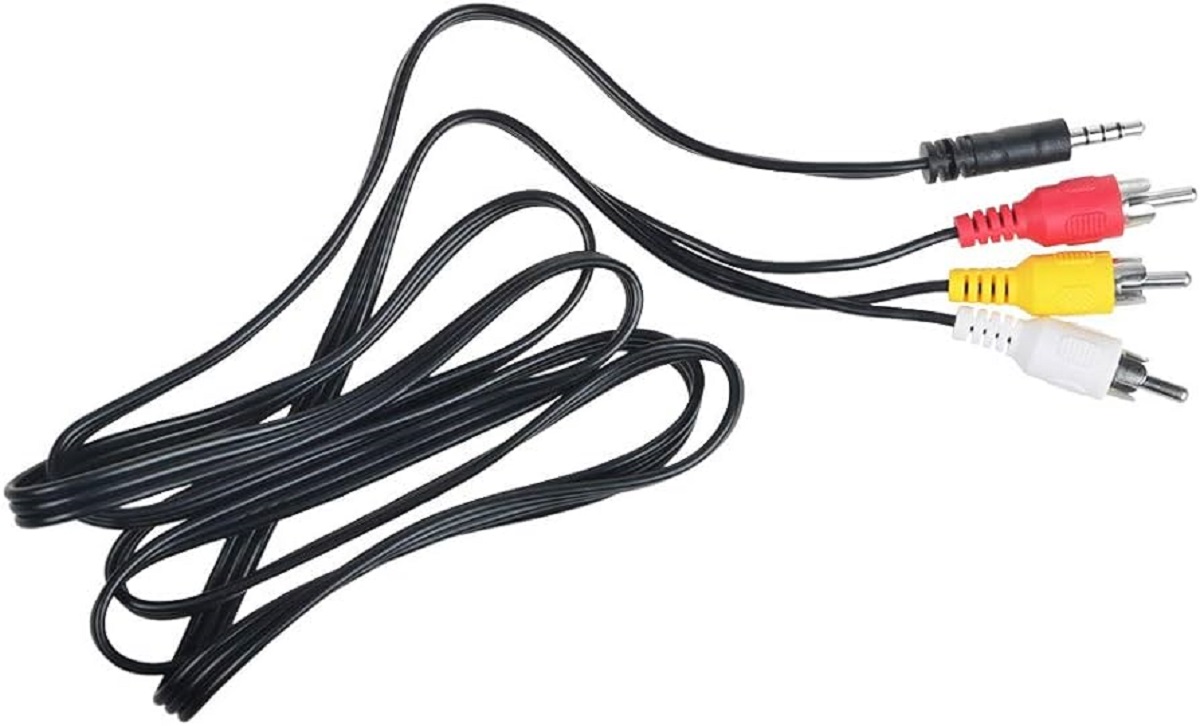
Connecting your Hitachi camcorder to a computer is a pivotal step in accessing and managing the files stored on its integrated HDD. This process establishes a seamless bridge between your camcorder and computer, enabling you to transfer, edit, and archive your precious recordings with ease. To initiate this connection, you’ll need a standard USB cable that is compatible with your Hitachi camcorder, typically provided with the device at the time of purchase.
Begin by locating the USB port on your Hitachi camcorder, typically situated on the side or rear of the device. Once identified, carefully insert one end of the USB cable into the corresponding port on the camcorder, ensuring a secure connection. Next, locate an available USB port on your computer and insert the opposite end of the USB cable into the port, establishing a direct link between the two devices.
Upon establishing the physical connection, power on your Hitachi camcorder and set it to the appropriate mode for file transfer, often denoted as “PC” or “Computer” mode in the device’s menu. This configuration enables the camcorder to communicate with your computer and allows the operating system to recognize the integrated HDD as an external storage device.
Once the connection is established and the camcorder is in the correct mode, your computer should detect the Hitachi camcorder as a removable storage device, displaying it as an accessible drive in the file explorer or desktop interface. At this stage, you can navigate through the camcorder’s folders to locate and transfer the desired files to your computer’s local storage or external drives for safekeeping and further utilization.
It’s important to exercise caution and patience during the file transfer process, especially when handling large video files, to ensure a smooth and error-free transfer. Once the files have been successfully transferred to your computer, you can proceed to access and manage them using various software applications for editing, archiving, and sharing your memorable recordings.
By understanding the straightforward process of connecting your Hitachi camcorder to a computer, you pave the way for seamless file management and unleash the full potential of your integrated HDD, empowering you to curate and preserve your cherished memories with utmost convenience and precision.
Accessing and Transferring Files from the Hitachi Camcorder Integrated HDD
Once your Hitachi camcorder is successfully connected to your computer, accessing and transferring files from the integrated HDD becomes a straightforward process. Upon establishing the connection, navigate to the file explorer or desktop interface on your computer to locate the Hitachi camcorder, which should be recognized as a removable storage device.
Upon accessing the camcorder’s files, you’ll encounter a structured hierarchy of folders, each containing your recorded videos and photos. Navigate through the folders to locate the specific files you wish to transfer to your computer. Depending on your preferences and organizational needs, you can transfer individual files or entire folders from the integrated HDD to your computer’s local storage or external drives.
When transferring files, it’s advisable to create a dedicated folder on your computer to store the transferred media, facilitating organized file management and easy access in the future. This approach streamlines the process of archiving and editing your recordings, ensuring that your files are readily accessible for further utilization.
As you transfer the files, it’s essential to monitor the progress and ensure that the transfer is completed without interruptions. Patience is key, especially when transferring large video files, as this process may take some time depending on the file sizes and the speed of the USB connection. Once the transfer is finalized, you can safely disconnect your Hitachi camcorder from the computer, knowing that your valuable media is securely stored on your computer’s storage device.
With the files successfully transferred to your computer, you can leverage a myriad of software applications to edit, organize, and share your recordings. Whether you’re editing videos to create captivating montages, organizing photos into albums, or sharing your media with friends and family, the transferred files from your Hitachi camcorder integrated HDD serve as a treasure trove of memorable moments waiting to be showcased and cherished.
By mastering the art of accessing and transferring files from the Hitachi camcorder integrated HDD, you unlock the potential to curate, preserve, and relive your most cherished memories with unparalleled convenience and flexibility. This seamless process empowers you to harness the full capabilities of your Hitachi camcorder, ensuring that your recorded moments are safeguarded and ready for seamless integration into your digital world.