Introduction
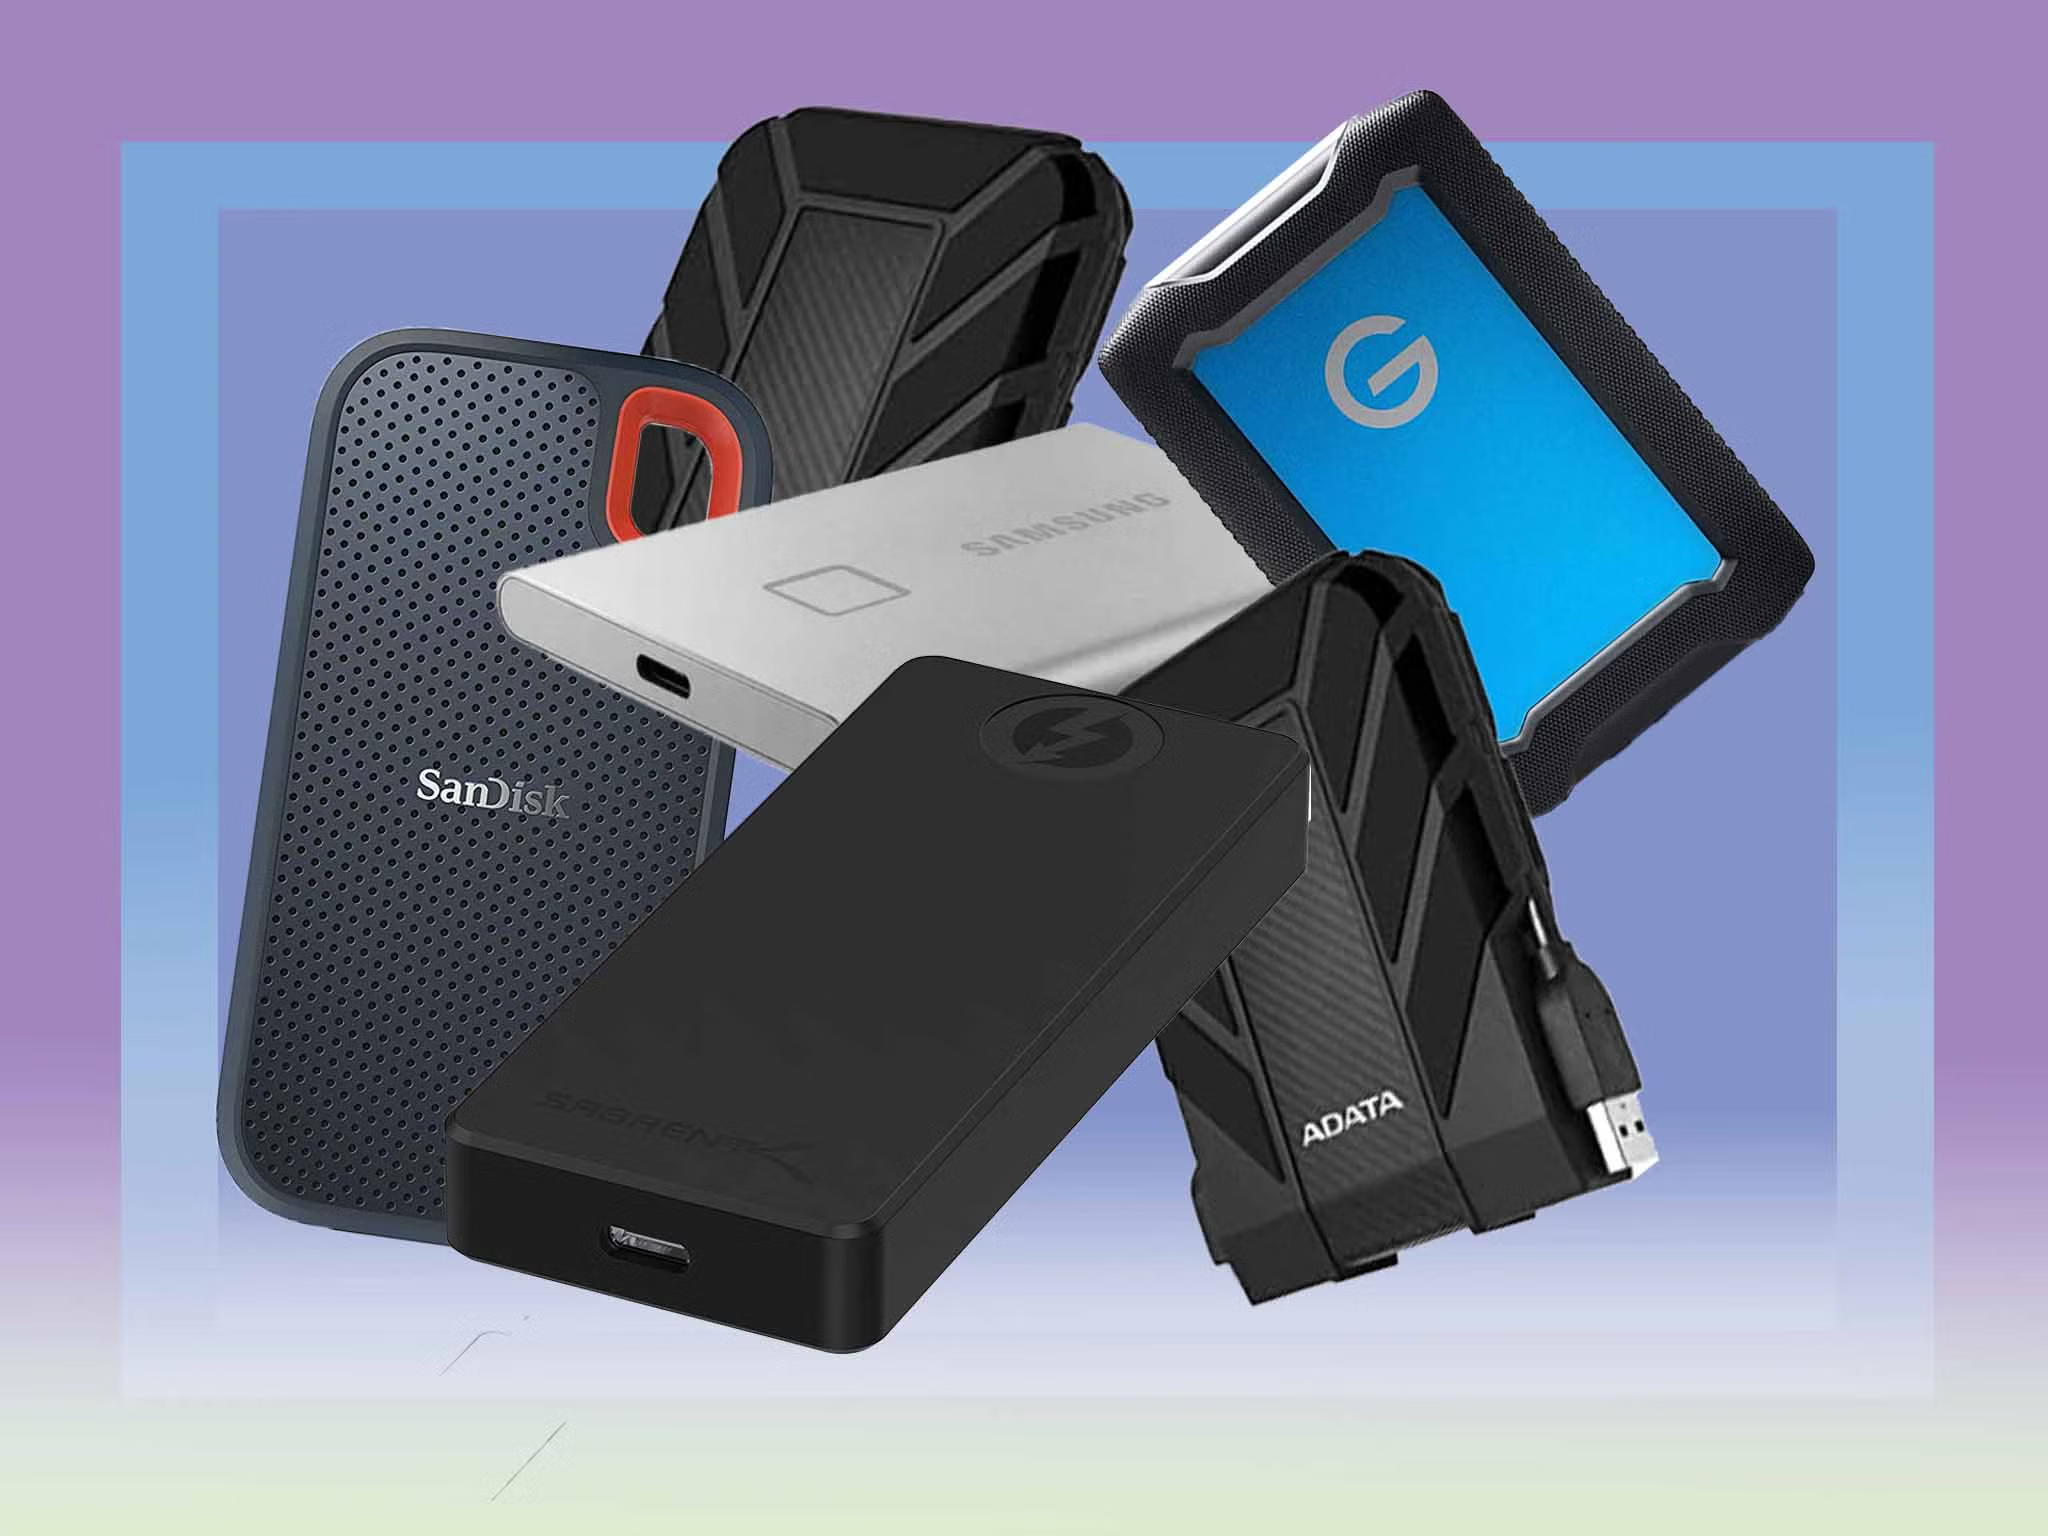
Welcome to the guide on how to transfer pictures to a Seagate External Hard Drive. As technology continues to evolve, we are capturing more and more memories through photographs. Storing these cherished moments safely is crucial, and an external hard drive offers a convenient and reliable option. Seagate External Hard Drives are renowned for their durability, storage capacity, and ease of use. Whether you’re looking to free up space on your computer or create a backup of your precious pictures, transferring them to a Seagate External Hard Drive is a practical solution.
In this step-by-step guide, we will walk you through the process of transferring your pictures to a Seagate External Hard Drive. We will cover various platforms, including Windows and Mac, ensuring compatibility for a wide range of users. You don’t need any technical expertise to follow along; just a few simple steps will have your pictures securely stored on the Seagate External Hard Drive.
By utilizing the Seagate External Hard Drive, you can free up space on your computer’s internal storage, enabling it to run more efficiently and smoothly. Moreover, you eliminate the risk of losing your pictures due to hardware failure, accidents, or other unforeseen circumstances. With high storage capacity and fast transfer speeds, the Seagate External Hard Drive offers a reliable and convenient avenue for preserving your photographic memories.
If you’re ready to safeguard your pictures and create more space on your computer, let’s dive into the step-by-step process of transferring your pictures to a Seagate External Hard Drive. Follow along closely, and before you know it, you’ll have all your precious moments stored safely on your new external storage device.
Step 1: Connect the Seagate External Hard Drive to your computer
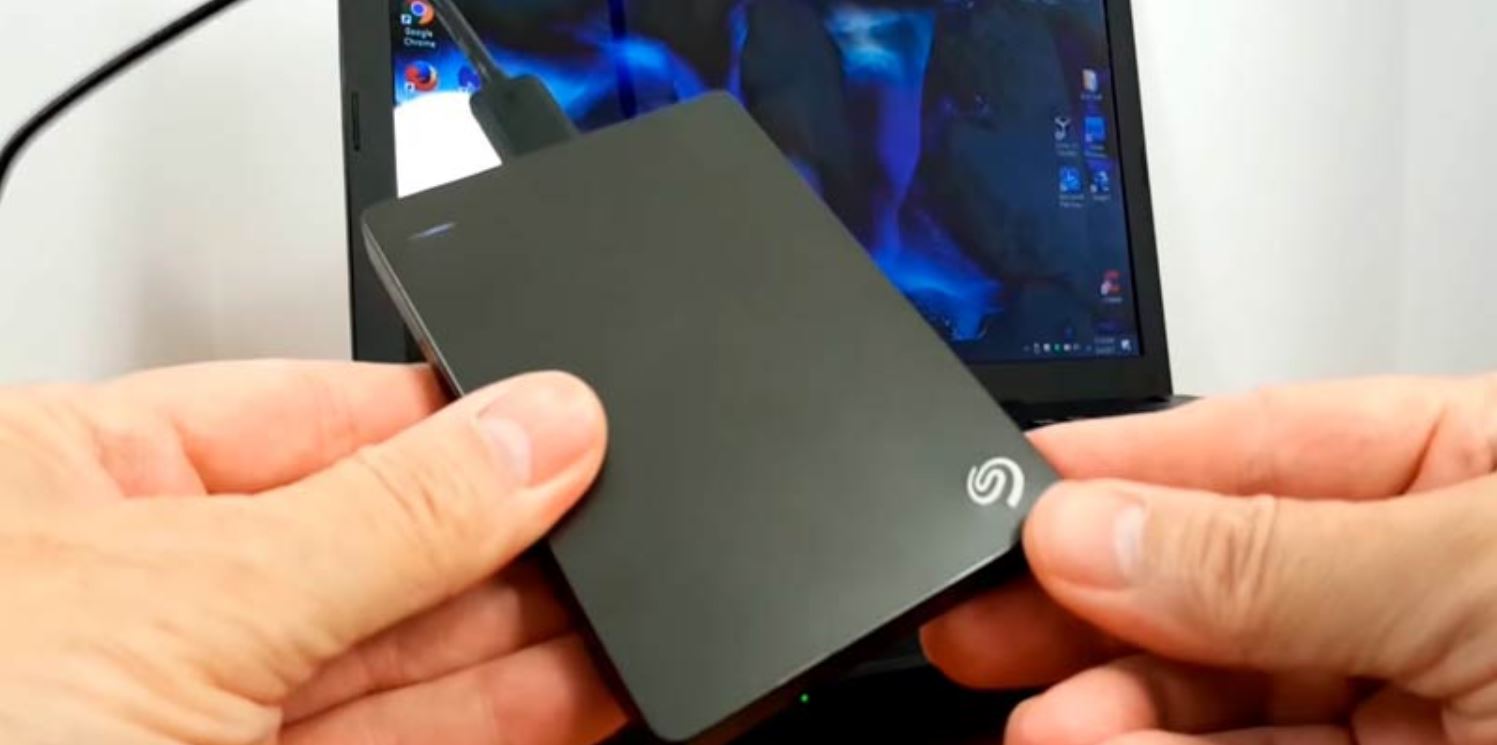
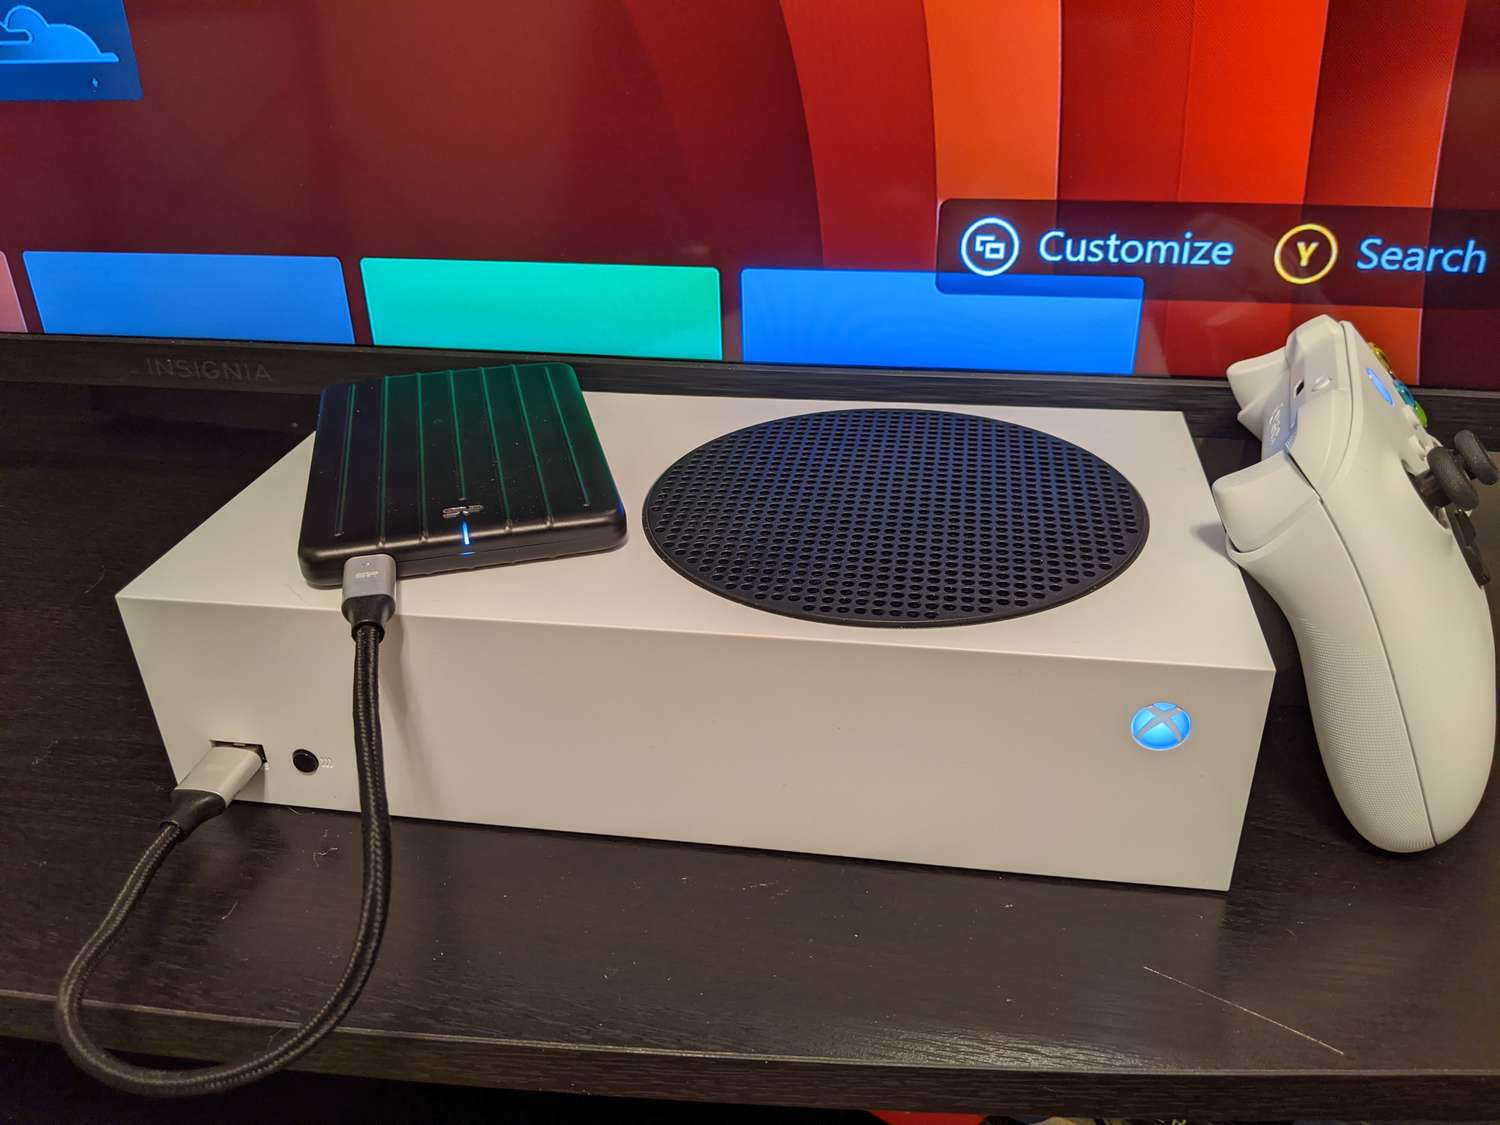
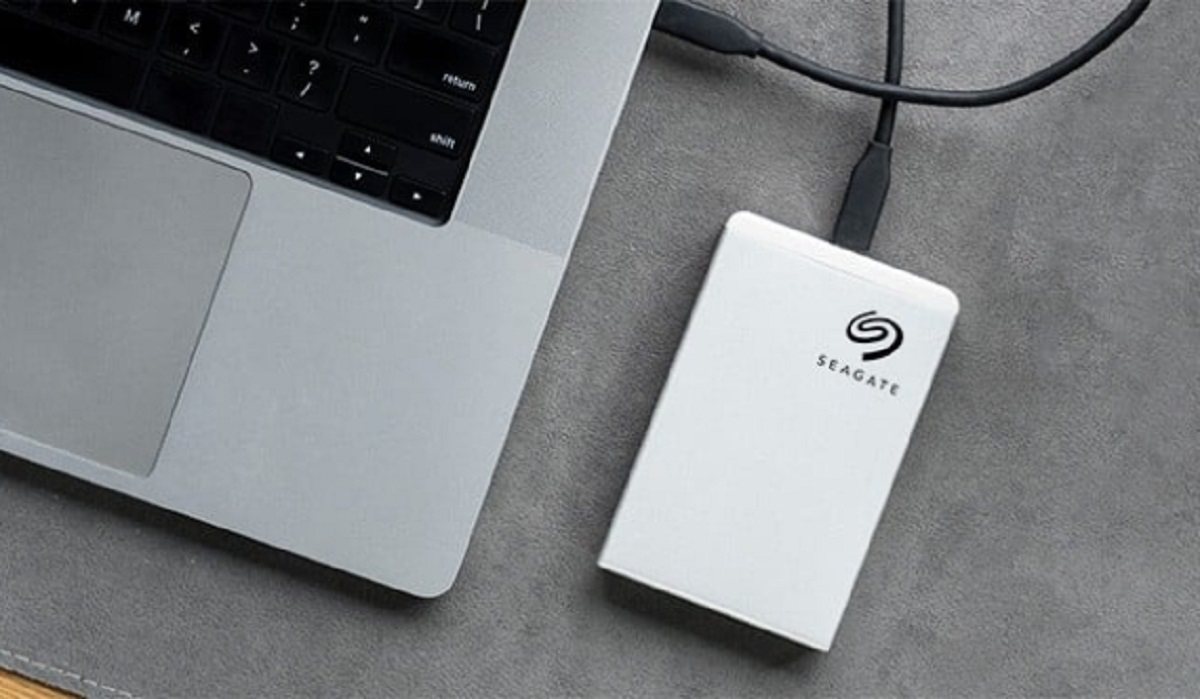
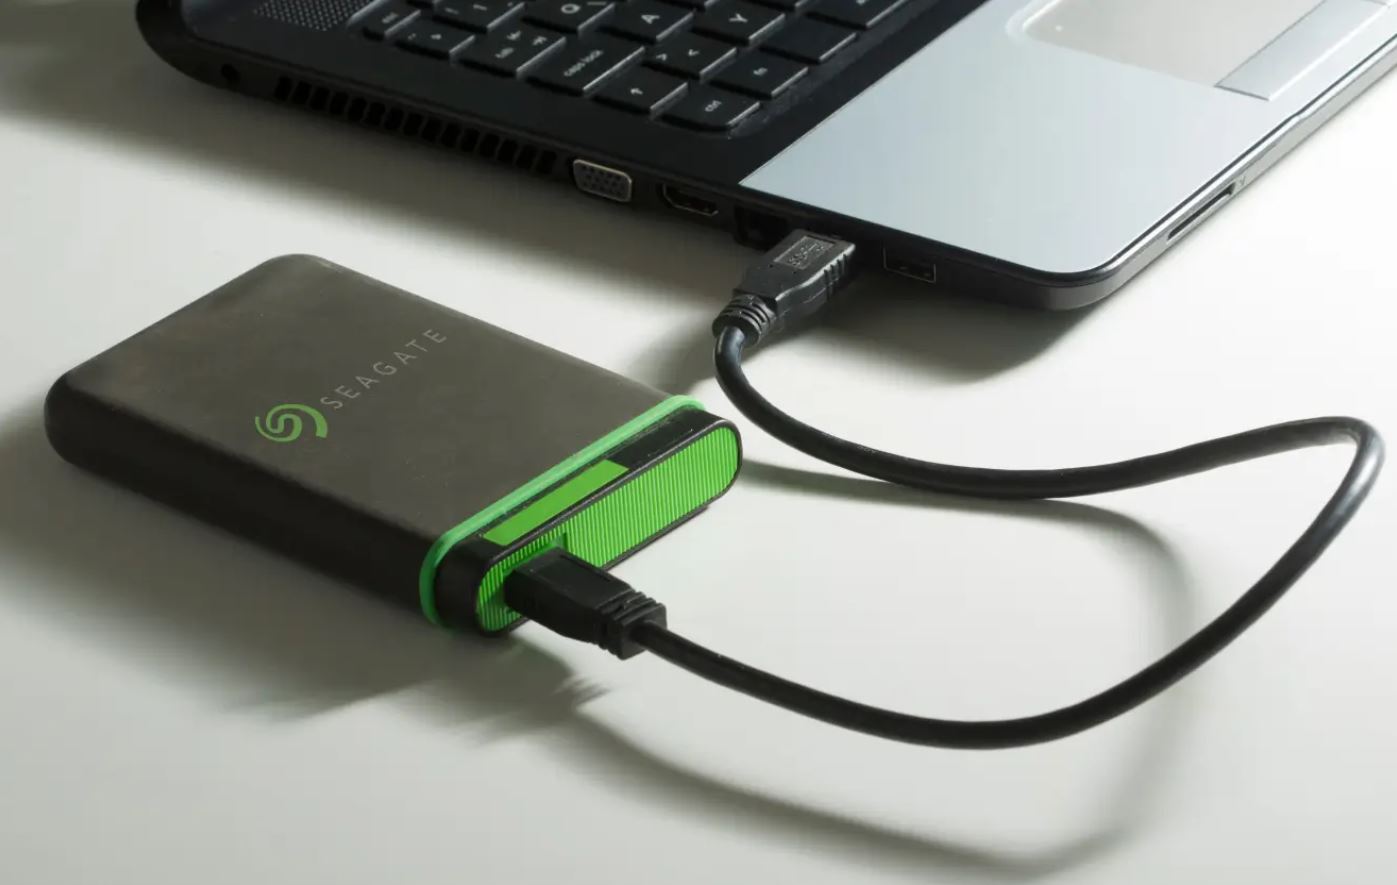
The first step in transferring pictures to your Seagate External Hard Drive is to establish a physical connection between the drive and your computer. Start by locating the USB cable that came with your Seagate External Hard Drive. Plug one end of the cable into the USB port on your computer and the other end into the corresponding port on the hard drive.
Once you have connected the Seagate External Hard Drive to your computer, give it a few moments to be recognized and initialized by the operating system. You may hear a notification sound or see a pop-up window indicating that a new device has been connected.
It’s important to note that, depending on the model of your Seagate External Hard Drive, it may require an external power source, such as an AC adapter. If this is the case, make sure to connect the power cable to a reliable power outlet before proceeding.
You can now move on to the next step once you have successfully connected your Seagate External Hard Drive to your computer. With the physical connection established, you are one step closer to transferring your pictures and ensuring they are safely stored on the external hard drive.
Step 2: Open File Explorer or Finder
After connecting your Seagate External Hard Drive to your computer, the next step is to open the file management software on your operating system. On Windows operating systems, this software is called File Explorer, while on Mac operating systems, it is called Finder.
To open File Explorer on Windows, you can either click on the folder-shaped icon located on the taskbar or press the Windows key and the letter E simultaneously on your keyboard. This will launch the File Explorer window, where you can see all the drives and folders on your computer.
If you’re using a Mac, you can open Finder by clicking on the smiling face icon located in the Dock. Alternatively, you can press Command+Space on your keyboard to open Spotlight search, type “Finder,” and hit Enter.
Once you have opened File Explorer or Finder, you will see a list of folders and drives displayed in the window. Look for the Seagate External Hard Drive in the list. It is usually labeled with its name or a letter, such as “Seagate” or “E:”. Click on the name of the hard drive to select it.
By opening File Explorer or Finder and selecting the Seagate External Hard Drive, you are now ready to proceed to the next step, where you will locate the pictures you want to transfer.
Step 3: Locate the pictures you want to transfer
With the Seagate External Hard Drive selected in File Explorer or Finder, it’s time to locate the pictures that you want to transfer. These pictures may be stored in various locations on your computer, such as the Pictures folder, Desktop, or specific folders that you have created.
Navigate through the folders in File Explorer or Finder to find the pictures you wish to transfer. You can double-click on a folder to open it and view its contents. Use the scroll bar on the right side of the window to navigate through long lists of files and folders.
If you want to select multiple pictures at once, hold down the Ctrl key (Windows) or the Command key (Mac) on your keyboard while clicking on each picture you want to transfer. This allows you to select multiple files or folders simultaneously.
If you have many pictures spread across different folders, you can use the search function in File Explorer or Finder to find specific pictures. Simply enter the name or keywords related to the pictures you are looking for in the search bar located at the top right corner of the window. The software will display the matching results based on your search criteria.
Take your time to locate all the pictures you want to transfer, ensuring that you have selected the correct ones. Once you have found and selected the desired pictures, you are ready to move on to the next step, where you will copy these pictures.
Step 4: Copy the pictures
Now that you have located the pictures you want to transfer to your Seagate External Hard Drive, it’s time to copy them. Copying the pictures allows you to create a duplicate on your external hard drive while keeping the original files intact on your computer.
To copy the selected pictures, right-click on one of the selected pictures and navigate to the “Copy” option in the context menu that appears. Alternatively, you can use the keyboard shortcut Ctrl+C (Windows) or Command+C (Mac) to copy the files.
Once the pictures are copied to your clipboard, go back to File Explorer or Finder and navigate to the Seagate External Hard Drive, which you selected in the previous steps. Double-click on the hard drive to open it and reveal its contents.
Now, right-click on an empty area inside the Seagate External Hard Drive’s window and select the “Paste” option from the context menu. Alternatively, you can use the keyboard shortcut Ctrl+V (Windows) or Command+V (Mac) to paste the copied pictures.
The copying process may take some time, depending on the size of the pictures and the speed of your computer and external hard drive. You can monitor the progress of the copying operation in the form of a progress bar or a percentage completion indicator.
Ensure that the copying process is complete before proceeding to the next step. You can verify this by confirming that all the selected pictures have been successfully pasted into the Seagate External Hard Drive’s window.
Congratulations! You have successfully copied the selected pictures to your Seagate External Hard Drive. The next step will guide you on how to safely eject the external hard drive from your computer to complete the transfer.
Step 5: Paste the pictures onto the Seagate External Hard Drive
After copying the pictures, it’s time to paste them onto your Seagate External Hard Drive. Pasting the pictures will transfer them from your computer to the external hard drive, ensuring safe storage and creating a backup copy.
Open the File Explorer or Finder window displaying the contents of your Seagate External Hard Drive. If you accidentally closed the window, you can repeat Step 2 to open it again.
Once you have the Seagate External Hard Drive window open, right-click on an empty area and select the “Paste” option from the context menu. Alternatively, you can use the keyboard shortcut Ctrl+V (Windows) or Command+V (Mac) to paste the pictures.
The selected pictures will now be transferred from your computer to the Seagate External Hard Drive. Depending on the size and number of pictures, this process might take some time. You can monitor the progress through a progress bar or a percentage completion indicator.
It’s important to remain patient during the transfer process and avoid interrupting it. Interfering with the transfer by disconnecting the external hard drive or shutting down the computer can cause data loss or corruption.
Once the transfer is complete, you can verify the successful pasta by checking the Seagate External Hard Drive’s window. Ensure that all the pictures you wanted to transfer are present and correctly displayed in the folder or directory.
With the pictures successfully pasted onto the Seagate External Hard Drive, you can rest assured knowing that your cherished memories are securely stored and backed up. The final step will guide you on how to safely eject the external hard drive from your computer.
Step 6: Safely eject the Seagate External Hard Drive
After successfully transferring your pictures to the Seagate External Hard Drive, it’s important to follow the proper procedure for ejecting the device from your computer. Safely ejecting the external hard drive ensures that all data has been written and saves your files from potential corruption or loss.
On your computer, locate the icon representing the Seagate External Hard Drive. It is usually displayed in the File Explorer (Windows) or Finder (Mac) window. Right-click on the icon and select the “Eject” option from the context menu.
Another way to safely eject the Seagate External Hard Drive is to click on the small eject icon next to the drive’s name in File Explorer (Windows) or Finder (Mac). This icon typically looks like an upward-pointing arrow with a horizontal line beneath it.
Once you have selected the eject option, wait for a few moments to allow the computer to complete the ejection process. During this time, the computer will ensure that all data has been transferred and that it is safe to disconnect the external hard drive.
When it’s safe to do so, you will receive a notification confirming that the Seagate External Hard Drive can be safely removed. At this point, you can unplug the USB cable connecting the hard drive to your computer.
It is essential to handle the Seagate External Hard Drive with care during this process. Avoid pulling or yanking on the USB cable forcefully to prevent any damage to the hardware or data corruption.
With the Seagate External Hard Drive safely ejected from your computer, you can now disconnect it and store it in a secure location. Your transferred pictures are now safely stored on the external hard drive, ready to be accessed whenever you need them.
By following these steps and safely ejecting the Seagate External Hard Drive, you ensure the integrity and longevity of your pictures, providing peace of mind when it comes to preserving your valuable memories.
Conclusion
Transferring pictures to a Seagate External Hard Drive is a simple and effective way to safeguard your cherished memories and free up storage space on your computer. The step-by-step guide provided in this article has equipped you with the knowledge to successfully complete the process on both Windows and Mac operating systems.
By following the steps outlined in this guide, you have learned how to connect the Seagate External Hard Drive to your computer, open the file management software, locate the pictures you want to transfer, copy and paste the pictures onto the external hard drive, and safely eject the device from your computer.
With your pictures now securely stored on the Seagate External Hard Drive, you can enjoy the peace of mind that comes with having a reliable backup of your precious memories. This process not only ensures that your pictures are protected from accidental loss or hardware failure but also creates more space on your computer’s internal storage, improving its performance.
Remember to periodically back up your pictures to the Seagate External Hard Drive or other backup solutions to maintain multiple copies and further enhance the security of your memories. Additionally, consider organizing your pictures into folders or subfolders on the external hard drive for easier access and management in the future.
Now that you have successfully transferred your pictures to the Seagate External Hard Drive, you can continue capturing new moments and experiences, knowing that your storage needs are well taken care of. Should the need arise, you can always connect the external hard drive to your computer again, open File Explorer or Finder, and access your pictures with ease.
By utilizing the Seagate External Hard Drive as a reliable and convenient storage solution, you have taken an important step towards preserving and protecting your pictures for years to come. Enjoy the peace of mind and accessibility that comes with having your memories stored on a dedicated external storage device.