Introduction
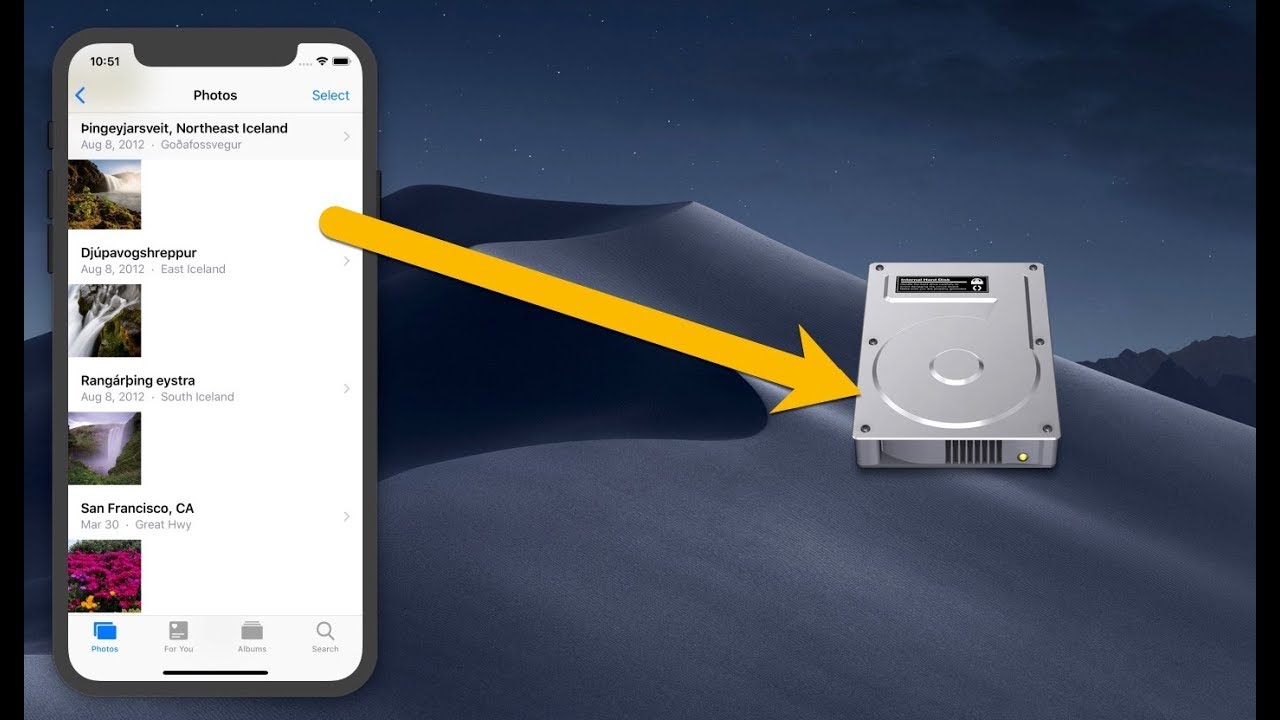
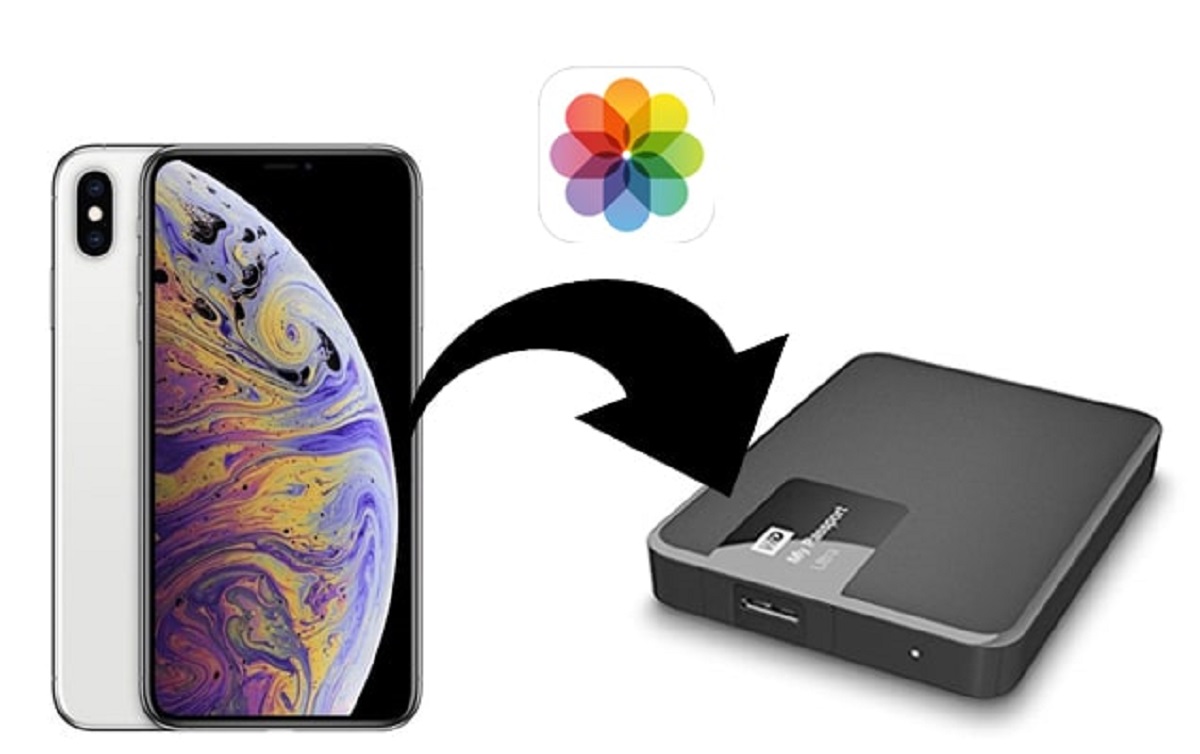
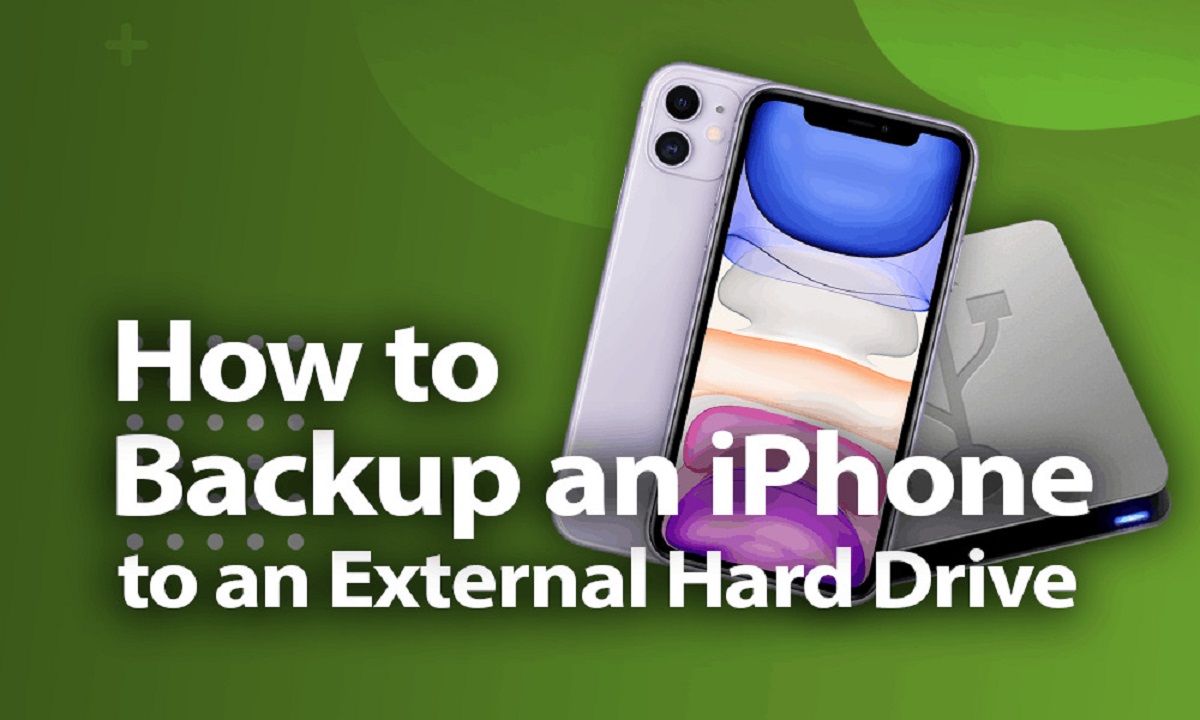
Welcome to the comprehensive guide on how to backup your iPhone to an external hard drive. In this digital age, our smartphones have become an integral part of our lives and store a wealth of important data, including photos, videos, contacts, and documents. While backing up your iPhone regularly is crucial, it’s even more essential to have an extra layer of protection by storing your backups on an external hard drive.
In this article, we will walk you through the step-by-step process of backing up your iPhone to an external hard drive. Whether you’re looking to free up space on your computer or have a secure backup in case of device failure, following these instructions will give you peace of mind and ensure the safety of your precious data.
Before we dive into the details, it’s essential to note that the method described here applies to iPhone users who have a Windows PC or Mac computer. Without further ado, let’s get started with the process of backing up your iPhone to an external hard drive.
Step 1: Connect your iPhone and external hard drive to your computer
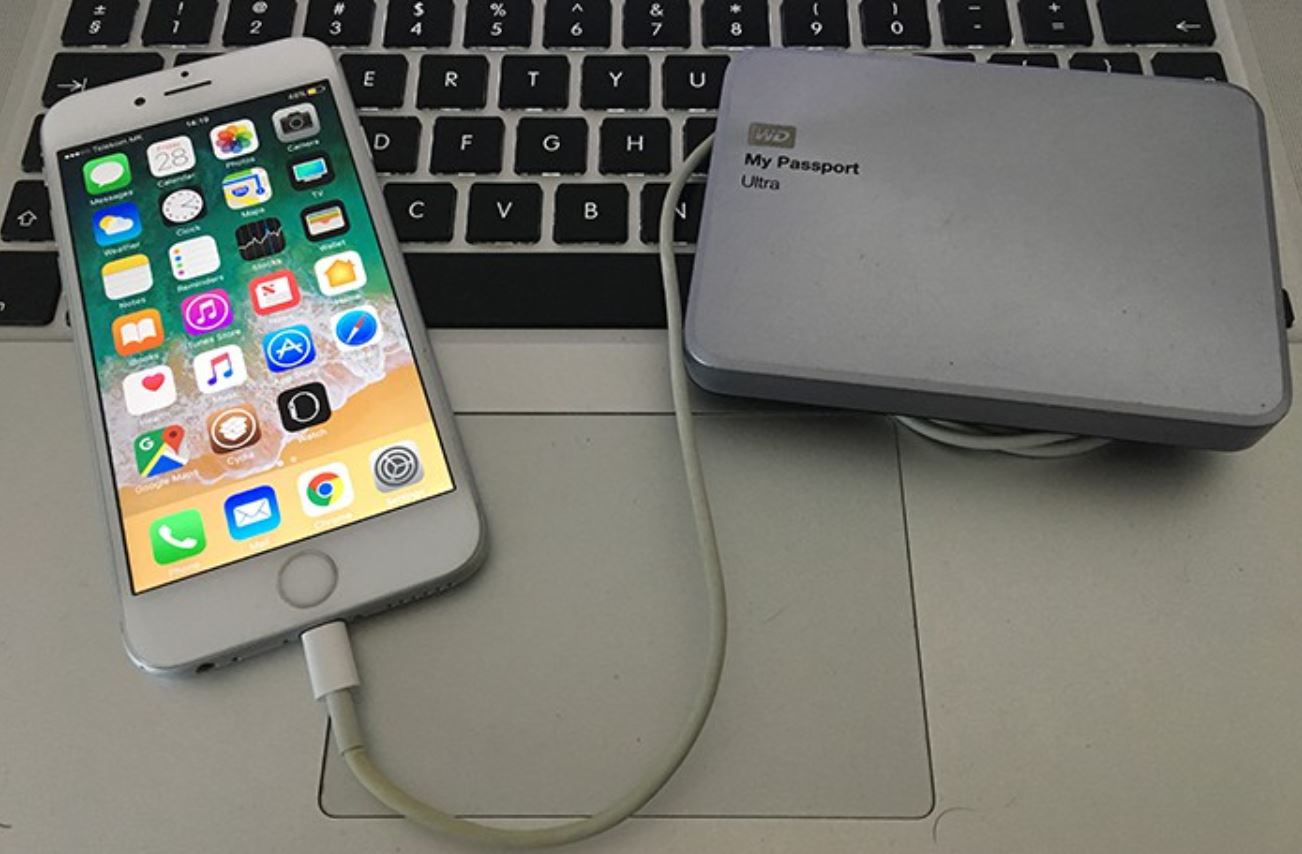
The first step in backing up your iPhone to an external hard drive is to ensure that both your iPhone and the external hard drive are connected to your computer. This can be done using the appropriate cables or adapters depending on the type of connections your devices support.
If you have a Windows PC, you can connect your iPhone using a USB cable. For Mac users, you will need a USB-C to Lightning cable if you have a newer MacBook with USB-C ports, or a traditional USB to Lightning cable for older MacBook models equipped with USB-A ports.
Once your iPhone is connected to your computer, you’ll need to connect the external hard drive. Depending on the type of connection your external hard drive supports, you may need a USB cable, Thunderbolt cable, or an adapter if you have a newer MacBook with only USB-C ports.
After both devices are connected, ensure that they are recognized by your computer. You can check this by navigating to “My Computer” (Windows) or “Finder” (Mac) and confirming that both the iPhone and external hard drive are listed.
Pro Tip: It’s always a good idea to use USB ports directly on your computer rather than using USB hubs or extension cables, as this can help maintain a stable connection and ensure faster data transfer.
Step 2: Open iTunes and select your iPhone device
Once your iPhone and external hard drive are successfully connected to your computer, it’s time to open iTunes, which is the software used for managing your iPhone’s backups and synchronization.
If you don’t have iTunes installed on your computer, you can easily download and install it from the official Apple website. Make sure to choose the version that corresponds to your operating system (Windows or Mac).
After opening iTunes, you will see an interface with various options and tabs. Look for the device icon that represents your iPhone and click on it. This will take you to the device management page within iTunes.
On this page, you’ll find various options related to your iPhone, such as Summary, Music, Photos, and more. For the purpose of backing up your iPhone to an external hard drive, we will focus on the Summary tab.
In the Summary tab, you will see an overview of your iPhone’s information, including storage usage, software version, and serial number. Scroll down to the “Backups” section, where you will find options related to backups and data storage.
At this point, it’s important to decide whether you want to encrypt your backup. Encrypting the backup means that your data will be protected with a password, providing an extra layer of security. If you choose to encrypt your backup, make sure to remember the password as it will be required to access the backup in the future.
Next, click on the “Back Up Now” button. This will initiate the backup process and create a copy of your iPhone’s data on your computer.
Pro Tip: It’s a good practice to keep your iPhone connected to your computer during the entire backup process to ensure a smooth and uninterrupted transfer of data.
Step 3: Change your iPhone backup location to the external hard drive
By default, iTunes stores iPhone backups on your computer’s internal storage. However, to ensure that your backup is saved directly to the external hard drive, you need to change the backup location within iTunes. Follow these steps to do so:
- Go back to the Summary tab in iTunes, where you accessed the backup options in the previous step.
- Look for the “Backups” section and click on the “Preferences” button located next to it.
- A new window will open with options related to backups. Here, you’ll find a section labeled “Backup Location”.
- Click on the “Change…” button and browse to select the external hard drive as the new backup location.
- Once you have selected the external hard drive, click on the “OK” button to save the changes.
After completing these steps, iTunes will now store future iPhone backups on the external hard drive rather than your computer’s internal storage.
It’s important to note that changing the backup location doesn’t automatically move your existing backups to the external hard drive. However, future backups will be saved there, giving you the benefit of freeing up space on your computer’s internal storage.
Pro Tip: To ensure smooth and hassle-free backups, make sure that the external hard drive is always connected to your computer whenever you initiate a backup. Disconnecting the external hard drive during the backup process may result in an incomplete or failed backup.
Step 4: Start the backup process
Now that you have changed the backup location to your external hard drive, it’s time to start the backup process. Follow these steps to initiate the backup:
- Ensure that your iPhone is still connected to your computer and that the external hard drive is properly plugged in.
- Go back to the Summary tab in iTunes, where you accessed the backup options in the previous steps.
- Under the “Backups” section, you will see a button labeled “Back Up Now”. Click on this button to start the backup process.
- Depending on the amount of data on your iPhone, the backup process may take several minutes or longer. During this time, it’s important not to disconnect your iPhone or the external hard drive.
- The progress of the backup will be displayed on the screen, allowing you to monitor the process and estimate the remaining time.
Once the backup process is complete, you will see a message confirming the successful backup of your iPhone to the external hard drive.
Pro Tip: It’s a good idea to periodically check and ensure that the backups are indeed being saved to the external hard drive. You can do this by navigating to the backup location on your external hard drive and verifying the presence of the backup files.
By following these steps, you have successfully initiated the backup process and ensured that your iPhone data is securely saved on the external hard drive, protecting it from potential loss or device failure.
Step 5: Monitor the backup progress
While the backup process is underway, it’s essential to monitor the progress and ensure that everything is running smoothly. Here are some important points to keep in mind:
- Stay connected: It’s crucial to keep your iPhone connected to your computer and the external hard drive throughout the entire backup process. Disconnecting either device may interrupt the backup and result in an incomplete or failed backup.
- Observe the progress bar: iTunes will display a progress bar indicating the status of the backup. This allows you to estimate the remaining time and ensure that the backup is progressing as expected.
- Avoid interruptions: To avoid any interruptions or disruptions, refrain from using your computer or launching resource-intensive applications while the backup is in progress. This will help ensure a smoother and faster backup process.
- Backup size and speed: The duration of the backup process depends on the size of your iPhone’s data and the speed of your computer and external hard drive. Larger backups may take longer to complete, so be prepared for a longer wait time if you have a significant amount of data to back up.
- Monitor disk space: As the backup progresses, keep an eye on the available storage space on your external hard drive. Ensure that you have enough space to accommodate the backup file size. If needed, free up space on the external hard drive by manually deleting unnecessary files or moving them to another storage location.
By actively monitoring the backup progress, you can ensure that the backup is successfully completed and gain peace of mind knowing that your iPhone data is securely backed up on the external hard drive.
Conclusion
Backing up your iPhone to an external hard drive is an important step in safeguarding your valuable data. By following the steps outlined in this guide, you can ensure that your iPhone backups are securely stored on an external hard drive, providing an extra layer of protection against data loss or device failure.
We started by connecting your iPhone and external hard drive to your computer, ensuring that both devices are recognized. Then, we opened iTunes and selected your iPhone device to access the backup options. From there, we changed the backup location to the external hard drive, setting the stage for future backups to be stored directly on the external storage.
Once the settings were configured, we initiated the backup process, allowing iTunes to transfer your iPhone’s data to the external hard drive. Throughout this process, it’s important to monitor the progress, stay connected, and avoid interruptions. By doing so, you can ensure a successful backup and the safety of your data.
Remember to periodically check the backup location on your external hard drive to verify the presence of the backup files and ensure that everything is backed up as intended.
Backing up your iPhone to an external hard drive is a proactive measure to protect your data from unforeseen circumstances. Whether it’s accidental data deletion, device damage, or loss, having a secure backup ensures that you can restore your data and continue with peace of mind.
By following the steps outlined in this guide, you have taken a crucial step in safeguarding your iPhone’s data and ensuring that your memories, contacts, and important files remain intact. Don’t delay; backup your iPhone to an external hard drive today and enjoy the peace of mind that comes with knowing your data is safe and secure.