Introduction
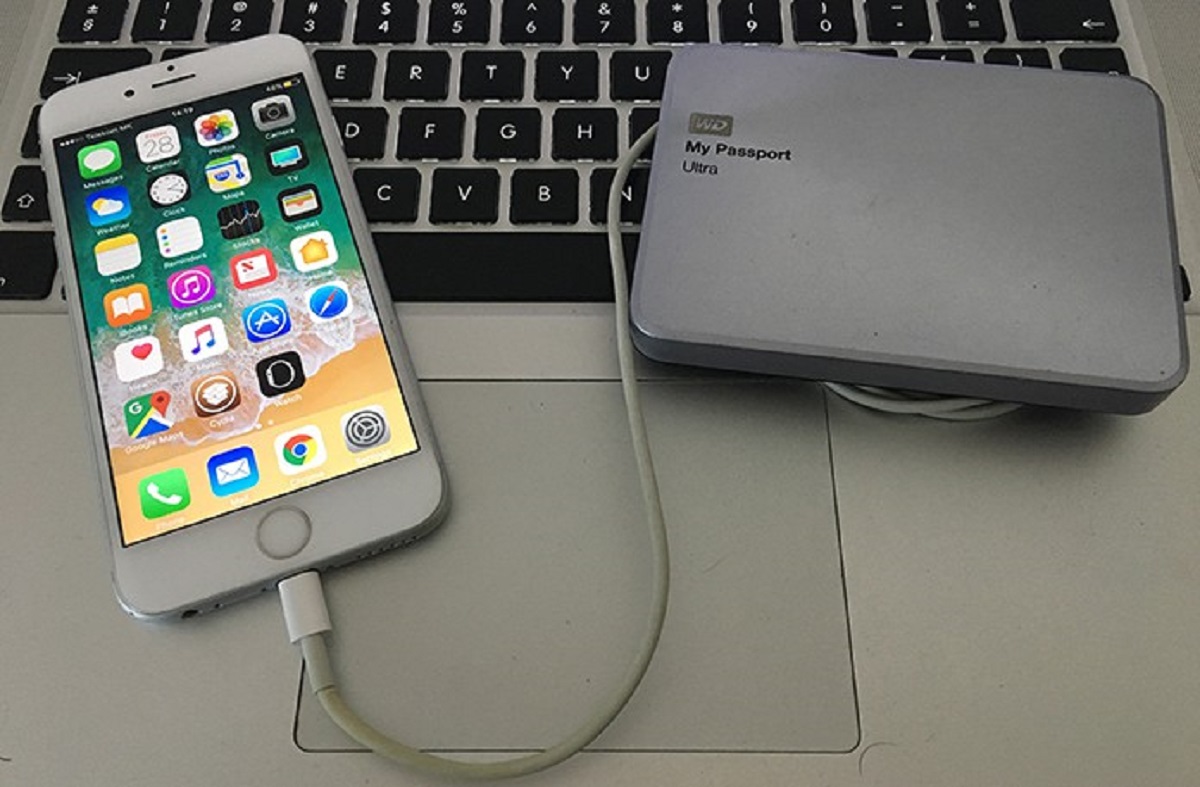
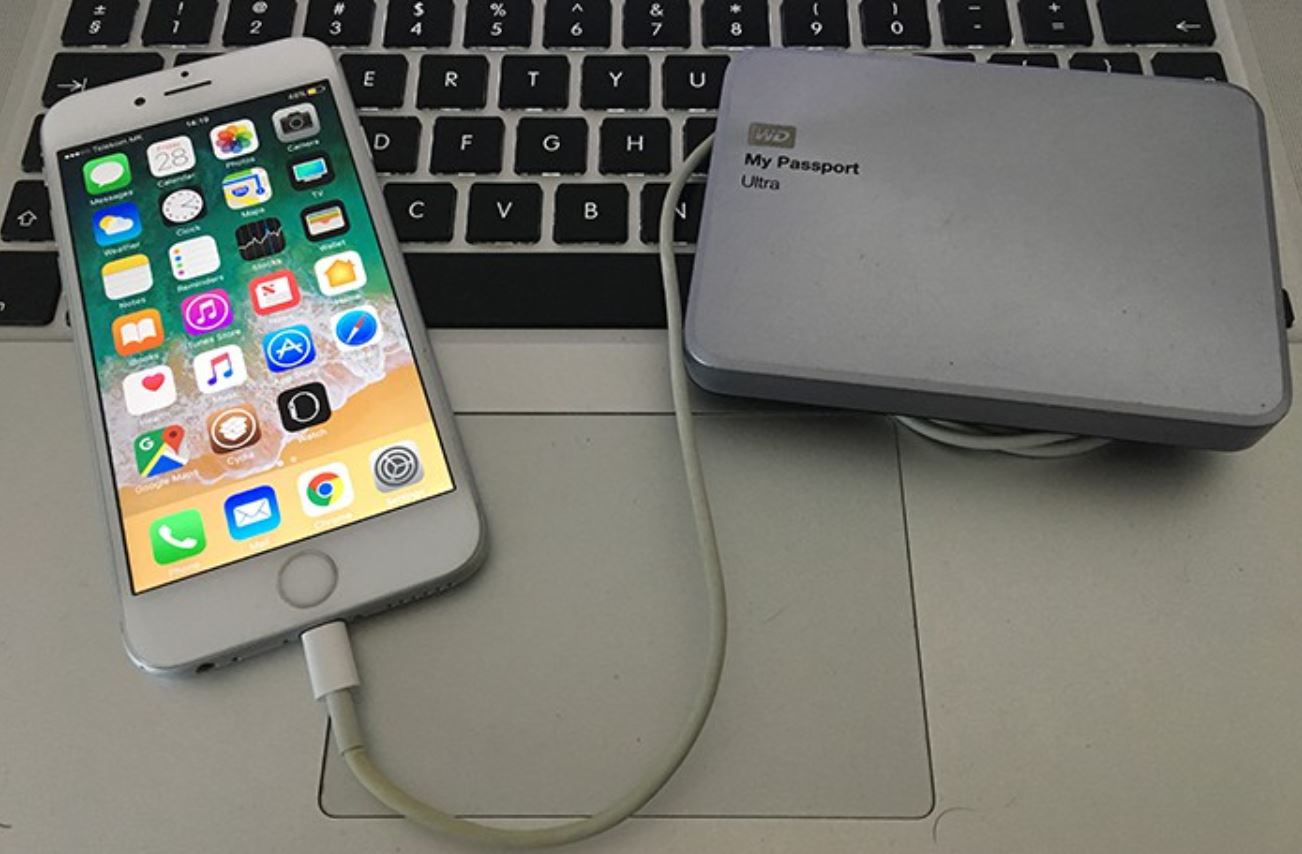
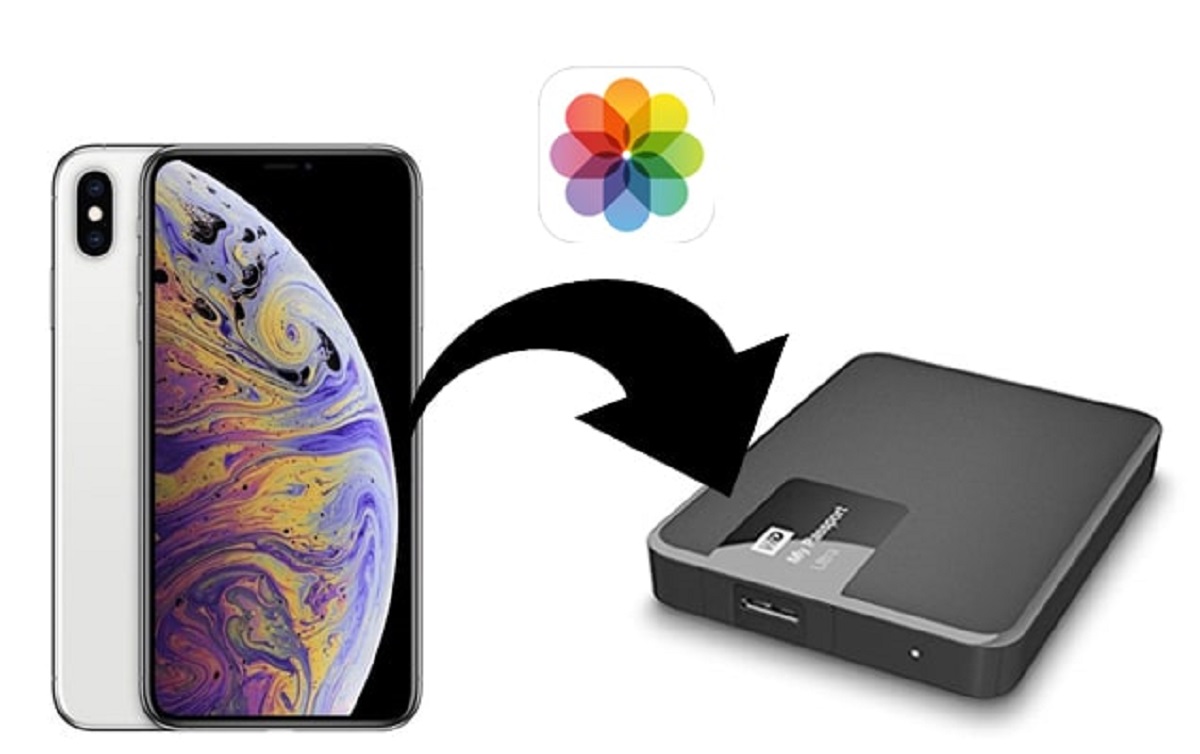
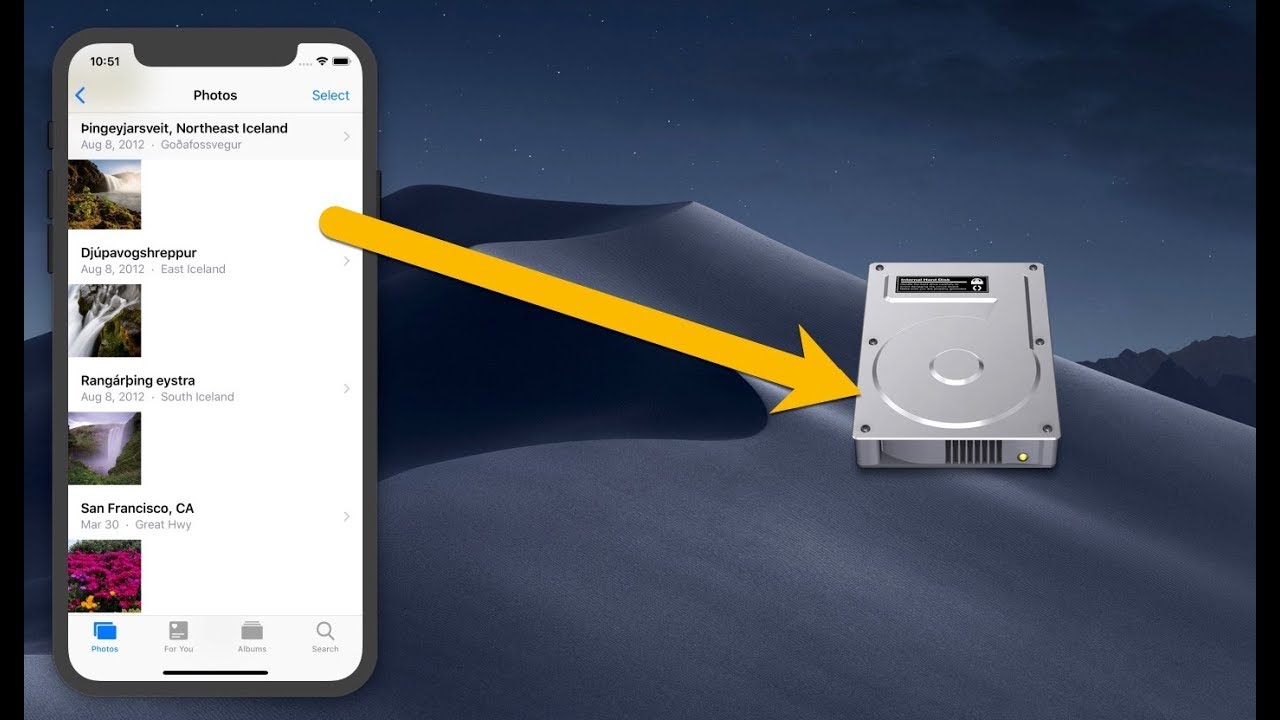
Welcome to our guide on how to backup your iPhone to an external hard drive. In today’s digital age, our smartphones have become an integral part of our lives, storing important data such as contacts, photos, videos, and documents. Losing this data can be devastating, which is why regular backups are crucial for iPhone users.
While iTunes and iCloud offer built-in backup solutions, they may not always be the most ideal options. iTunes backups are stored on your computer’s internal hard drive, taking up valuable storage space, while iCloud backups are limited to the amount of free storage available to you. This is where an external hard drive comes in handy.
By backing up your iPhone to an external hard drive, you can free up space on your computer and have greater control over your backups. External hard drives offer large storage capacity and can securely store your iPhone backups for easy retrieval when needed.
In this guide, we will walk you through the process of backing up your iPhone to an external hard drive. We will provide step-by-step instructions for both Windows and Mac users, ensuring that you can choose the method that is most compatible with your operating system.
Additionally, we will cover alternative methods for backing up your iPhone data to an external hard drive, in case you encounter any issues or prefer different approaches. We will also share some best practices for managing your iPhone backups, so you can ensure that your data remains safe and accessible.
Whether you are planning to upgrade your iPhone, need to free up storage space, or simply want to have an extra layer of protection for your important files, learning how to backup your iPhone to an external hard drive is an essential skill that every iPhone user should possess.
So, let’s get started and make sure that your precious iPhone data stays protected!
Why Should You Backup Your iPhone to an External Hard Drive?
Backing up your iPhone is vital to ensure the safety and security of your valuable data. While using iCloud or iTunes for backups might be convenient, opting for an external hard drive for iPhone backups comes with several advantages.
Ample Storage Capacity: External hard drives typically offer much larger storage capacity compared to the internal drive of your computer or the limited iCloud storage. This allows you to backup your iPhone without worrying about running out of space.
Backup Control: By using an external hard drive, you are in full control of your backups. You can choose when and where to create backups, making it easier to manage and access your data whenever needed.
Portability: External hard drives are portable and can be easily carried with you wherever you go. This makes it convenient to take backups of your iPhone when you’re traveling, ensuring that your data is always protected.
Data Recovery: In the unfortunate event of data loss on your iPhone, having a backup on an external hard drive can be a lifesaver. You can quickly restore your data onto a new device or retrieve specific files from the backup, minimizing the impact of any data loss.
Additional Security: Storing your iPhone backups on an external hard drive adds an extra layer of security. Unlike cloud-based storage solutions, there is less risk of data breaches, hacking, or unauthorized access to your backups.
Minimal Dependence on Internet: While iCloud backups require a stable internet connection, using an external hard drive allows you to create backups without relying on internet connectivity. This is especially useful in areas with limited or unreliable internet access.
Overall, backing up your iPhone to an external hard drive provides you with more storage options, control, portability, and security for your valuable data. It ensures that you have a reliable backup of your iPhone’s contents, giving you peace of mind and protection against unexpected data loss.
Now that we understand the benefits of backing up to an external hard drive, let us move on to the next section where we will help you choose the right external hard drive for your iPhone backups.
Choosing the Right External Hard Drive for iPhone Backups
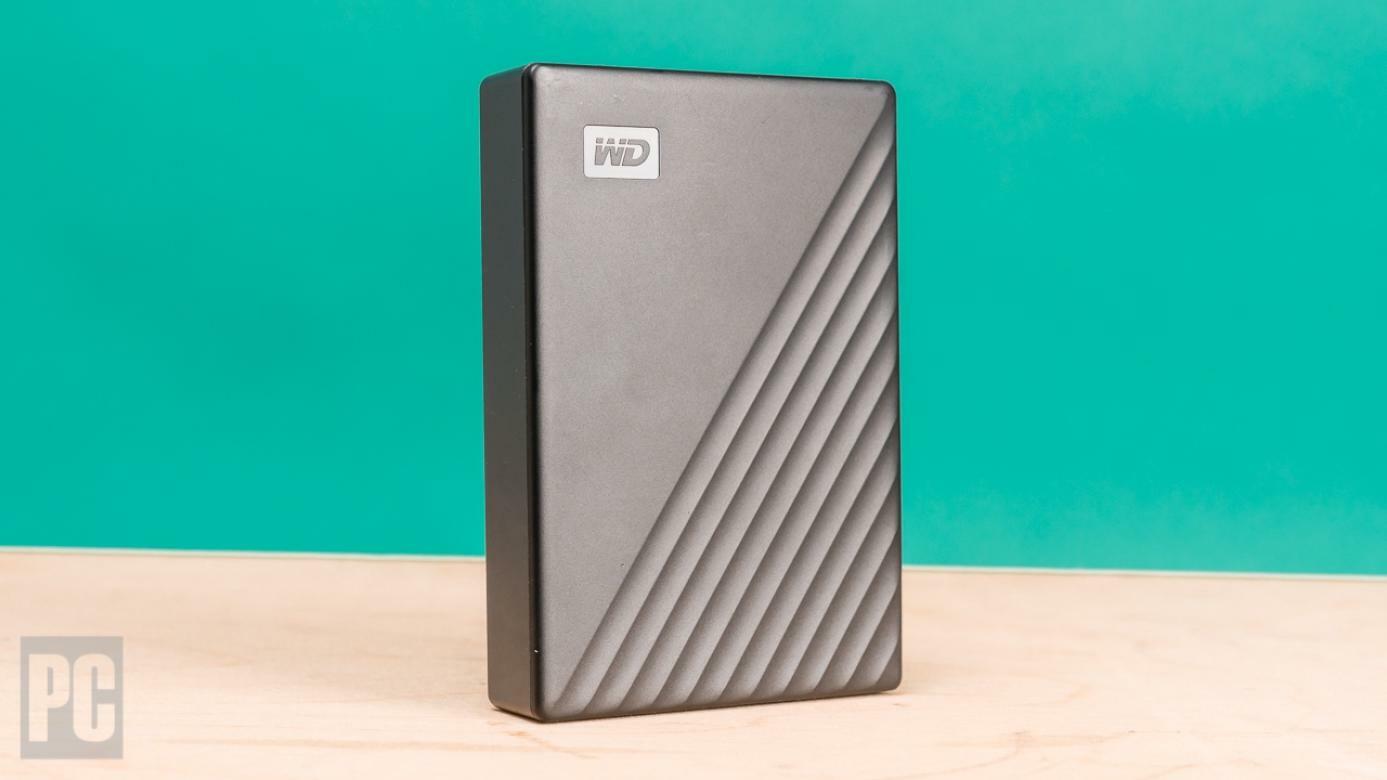
When it comes to choosing an external hard drive for your iPhone backups, there are a few factors to consider. Here are some key considerations to help you make the right choice:
Storage Capacity: Look for an external hard drive with ample storage capacity to accommodate your iPhone backups. Consider the amount of data you have on your iPhone and ensure that the hard drive has enough space to store multiple backups.
Compatibility: Ensure that the external hard drive is compatible with your computer’s operating system. Most external hard drives are compatible with both Windows and Mac systems, but it’s always good to double-check before making a purchase.
Connection Interface: Consider the type of connection interface the external hard drive offers. USB 3.0 or Thunderbolt interfaces provide faster data transfer speeds compared to older USB 2.0 connections. This can significantly reduce the time it takes to create backups.
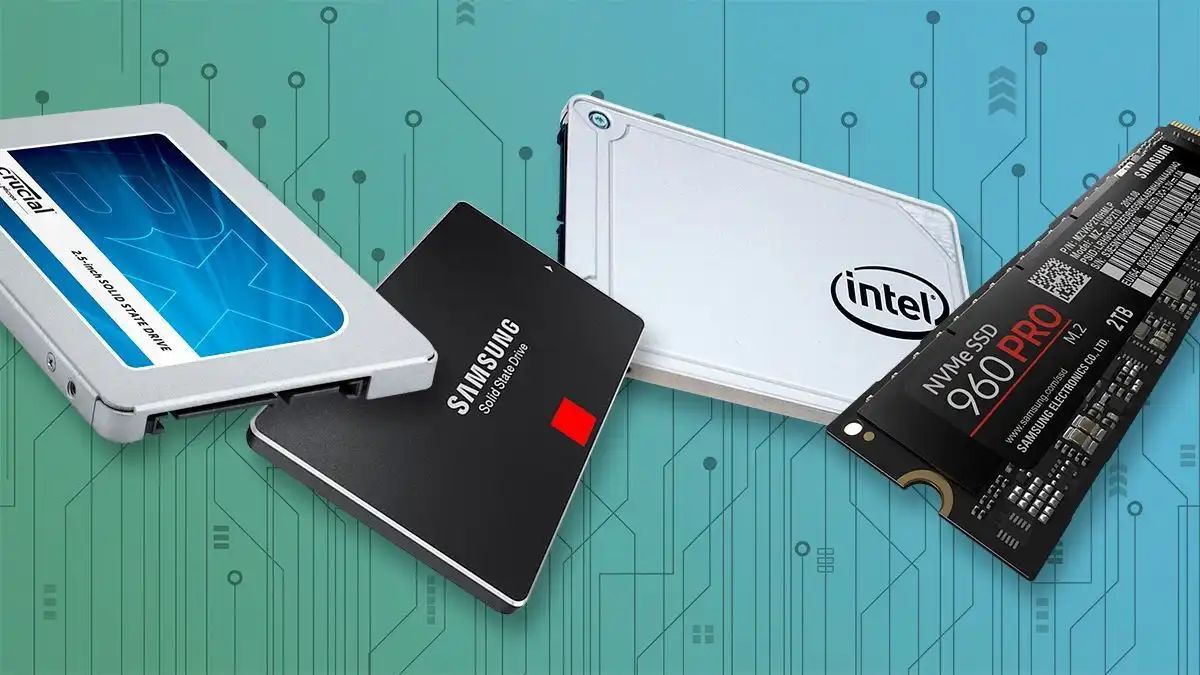
Portability: If you plan on carrying the external hard drive with you, look for a compact and lightweight option that is easily portable. A solid-state drive (SSD) may be preferable as it has no moving parts and is more resilient to physical damage during transportation.
Reliability: Choose a reputable brand or manufacturer known for producing high-quality and reliable external hard drives. Reading customer reviews and checking ratings can help you gauge the reliability of a particular model.
Data Encryption and Security Features: If you prioritize data security, consider an external hard drive that offers built-in encryption or security features. This helps protect your backups from unauthorized access or theft.
Price: Set a budget for your external hard drive purchase. Consider the features and storage capacity that align with your needs while keeping in mind the cost. While it’s important to find a good deal, prioritize quality and reliability over just the price.
Warranty: Check the warranty period offered by the manufacturer. A longer warranty provides reassurance and coverage in case of any hardware issues or failures.
By considering these factors, you can make an informed decision when choosing the right external hard drive for your iPhone backups. Once you have selected an external hard drive that meets your requirements, you can proceed to the next section, where we will guide you through the process of preparing the hard drive for iPhone backups.
Preparing Your External Hard Drive for iPhone Backups
Before you can start backing up your iPhone to an external hard drive, you need to prepare the hard drive for this purpose. Here are the steps to get your external hard drive ready:
Step 1: Format the External Hard Drive: Connect the external hard drive to your computer and ensure it is recognized. Depending on your operating system, you may need to format the hard drive to a compatible file system. For Windows, you can format it to NTFS, and for Mac, you can use either Mac OS Extended (Journaled) or APFS.
Note: Formatting the external hard drive will erase any existing data on it. Make sure to back up any important files on the hard drive before proceeding.
Step 2: Give Your External Hard Drive a Recognizable Name: Assign a unique and easily identifiable name to your external hard drive. This will make it easier to locate and select the drive when creating backups.
Step 3: Create a Dedicated Folder for iPhone Backups: On your external hard drive, create a dedicated folder specifically for storing your iPhone backups. This will help keep your backups organized and easily accessible in the future.
Step 4: Set Permissions: Adjust the permissions of the folder to ensure that it allows read and write access. This will enable your computer and iPhone to perform necessary actions such as creating and accessing backups.
Step 5: Test the External Hard Drive: Perform a test backup to ensure that the external hard drive is working properly. Connect your iPhone to the computer, select the external hard drive as the backup destination, and initiate the backup process. Verify that the backup is successfully created and accessible.
Once you have completed these steps, your external hard drive is ready to be used for iPhone backups. In the next sections, we will provide detailed instructions on how to backup your iPhone to an external hard drive on both Windows and Mac operating systems.
Keep in mind that the preparation steps may slightly differ depending on the specific external hard drive model and operating system you are using. Always refer to the manufacturer’s instructions or support documentation for detailed information.
How to Backup Your iPhone to an External Hard Drive on Windows
If you are using a Windows computer and want to backup your iPhone to an external hard drive, follow these steps:
- Connect your external hard drive to your Windows computer using a USB cable.
- Ensure that the external hard drive is recognized by your computer and has been properly formatted for Windows.
- Open iTunes on your computer and ensure that you are using the latest version.
- Connect your iPhone to your computer using a USB cable.
- In the iTunes interface, click on the device icon that appears in the upper-left corner of the window. This will open your iPhone’s summary page.
- In the “Backups” section, click on the “This computer” option to indicate that you want to create a backup on your computer.
- Click on the “Back Up Now” button to initiate the backup process.
- In the iTunes preferences, go to the “Devices” tab and locate the newly created backup for your iPhone.
- Click on the backup file and select “Show in Windows Explorer” or “Open in File Explorer” to navigate to the backup location.
- Copy the backup file from the default iTunes backup location to the dedicated folder that you created on your external hard drive.
At this point, your iPhone backup has been successfully stored on your external hard drive. You can disconnect your iPhone from the computer and safely eject the external hard drive.
From now on, whenever you want to backup your iPhone, simply connect the external hard drive to your Windows computer, open iTunes, connect your iPhone, and follow steps 5-9 to copy the backup file to your external hard drive.
Remember to periodically update your backups and keep your external hard drive in a safe and secure location to ensure the long-term integrity of your iPhone backups.
How to Backup Your iPhone to an External Hard Drive on Mac
If you are using a Mac and want to backup your iPhone to an external hard drive, follow these steps:
- Connect your external hard drive to your Mac using a USB cable.
- Ensure that the external hard drive is recognized by your Mac and has been properly formatted for Mac OS Extended (Journaled) or APFS.
- Open Finder on your Mac.
- Connect your iPhone to your Mac using a Lightning cable.
- In the Finder sidebar, under “Locations,” you should see your iPhone listed. Click on it.
- In the iPhone’s Summary page, click on the “Back Up Now” button to initiate the backup process.
- Wait for the backup to complete. The time taken for the backup process can vary based on the amount of data on your iPhone.
- Once the backup is completed, go to the “Finder” menu and select “Preferences.”
- In the “Finder Preferences” window, click on the “Sidebar” tab.
- Check the box next to your external hard drive’s name under the “Show these items in the sidebar” section.
Now, whenever you connect your iPhone to your Mac, the backup process will automatically save the backup file to your external hard drive.
To manually copy existing backups to your external hard drive, follow these steps:
- Open Finder and go to the following directory on your Mac: ~/Library/Application Support/MobileSync/Backup/
- You should see a list of backup folders. These folders contain the individual backups of your devices.
- Select the backup folders that you want to transfer to the external hard drive.
- Copy the selected backup folders and paste them into the dedicated folder you created on your external hard drive.
Now you have successfully backed up your iPhone to an external hard drive on your Mac. The backups will be stored on your external hard drive, allowing you to free up space on your computer and have easy access to the backups when needed.
Remember to periodically update your backups and keep your external hard drive in a safe and secure location to ensure the long-term integrity of your iPhone backups.
Alternative Methods to Backup iPhone Data to External Hard Drive
In addition to using iTunes or Finder to backup your iPhone to an external hard drive, there are alternative methods that you can explore. These methods offer different approaches and can be helpful in various scenarios:
iMazing: iMazing is a third-party software that allows you to manage and backup your iPhone data. It offers a straightforward interface and supports direct backups to external hard drives. Simply connect your iPhone and external hard drive to your computer, open iMazing, and follow the instructions to create a backup on your external hard drive.
Third-Party Cloud Storage Services: Some cloud storage services, such as Google Drive, Dropbox, or OneDrive, offer desktop applications that automatically sync files and folders from your computer. You can create a backup of your iPhone using iTunes or Finder and then move the backup file to the synced folder on your computer. The cloud storage service will then upload the backup file to the cloud, providing an additional backup location for your iPhone data.
Time Machine (Mac Only): If you regularly use Time Machine for Mac backups, you can include your iPhone backups in the Time Machine backup process. Connect your external hard drive to your Mac, go to “System Preferences” > “Time Machine,” and add your external hard drive as a backup destination. Time Machine will automatically include your iPhone backups in its backup schedule.
Automated Backup Scripts: For advanced users, it is possible to create automated backup scripts using tools like Terminal on Mac or PowerShell on Windows. These scripts can be customized to automatically copy your iPhone backups to your external hard drive at specified intervals or when certain conditions are met.
These alternative methods provide flexibility and convenience in backing up your iPhone data to an external hard drive. Feel free to explore these options to find the method that best suits your needs and preferences.
Remember to regularly check and verify the backups created through these alternative methods to ensure the integrity of your iPhone data.
Best Practices for iPhone Backup Management
Managing your iPhone backups effectively is crucial to ensure the safety and accessibility of your data. Here are some best practices to consider when it comes to iPhone backup management:
Regular Backup Schedule: Set a regular backup schedule to ensure that your iPhone data is consistently backed up. Whether it’s daily, weekly, or monthly, having a routine backup schedule helps protect against data loss.
Multiple Backup Locations: Consider having multiple backup locations for added redundancy. This can include creating backups on both your computer and an external hard drive, using cloud storage services, or a combination of these options. Having multiple copies of your backups in different locations reduces the risk of complete data loss.
Verify Backups: Periodically check the integrity and accessibility of your iPhone backups. Test restoring files or data from the backups to ensure that they are intact and usable.
Encrypt Your Backups: Protect your iPhone backups by enabling encryption. This adds an extra layer of security and ensures that your sensitive data remains confidential. Both iTunes and Finder allow you to encrypt your backups, and you can set a password to prevent unauthorized access.
Clean Up Unused Backups: Regularly review and delete any outdated or unnecessary backups. This helps free up storage space on your computer, external hard drive, or cloud storage, and keeps your backup process streamlined.
Update Software: Ensure that you are using the latest version of iTunes or Finder, as well as the latest iOS version on your iPhone. Keeping your software up to date helps maximize compatibility and ensures smooth backup operations.
Document Your Backup Process: Maintain documentation of your backup process, including which devices are backed up, where the backups are stored, and the dates of the backups. This helps keep track of your backup history and simplifies your data recovery efforts, if necessary.
Secure Your Backup Locations: Protect your computer, external hard drive, and cloud storage accounts with strong passwords. This helps prevent unauthorized access to your backups and keeps your data secure.
Periodically Test Restoration: It’s not enough to create backups; you should also test the restoration process. Make sure you can successfully restore your data from the backups and that the restored data is complete and accurate.
Monitor Backup Storage Space: Regularly check the storage space availability on your computer, external hard drive, or cloud storage. Make sure you have enough space to accommodate future backups and consider expanding storage capacity if needed.
By following these best practices, you can ensure the reliability and effectiveness of your iPhone backup management. Whether you are protecting against accidental data loss, preparing for device upgrades, or safeguarding your valuable information, implementing these practices will give you peace of mind and confidence in your backup strategy.
Conclusion
Backing up your iPhone to an external hard drive is a reliable and efficient way to protect your valuable data. It provides you with ample storage capacity, greater control over your backups, and an additional layer of security. By following the steps outlined in this guide, you can successfully backup your iPhone to an external hard drive on both Windows and Mac operating systems.
Remember to choose the right external hard drive that meets your storage needs and compatibility requirements. Prepare the external hard drive by formatting it, creating a dedicated folder, and setting appropriate permissions. Follow the instructions provided for your specific operating system to initiate the backup process.
In addition to iTunes and Finder, alternative methods such as using third-party software, cloud storage services, or automated backup scripts offer flexibility and convenience in managing your iPhone backups. Consider implementing multiple backup locations and encryption for added data protection.
Adhering to the best practices for iPhone backup management ensures the reliability and accessibility of your backups. Establishing a regular backup schedule, verifying backups, cleaning up unused backups, and regularly updating software contribute to an effective backup strategy.
By taking these steps and adopting these practices, you can safeguard your iPhone data, minimize the risk of data loss, and have peace of mind knowing that your important files are backed up securely.
Don’t wait until it’s too late. Start backing up your iPhone to an external hard drive today and enjoy the benefits of data security and peace of mind.


