Introduction
Welcome to our guide on how to backup your iPhone directly to an external hard drive on your Mac! Losing data from your iPhone can be a nightmare, especially if you haven’t backed it up regularly. While iCloud and iTunes offer backup options, they may not be the most convenient, especially if you have limited cloud storage or prefer physical backup solutions. Thankfully, by following a few simple steps, you can back up your iPhone directly to an external hard drive, ensuring your precious data is secure.
In this article, we will walk you through the process of connecting your external hard drive to your Mac and using it as the backup destination for your iPhone. We will guide you step-by-step, making it easy for even the least tech-savvy users to follow along.
By backing up directly to an external hard drive, you can take full control over your data and have the peace of mind that it’s stored safely in a physical location. Plus, it frees up valuable space on your computer’s hard drive. So, without further ado, let’s dive into the step-by-step process of backing up your iPhone to an external hard drive on your Mac!
Step 1: Connect the External Hard Drive
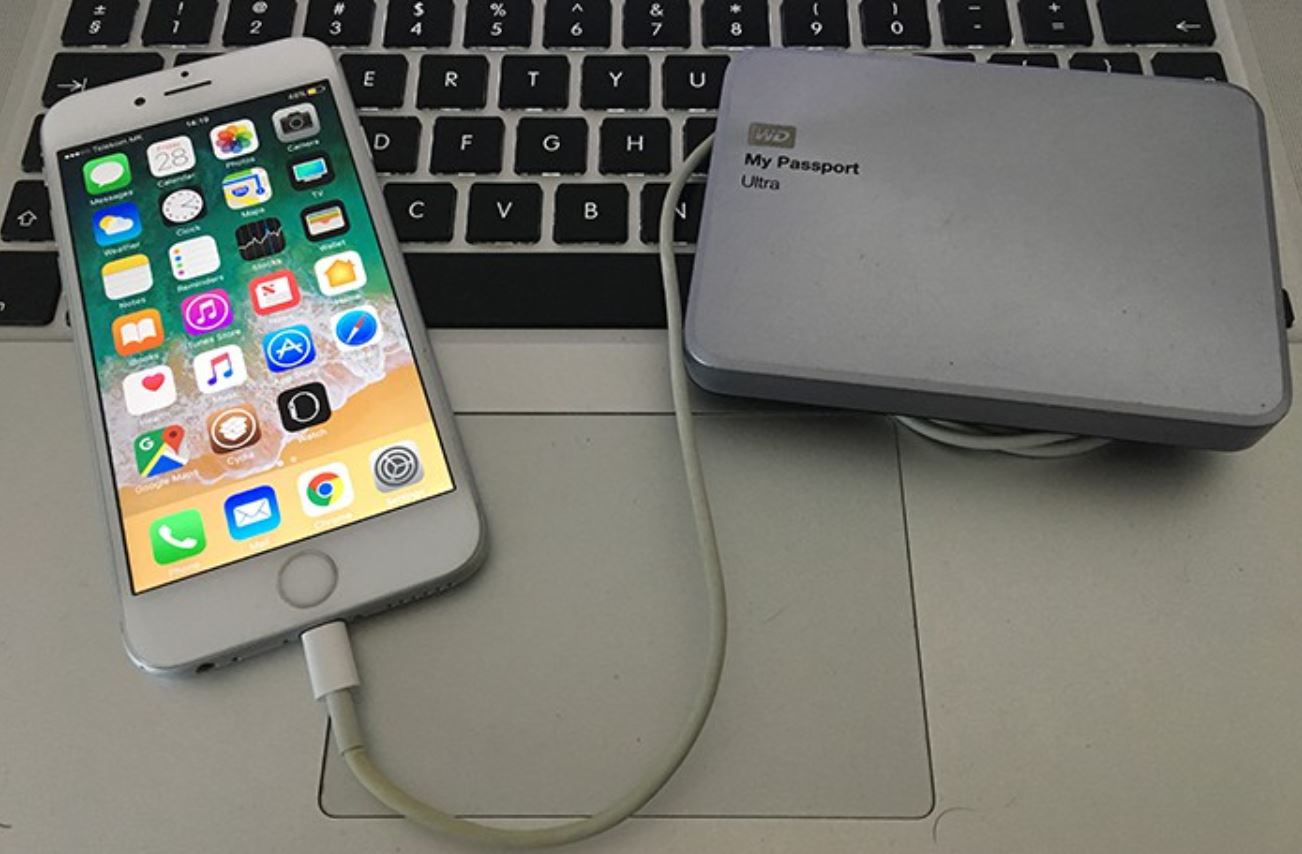
The first step in the process is to connect your external hard drive to your Mac. Make sure your hard drive is powered on and properly connected to your computer using a USB cable or any other appropriate connection method.
Once connected, your Mac should recognize the external hard drive and display it as an icon on your desktop or in the Finder sidebar. If the drive doesn’t appear, try disconnecting and reconnecting the cables or restarting your computer.
If your external hard drive requires additional power, such as an external power source or a separate power cable, make sure to connect it appropriately to ensure the drive is functioning correctly.
With the external hard drive successfully connected to your Mac, you are now ready to proceed to the next step and open Finder to access the backup settings.
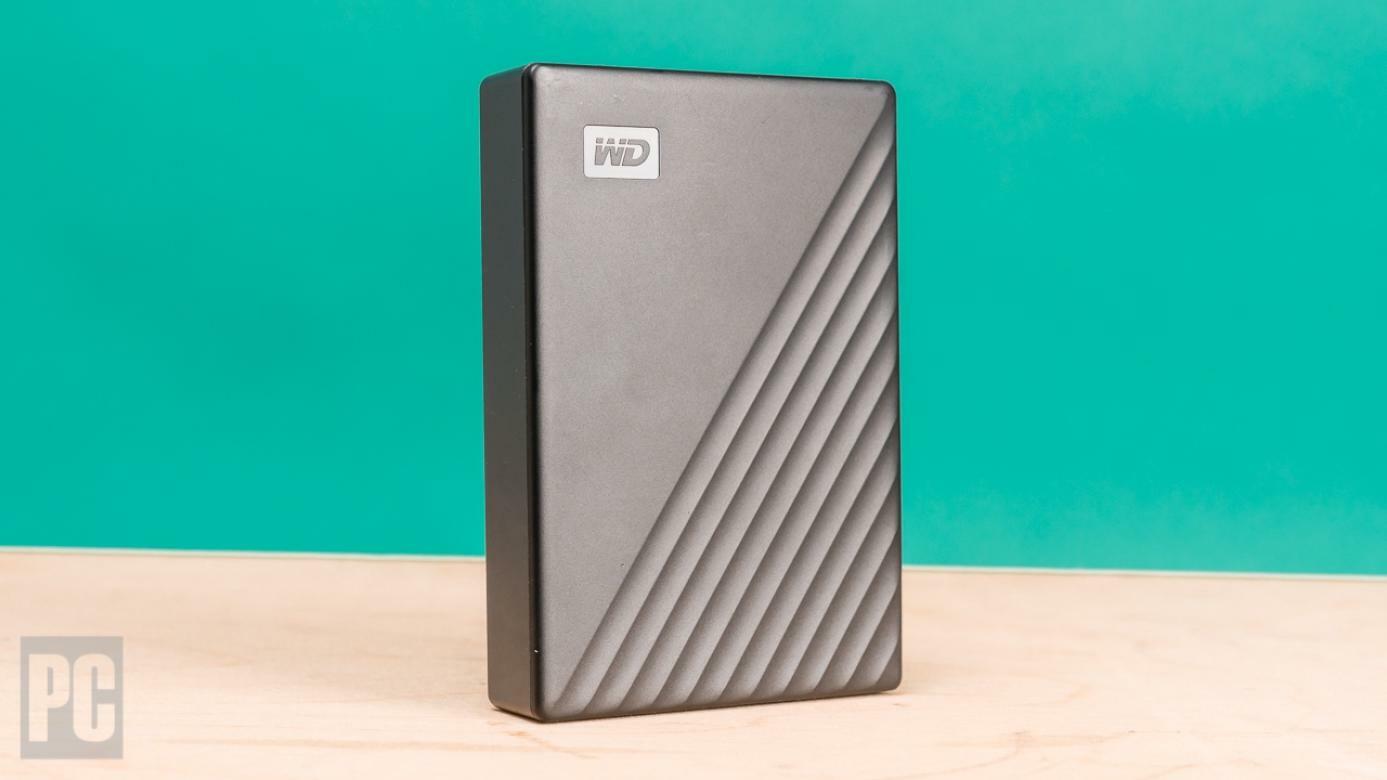
Note: It’s essential to choose a reliable and spacious external hard drive for your backups to ensure you have enough storage capacity for your iPhone data.
Step 2: Open Finder
To begin the backup process, you need to open Finder, the default file management application on your Mac. You can do this by clicking on the Finder icon located in your dock or by selecting Finder from the applications in the Launchpad.
Alternatively, you can also use the keyboard shortcut Command + Spacebar to open Spotlight and then type “Finder” to search for and launch the application.
Once Finder is open, you will see a Finder window with a sidebar on the left-hand side containing various locations and shortcuts. The sidebar typically includes your Favorites, Devices, and Shared sections.
In the Devices section, you should see your external hard drive listed as a device. Click on its name to access its contents. If you don’t see your external hard drive listed, make sure it is properly connected and recognized by your Mac. You may also need to refresh the Finder window by pressing Command + R.
With the external hard drive selected in the Finder sidebar, you are now ready to proceed to the next step and open the iPhone backup location.
Note: This step assumes that you have already connected your external hard drive and it is visible in Finder. If your drive is not appearing, refer to Step 1 to troubleshoot the connection.
Step 3: Select and Open iPhone Backup
After opening Finder and accessing your external hard drive, it’s time to locate and open the iPhone backup location. Follow these steps to proceed:
- In the Finder menu bar at the top of your screen, click on the “Go” option.
- From the dropdown menu, select “Go to Folder.”
- A small window will appear. In the text field, enter the following path:
/Users/[Your Username]/Library/Application Support/MobileSync/ - Click on the “Go” button.
By following the above steps, you will navigate to the MobileSync folder, which contains all the backup files for your iOS devices, including your iPhone.
Within the MobileSync folder, you will find a folder named “Backup.” This folder contains all the backups created by iTunes or Finder for your iPhone and other iOS devices.
Open the “Backup” folder by double-clicking on it. You will now see a list of folders, each representing a separate backup stored on your Mac.
The folder names may appear as a mysterious series of numbers and letters, but don’t worry! Each folder corresponds to a specific iPhone backup.
Select the backup folder you wish to use for your iPhone backup. If you’re not sure which folder corresponds to your desired backup, you can check the creation date or use other identifiable information, such as the device name associated with the backup.
Once you’ve selected the appropriate backup folder, you’re now ready to move on to the next step and choose the backup destination on your external hard drive.
Step 4: Choose Backup Destination
Now that you have located and opened the iPhone backup location, it’s time to choose the backup destination on your external hard drive. Follow these steps to proceed:
- Select the backup folder you opened in the previous step.
- Click on the folder once to highlight it.
- In the Finder menu bar at the top of your screen, click on the “Edit” option.
- From the dropdown menu, select “Copy [Folder Name].”
- Close the current Finder window by clicking on the red “X” button in the top-left corner or pressing Command + W.
- Go back to the Finder window that shows the contents of your external hard drive.
- Create a new folder on the external hard drive by right-clicking anywhere inside the finder window and selecting “New Folder” from the context menu.
- Give the new folder a descriptive name, such as “iPhone Backups” or “iOS Backups.”
- Double-click on the newly created folder to open it.
- In the Finder menu bar, click on the “Edit” option again.
- Select “Paste Item” from the dropdown menu.
- The backup folder you previously copied will now be pasted into the newly created folder on your external hard drive.
By following these steps, you have successfully chosen the backup destination for your iPhone backups. All future backups will be stored in the folder you created on your external hard drive.
Next, proceed to the following step to select the newly created folder as the backup destination for your iPhone.
Step 5: Create New Folder on the External Hard Drive
In this step, we will create a new folder on your external hard drive to serve as the backup destination for your iPhone. Follow these instructions to proceed:
- Ensure that the Finder window displaying the contents of your external hard drive is active.
- Right-click anywhere inside the Finder window to open the context menu.
- From the context menu, select the “New Folder” option. Alternatively, you can also use the keyboard shortcut Shift + Command + N.
- A new folder will appear with the default name “untitled folder”.
- Click once on the newly created folder to select it.
- Rename the folder to a descriptive and easily identifiable name. Consider using a name like “iPhone Backup” or “iOS Backups”. To rename the folder, right-click on it, select “Rename” from the context menu, and type in your desired name.
- Press Enter or click outside the folder to save the changes.
By following these steps, you have successfully created a new folder on your external hard drive that will serve as the backup destination for your iPhone backups. This folder will keep your backups organized and easily accessible.
Now, you’re ready to proceed to the next step and select the newly created folder as the backup destination for your iPhone.
Step 6: Select the New Folder as Backup Destination
Now that you have created a new folder on your external hard drive, it’s time to select it as the backup destination for your iPhone. Follow these steps to proceed:
- In the Finder window displaying the contents of your external hard drive, locate the newly created folder. You should see it listed with the name you assigned to it.
- Click once on the folder to select it.
- In the Finder menu bar at the top of your screen, click on the “Edit” option.
- From the dropdown menu, select “Copy [Folder Name]” or press Command + C.
- Close the Finder window by clicking on the red “X” button in the top-left corner or selecting “Close Window” from the “File” menu or pressing Command + W.
- Open a new Finder window to navigate back to the iPhone backup location on your Mac (refer to Step 3 for instructions on how to get there).
- Click once inside the iPhone backup location to make sure the folder is selected.
- In the Finder menu bar, click on the “Edit” option again.
- Select “Paste Item” from the dropdown menu or press Command + V.
- The folder you previously copied from your external hard drive will now be pasted into the iPhone backup location on your Mac.
By following these steps, you have successfully selected the newly created folder on your external hard drive as the backup destination for your iPhone. This ensures that all future backups will be automatically saved to this location, keeping your data securely stored and easily accessible.
Next, proceed to the next step to start the backup process for your iPhone.
Step 7: Start the Backup Process
Now that you have selected the new folder on your external hard drive as the backup destination, it’s time to start the backup process for your iPhone. Follow these steps to initiate the backup:
- Ensure that your iPhone is connected to your Mac using a lightning cable.
- Open Finder and select your iPhone from the sidebar under the “Locations” section or from the “Devices” section.
- In the summary panel that appears, click on the “Back Up Now” button.
- The backup process will begin, and you can monitor the progress in the Finder window.
- Depending on the size of your iPhone data and the speed of your Mac and external hard drive, the backup process may take some time.
- Make sure to keep your iPhone and Mac connected throughout the backup process to avoid any interruptions.
Once the backup is complete, you can disconnect your iPhone from your Mac. It’s essential to note that subsequent backups will automatically be saved to the new folder on your external hard drive, ensuring the security and accessibility of your iPhone data.
Congratulations! You have successfully started the backup process for your iPhone, safeguarding your valuable information and giving you peace of mind.
Next, proceed to the next step to monitor the backup progress and check the backup files on your external hard drive.
Step 8: Monitor the Backup Progress
While your iPhone is backing up to the external hard drive, it’s essential to monitor the progress to ensure a successful backup. Follow these steps to keep an eye on the backup progress:
- Keep the Finder window containing the backup process open on your Mac.
- Within the Finder window, you will see a progress bar indicating the percentage of completion for the backup.
- You can also observe the transfer speed, which will give you an idea of how quickly the backup is being processed.
- The time remaining for the backup to complete may also be displayed, giving you an estimation of when the process will finish.
- It’s important not to interrupt the backup process by disconnecting your iPhone, closing the Finder window, or turning off your Mac. Allow the backup to run its course until it reaches 100% completion.
- If any errors or interruptions occur during the backup process, make a note of them and try troubleshooting or contacting Apple support for assistance.
Monitoring the backup progress ensures that you are aware of the backup’s status and can take appropriate actions if any issues arise. Once the backup reaches 100% completion, you can proceed to the next step and check the backup files on your external hard drive.
Step 9: Check the Backup Files on the External Hard Drive
After the backup process is complete, it’s essential to verify that the backup files have been successfully saved to your external hard drive. These files serve as a crucial backup of your iPhone data. Follow these steps to check the backup files:
- Open a new Finder window.
- In the sidebar, locate and click on your external hard drive under the “Devices” section.
- Navigate to the folder you selected as the backup destination for your iPhone in Step 6.
- Double-click on the folder to open it.
- Inside the folder, you should see the backup files saved in a format that includes the date and time of the backup.
- You can check the file sizes and the date modified to verify that the backup files match the expected size and the time of the backup process.
- If the backup files are present and appear to be correct, congratulations! You have successfully backed up your iPhone to your external hard drive.
- If the backup files are missing or seem incorrect, it’s crucial to troubleshoot and address any issues that may have occurred during the backup process. You may need to repeat the backup process or seek assistance from Apple support.
Checking the backup files ensures that your iPhone data has been properly saved to the external hard drive, providing you with a reliable and secure backup solution. By regularly confirming the presence of backup files, you can have peace of mind knowing that your important data is protected.
With this final step complete, you have successfully checked the backup files on your external hard drive. You can now rest assured that your iPhone data is safely backed up for future use or emergencies.
Conclusion
Backing up your iPhone directly to an external hard drive on your Mac is a convenient and secure way to ensure the safety of your valuable data. By following the step-by-step guide outlined in this article, you can easily set up your iPhone backups to be stored on your chosen external storage device.
We started by connecting the external hard drive to your Mac and opening Finder to access the backup settings. Then, we located and selected the iPhone backup within Finder, choosing it as the backup destination. After that, we created a new folder on the external hard drive and selected it as the backup destination.
In Step 7, we initiated the backup process, closely monitored the progress in Step 8, and verified the backup files on the external hard drive in Step 9. By following these steps, you can ensure that your iPhone data is securely backed up and easily accessible in case of any unforeseen circumstances.
Regularly backing up your iPhone to an external hard drive is crucial to protect your data from loss, damage, or theft. It gives you peace of mind knowing that your important files, photos, contacts, and other data are safely stored on a separate physical device.
Remember, it’s important to keep your external hard drive connected to your Mac and to regularly perform backups to ensure that your data is up to date. Additionally, make sure to store your external hard drive in a safe location to prevent any physical damage.
With these simple steps, you can establish a reliable backup routine for your iPhone and safeguard your valuable information. Don’t wait until it’s too late. Take the time to set up your iPhone backup to an external hard drive and protect your data today.