Common External Hard Drive Issues
External hard drives have become an essential tool for storing and accessing large amounts of data. However, they can sometimes encounter issues that prevent them from working properly. If you’re facing problems with your external hard drive, don’t worry – you’re not alone. In this section, we will discuss some common external hard drive issues and potential solutions.
1. Failure to be recognized by the computer: One of the most common issues is when the external hard drive is not recognized by the computer. This can be caused by faulty connections, outdated drivers, or compatibility issues. It is recommended to check the connections between the drive and the computer, make sure everything is securely plugged in, and try connecting it to a different USB port.
2. Slow transfer speeds: Another common problem is slow transfer speeds, which can be frustrating when you’re trying to move or copy files. This issue can be caused by various factors, including a fragmented hard drive, large file sizes, or outdated USB drivers. To resolve this, you can defragment your hard drive, compress large files, and update your USB drivers.
3. Data corruption or loss: Losing or corrupting data on your external hard drive can be a nightmare. This can happen due to power surges, improper ejection, or file system errors. It is crucial to safely eject the drive by using the “Safely Remove Hardware” option and regularly back up your important data to prevent any catastrophic loss.
4. Unresponsive or freezing: Sometimes, the external hard drive may become unresponsive or freeze. This can occur due to insufficient power supply, overheating, or physical damage. To troubleshoot this issue, try connecting the drive to a different power source, keeping it in a well-ventilated area, and running a diagnostic test to check for any physical damage.
5. Clicking or grinding noises: If you hear unusual clicking or grinding noises coming from your external hard drive, it could be a sign of mechanical failure. In such cases, it is essential to stop using the drive immediately and seek professional help. Attempting any DIY repairs could lead to further damage and potential data loss.
These are just a few of the common issues that can occur with external hard drives. It is important to remember that while some problems can be resolved with simple troubleshooting, others may require professional assistance. By being proactive and taking proper care of your external hard drive, you can minimize the risk of encountering these issues and ensure the smooth operation of your valuable data storage device.
Check the Connections
When your external hard drive is not working, the first step is to check the connections. Loose or faulty connections can often be the cause of the problem. Follow these steps to ensure that your connections are secure:
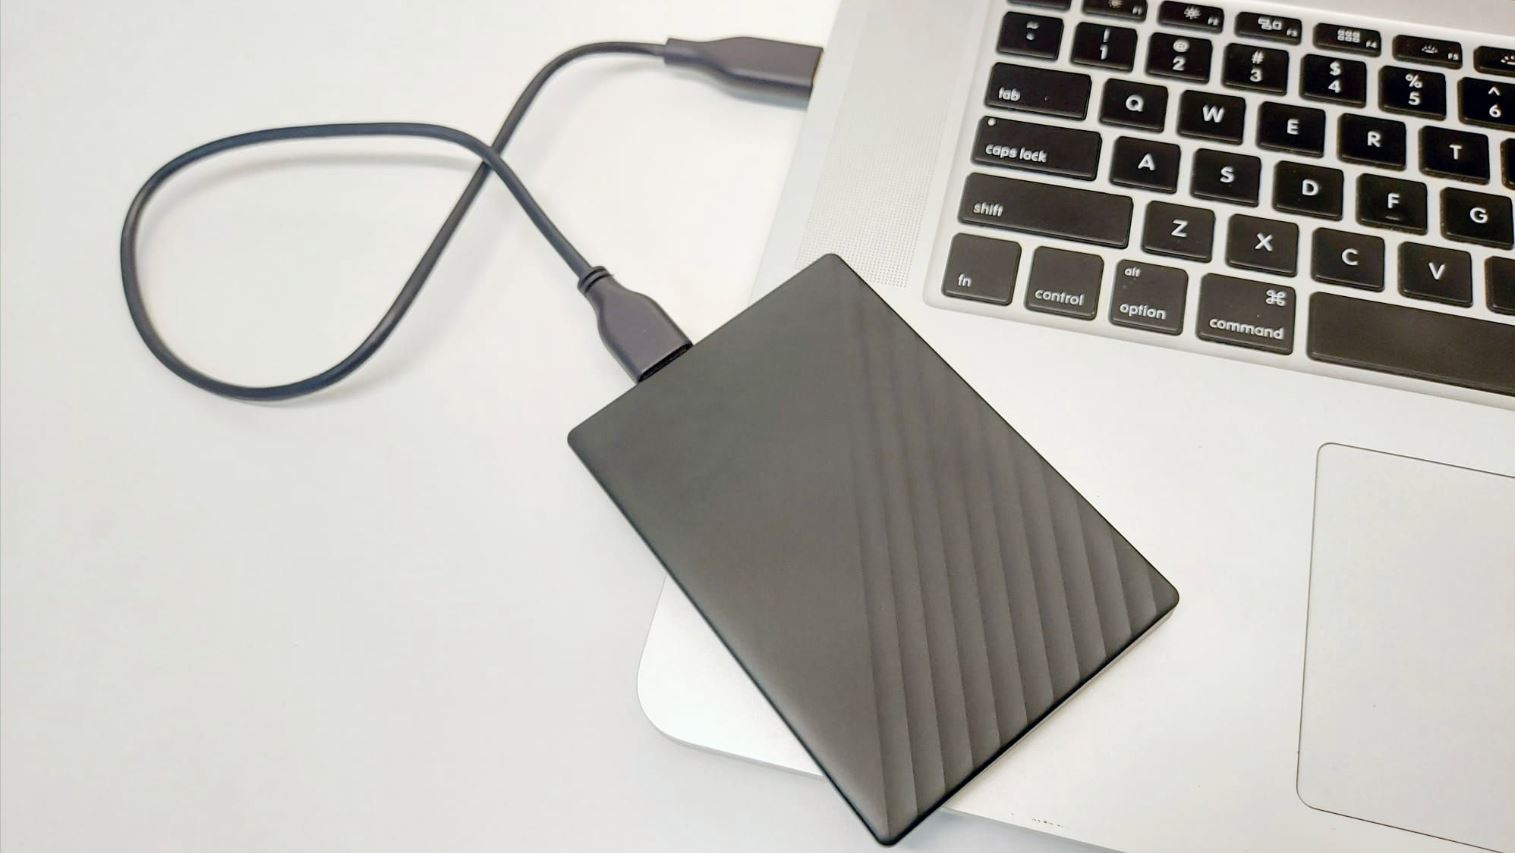
- Check the USB cable: The USB cable is the primary connection between your external hard drive and your computer. Make sure that the cable is securely inserted into both the hard drive and the USB port on your computer. If you suspect that the cable may be damaged, try using a different cable to see if it resolves the issue.
- Try a different USB port: Sometimes, the USB port you are using may be the problem. Try connecting your external hard drive to a different USB port on your computer. If it is a desktop computer, try connecting it to a port on the back of the computer instead of the front. This can help eliminate any issues with a specific USB port.
- Use a powered USB hub: If you are connecting multiple devices to your computer, there may not be enough power to properly support all the devices. In this case, using a powered USB hub can help provide adequate power to your external hard drive. Connect the hub to your computer and then connect your hard drive to the hub.
After you have checked the connections, try accessing your external hard drive again to see if the issue is resolved. If not, proceed to the next troubleshooting step.
Update Drivers
If your external hard drive is still not working after checking the connections, outdated drivers may be the culprit. Drivers are software programs that allow your computer’s operating system to communicate with external devices. Outdated or incompatible drivers can cause issues with your external hard drive. Follow the steps below to update your drivers:
1. Identify the manufacturer and model: Find out the manufacturer and model of your external hard drive. This information can usually be found on the device itself or in the user manual. Alternatively, you can check the manufacturer’s website for specific details.
2. Visit the manufacturer’s website: Go to the manufacturer’s website and navigate to the support or downloads section. Look for driver updates or software downloads related to your external hard drive.
3. Download and install the latest drivers: Download the latest drivers for your specific model of external hard drive. Make sure to select the correct version for your operating system. Once downloaded, run the installer and follow the on-screen instructions to update the drivers. It is recommended to restart your computer after the installation is complete.
4. Use Windows Device Manager: If you are using a Windows computer, you can also update your drivers through the Device Manager. To access the Device Manager, right-click on the Start button and select “Device Manager” from the menu. Locate your external hard drive under the “Disk drives” or “Universal Serial Bus controllers” category, right-click on it, and select “Update driver.” Follow the prompts to search for and install the latest driver updates.
Updating the drivers can often resolve compatibility issues and improve the functionality of your external hard drive. After updating the drivers, reconnect your external hard drive and check if it is working properly. If the issue persists, continue to the next troubleshooting step.
Run Disk Management
If your external hard drive is still not functioning correctly after checking the connections and updating the drivers, running Disk Management might help resolve the issue. Disk Management is a built-in Windows tool that allows you to manage and troubleshoot storage devices. Follow these steps to run Disk Management:
- Open Disk Management: Press the Windows key + X on your keyboard and select “Disk Management” from the menu that appears. Alternatively, you can open the Control Panel and search for “Disk Management” in the search bar.
- Check for the external hard drive: Look for your external hard drive in the list of drives displayed in Disk Management. It may appear as “Disk X” or have a specific name assigned to it.
- Check the status and partition: Take note of the status of the external hard drive. It should be listed as “Online” and should have a designated drive letter. If it shows as “Offline” or does not have a drive letter, right-click on it and select “Online” or “Change Drive Letter and Paths” to assign a letter to the drive.
- Initialize the disk (if necessary): If the external hard drive is listed as “Unallocated,” it means the disk needs to be initialized. Right-click on the disk and select “Initialize Disk.” Choose the appropriate disk style (MBR or GPT) and click “OK” to initialize the disk.
- Create a new partition (if necessary): If the external hard drive is listed as “Unallocated” or does not have any partitions, right-click on the unallocated space and select “New Simple Volume.” Follow the on-screen instructions to create a new partition on the external hard drive.
After following these steps, your external hard drive should be visible and accessible in File Explorer. If it still does not appear or work correctly, proceed to the next troubleshooting step.
Test on Another Device
If your external hard drive is not functioning properly on your current computer, it is worth testing it on another device to determine if the issue may be with your computer or the drive itself. Testing the drive on another device can help isolate the problem and guide you toward the appropriate solution. Follow these steps to test your external hard drive on another device:
- Select another device: Use a different computer or laptop to connect your external hard drive. Ideally, choose a device with a different operating system to ensure compatibility.
- Connect the external hard drive: Use the appropriate cable to connect your external hard drive to the other device. Ensure that the connections are secure.
- Check if the drive is recognized: Once connected, observe if the other device recognizes the external hard drive. Look for the drive in File Explorer (Windows) or Finder (Mac). If the drive is visible, attempt to access the files on it.
- Test functionality: Copy, move, or open files on the external hard drive to ensure that it is functioning properly. If the drive works on the other device without any issues, the problem may lie with your computer rather than the drive itself.
If your external hard drive functions normally on another device, it suggests that the problem may be specific to your computer. In this case, you can focus on troubleshooting your computer’s USB ports, drivers, or other software-related issues. On the other hand, if the external hard drive still does not work properly on the other device, it is likely that the drive itself has a hardware malfunction. In such cases, you may need to consult a professional or consider replacing the drive.
Remember that testing the external hard drive on another device helps in narrowing down the cause of the problem. It is an important step in troubleshooting and can save you time and effort in finding a solution.
Reformat the Drive
If your external hard drive is still not working properly after checking connections, updating drivers, running Disk Management, and testing on another device, reformatting the drive may be the next step to consider. Reformatting erases all data on the drive and sets it up with a new file system, potentially resolving any underlying issues. Before proceeding, it is crucial to note that reformatting the drive will permanently delete all data stored on it, so be sure to back up any important files beforehand. Follow these steps to reformat your external hard drive:
- Open Disk Management: Press the Windows key + X on your keyboard and select “Disk Management” from the menu that appears. Alternatively, open the Control Panel and search for “Disk Management” in the search bar.
- Select the external hard drive: Locate your external hard drive in the list of drives displayed in Disk Management. Right-click on the drive and select “Format.”
- Choose the file system: In the Format dialog box, select the desired file system for your external hard drive. Typically, you can choose between NTFS (Windows), exFAT (compatible with both Windows and Mac), or FAT32 (compatible with older systems).
- Assign a volume label (optional): You can assign a name or label to the reformatted drive if desired. This will help you easily identify the drive when connected to your computer.
- Check the quick format option: To save time, it is recommended to check the “Quick Format” option. This option skips a full scan for bad sectors on the drive, which may not be necessary if you haven’t experienced any previous issues.
- Start the reformat process: Click on the “OK” button to begin reformatting your external hard drive. A warning message will appear, reminding you that all data on the drive will be erased. Confirm the process by clicking “OK” again.
- Wait for the reformat to complete: The reformatting process may take a few minutes to complete. Once finished, the external hard drive should be ready to use with the chosen file system.
Keep in mind that reformatting the drive should only be considered as a last resort if all other troubleshooting methods have failed. It is a drastic step that should be approached with caution. If the issue persists after reformatting, it may indicate a hardware problem with the drive itself, and further professional assistance may be required.
Perform a System Restore
If your external hard drive is still not working properly after trying various troubleshooting methods, performing a system restore can be a potential solution. System restore allows you to revert your computer’s settings and configuration back to a previous working state. By doing this, any software or driver conflicts that may be affecting the functionality of your external hard drive can be resolved. Follow these steps to perform a system restore:
- Open System Restore: Press the Windows key + R on your keyboard to open the Run dialog box. Type “rstrui.exe” and press Enter to launch the System Restore utility.
- Choose a restore point: In the System Restore window, select “Choose a different restore point” and click “Next.” You will be presented with a list of available restore points. Choose a restore point that predates the issues with your external hard drive. If you don’t see any restore points, ensure that the “Show more restore points” option is checked.
- Confirm the restore point: Review the details of the selected restore point and click “Next.” It’s important to note that performing a system restore will undo any system changes made after the chosen restore point, so ensure that you are comfortable with the consequences before proceeding.
- Start the system restore: Click “Finish” to begin the system restore process. Your computer will restart, and the restore will be initiated. This process may take several minutes to complete.
- Check the external hard drive: After the system restore is complete, check if your external hard drive is functioning correctly. Connect the drive and see if it is recognized by your computer. Verify that you can access the files on the drive without any issues.
If the system restore does not resolve the problem with your external hard drive, it is likely that the issue lies with the drive itself and not your computer’s configuration. In such cases, it is recommended to consult a professional or consider replacing the drive. Performing a system restore is a beneficial step in troubleshooting software-related issues and can help restore the functionality of your external hard drive.
Seek Professional Help
If you have exhausted all troubleshooting methods and your external hard drive is still not working properly, it may be time to seek professional help. While there are many issues that can be resolved with DIY troubleshooting, certain situations require the expertise of professionals who specialize in data recovery and hardware repairs. Here are some instances when seeking professional help is recommended:
Physical damage: If your external hard drive has suffered physical damage such as a dropped or water-damaged, attempting any DIY repairs can further worsen the situation. Professional data recovery experts have the necessary tools and expertise to handle physically damaged drives and can assess the extent of the damage, providing the best possible chances of recovery.
Unusual noises: If your external hard drive is making clicking, grinding, or beeping noises, it could indicate a mechanical failure. These noises are often a result of damaged or misaligned internal components. It is crucial to stop using the drive immediately and seek professional help. Continuing to use it could result in further damage or even permanent data loss.
Data loss: If your external hard drive contains important data that cannot be easily replaced or recreated, and you are unable to access or recover the data using DIY methods, it is advisable to consult professional data recovery specialists. These experts have specialized tools and techniques to recover data from failed or inaccessible drives.
When seeking professional help, it is essential to choose a reputable data recovery service or a certified technician who specializes in external hard drive repairs. They will have the necessary knowledge and equipment to handle your specific case.
Remember, professional data recovery and repair services can be costly, but they often provide the best chance of recovering data and repairing your external hard drive. However, prevention is always better than cure, so it is recommended to practice regular data backups and take precautions to avoid physical damage to your external hard drive.
If you find yourself in a situation where your external hard drive is not functioning correctly, and you have exhausted all other options, seeking professional help can be the most effective solution to recover your data and restore the functionality of your drive.