Reasons to Add an External Hard Drive to a Laptop
In today’s digital age, where the storage capacity of laptops is limited, adding an external hard drive can be a game-changer. Whether you’re a student, professional, or casual user, there are several compelling reasons why you should consider investing in an external hard drive for your laptop. Here are some key benefits:
- Increased Storage Space: One of the primary reasons to add an external hard drive to your laptop is to expand its storage capacity. With an external hard drive, you can store and access a large amount of data, including documents, photos, videos, and music, without worrying about running out of space on your laptop’s internal storage.
- Backup and Data Security: External hard drives provide a reliable backup solution for your important files and data. By regularly backing up your files onto an external hard drive, you can protect them from potential data loss due to hardware failure, viruses, or accidental deletion. This ensures that your valuable data is safe and easily recoverable.
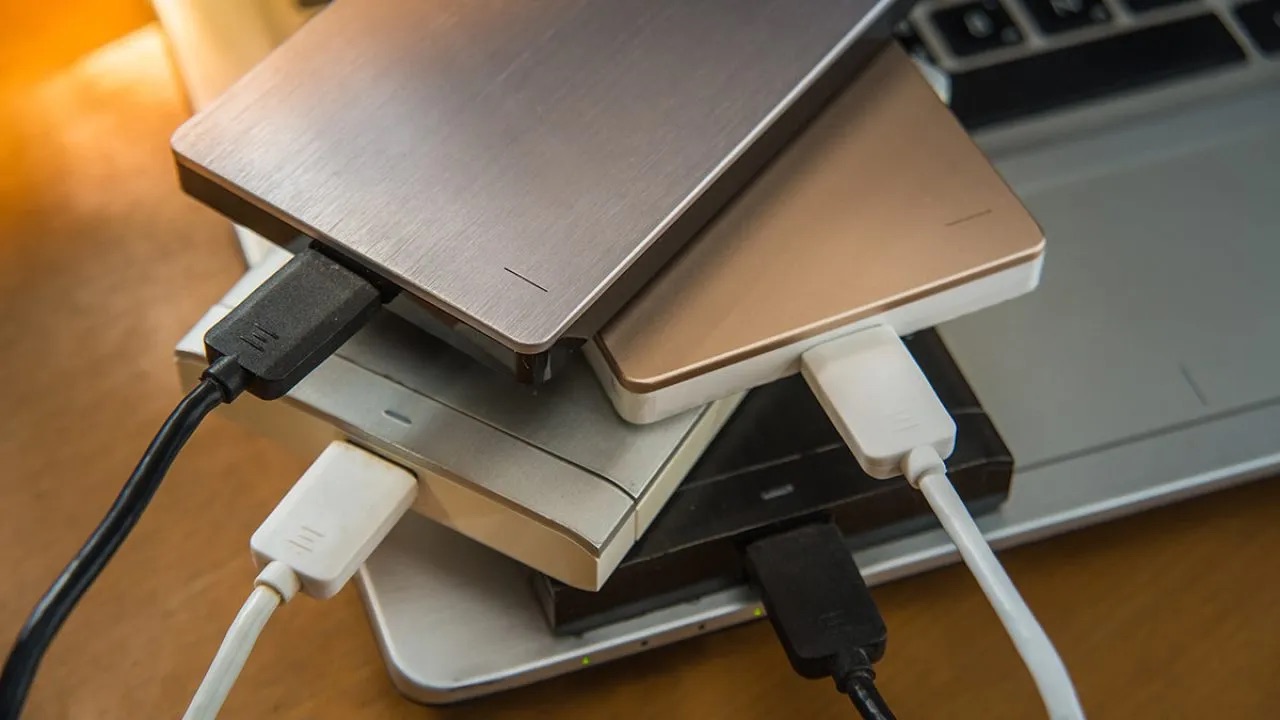
- Portability and Convenience: External hard drives are portable and compact, making them convenient to carry around. You can easily transfer files between different computers or take your data with you on the go. Whether you’re a student who needs to access files on different devices or a professional who frequently travels, an external hard drive offers you the flexibility to access your data anytime, anywhere.
- Improved Performance: By storing large files, media libraries, or resource-intensive applications on an external hard drive, you can free up space on your laptop’s internal drive. This can help improve the performance and speed of your laptop, allowing it to run smoother and faster.
- Organization and File Management: Using an external hard drive enables you to keep your files organized and easily accessible. You can create separate folders and categories to store specific types of files, making it easier to locate and manage your data. This level of organization can save you time and make your workflow more efficient.
With these compelling reasons, it’s clear why adding an external hard drive to your laptop is a smart move. It not only provides you with ample storage space but also enhances data security, portability, performance, and organization. Whether you’re dealing with large files, a growing media collection, or the need for reliable backups, an external hard drive is a valuable accessory for your laptop.
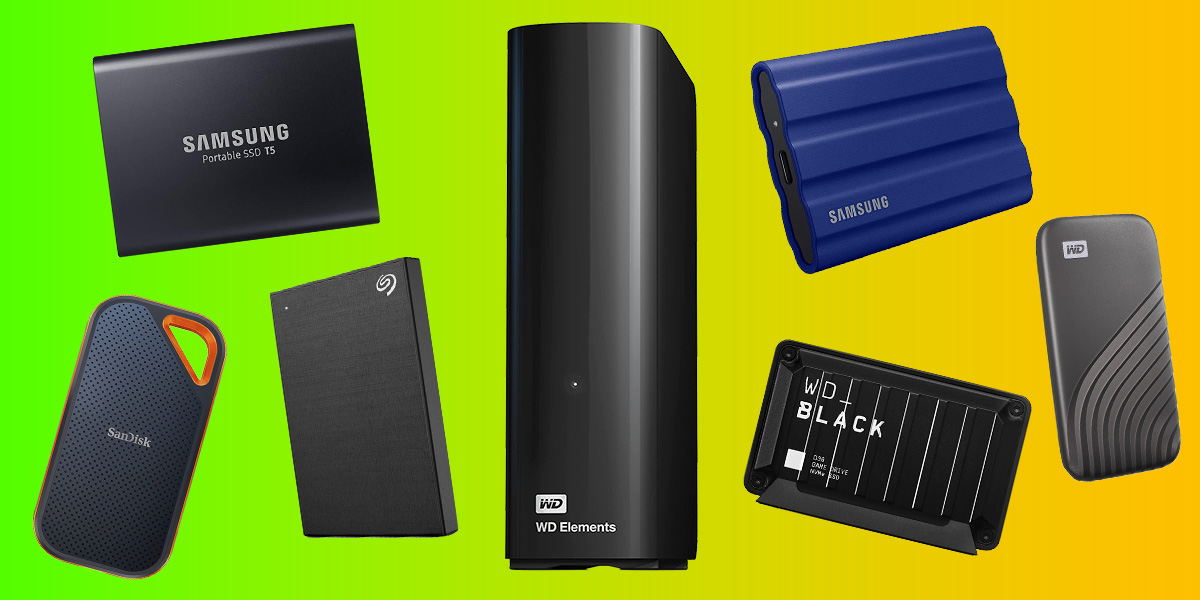
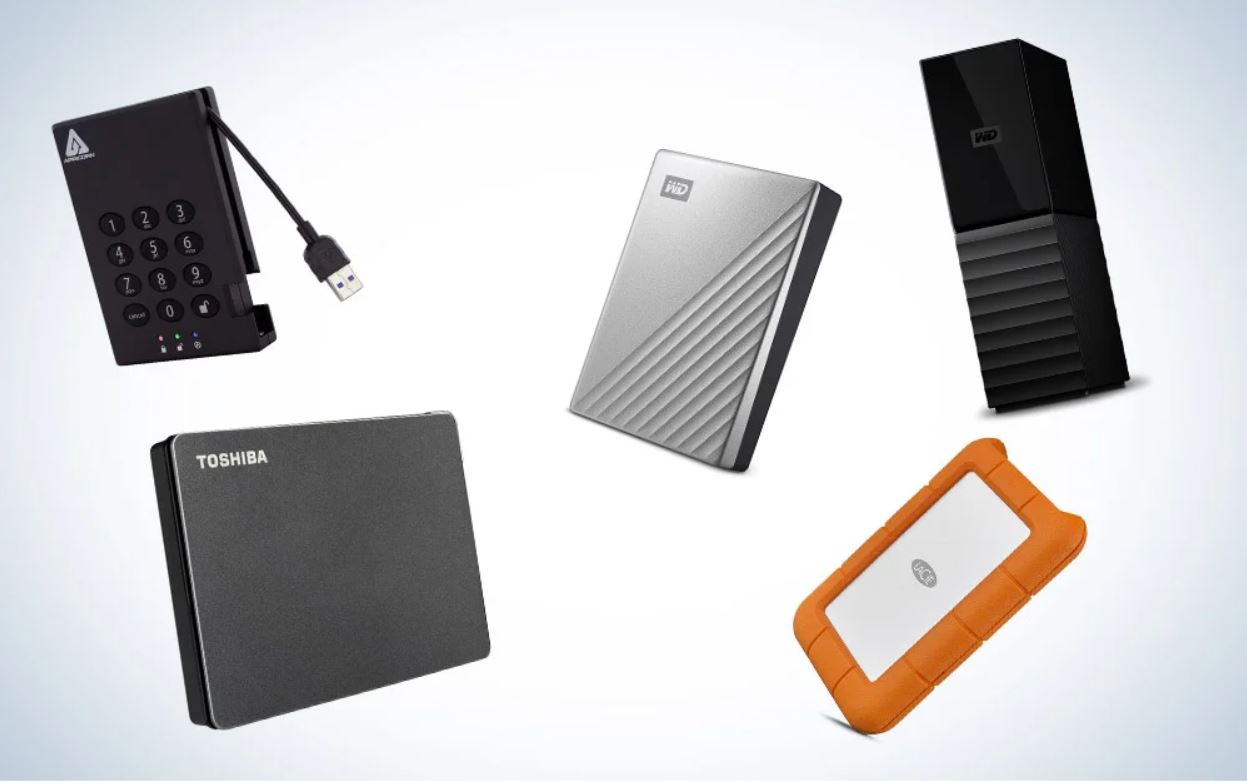
Choosing the Right External Hard Drive for Your Laptop
When it comes to choosing an external hard drive for your laptop, there are a few factors to consider to ensure you get the right one that meets your needs. Here are some essential tips to help you make the right choice:
- Storage Capacity: The first thing to determine is how much storage space you require. Consider the types of files you will be storing, whether it’s documents, photos, videos, or a combination of these. Assess your current needs and think about any future storage requirements. It’s a good idea to choose a drive with a larger capacity than you currently need to accommodate future growth.
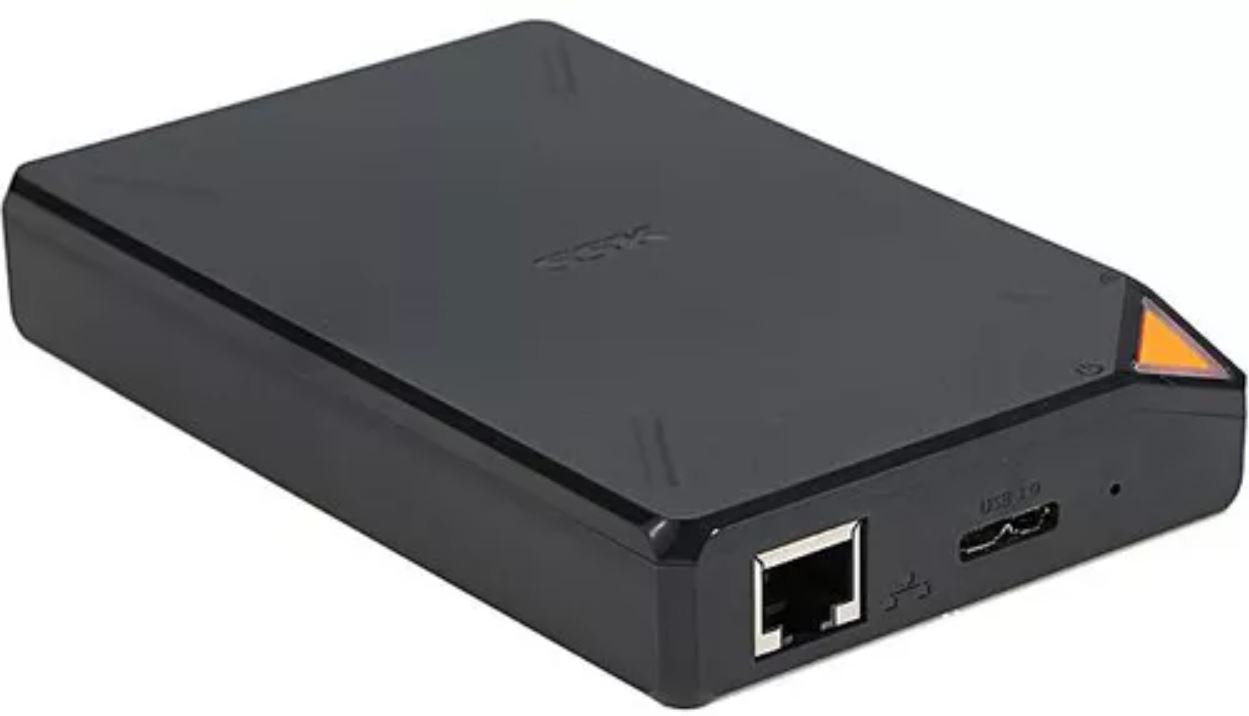
- Connectivity: External hard drives come in various connectivity options such as USB 2.0, USB 3.0, Thunderbolt, and eSATA. USB 3.0 is the most common, offering faster data transfer speeds compared to USB 2.0. However, ensure that your laptop has the corresponding port to connect to the drive. Consider the devices you will be connecting to and choose a drive with compatible connectivity options.
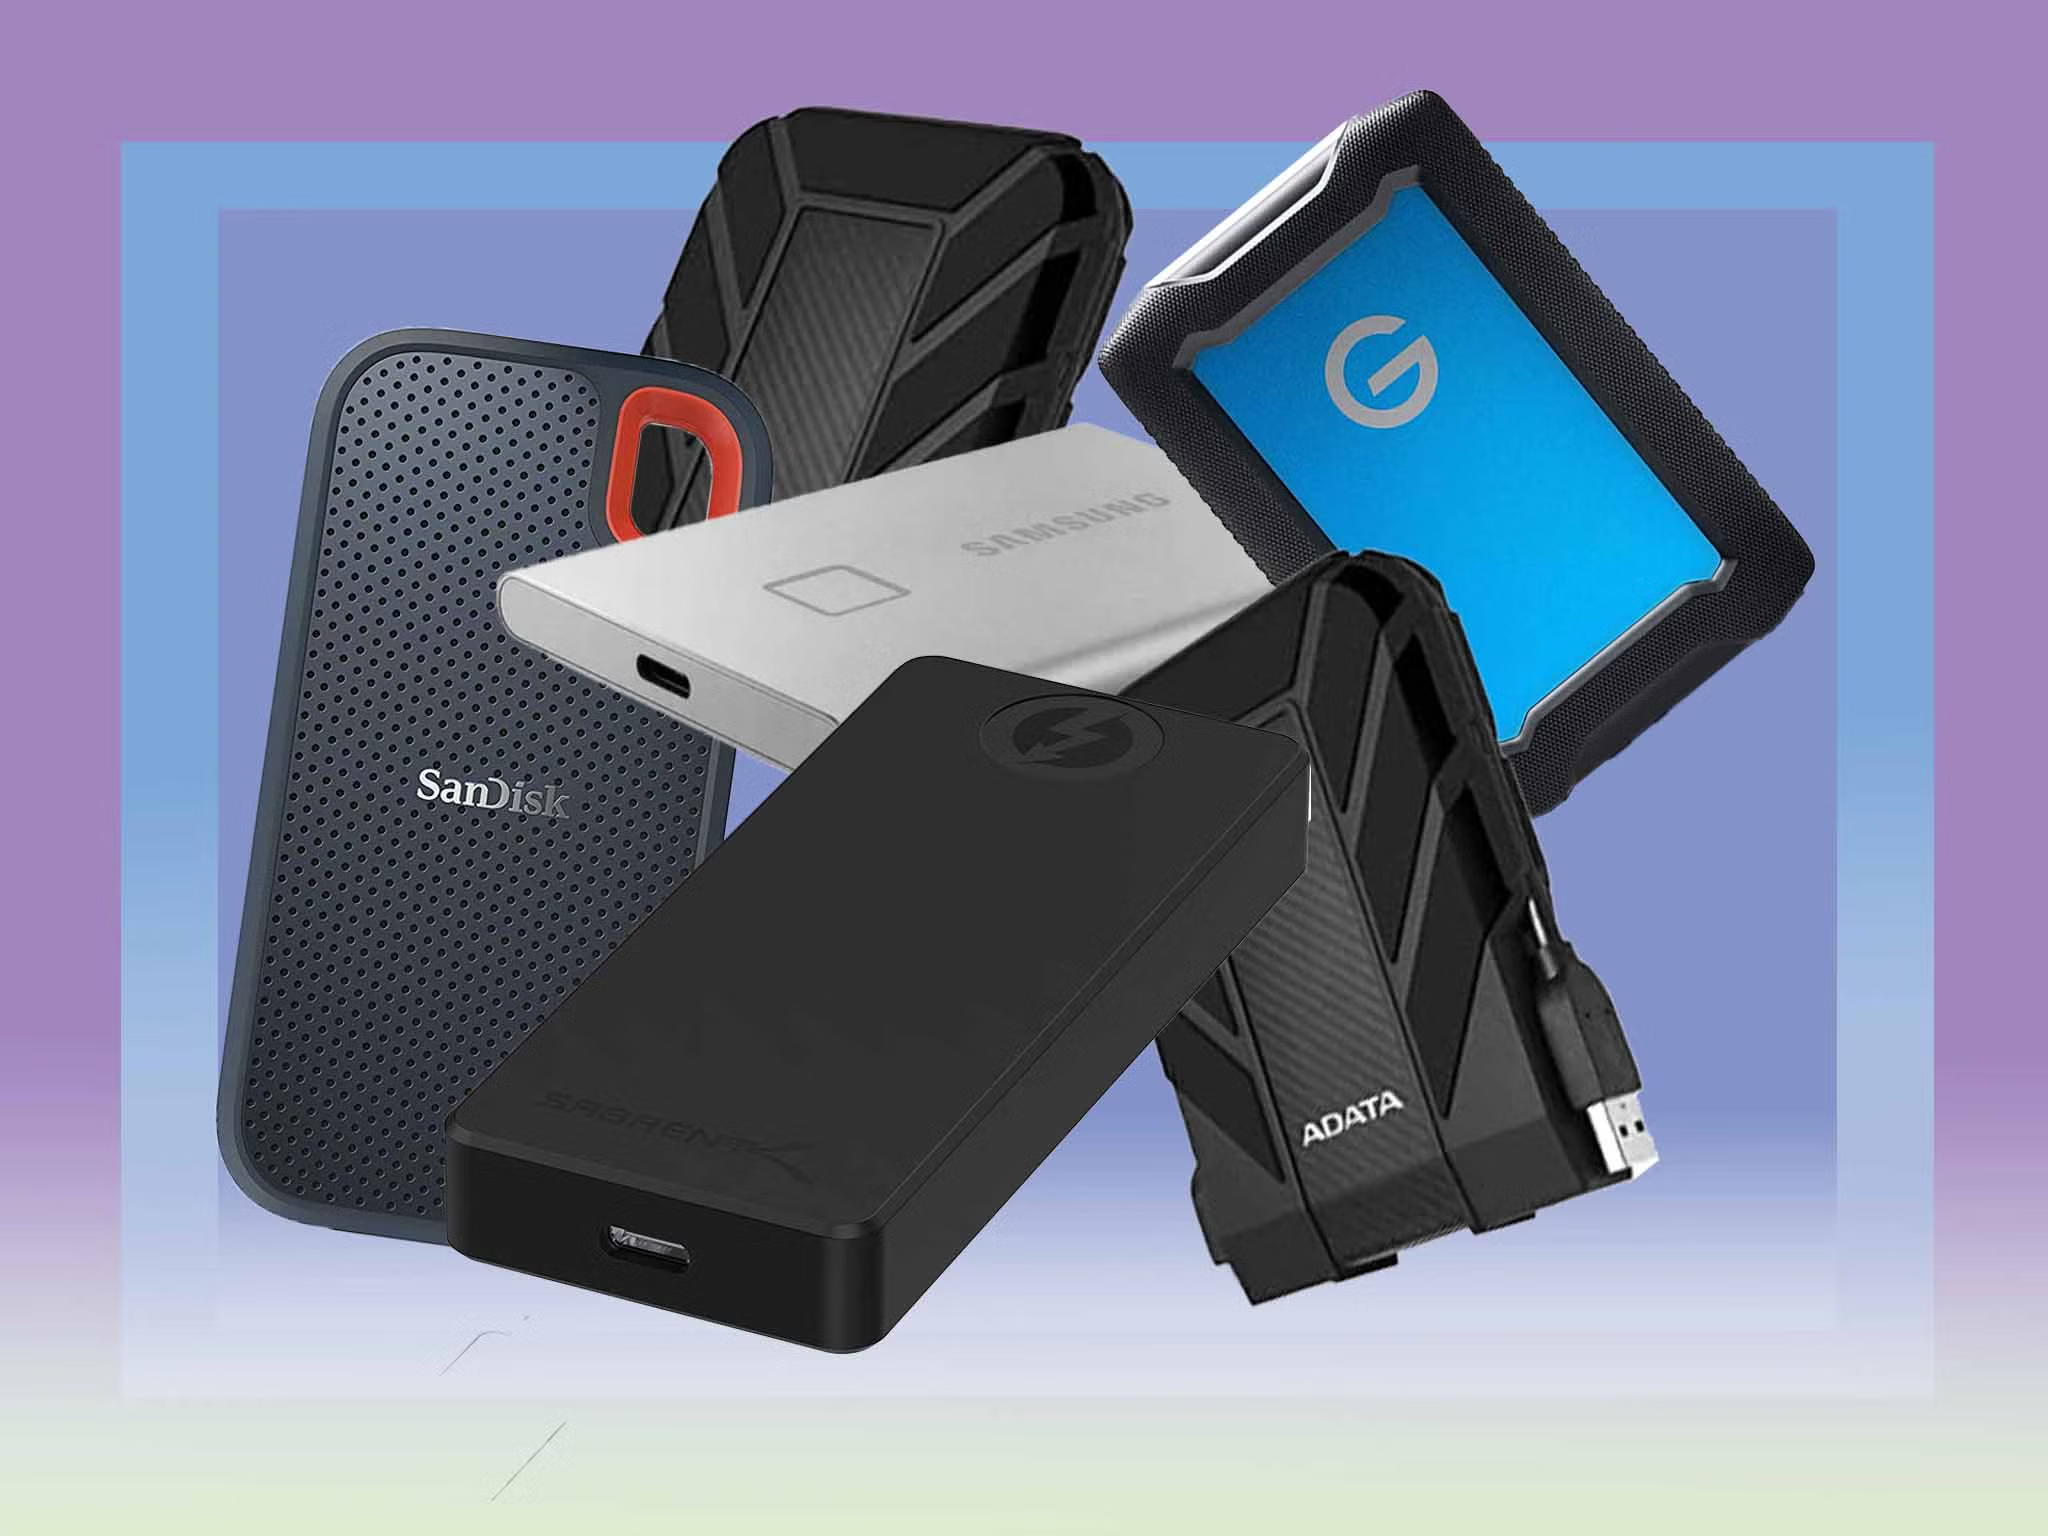
- Portability: If you plan to carry your external hard drive with you frequently, portability is a crucial factor to consider. Look for lightweight and compact drives that are easy to carry in your bag or pocket. Solid-state drives (SSDs) are usually more portable than traditional hard disk drives (HDDs) since they have no moving parts, making them resistant to shocks and vibrations.
- Reliability and Durability: Choose an external hard drive from a reputable brand known for its reliability and durability. Read reviews and check for features like shock resistance and rugged casing, especially if you anticipate using the drive in demanding environments or for frequent travel.
- Price: Consider your budget when choosing an external hard drive. Prices can vary depending on storage capacity, brand, and features. Compare different options and choose a drive that offers the best value for your money.
By considering these factors, you can narrow down your options and choose the right external hard drive for your laptop. Remember to prioritize your specific needs, whether it’s ample storage space, fast data transfer speeds, portability, or durability. A well-chosen external hard drive will not only meet your storage requirements but also provide a reliable and convenient storage solution for your valuable data.
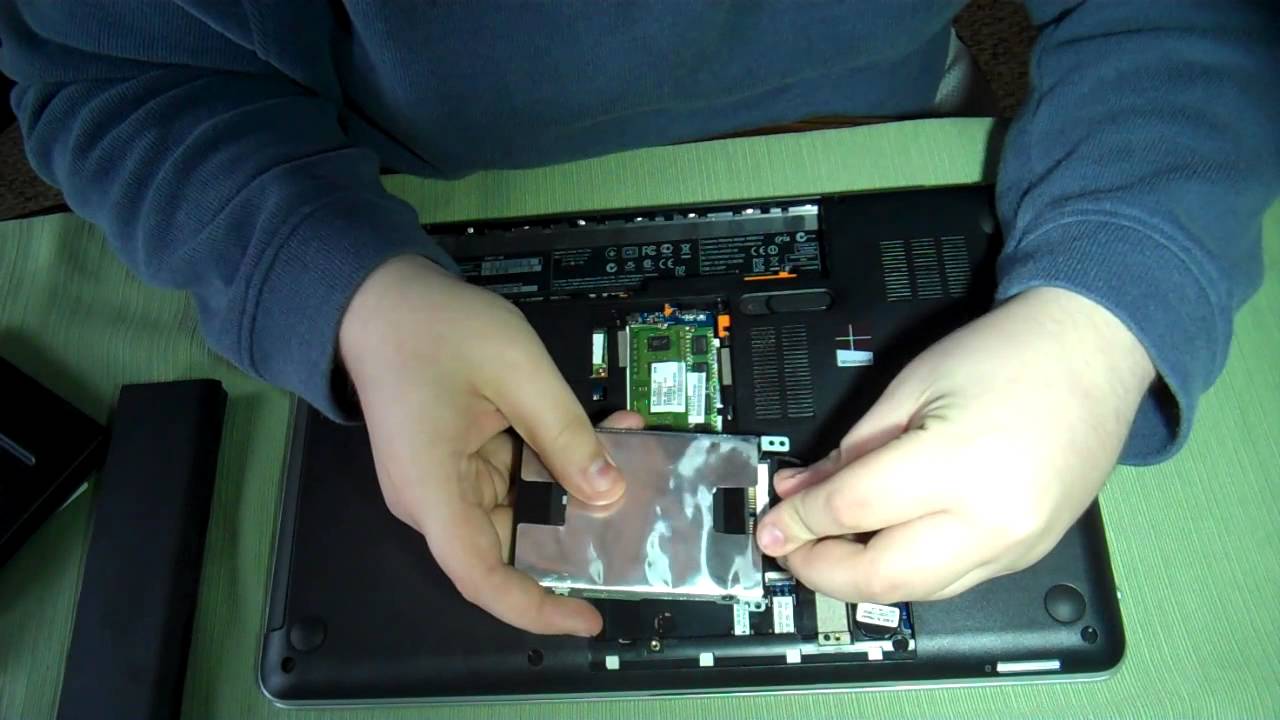
Preparing Your Laptop for External Hard Drive Connection
Before connecting an external hard drive to your laptop, there are several steps you should take to ensure a smooth and hassle-free setup. Follow these guidelines to prepare your laptop for the connection:
- Check your laptop specifications: Review your laptop’s user manual or specifications to ensure it has the necessary ports and compatibility to connect an external hard drive. Identify the supported connectivity options, such as USB, Thunderbolt, or eSATA.
- Update your operating system: Make sure your laptop’s operating system is up to date. Check for any available system updates and install them. This ensures that your laptop has the latest drivers and software, which can improve compatibility with the external hard drive you plan to connect.
- Free up space on your laptop: Clean up unnecessary files and data from your laptop’s internal storage. Delete unused applications, transfer large files to an external hard drive, and empty the recycle bin. Creating more space on your internal drive can help optimize performance and ensure smooth operation when connecting an external hard drive.
- Scan for malware: Perform a thorough malware scan on your laptop to ensure it is free from any viruses or malicious software. Connecting an external hard drive to an infected laptop can potentially transfer the malware to the drive, compromising the security of your files.
- Backup important files: Before connecting a new external hard drive, it’s always a good idea to back up your important files and documents. This way, even if there’s an issue during the setup process, you won’t risk losing any essential data. Store the backup on another drive, such as a cloud storage service or a separate external hard drive.
By following these steps, you are ensuring that your laptop is ready for the connection of an external hard drive. Checking compatibility, updating your operating system, freeing up space, scanning for malware, and backing up your files are all important preparations to make before integrating an external hard drive into your laptop setup.
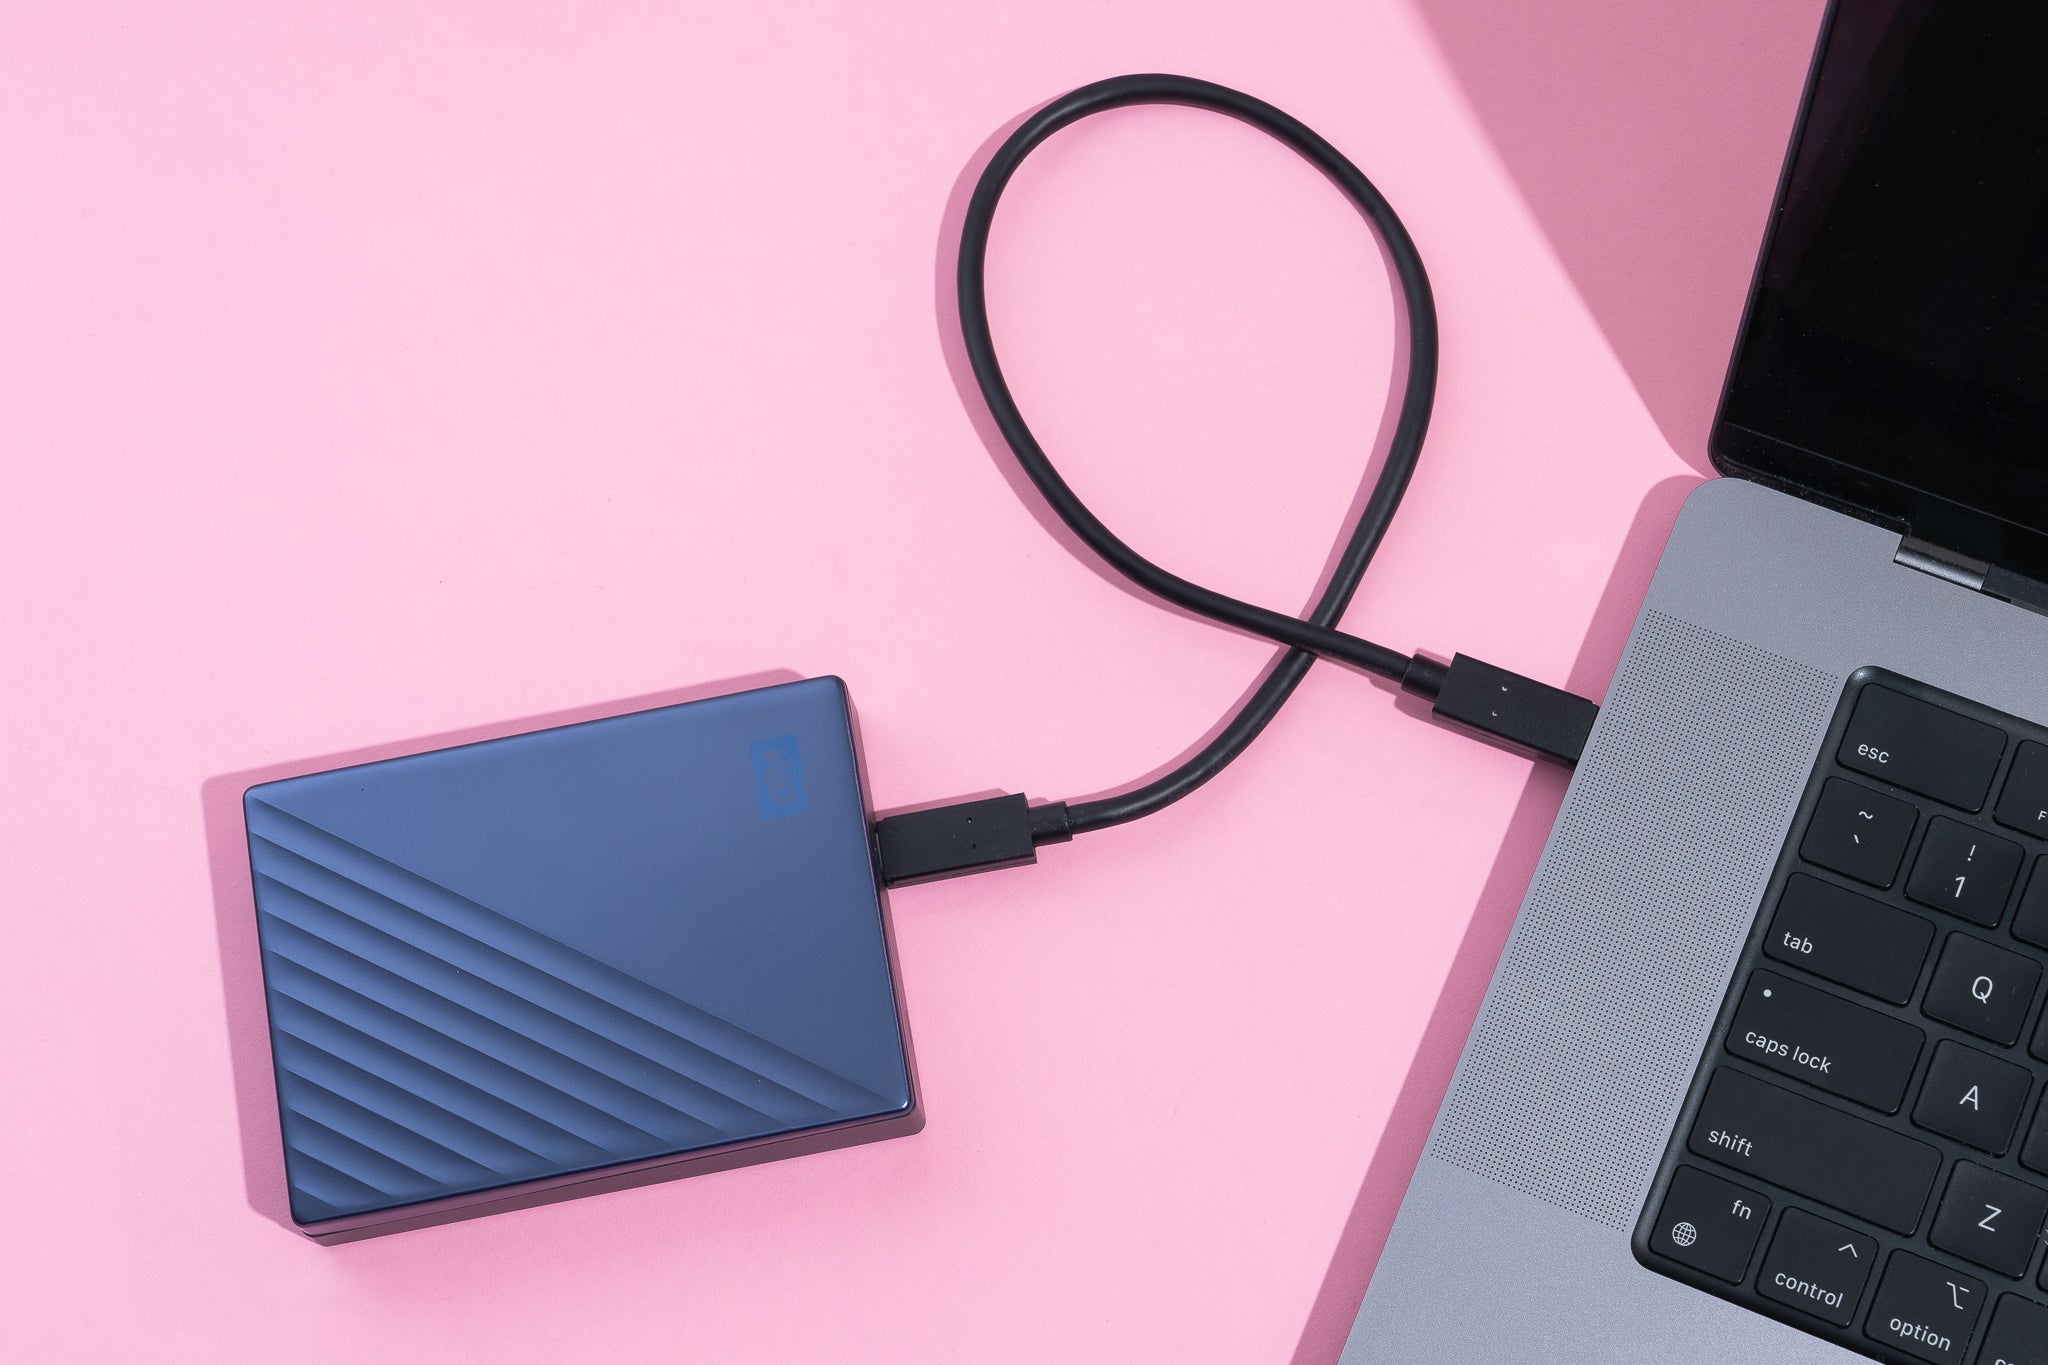
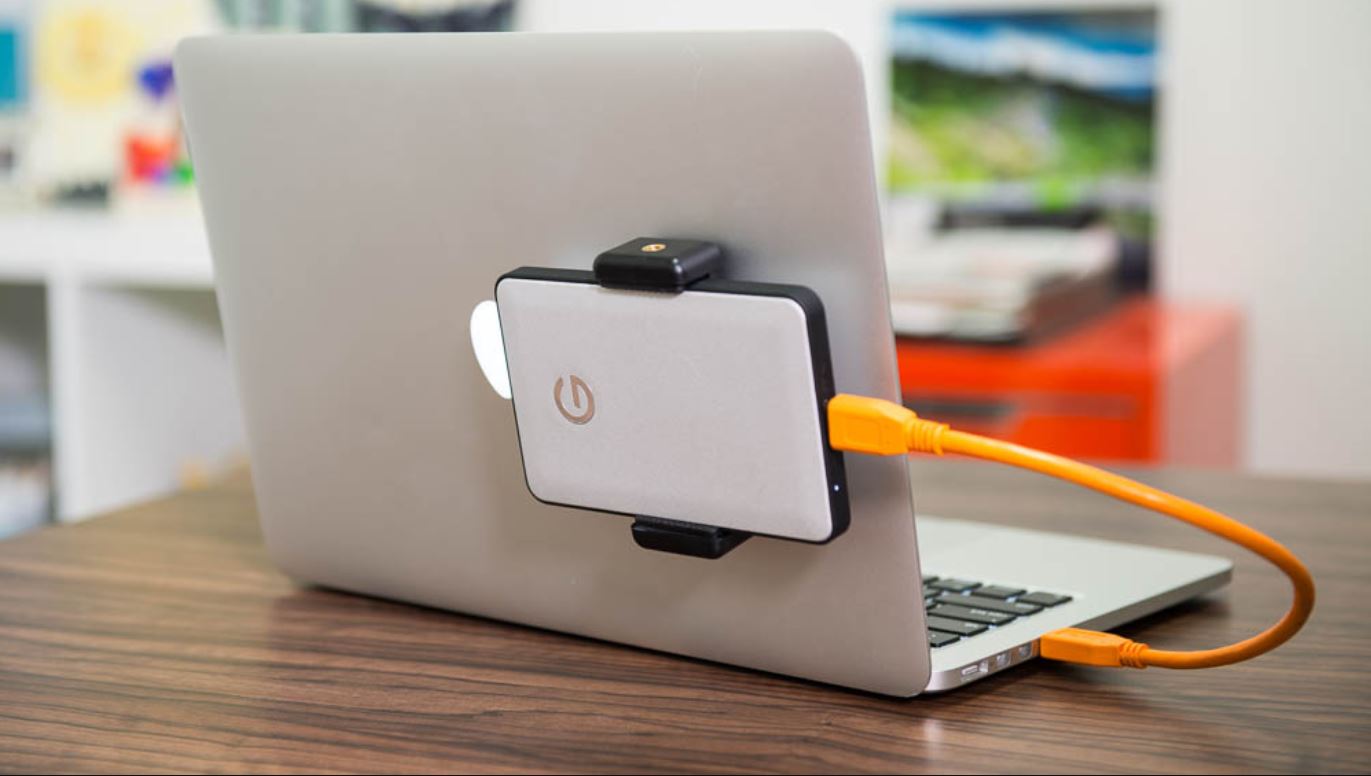
Connecting the External Hard Drive to Your Laptop
Once you have prepared your laptop, it’s time to connect the external hard drive. Follow these steps to establish a successful connection between the external hard drive and your laptop:
- Power off your laptop: Before connecting the external hard drive, it’s a good practice to shut down your laptop completely. This ensures that the connections are made safely without any risk of data loss or damage.
- Locate the appropriate port: Identify the suitable port on your laptop for connecting the external hard drive. Most laptops have USB ports, so look for a USB 3.0 or USB Type-C port for optimal data transfer speeds. If you have a different type of port, such as Thunderbolt or eSATA, make sure you have the appropriate cable or adapter.
- Connect the cable: Take the cable that came with your external hard drive and plug the appropriate end into the port on your laptop. Ensure a secure connection by firmly inserting the cable into the port. If the cable is reversible, it can be inserted in either direction.
- Connect the power source (if required): Some external hard drives require an external power source to function. If your drive has a power adapter, connect it to a power outlet. This step is not necessary for drives that draw power solely from the laptop through the USB connection.
- Power on your laptop: Once the cable is connected and the power source (if applicable) is connected, power on your laptop. Allow it to fully boot up to the operating system before proceeding.
- Automatic recognition: In most cases, your laptop will automatically recognize and detect the external hard drive. It may display a notification or make a sound indicating that a new device has been connected. If the drive doesn’t appear automatically, navigate to “This PC” or “My Computer” to see if the drive is listed there.
- Assign a drive letter (if needed): If the external hard drive does not have a designated drive letter, you may need to assign one manually. To do this, right-click on the drive in “This PC” or “My Computer” and select “Change Drive Letter and Paths.” Follow the prompts to assign a letter to the drive.
Following these steps should allow you to successfully connect your external hard drive to your laptop. Remember to handle the external hard drive with care and avoid rough handling or removing the cable while transfer is in progress. By establishing a secure and proper connection, you can access and manage your files seamlessly using the external hard drive.
Formatting the External Hard Drive for Compatibility
Before you can start using your newly connected external hard drive with your laptop, it may need to be formatted to ensure compatibility. Here are the steps to format your external hard drive:
- Backup your data: Formatting your external hard drive will erase all existing data on it. Before proceeding, make sure you have backed up any important files or documents to another storage device.
- Open Disk Management: On Windows, you can access Disk Management by right-clicking on the Start menu and selecting “Disk Management” from the menu. On macOS, go to “Applications,” then “Utilities,” and open “Disk Utility.”
- Identify the external hard drive: In Disk Management or Disk Utility, locate your external hard drive in the list of drives. Be cautious not to select your laptop’s internal hard drive. Ensure you have selected the correct drive.
- Initialize the external hard drive: On Windows, right-click on the external hard drive and select “Initialize Disk.” Choose the desired partition style (usually MBR for drives under 2TB or GPT for larger drives) and follow the prompts. On macOS, click on the “Erase” tab, select the desired format (usually ExFAT for compatibility with both Windows and macOS), provide a name for the drive, and click “Erase.”
- Create new partitions (optional): If desired, you can partition the external hard drive into multiple sections. This can be useful for organizing different types of files or creating separate backup areas. In Disk Management or Disk Utility, right-click on the unallocated space and select “New Simple Volume” (Windows) or click the “+” button to add a new partition (macOS).
- Format the partitions: After creating partitions, you will need to format them. Right-click on each partition and select “Format” (Windows) or click the “Erase” button for each partition (macOS). Choose the desired file system, such as NTFS (Windows) or ExFAT (compatible with both Windows and macOS), and follow the prompts to complete the formatting process.
Formatting the external hard drive ensures that it is compatible with your laptop’s operating system. It may take a few minutes to complete. Once the formatting process is finished, you will be able to use the external hard drive for storage, backups, or other purposes according to your needs.
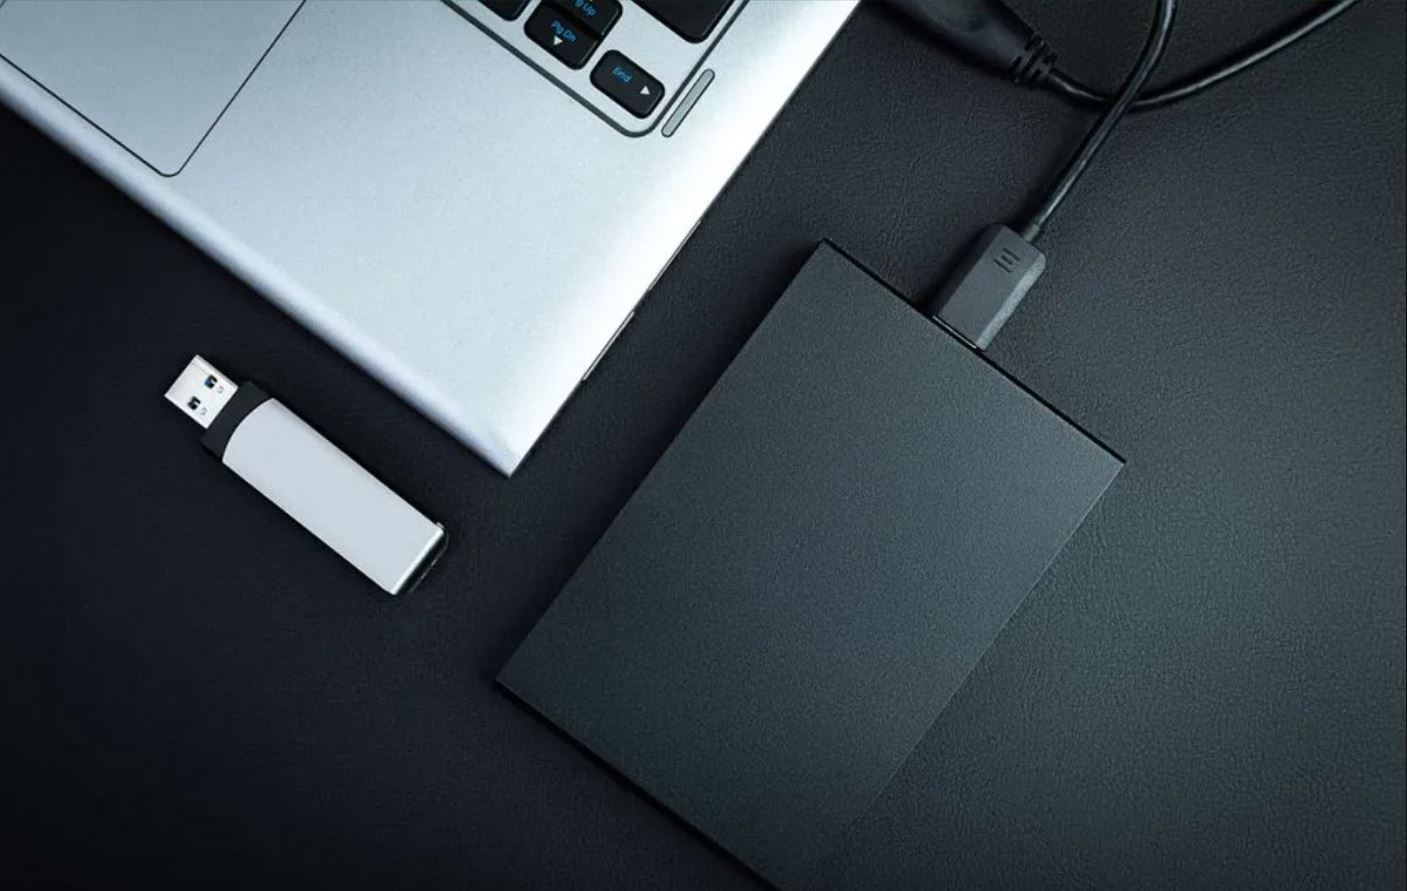
Transferring Files to the External Hard Drive
Now that you have connected and formatted your external hard drive, it’s time to transfer your files onto it. Follow these simple steps to transfer files from your laptop to the external hard drive:
- Open File Explorer (Windows) or Finder (macOS): Navigate to the location on your laptop where the files you want to transfer are located. This could be in your Documents, Pictures, or any other folder.
- Select the files or folders: Click and drag to select the files or folders you want to transfer. Alternatively, you can use the Ctrl or Shift key to select multiple items at once.
- Copy the files: Right-click on the selected files/folders and choose the “Copy” option or use the Ctrl+C shortcut (Windows). On macOS, you can use the Command+C shortcut or right-click and choose “Copy.”
- Open the external hard drive: In File Explorer (Windows) or Finder (macOS), navigate to the external hard drive. You can usually find it under “This PC” or “My Computer” (Windows) or in the sidebar of Finder (macOS).
- Paste the files: Right-click in the external hard drive window and choose the “Paste” option or use the Ctrl+V shortcut (Windows). On macOS, you can use the Command+V shortcut or right-click and choose “Paste.”
- Monitor the transfer process: Depending on the size and number of files being transferred, the process may take some time. You can monitor the progress in the File Explorer (Windows) or Finder (macOS) window. Avoid disconnecting the external hard drive or interrupting the transfer until it is complete.
- Verify the successful transfer: Once the transfer is complete, double-check that the files have been correctly copied to the external hard drive. Open the folders and files on the drive to ensure they are intact.
- Eject or safely remove the external hard drive: Before disconnecting the external hard drive from your laptop, make sure to properly eject or safely remove it. This ensures that all pending write operations are complete and helps prevent data corruption. Use the operating system’s eject option (right-click and choose “Eject” or use the eject icon) to safely disconnect the external hard drive.
By following these steps, you can transfer files from your laptop to the external hard drive quickly and efficiently. Whether you’re transferring documents, photos, videos, or any other type of file, the process is straightforward and allows you to keep your files organized and accessible on the external storage device.
Safely Disconnecting the External Hard Drive from Your Laptop
After transferring files or when you’re finished using the external hard drive with your laptop, it’s important to follow the proper procedure to safely disconnect it. This helps prevent data loss and preserves the integrity of your files. Here’s how to safely disconnect an external hard drive from your laptop:
- Close any open files or applications: Before disconnecting the external hard drive, ensure that you have closed any files or applications that were using it. This ensures that all write operations are completed and there is no risk of data corruption.
- Eject the external hard drive: On Windows, locate the ‘Safely Remove Hardware’ icon in the system tray (bottom right corner of the screen), click on it, and select the external hard drive’s name from the list. On macOS, click on the external hard drive icon on the desktop or in Finder, and drag it to the trash bin. This will change the icon into an eject symbol, indicating that it is safe to remove the drive.
- Wait for confirmation: After ejecting the external hard drive, wait for the system to display a confirmation message indicating that it is now safe to remove the device. This message usually appears in the bottom right corner of the screen on Windows or as a pop-up notification on macOS. If you don’t see any confirmation message, wait for a few seconds before proceeding to the next step.
- Disconnect the cable: Once you receive the confirmation message or ensure that all data transfers have finished, gently unplug the cable connecting the external hard drive to your laptop. Pull the cable straight outwards without bending or applying excessive force.
- Secure the cable and store the external hard drive: After disconnecting the external hard drive, carefully coil the cable and secure it in a way that prevents tangling. Store the drive in a safe and clean location, preferably in a protective case or sleeve to shield it from dust, scratches, and potential physical damage. This will help prolong its lifespan and maintain its performance.
By following these steps to safely disconnect your external hard drive from your laptop, you can ensure the integrity of your data and avoid any potential issues. Properly ejecting the drive before physically disconnecting it helps prevent data corruption and safeguards the overall health of your external storage device.
Tips for Maintaining and Organizing Your External Hard Drive
To make the most out of your external hard drive and ensure its longevity, it’s important to implement proper maintenance and organization strategies. Here are some helpful tips to keep your external hard drive in optimal condition:
- Regularly back up your external hard drive: Just as you would back up your laptop’s internal drive, it’s essential to create regular backups of your external hard drive. This provides an additional layer of protection against potential data loss or drive failure. Consider using a cloud storage service or another external hard drive to store these backups.
- Keep your external hard drive clean: Dust and debris can accumulate on the surface and connectors of your external hard drive, potentially causing damage or connectivity issues. Regularly clean the drive with a soft, lint-free cloth to remove any dust particles. Be gentle while cleaning to avoid scratching the drive’s surface.
- Organize your files into folders: To easily find and manage your files, create a logical folder structure on your external hard drive. Consider organizing files by category, date, or project. This makes it easier to navigate and retrieve specific files, saving you time and effort.
- Maintain a consistent naming convention: Consistently naming your files can prevent confusion and improve file retrieval. Use descriptive and clear names that indicate the content or purpose of each file. Avoid using special characters or excessively long file names that could cause compatibility issues.
- Regularly update your file organization: As you add new files, regularly update and maintain your folder structure. This prevents the drive from becoming cluttered and helps you stay organized in the long run. Consider performing periodic reviews and clean-ups to remove any unnecessary or outdated files.
- Protect your external hard drive from physical damage: Treat your external hard drive with care to avoid any physical damage. Avoid dropping or mishandling the drive, and store it in a safe and secure place when not in use. If possible, utilize a protective case or sleeve to shield it from potential accidents.
- Scan your external hard drive for malware: Periodically scan your external hard drive for malware or viruses using reliable antivirus software. Although external hard drives are less prone to infections, it’s still important to ensure the safety and security of your files.
- Disconnect the drive properly: Always follow the correct procedure to eject or safely remove your external hard drive from your laptop, as mentioned in the earlier section. Abruptly disconnecting the drive without proper ejection can cause data corruption or damage the drive itself.
By implementing these tips, you can ensure the proper maintenance and organization of your external hard drive. Regular backups, cleanliness, efficient organization, and cautious handling will not only enhance the performance and longevity of your drive but also make it easier for you to access and manage your files.
Frequently Asked Questions about Adding an External Hard Drive to a Laptop
Adding an external hard drive to a laptop can be a significant upgrade for your storage capabilities and data management. Here are some common questions that users often have about adding an external hard drive to their laptops:
- Can I connect multiple external hard drives to my laptop?
Yes, you can connect multiple external hard drives to your laptop, as long as you have enough available ports. You may need to use USB hubs or other devices to increase the number of available ports if necessary. - Can I use an external hard drive on both Windows and macOS?
Yes, most external hard drives are compatible with both Windows and macOS. However, you may need to format the drive in a compatible file system like ExFAT to ensure seamless cross-platform use. - How do I transfer files between my laptop and the external hard drive?
You can transfer files between your laptop and the external hard drive by simply copying and pasting them or dragging and dropping them from one location to another. Make sure to properly eject or safely remove the drive before disconnecting it. - Do I need to install any drivers for the external hard drive?
In most cases, you do not need to install any additional drivers for the external hard drive. Modern operating systems typically recognize and support external hard drives without the need for additional software. However, it’s always a good idea to check for any available updates for your operating system. - What should I do if my external hard drive is not being recognized by my laptop?
If your external hard drive is not being recognized, try the following troubleshooting steps:- Ensure that the drive is properly connected to your laptop.
- Try connecting the drive to a different USB port.
- Check if the drive is visible in Disk Management (Windows) or Disk Utility (macOS).
- If the drive is visible but not accessible, try formatting it or assigning a drive letter (Windows).
- Update your operating system and drivers.
- If none of these steps work, there may be an issue with the drive itself, and you should contact the manufacturer or seek technical support.
- Can I boot my laptop from an external hard drive?
Yes, in some cases, you can boot your laptop from an external hard drive. This allows you to run an operating system directly from the external drive. However, it depends on your laptop’s BIOS settings and the compatibility of the external hard drive. Consult your laptop’s user manual or manufacturer’s website for instructions on how to enable booting from an external drive.
These are some of the frequently asked questions about adding an external hard drive to a laptop. By understanding these aspects, you can make the most of your external storage device and enhance your laptop’s storage capabilities and data management convenience.
Conclusion
Adding an external hard drive to your laptop can significantly expand your storage capacity, provide data backup solutions, and enhance your overall productivity. By following the steps outlined in this guide, you can successfully connect, format, and transfer files to your external hard drive. Remember to always prepare your laptop before connecting the drive, exercise caution when disconnecting it, and implement proper maintenance and organization strategies to ensure the longevity and optimal performance of your external storage device.
Whether you’re a student, professional, or casual user, the benefits of adding an external hard drive to your laptop are undeniable. Increased storage space, data security, portability, improved performance, and better file organization are just a few of the advantages. Moreover, by adhering to best practices such as regular backups, cleanliness, and proper file organization, you can make the most out of your external hard drive and streamline your workflow.
Take advantage of the versatility and convenience that an external hard drive offers. With the ability to store and access large amounts of data, you can confidently work on important projects, carry your files with you on the go, and safeguard your valuable information. Whether you’re a professional in need of extra storage for business documents, a student with a large media collection, or simply looking to extend the lifespan of your laptop’s internal storage, an external hard drive is an invaluable accessory.