Introduction
Welcome to this guide on how to save photos from your iPad to an external hard drive. If you find your iPad storage running out of space due to a large collection of photos, transferring them to an external hard drive can free up valuable space and ensure that your precious memories are safely stored. Additionally, by saving your photos on an external hard drive, you can easily access them on multiple devices and have a backup in case of data loss.
Whether you’re an amateur photographer capturing cherished moments or a professional who frequently uses the iPad for work, learning how to transfer photos to an external hard drive will prove to be a valuable skill. This guide will take you through the step-by-step process of connecting your external hard drive to your iPad and transferring the photos. We will also explore alternative methods such as using cloud storage and organizing the photos on the external hard drive.
Before we dive into the details, it’s important to note that the process may vary depending on the model of your iPad and the type of external hard drive you are using. It is always recommended to refer to the user manuals provided by the manufacturers to ensure compatibility and to follow any specific instructions they may have.
With that said, let’s get started on saving those precious moments!
Connecting the External Hard Drive
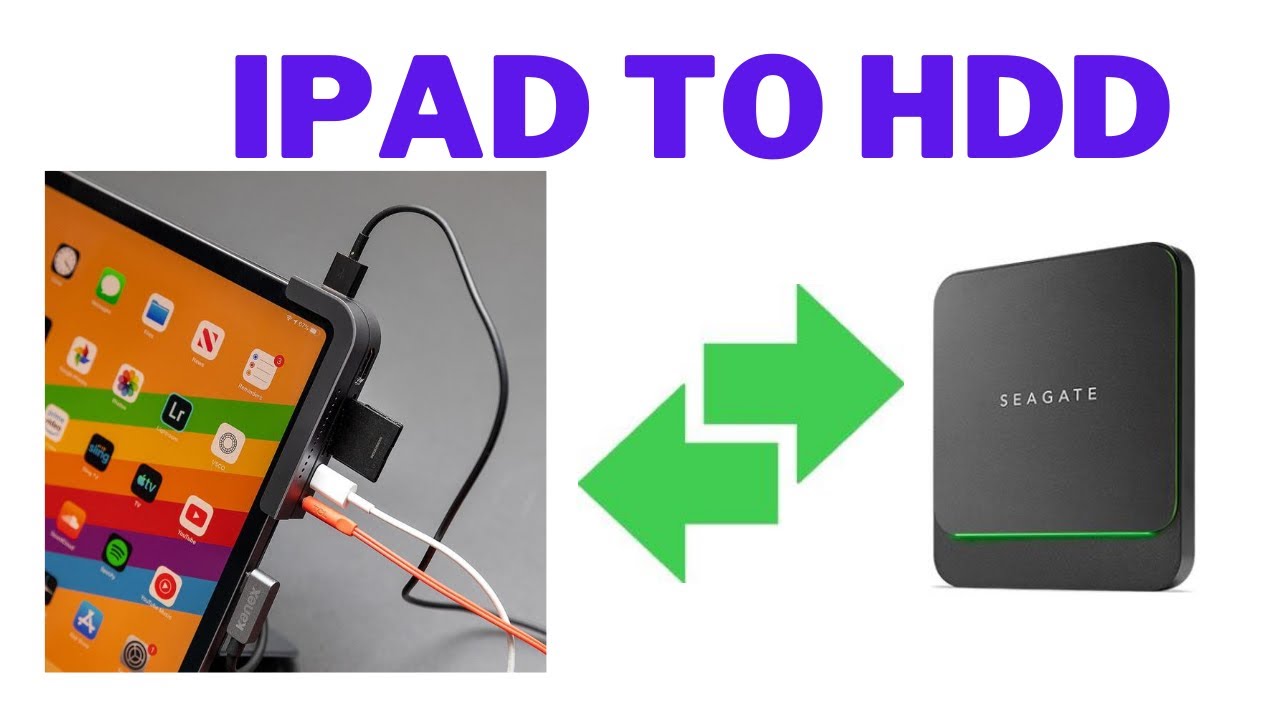
The first step in saving your photos from your iPad to an external hard drive is to establish a physical connection between the two devices. The method for connecting the external hard drive may differ depending on the model of your iPad and the type of external hard drive you have. Here are a few common methods:
- USB Connection: If your external hard drive has a USB port, you can connect it directly to your iPad using a USB adapter. Start by inserting the USB adapter into the charging port of your iPad. Then, connect the USB cable from the external hard drive to the adapter. Your iPad should recognize the external hard drive, and you can proceed to transfer the photos.
- Wireless Connection: Some external hard drives support wireless connectivity, allowing you to connect them to your iPad without the need for cables. To set up a wireless connection, follow the instructions provided by the manufacturer of the external hard drive. Typically, this involves connecting both devices to the same Wi-Fi network and using a dedicated app or software to establish the connection.
- Lightning Connection: If you have an iPad with a Lightning connector, you may need to use a specific Lightning to USB adapter to connect your external hard drive. This adapter will allow you to plug in a USB cable from the external hard drive and establish a connection. Make sure to use an adapter that is compatible with your specific iPad model.
Once you have successfully connected the external hard drive to your iPad, you are ready to move on to the next step of transferring the photos. Remember to ensure that both devices are properly connected and securely attached to avoid any accidental disconnections during the transfer process.
Transferring Photos from the iPad to the External Hard Drive
Now that your external hard drive is connected to your iPad, it’s time to transfer the photos from your iPad to the external hard drive. There are a couple of methods you can use to accomplish this:
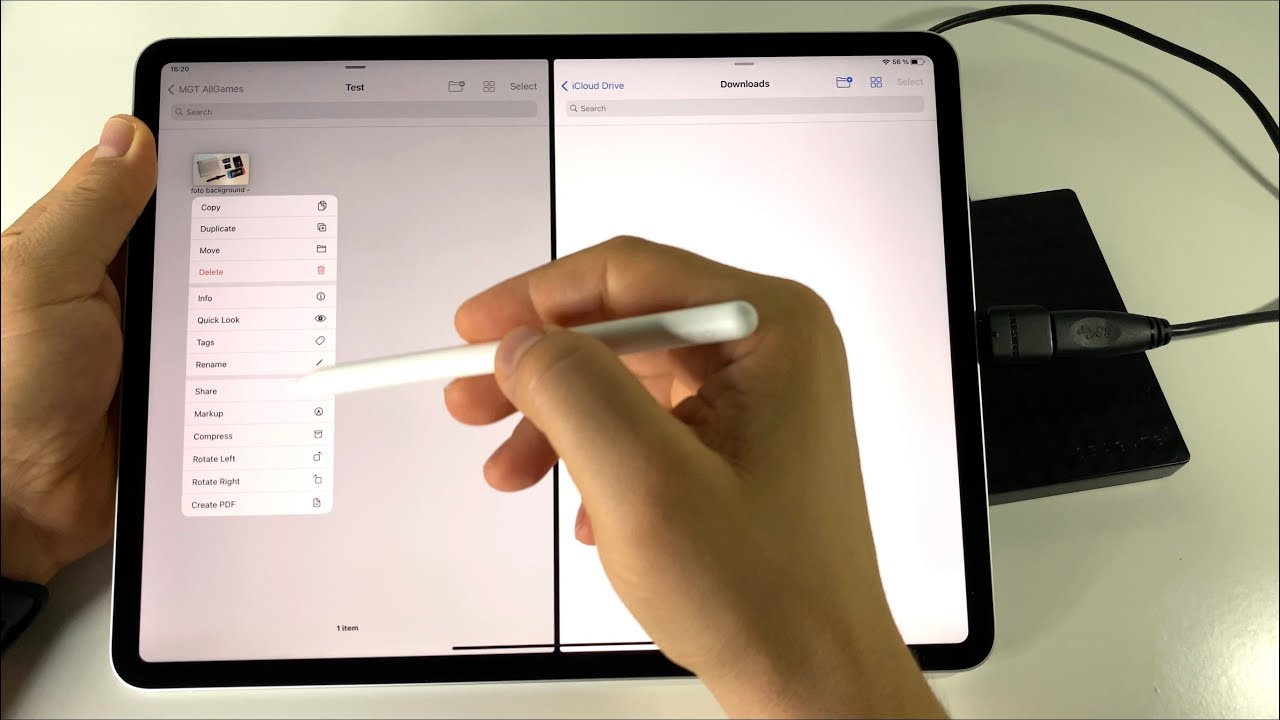
- Using the Files App: If you have iOS 11 or later on your iPad, you can utilize the built-in Files app to transfer your photos. Open the Files app and navigate to the location where your photos are stored on your iPad. This can be in the Photos app or any other third-party photo management app. Select the photos you want to transfer by tapping and holding on one of them and then tapping on the others. Once you have selected all the photos, tap the Share button and choose the option to “Copy” or “Move” the photos. Navigate to the external hard drive location in the Files app and paste the copied photos. The files will be transferred to the external hard drive.
- Using Third-Party Apps: There are several third-party apps available on the App Store that specialize in transferring and managing files between your iPad and external devices. These apps provide more advanced features and flexibility when it comes to transferring photos. Some popular apps include Documents by Readdle, FileBrowser, and FileApp. Install one of these apps, connect your external hard drive as instructed by the app, and follow the app’s interface to transfer your photos from the iPad to the external hard drive.
- Importing via Computer: If you have a computer with iTunes installed, you can use it as an intermediary to transfer your photos. Connect your iPad to the computer using a USB cable and open iTunes. Select your iPad from the device menu in iTunes and navigate to the “Photos” tab. Check the box to “Sync Photos” and choose the folders or albums containing the photos you want to transfer. Next, click on the “Apply” button to start the synchronization process. Once the photos are synced to your computer, you can then copy and paste them to your external hard drive using the computer’s file explorer.
Whichever method you choose, ensure that you have enough storage space on your external hard drive to accommodate the photos. It’s also a good idea to organize the photos into separate folders or albums on the external hard drive for easy navigation and retrieval in the future.
With the photos successfully transferred to the external hard drive, you can now safely free up space on your iPad and have a secure backup of your valuable memories!
Using Cloud Storage to Transfer Photos
In addition to transferring photos directly to an external hard drive, you can also utilize cloud storage services to transfer and store your iPad photos. Cloud storage allows you to upload your photos to a remote server, accessible from any device with an internet connection. Here are the steps to transfer photos using cloud storage:
- Choose a Cloud Storage Provider: There are several reputable cloud storage providers available, such as Google Drive, iCloud, Dropbox, and OneDrive. Research the features, storage capacity, and pricing plans of each provider to determine which one best suits your needs.
- Create an Account: Sign up for an account on the cloud storage provider’s website or through their dedicated app. Follow the instructions to set up your account and configure any necessary settings.
- Upload Photos: Once your account is set up, you can start uploading your iPad photos to the cloud storage. Open the cloud storage app or access the provider’s website on your iPad. Locate the option to upload files and navigate to the location where your photos are stored on your iPad. Select the photos you want to transfer and start the upload process. Depending on the size of your photos and the speed of your internet connection, this process may take some time.
- Organize and Manage Photos: Cloud storage services often provide features to organize and manage your photos. Take advantage of these features to create folders or albums for different categories or events. This will make it easier to locate specific photos in the future.
- Access Photos on Other Devices: One of the advantages of using cloud storage is the ability to access your photos from multiple devices. Install the cloud storage app on your computer, smartphone, or any other device you want to access your photos from. Sign in to your account, and your photos will sync across all devices, allowing you to view and download them whenever needed.
Using cloud storage to transfer photos provides the convenience of accessing your photos from any device with internet access. It also serves as a backup for your photos, protecting them from loss or damage. However, keep in mind that most cloud storage providers offer limited free storage, and you may need to upgrade to a paid plan if you exceed the free storage limit.
Consider using cloud storage in conjunction with an external hard drive for added security and redundancy. This way, you have multiple copies of your photos in different locations, ensuring their safety and accessibility.
Organizing Photos on the External Hard Drive
Once you have successfully transferred your photos from your iPad to the external hard drive, it’s important to organize them in a way that makes it easy to navigate and find specific photos. Here are some tips for organizing your photos on the external hard drive:
- Create Folders: Start by creating folders or directories on the external hard drive to categorize your photos. You can create folders based on events, dates, locations, or any other criteria that make sense to you. This will help you keep your photos organized and make it easier to find them later.
- Use Descriptive Names: When naming your folders and files, use descriptive names that provide a clear indication of the photos contained within. Avoid generic or vague names that can lead to confusion in the future. For example, instead of naming a folder “Miscellaneous,” consider using more specific names like “Family Vacation 2022” or “Graduation Ceremony.”
- Sort by Date or Time: If your photos have timestamps, consider sorting them chronologically. Most operating systems and photo management software allow you to sort files by date or time. This can be particularly useful when organizing photos from different events or trips.
- Add Metadata: Take advantage of metadata to add additional information to your photos. Metadata includes details such as date, location, camera settings, and keywords. This data can be useful for quickly searching and filtering photos based on specific criteria.
- Backup Your Organized Photos: Once you have organized your photos on the external hard drive, it’s crucial to back them up regularly to ensure their safety. Consider creating a backup of the external hard drive and storing it in a separate location or using a cloud backup service for added protection.
By organizing your photos on the external hard drive, you will have a streamlined and efficient way of accessing and enjoying your photo collection. It will also make it easier to share specific photos or create personalized albums for special occasions.
Remember to regularly maintain and update your photo organization system as you continue to add new photos to the external hard drive. This will help ensure that your collection remains organized and easily manageable in the long run.
Safely Ejecting the External Hard Drive from the iPad
After successfully transferring and organizing your photos on the external hard drive, it is important to safely disconnect the device from your iPad to avoid any data corruption or loss. Safely ejecting the external hard drive ensures that all pending transfers and operations are completed and that no data is left in an unstable state. Here’s how you can safely eject the external hard drive from your iPad:
- Close Any Open Files or Applications: Before ejecting the external hard drive, make sure that you have closed any files or applications that were using it. This will prevent any potential errors or conflicts that might occur during the ejection process.
- Locate the Eject icon: On your iPad, navigate to the “Files” app or the app you used to transfer and access your photos. Locate the external hard drive within the app and look for an eject icon or a specific option to safely remove or eject the device. This action tells the iPad that you are done using the external hard drive.
- Eject the External Hard Drive: Tap on the eject icon or select the option to safely remove or eject the external hard drive. Wait for the iPad to complete the ejection process. You might see a message indicating that the external hard drive can now be safely disconnected.
- Physically Disconnect the External Hard Drive: Once you have safely ejected the external hard drive from the iPad, it is safe to physically disconnect it. Gently unplug the USB cable or remove the wireless connection according to the method you used for connecting the external hard drive.
It is important to note that abruptly disconnecting the external hard drive without safely ejecting it can lead to data corruption or loss. This can result in damaged files and potentially make the external hard drive unreadable or unusable.
By following the proper procedure and safely ejecting the external hard drive, you can ensure the integrity and longevity of your data, as well as the longevity of the external hard drive itself.
Remember to always double-check that no files or applications are actively using the external hard drive before ejecting it, as this can lead to unexpected errors or data inconsistencies.
Conclusion
Transferring photos from your iPad to an external hard drive is a practical solution for freeing up storage space and ensuring the safety of your valuable memories. By following the steps outlined in this guide, you can successfully save your photos and create a backup that can be accessed from multiple devices.
We covered various methods for transferring photos, including connecting the external hard drive directly to your iPad, using cloud storage services, and utilizing a computer as an intermediary. Each method has its own advantages and considerations, so choose the one that best suits your needs and preferences.
Remember to organize your photos on the external hard drive by creating folders and using descriptive names. This will help you easily locate specific photos in the future and make browsing through your collection a seamless experience.
Additionally, always remember to safely eject the external hard drive from your iPad to prevent data corruption or loss. Following the proper procedure ensures that all transfers and operations are completed and that your external hard drive remains in a stable state.
Now that you have learned how to save photos from your iPad to an external hard drive, you can enjoy the benefits of additional storage space, easy accessibility, and peace of mind knowing that your precious memories are safely stored. Start preserving your photo collection today and continue capturing new memories without worrying about running out of space on your iPad.