Introduction
Welcome to this guide on how to backup files with your Seagate External Hard Drive. With the ever-increasing amount of digital data we generate and store, it is essential to have a reliable backup system in place to protect your valuable files and documents. Seagate, a renowned brand in data storage solutions, offers easy-to-use software that allows you to effortlessly backup your files onto their external hard drives.
In this article, we will walk you through the step-by-step process of backing up your files using a Seagate External Hard Drive. Whether you are a professional who needs to secure important work files or a home user seeking to protect cherished photos and videos, this guide will help you safeguard your data and provide you with peace of mind.
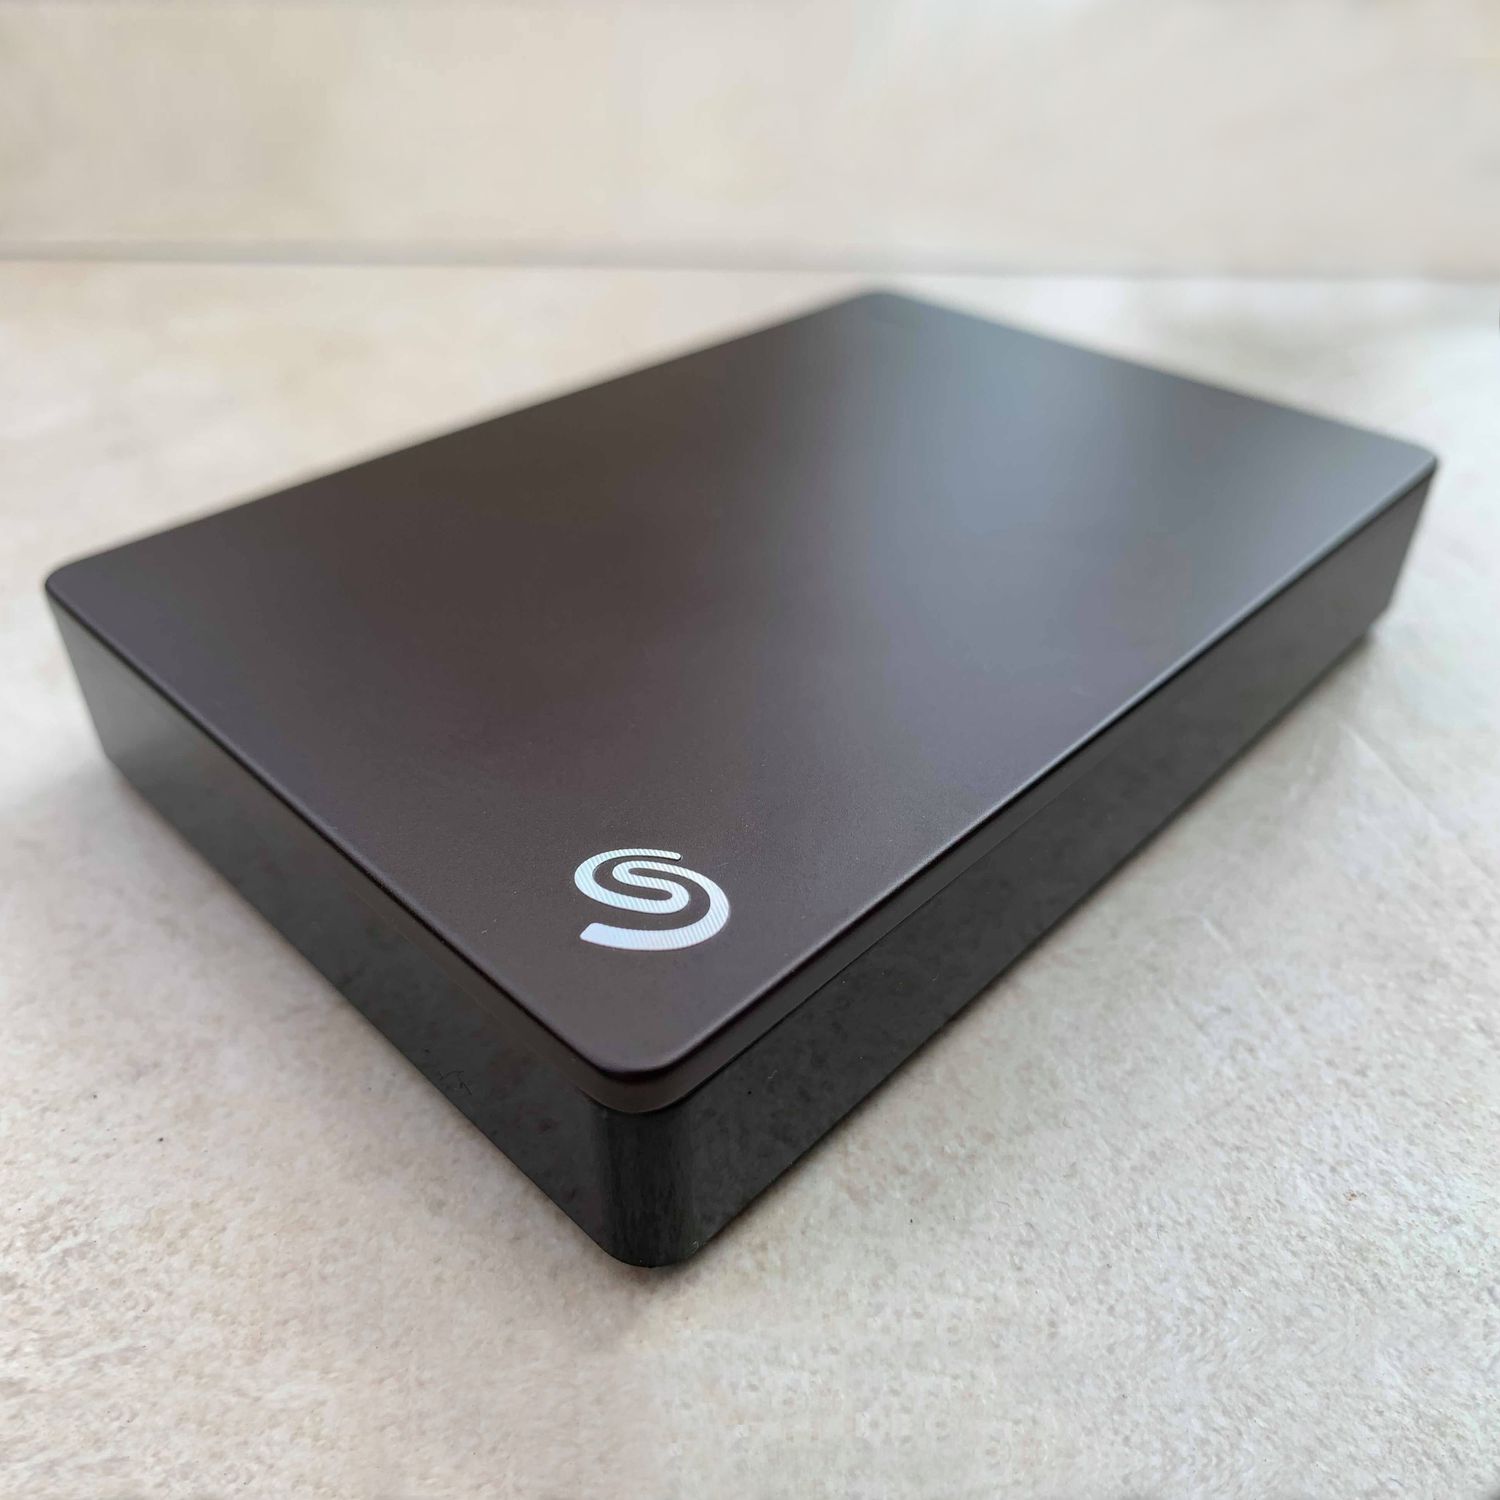
The Seagate External Hard Drive provides ample storage capacity, fast data transfer speeds, and superior reliability, making it an excellent choice for backing up your valuable data. Additionally, the Seagate software offers a user-friendly interface with powerful features that make the backup process simple and efficient.
Before we dive into the steps, it is important to note that backing up your files regularly is crucial to ensure that you have the most up-to-date versions of your important documents. It is recommended to set a recurring backup schedule or perform manual backups whenever you make significant changes to your files.
Now that we have covered the importance of data backup and the capabilities of the Seagate External Hard Drive, let’s move on to the step-by-step process of backing up your files. So, grab your Seagate External Hard Drive, connect it to your computer, and let’s get started!
Step 1: Connect your Seagate External Hard Drive
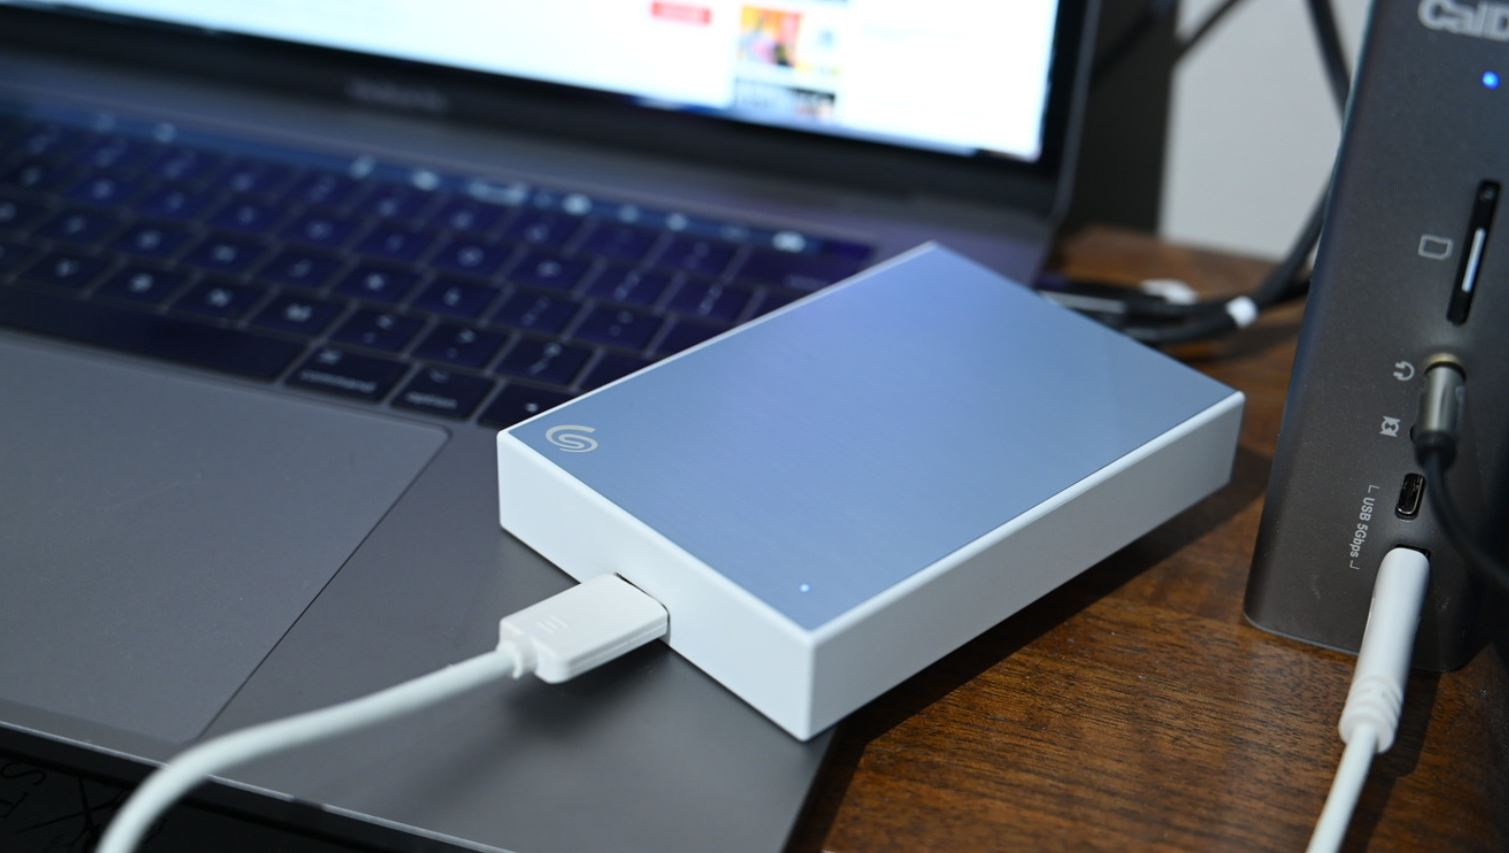
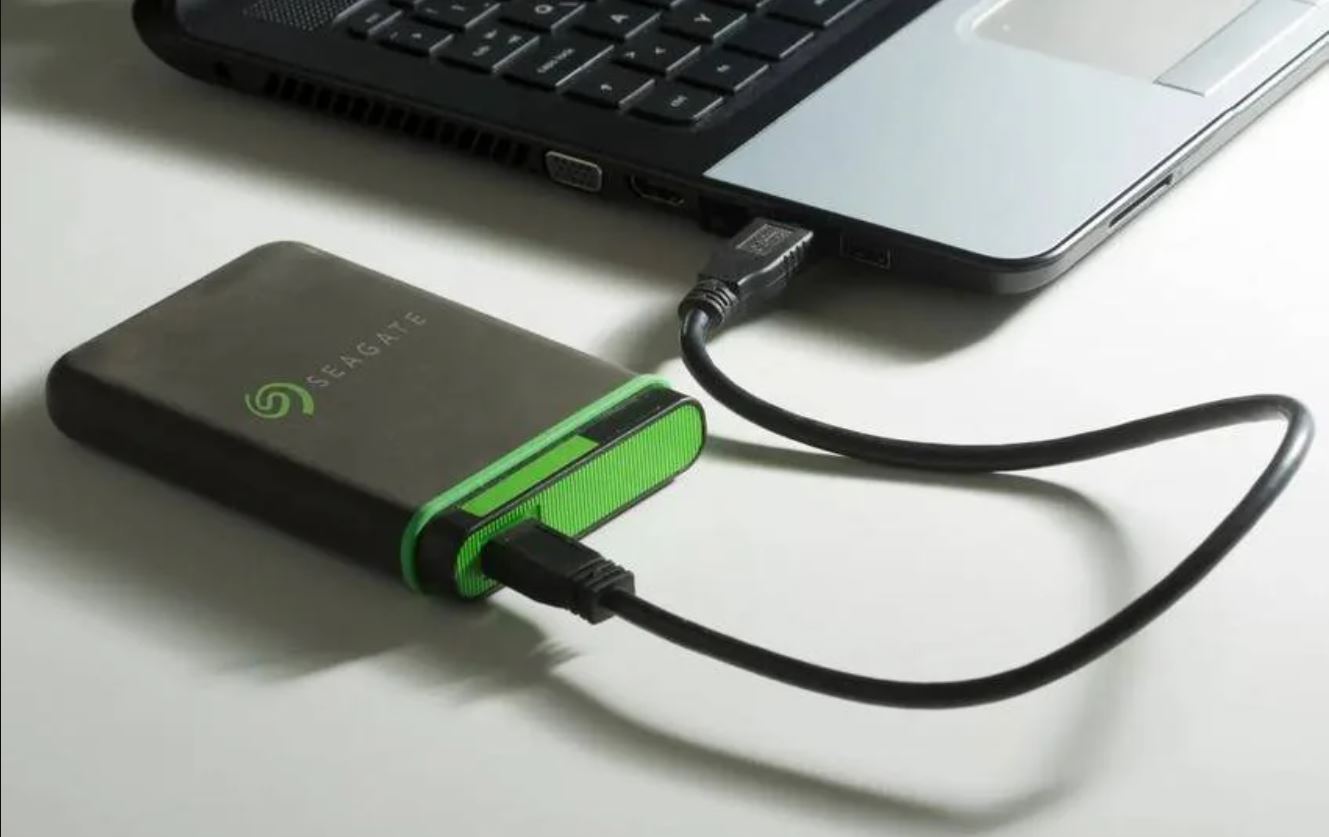
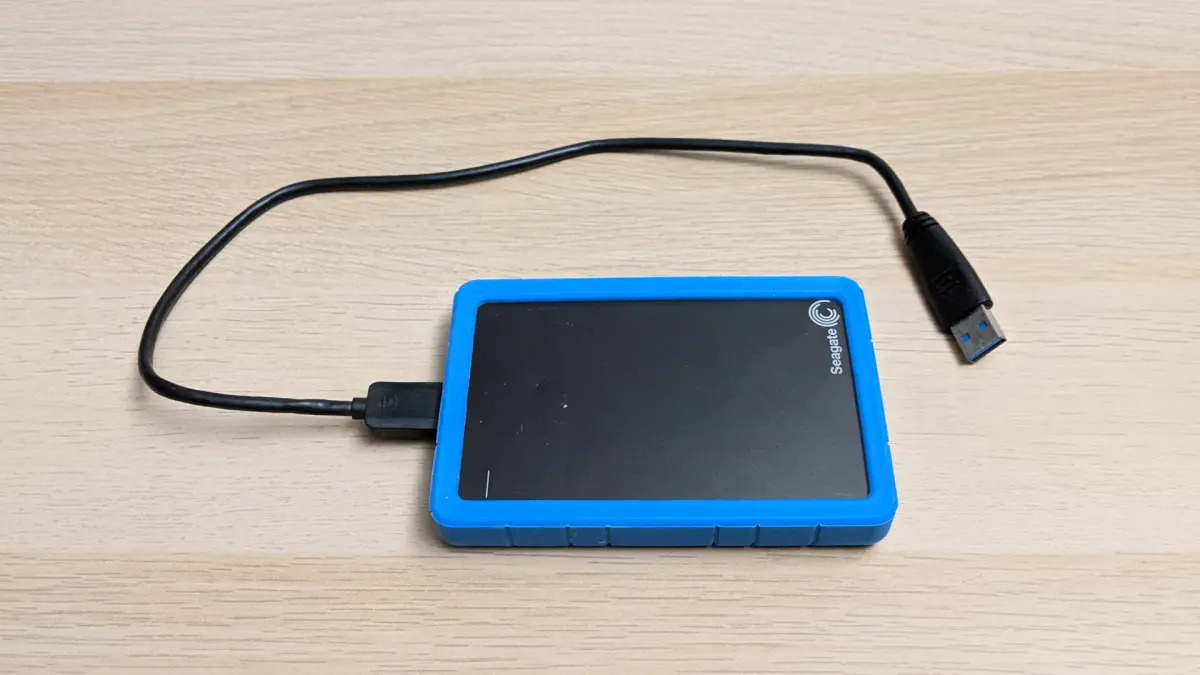
The first step to backup your files with a Seagate External Hard Drive is to connect the device to your computer or laptop. Follow these simple steps to establish the connection:
- Locate the USB cable that came with your Seagate External Hard Drive.
- Connect one end of the USB cable to the appropriate port on your computer or laptop. The port is usually a USB 3.0 or USB-C port, indicated by a blue or a reversible connector, respectively.
- Connect the other end of the USB cable to the USB port on your Seagate External Hard Drive.
- Once the connection is made, you will hear a notification sound, and the drive will be recognized by your computer.
- If your Seagate External Hard Drive requires a power source, make sure it is plugged into an electrical outlet or powered USB hub.
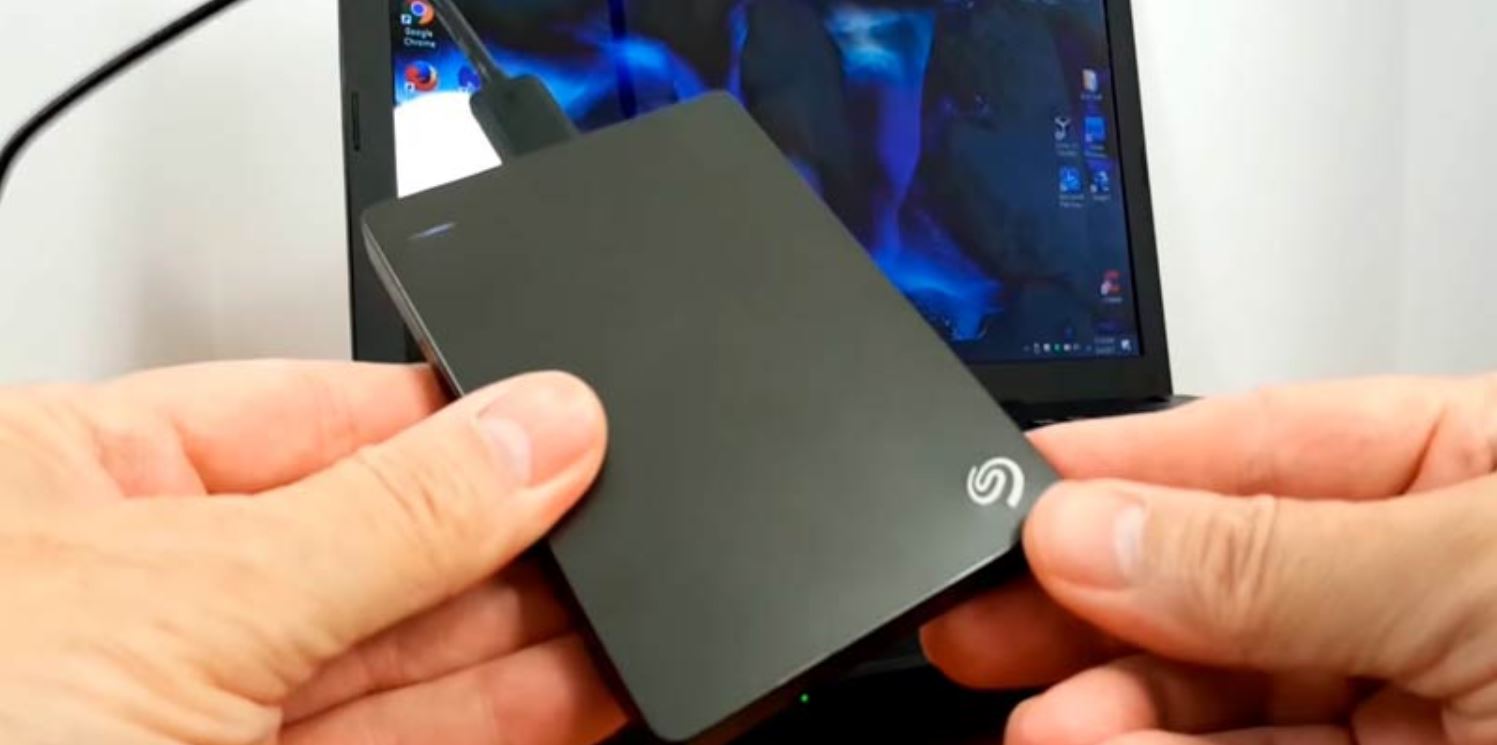
It is important to ensure that the connection between your computer and the Seagate External Hard Drive is secure and stable. A loose connection can result in interrupted data transfer or even data loss. If you encounter any issues during the connection process, double-check the cables and ports to ensure everything is properly connected.
Once the Seagate External Hard Drive is successfully connected, it will appear as a new drive in your computer’s file explorer or desktop. You are now ready to proceed to the next step, which involves installing the Seagate software that will facilitate the backup process.
Step 2: Install the Seagate Software
After connecting your Seagate External Hard Drive to your computer, the next step is to install the Seagate software that will enable you to manage and backup your files. Follow these steps to install the software:
- Locate the Seagate software installation package. This can usually be found either on the Seagate website or on a CD/DVD included with your external hard drive.
- Double-click on the installation file to begin the installation process.
- Follow the on-screen instructions to complete the installation. Review and accept the software license agreement when prompted.
- Choose the installation location for the software. The default location is usually fine, but you can change it if desired.
- Once the installation is complete, you may be prompted to restart your computer. If prompted, save any important work and restart your computer as instructed.
After restarting your computer, the Seagate software will be ready to use. You can access the software by locating the Seagate folder in your Start menu or by double-clicking on the software icon on your desktop.
The Seagate software provides a user-friendly interface that allows you to easily manage and configure your backups. It offers various options to customize your backup settings, such as choosing specific folders to backup, setting up automatic backup schedules, and selecting the backup destination on your Seagate External Hard Drive.
Congratulations! You have now successfully installed the Seagate software on your computer. In the next step, we will guide you through configuring the backup settings to suit your needs.
Step 3: Configure the Backup Settings
Once you have installed the Seagate software, it’s time to configure the backup settings to ensure that your files are backed up according to your preferences. Follow these steps to customize the backup settings:
- Open the Seagate software on your computer. You can do this by locating the software icon on your desktop or accessing it through the Start menu.
- On the main interface of the software, you will see a list of options and features. Look for the option that allows you to configure the backup settings. It is usually labeled as “Backup Settings” or something similar.
- Click on the “Backup Settings” option to access the configuration menu.
- In the backup settings menu, you will find various options to customize your backup preferences. Take some time to explore the different settings available and choose the ones that best suit your needs.
- One important setting to consider is selecting the backup source. This allows you to choose the folders and files that you want to include in the backup process. You can select specific folders or even individual files depending on your requirements.
- Another crucial setting is choosing the backup destination. This is the location on your Seagate External Hard Drive where the backup files will be stored. Ensure that you select the appropriate destination to ensure efficient organization of your backups.
- Additionally, you can set up automatic backup schedules to ensure that your files are backed up regularly without manual intervention. This can be particularly useful if you frequently make changes to your files and want to ensure that the backups are always up to date.
- Once you have adjusted the settings to your liking, click on the “Save” or “Apply” button to save the changes.
Configuring the backup settings according to your preferences is crucial in ensuring that your files are backed up properly. Take your time to go through the settings menu and adjust them to suit your specific needs and requirements.
Now that you have configured the backup settings, you are ready to move on to the next step, where we will guide you through selecting the files to be included in the backup.
Step 4: Select the Files to Backup
Once you have configured the backup settings in the Seagate software, it’s time to select the files that you want to include in the backup. Follow these steps to choose the files:
- Open the Seagate software on your computer.
- Navigate to the section where you can choose the files to be backed up. This may be labeled as “File Selection,” “Backup Source,” or something similar.
- Within the file selection menu, you will see a list of folders and files available on your computer. These folders and files represent the potential candidates for backup.
- Browse through the folders and subfolders to locate the specific files that you want to include in the backup. You can select entire folders or individual files, depending on your requirements.
- To select a folder or file, simply click on the checkbox or the corresponding option provided.
- If you want to include all the files within a particular folder and its subfolders, look for an option that allows you to enable this feature. It is commonly labeled as “Include subfolders” or a similar term.
- Review your selections to ensure that you have included all the necessary files and folders for backup.
- Once you are satisfied with your selections, click on the “Save” or “Apply” button to confirm the file selection.
Selecting the files to be backed up is an essential step in the backup process. Make sure to carefully choose the files that are important to you, such as documents, photos, videos, and other irreplaceable data.
Remember that you can always review and update the file selection later if you need to include or exclude certain files from the backup. The flexibility of the Seagate software allows you to modify the file selection according to your changing requirements.
With the files selected, you are now ready to initiate the backup process. In the next step, we will guide you through starting the actual backup of your chosen files.
Step 5: Initiate the Backup Process
Now that you have selected the files to be backed up, it’s time to initiate the backup process using the Seagate software. Follow these steps to begin backing up your files:
- Make sure that your Seagate External Hard Drive is still connected to your computer.
- Open the Seagate software on your computer.
- Navigate to the section or tab that allows you to initiate the backup process. This may be labeled as “Backup,” “Start Backup,” or something similar.
- Double-check the backup settings and file selection to ensure that they align with your preferences.
- Click on the “Start Backup” or similar button to kickstart the backup process.
- The Seagate software will start copying the selected files from your computer to your external hard drive. The time it takes to complete the backup will depend on the size of the files and the speed of your computer and hard drive.
- While the backup is in progress, you can monitor the status through a progress bar or a status indicator provided by the software. This allows you to have visibility on the remaining time and the percentage of completion.
- It is important to keep your computer and Seagate External Hard Drive connected during the backup process. Avoid disconnecting any cables or powering off your devices to prevent data loss or interruptions in the backup.
- Once the backup is complete, you will receive a notification or a message indicating the successful completion of the backup process.
Congratulations! You have now successfully initiated the backup process using the Seagate software. Your selected files are being securely and efficiently copied to your Seagate External Hard Drive, providing you with a backup of your precious data.
It is recommended to regularly check and perform backups of your files to ensure that you have the most up-to-date copies of your data. Now that the backup process is underway, let’s move on to the next step, where we will discuss monitoring and managing your backups.
Step 6: Monitor and Manage your Backups
Once you have initiated the backup process using the Seagate software, it is important to effectively monitor and manage your backups to ensure the safety and integrity of your files. Follow these steps to monitor and manage your backups:
- Keep an eye on the progress of your backup. The Seagate software will typically provide a progress bar or a status indicator that shows the percentage of completion. This allows you to monitor how far along the backup process is.
- If the backup is taking longer than expected or if you encounter any errors or issues, don’t panic. Check the software for error messages or notifications and follow any troubleshooting suggestions provided.
- Regularly check the storage capacity of your Seagate External Hard Drive to ensure that it has enough space to accommodate the backup. If the drive is running out of space, you may need to delete older backups or consider upgrading to a larger-capacity drive.
- Consider setting up notifications or reminders to remind you to perform regular backups. This will help you stay proactive in protecting your files and prevent data loss in the event of hardware failure or accidental deletion.
- Periodically review the backup settings and file selection to ensure they align with your current needs. You may need to add new files or folders to the backup, exclude certain files, or adjust the backup schedule as your data changes.
- Take advantage of any additional features or options provided by the Seagate software, such as encryption or compression, to enhance the security and efficiency of your backups.
- If you need to restore your files from the backup, refer to the Seagate software documentation or help resources for guidance on the restoration process. Familiarize yourself with the steps beforehand so that you are prepared in case you need to recover your files.
By actively monitoring and managing your backups, you can ensure that your important files are safeguarded and accessible when needed. Regularly reviewing and adjusting your backup settings is crucial to adapt to changes in your data and to maintain an effective backup strategy.
Now that you have learned how to monitor and manage your backups, let’s move on to the final step: safely disconnecting your Seagate External Hard Drive.
Step 7: Safely Disconnect your Seagate External Hard Drive
After completing the backup process and ensuring the safety of your files, it is important to properly disconnect your Seagate External Hard Drive from your computer. Follow these steps to safely disconnect your external hard drive:
- Make sure that any file transfers or backup processes are complete before disconnecting the Seagate External Hard Drive.
- If the Seagate software is still running, close it by clicking on the “Exit” or “Close” button.
- Locate the eject or safely remove hardware icon in your computer’s system tray. It is typically found in the bottom-right corner of the screen.
- Click on the eject or safely remove hardware icon to display a list of connected devices.
- Identify your Seagate External Hard Drive from the list of devices and click on it to safely disconnect it.
- After clicking on the device, wait for a notification or confirmation message that it is safe to eject the external hard drive. This message indicates that any pending read or write operations have been completed, and it is safe to remove the device.
- Once you receive the confirmation, gently unplug the USB cable from your computer’s port.
- After disconnecting the Seagate External Hard Drive, store it in a safe and secure location to protect it from potential damage or loss.
It is essential to properly disconnect your Seagate External Hard Drive to avoid data corruption or damage to the files. Abruptly removing the device without following the proper procedure can result in loss or corruption of data, which can be difficult or impossible to recover.
By safely disconnecting your Seagate External Hard Drive, you ensure the longevity and reliability of the device while preserving your valuable files and data.
With the successful completion of Step 7, you have now learned how to safely disconnect your external hard drive, marking the end of the backup process. Congratulations!
Conclusion
In conclusion, the process of backing up your files with a Seagate External Hard Drive is a simple and effective way to protect your valuable data from loss or damage. By following the steps outlined in this guide, you can ensure that your files are securely backed up and easily accessible whenever you need them.
We began by discussing the importance of data backup and introduced the Seagate External Hard Drive as a reliable storage solution. We then walked through the step-by-step process, starting with connecting the external hard drive to your computer and installing the Seagate software.
Next, we covered configuring the backup settings and selecting the files to be included in the backup. We then guided you through initiating the backup process and emphasized the significance of monitoring and managing your backups to stay on top of any issues or changes in your data.
Finally, we emphasized the importance of safely disconnecting your Seagate External Hard Drive from your computer to ensure the integrity of your files and the longevity of the device.
By following these steps and establishing a regular backup routine, you can have peace of mind knowing that your important files are protected and backed up on your Seagate External Hard Drive. Remember to periodically review and update your backup settings, and always perform backups of your files to keep them safe from any potential data loss events.
Thank you for taking the time to read this guide. We hope that it has been informative and helpful in guiding you through the process of backing up your files with a Seagate External Hard Drive. Take charge of your data’s security and start backing up your files today!