Introduction
Backing up your computer regularly is essential to protect your valuable data and ensure its safety in case of any unforeseen event, such as hardware failure, theft, or system crashes. One of the most reliable and convenient ways to back up your computer is by using an external hard drive. Seagate External Hard Drives provide ample storage capacity and excellent data transfer speed, making them a popular choice among users.
In this article, we will guide you through the step-by-step process of backing up your computer to a Seagate External Hard Drive. Whether you have important documents, precious photos, or vital software setups, creating a backup will give you peace of mind knowing that your data is secure.
Before we dive into the specifics, it’s important to note that the process of backing up your computer to a Seagate External Hard Drive may vary slightly depending on the operating system you are using. However, the overall concept remains the same. We will provide general instructions that can be applied to most Windows and macOS systems.
So, grab your Seagate External Hard Drive and let’s get started on the journey to safeguard your valuable data!
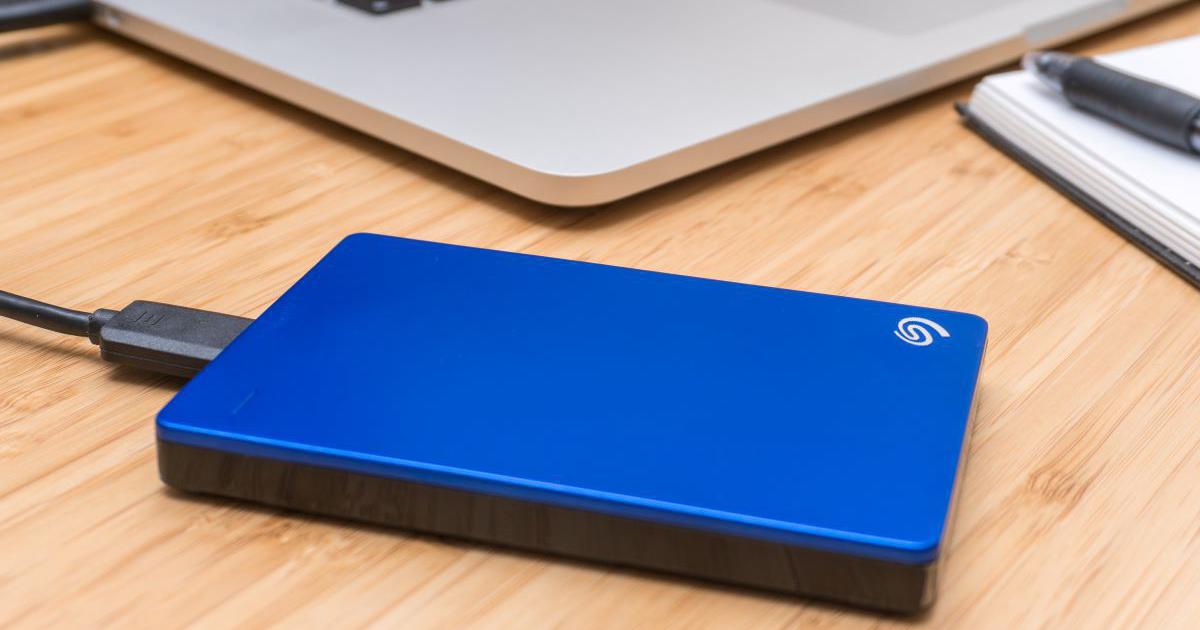
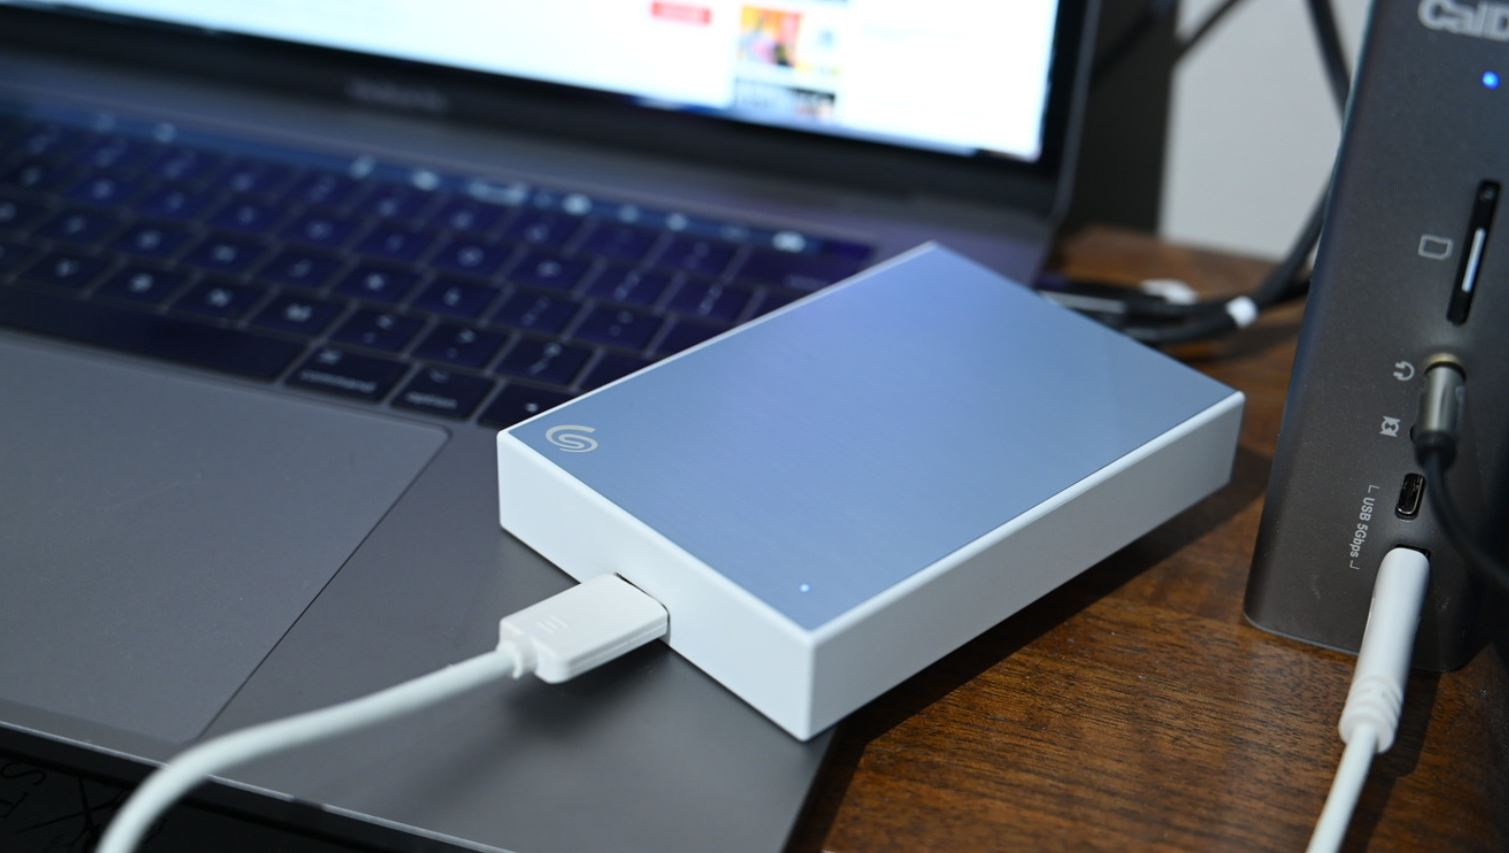
Step 1: Connect the Seagate External Hard Drive to your computer
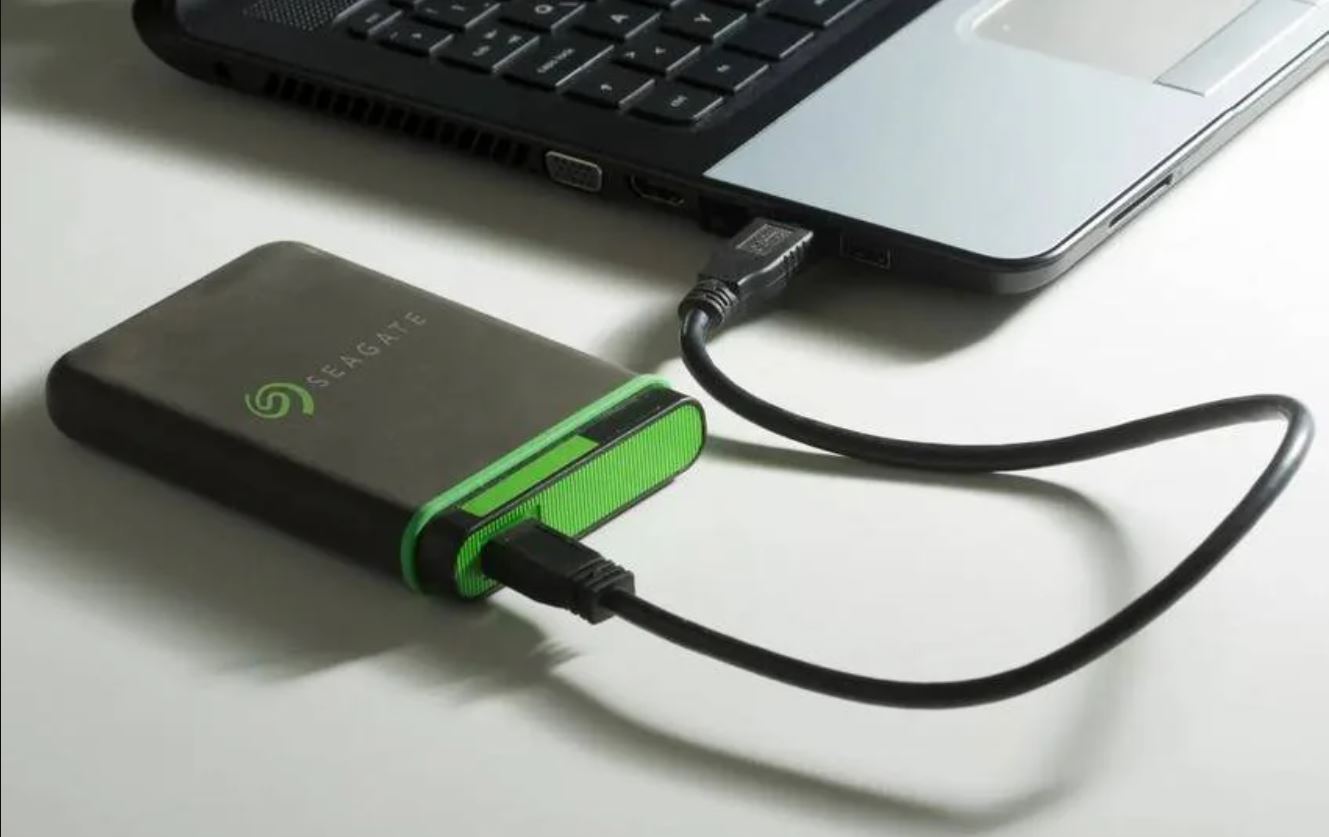
The first step in backing up your computer to a Seagate External Hard Drive is to establish a physical connection between the two devices. Ensure that your computer is powered on and follow these simple steps:
- Locate an available USB port on your computer. The USB port is typically located on the side or rear of the computer tower.
- Take the USB cable that came with your Seagate External Hard Drive and plug one end into the USB port on your computer.
- Next, take the other end of the USB cable and connect it to the USB port on your Seagate External Hard Drive. Depending on the model, the USB port may be located on the back or side of the hard drive enclosure.
- Once the cable is securely connected, you should hear a notification sound from your computer, indicating that a new device has been detected.
- Allow a few moments for the computer to recognize the Seagate External Hard Drive and install any necessary drivers. This process is typically automatic and should not require any additional steps from you.
- Now that the Seagate External Hard Drive is successfully connected to your computer, you are ready to proceed to the next step.
It’s essential to ensure a stable and secure connection between your computer and the Seagate External Hard Drive throughout the backup process. Avoid forcefully pulling or disconnecting the USB cable while it is in use, as this may cause data corruption or hardware damage.
Once you have established a secure connection, you can move on to the next steps to format the Seagate External Hard Drive (optional) and begin the backup process.
Step 2: Format the Seagate External Hard Drive (optional)
Formatting your Seagate External Hard Drive is an optional step, but it is recommended to ensure compatibility and optimal performance for the backup process. Formatting will erase all existing data on the drive, so make sure to back up any important files before proceeding. Here’s how you can format your Seagate External Hard Drive:
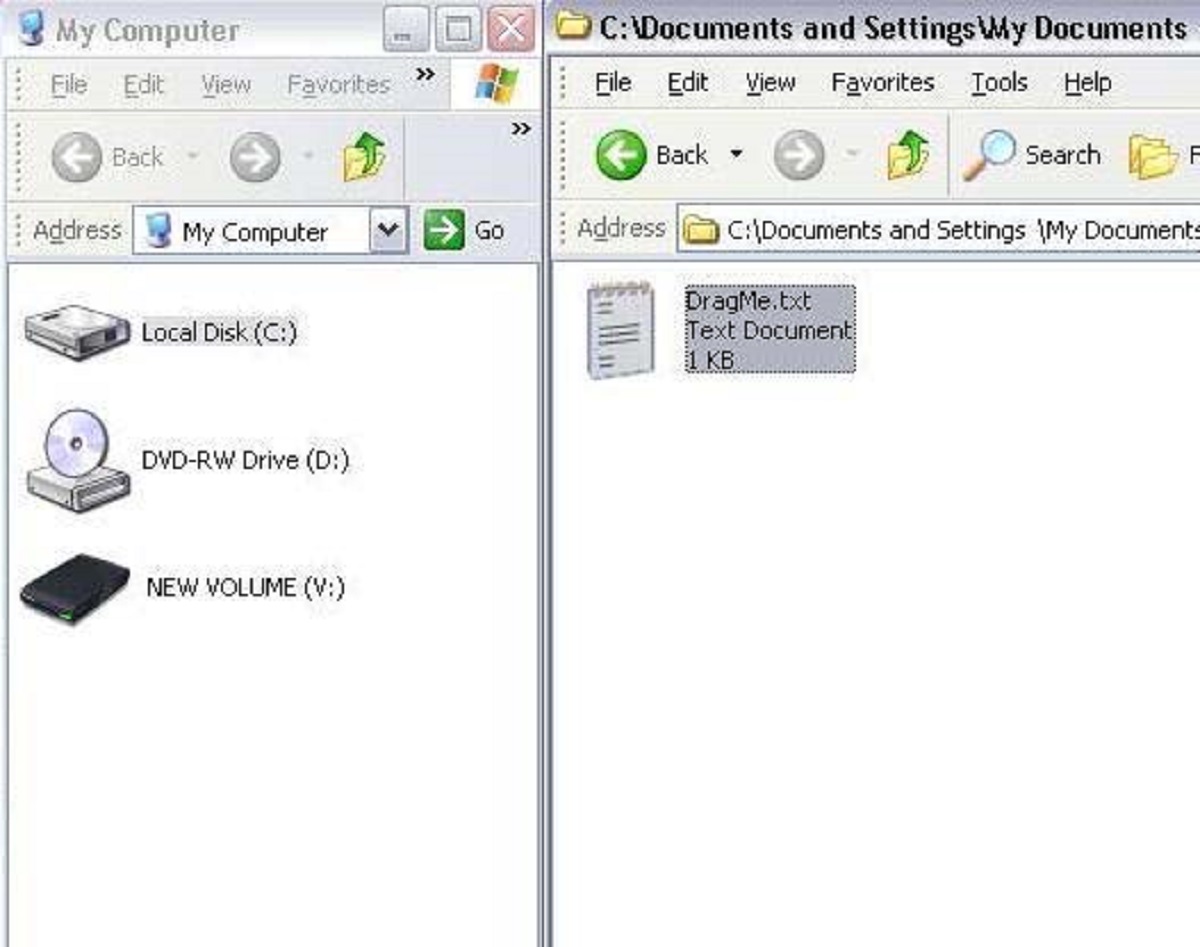
- Open “File Explorer” on your Windows computer or “Finder” on your Mac.
- Locate your Seagate External Hard Drive under the list of available drives. It is usually displayed as a separate drive with a unique name.
- Right-click on the drive icon and select “Format” (Windows) or “Erase” (Mac) from the context menu. This will open the formatting options for your drive.
- Choose the desired file system for the Seagate External Hard Drive. For Windows computers, the recommended file system is NTFS, while Mac systems typically use the APFS or Mac OS Extended (Journaled) format.
- Enter a name for your Seagate External Hard Drive. This name will serve as its label and help you identify it easily.
- Double-check your formatting options and make sure to select the “Quick Format” option if available. This will speed up the formatting process.
- Click “Format” (Windows) or “Erase” (Mac) to start the formatting process. The time required may vary depending on the size of your hard drive.
- Once formatting is complete, you will receive a confirmation message. Your Seagate External Hard Drive is now ready to be used for the backup process.
Remember, formatting the Seagate External Hard Drive will erase all existing data, so ensure that you have backed up important files before proceeding. If you prefer to skip this step, you can proceed with the backup process using the drive as it is.
Now that your Seagate External Hard Drive is properly formatted (or if you chose to skip this step), you can move on to the next step to open the Backup and Restore tool on your computer.
Step 3: Open the Backup and Restore tool on your computer
Once you have connected and, if necessary, formatted your Seagate External Hard Drive, you can proceed to open the Backup and Restore tool on your computer. The Backup and Restore tool is a built-in feature present in both Windows and macOS systems, and it allows you to conveniently set up and manage your backups. Follow the instructions below to access this tool:
- If you are using a Windows computer, click on the “Start” button or press the “Windows” key on your keyboard to open the Start menu. Type “Backup and Restore” in the search bar, and select the “Backup and Restore (Windows 7)” option from the search results.
- If you are on a macOS system, click on the “Apple” menu on the top-left corner of your screen and select “System Preferences.” In the System Preferences window, click on the “Time Machine” icon.
- On the Backup and Restore (Windows 7) window or the Time Machine preferences pane, you will find options to configure your backup settings and manage existing backups.
- For Windows users, click on the “Set up backup” button to start the backup configuration wizard. Follow the prompts to select the files and folders you want to back up and choose your Seagate External Hard Drive as the destination.
- Mac users can click on the “Select Backup Disk” button to choose their Seagate External Hard Drive as the backup destination. You will also have the option to exclude specific items from the backup.
It’s worth noting that the Backup and Restore tool in Windows 7 has continued to be included in future Windows versions such as Windows 8 and Windows 10 for backward compatibility. However, Windows 10 introduced a more advanced backup feature called “File History,” which you can also use to back up your data.
Once you have successfully opened the Backup and Restore tool or the Time Machine preferences pane and made the initial settings, you can proceed to the next step where you will select the files and folders you want to back up.
Step 4: Choose the files and folders you want to backup
Now that you have accessed the Backup and Restore tool or the Time Machine preferences pane, it’s time to select the specific files and folders that you want to include in your backup. This step allows you to customize your backup and ensure that all your important data is safely preserved. Follow the instructions below to choose the files and folders for backup:
- In the Backup and Restore tool (Windows) or the Time Machine preferences pane (macOS), look for an option such as “Choose what to back up” or “Options”. Click on it to access the file selection menu.
- In the file selection menu, browse through your computer’s files and folders to locate the specific items you want to include in the backup. You can select individual files or entire folders by checking the corresponding boxes.
- Take a moment to consider what data is most important to you and ensure that you have selected all the necessary files and folders. This might include documents, photos, videos, music, and any other valuable files.
- If you are using a Windows computer, you will also have the option to include a system image in the backup, which is a snapshot of your entire system. This can be useful for full system recovery in case of a catastrophic failure.
- Once you have made your selections, confirm your choices and proceed to save the changes. This will ensure that the chosen files and folders will be included in the backup process.
It’s important to prioritize your most critical data while keeping the overall backup size in mind. Selecting too many files or folders might take up excessive storage space on your Seagate External Hard Drive and prolong the backup process. Choose wisely based on your storage capacity and backup requirements.
Now that you have selected the files and folders to include in your backup, you can move on to the next step where you will choose the Seagate External Hard Drive as the backup destination.
Step 5: Select the Seagate External Hard Drive as the backup destination
After choosing the files and folders you want to include in your backup, it’s time to select the Seagate External Hard Drive as the destination for your backup. By selecting the external hard drive, you ensure that all your important data will be stored safely and separately from your computer. Follow these steps to choose the Seagate External Hard Drive as the backup destination:
- In the Backup and Restore tool (Windows) or the Time Machine preferences pane (macOS), locate the section or option labeled “Where do you want to save your backup?” or “Select Backup Disk”.
- Click on the “Browse” button or the “Change Disk” option to explore available storage devices.
- A window will appear displaying a list of available drives. Look for your Seagate External Hard Drive in the list and select it as the destination for your backup.
- Verify your selection and confirm the destination by clicking on the “OK” or “Save” button. This will set the Seagate External Hard Drive as the designated backup location.
It’s essential to ensure that you have enough free space on your Seagate External Hard Drive to accommodate the selected files and folders. Regularly check the storage capacity of the drive and ensure that it is sufficient for future backups.
By choosing the Seagate External Hard Drive as the backup destination, you establish a separate location for your data, reducing the risk of data loss due to computer malfunctions, viruses, or other unforeseen events. Now that your backup destination is set, you can proceed to customize backup settings, if desired.
Step 6: Customize backup settings (optional)
Customizing backup settings is an optional step, but it allows you to tailor the backup process according to your specific needs. Depending on the Backup and Restore tool or Time Machine preferences pane, you may have various options to fine-tune your backup settings. Here are some common customization options you may encounter:
- Scheduling: You can choose to schedule regular automatic backups at specific intervals, such as daily, weekly, or monthly. This ensures that your data is backed up consistently without manual intervention.
- Versioning: Some backup tools offer the ability to keep multiple versions of files. This allows you to access previous versions of documents or files in case you need to revert to an earlier state.
- Exclusions: You may have the option to exclude certain files or folders from the backup. This is useful if you have large files or folders that are not critical for backup or if you want to save space on your Seagate External Hard Drive.
- Encryption: If you want to add an extra layer of security to your backup, you can enable encryption. This ensures that only authorized individuals can access the backup data.
- Bandwidth management: Some backup tools allow you to manage the amount of bandwidth used during backups. This is particularly useful if you have limited internet connectivity or if you want to avoid impacting other online activities.
Take some time to explore the options available in your backup tool and adjust the settings to align with your preferences and requirements. Keep in mind that these settings can be modified at any time to accommodate changes in your backup needs.
By customizing the backup settings, you can optimize the backup process, enhance data protection, and ensure that the backup operation seamlessly integrates into your workflow. Once you have customized the settings, you are ready to initiate the backup process.
Step 7: Initiate the backup process
Now that you have connected the Seagate External Hard Drive, chosen the files to back up, and customized any desired settings, it’s time to initiate the backup process. Follow these steps to start backing up your data:
- In the Backup and Restore tool (Windows) or the Time Machine preferences pane (macOS), locate the option labeled “Backup Now” or “Start Backup”.
- Click on the “Backup Now” or “Start Backup” button to initiate the backup process.
- Depending on the size of your backup and the speed of your computer and Seagate External Hard Drive, the process may take some time. It is recommended to let the backup run without interruption to ensure a complete and successful backup.
- Monitor the progress of the backup either through the progress bar or any notifications provided by the backup tool. This allows you to keep track of the backup status and estimate the remaining time.
- Once the backup is complete, you will receive a notification confirming its success. At this point, you can safely disconnect the Seagate External Hard Drive from your computer.
It is important to keep in mind that ongoing backups may be required to ensure the latest versions of your files are preserved. This is especially crucial if you regularly create or modify files. Consider setting up automated backups or periodically initiating manual backups to keep your data up to date.
With the backup process complete, you can have peace of mind knowing that your important files are safely stored on your Seagate External Hard Drive. You can now move on to the final step where you will learn how to monitor and manage your backups.
Step 8: Monitor and manage your backups
After successfully completing the backup process, it is important to monitor and manage your backups to ensure the ongoing safety of your data. Here are some essential steps to help you effectively monitor and manage your backups:
- Regularly check the status of your backups: Open the Backup and Restore tool (Windows) or Time Machine preferences pane (macOS) to view the status of your backups. This will allow you to ensure that backups are completing successfully and if there are any errors or warnings that need attention.
- Verify the integrity of your backups: Periodically check the backed-up files on your Seagate External Hard Drive to ensure they are intact and accessible. This ensures that your backups are reliable and can be restored when needed.
- Keep track of available storage space: Monitor the amount of free space remaining on the Seagate External Hard Drive. This prevents backups from failing due to insufficient storage. Regularly delete old backups or unnecessary files to free up space if needed.
- Test the restore process: It is critical to periodically test the restore process to ensure that your backups can be successfully restored in case of data loss. Select a few files from your backup and restore them to a separate location to confirm that the backup is functioning as expected.
- Update backup settings as needed: If your backup needs or preferences change, visit the Backup and Restore tool or Time Machine preferences pane to modify the settings accordingly. Adjusting scheduling, exclusions, or any other backup configurations ensures that the backup process aligns with your evolving requirements.
- Consider additional backup strategies: While backing up to a Seagate External Hard Drive provides a reliable solution, it is advisable to implement additional backup strategies. This may include cloud backups, offsite backups, or creating redundant backups on multiple devices for added protection.
By consistently monitoring and properly managing your backups, you can rest assured that your valuable data remains protected and easily recoverable. Remember that backups are not a one-time task but an ongoing process that requires attention and periodic maintenance.
Congratulations! You have successfully completed all the necessary steps to backup your computer to a Seagate External Hard Drive. Your data is now secure, and in the event of any unforeseen circumstances, you can confidently restore your files from the backup. Continue to prioritize regular backups and maintain good backup habits to ensure the continued safety of your data.
Conclusion
Backing up your computer is a vital task that ensures the safety and availability of your important data. Using a Seagate External Hard Drive as your backup destination offers a reliable and convenient solution. By following the step-by-step guide outlined in this article, you can easily backup your computer and safeguard your files.
We started by connecting the Seagate External Hard Drive to your computer and, if necessary, formatting it to ensure compatibility. Then, we opened the Backup and Restore tool (Windows) or Time Machine preferences pane (macOS) to configure the backup settings.
Next, we walked through the process of selecting the specific files and folders you want to include in the backup. Customizing the backup settings allows you to tailor the backup process to your preferences and needs.
Once the settings were in place, we initiated the backup process and recommended monitoring its progress to ensure successful completion. Lastly, we shared the importance of regularly managing and testing your backups to maintain their reliability.
Remember, backing up your computer is an ongoing process. Make it a habit to perform regular backups and keep your Seagate External Hard Drive and backup settings up to date. By doing so, you can protect your data from potential loss and have the peace of mind knowing that your files are securely backed up and ready for recovery.
So, take the time to backup your computer today and give yourself the assurance that your important files and memories are safe and protected.