Introduction
Formatting a Toshiba external hard drive is a straightforward process that can help optimize its performance, resolve any issues, or prepare it for a fresh start. Whether you want to repurpose the drive, change the file system, or remove all the existing data, reformatting is the solution. In this step-by-step guide, we will walk you through the process of reformatting your Toshiba external hard drive.
It’s crucial to note that reformatting erases all the data on the drive, so it’s essential to create a backup of your important files before proceeding. Additionally, make sure you have a stable power source to avoid any interruptions during the process.
We will be using Disk Management, a built-in Windows utility, to reformat the Toshiba external hard drive. This tool allows you to manage and modify disk partitions, including formatting and allocating drive letters.
Before we begin, ensure that the Toshiba external hard drive is properly connected to your computer. You can use a USB cable to establish the connection. Once you have everything ready, let’s dive into the step-by-step instructions to reformat your Toshiba external hard drive and get it ready for your specific needs.
Note: The steps outlined in this guide are specific to Windows operating systems. The process may vary slightly for Mac users, so refer to the appropriate instructions based on your system.
Step 1: Connect the Toshiba External Hard Drive to your computer
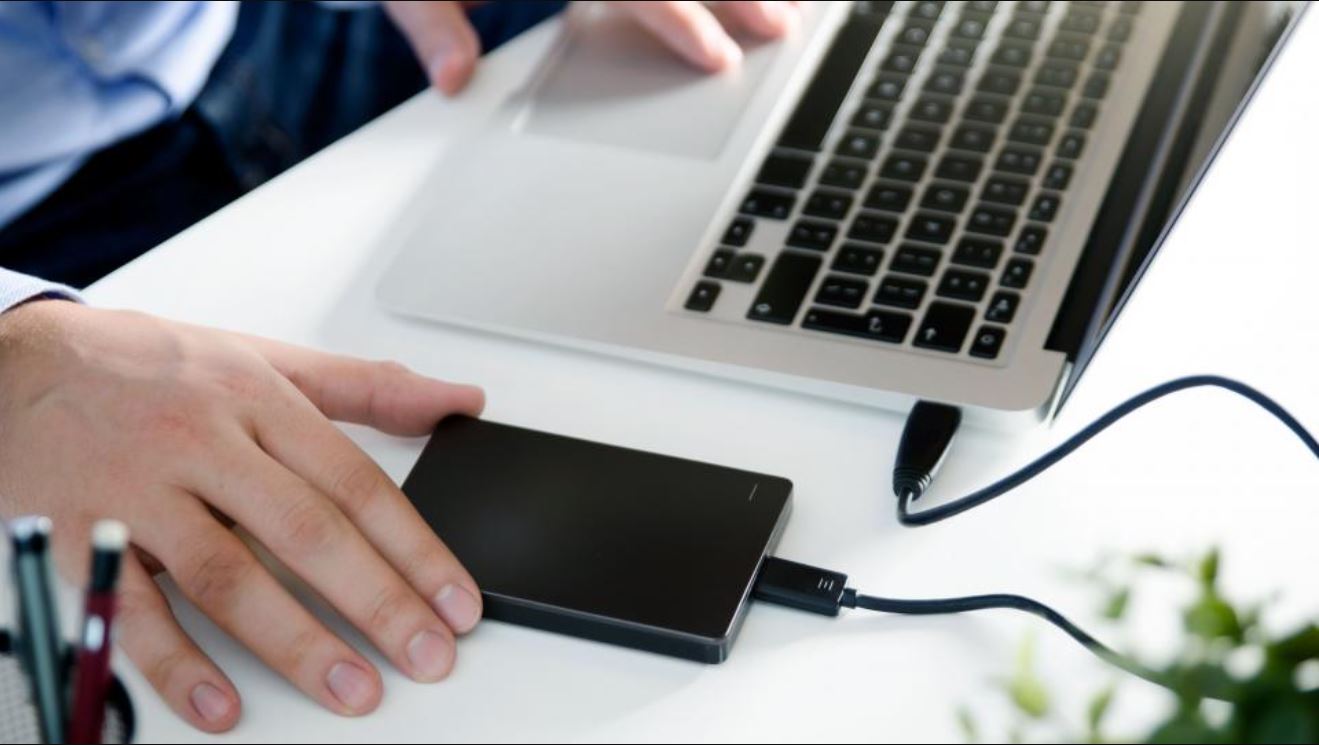
The first step in reformatting a Toshiba external hard drive is to establish a connection between the device and your computer. To do this, follow these simple steps:
- Locate an available USB port on your computer.
- Take the USB cable that came with your Toshiba external hard drive and insert one end into the USB port on your computer.
- Now, take the other end of the USB cable and connect it to the appropriate port on the Toshiba external hard drive.
- Ensure that the connection is secure and the cable is firmly inserted into both the computer and the hard drive.
Once the connection is established, your computer should recognize the Toshiba external hard drive as a new device. You can verify this by checking the device list or File Explorer on your computer.
If the drive does not show up, try using a different USB port on your computer. Sometimes, certain ports may not provide sufficient power or have driver compatibility issues. Alternatively, you can try using a different USB cable to rule out any cable-related problems.
It’s important to note that before proceeding to the next steps, ensure that the Toshiba external hard drive is recognized and accessible on your computer. Once the connection is established successfully, we can move on to the next step: backing up your data.
Step 2: Backup your data
Before reformatting your Toshiba external hard drive, it is crucial to create a backup of any important data stored on the device. Formatting will erase all the data on the drive, so taking this precaution will ensure that you don’t lose any valuable files. Follow these steps to back up your data:
- Open File Explorer or any other file management software on your computer.
- Navigate to the Toshiba external hard drive. It should be listed as a separate drive or under “This PC.”
- Identify the files and folders that you want to back up.
- Create a new folder on your computer to store the backup. You can create a folder on your desktop or any other location of your choice.
- Select the files and folders you wish to back up, then right-click and choose “Copy.”
- Paste the copied files and folders into the newly created backup folder. Depending on the size of your data, this process may take some time.
- Once the backup is complete, double-check the backup folder to ensure that all the necessary files and folders are present.
It is crucial to verify the integrity and accessibility of the backup files to ensure a seamless transition after reformatting. Take a moment to open a few files from the backup folder to confirm that they can be opened without any issues. This step will give you peace of mind and ensure that you have successfully backed up your data.
Remember to include any files or folders that are important to you, such as documents, photos, videos, and other personal or work-related files. Once you have completed the backup process and are confident that your data is safe, you can proceed to the next step: opening Disk Management.
Step 3: Open Disk Management
In order to reformat your Toshiba external hard drive, you need to access the Disk Management tool on your computer. Disk Management allows you to view and manage all the drives connected to your computer, including the Toshiba external hard drive. Follow these steps to open Disk Management:
- Right-click on the “Start” button on your computer’s taskbar.
- A context menu will appear. Select the “Disk Management” option from the menu.
- The Disk Management window will open, displaying a list of all the drives connected to your computer.
If you have multiple drives connected, make sure to locate the Toshiba external hard drive in the list. It should be labeled with the drive letter assigned to it, such as “E,” “F,” or another available letter.
In the Disk Management window, you will see a graphical representation of all the drives, including their partitions and the unallocated space (if any). Take a moment to familiarize yourself with the layout, as we will be performing actions on the Toshiba external hard drive in the upcoming steps.
If you are unable to locate the Toshiba external hard drive in Disk Management, ensure that the drive is properly connected to your computer. Try disconnecting and reconnecting the USB cable, and make sure it is securely plugged in. If the drive still doesn’t appear, try using a different USB port on your computer or restart your computer and try again.
Once you have successfully opened Disk Management and located your Toshiba external hard drive, you are ready to proceed to the next step: deleting existing partitions.
Step 4: Locate your Toshiba External Hard Drive
After opening Disk Management, the next step is to locate and identify your Toshiba external hard drive. By doing so, you can determine which partitions exist on the drive and how they are allocated. Follow these steps to locate your Toshiba external hard drive:
- Look for the graphical representation of the drives in the Disk Management window.
- Locate the drive that matches the size and label of your Toshiba external hard drive. It will be listed with a drive letter, such as “E,” “F,” or another available letter.
- If you are unsure which drive corresponds to your Toshiba external hard drive, you can disconnect and reconnect the drive to see which one disappears and reappears in the Disk Management window.
- Take note of the assigned drive letter and the existing partitions on the Toshiba external hard drive. These partitions may include primary partitions, extended partitions, or logical drives.
It’s important to correctly locate your Toshiba external hard drive to ensure that you perform the reformatting process on the intended device. Double-checking the drive letter and partition information will help avoid any accidental formatting of other drives connected to your computer.
If you cannot find your Toshiba external hard drive in Disk Management, ensure that the drive is properly connected and powered on. Try disconnecting and reconnecting the USB cable, or try using a different USB port on your computer. Sometimes, drive visibility issues can be resolved by restarting your computer and trying again.
Once you have successfully located your Toshiba external hard drive and have verified the drive letter and partitions associated with it, you are ready to proceed to the next step: deleting existing partitions.
Step 5: Delete existing partitions
Before you can reformat your Toshiba external hard drive, you need to delete any existing partitions on the drive. This step will remove all the data stored within those partitions, so it’s essential to ensure that you have backed up any important files before proceeding. Follow these steps to delete existing partitions:
- In the Disk Management window, locate your Toshiba external hard drive.
- Right-click on each partition on the drive and select “Delete Volume” from the context menu.
- A confirmation prompt will appear, notifying you that all data on the partition will be lost. Make sure you have backed up any necessary files and click “Yes” to proceed.
- Repeat this process for each partition on the Toshiba external hard drive until all partitions have been deleted.
Once all the partitions on the Toshiba external hard drive have been deleted, you will notice that the drive will become “Unallocated” in Disk Management. This means that all space on the drive is now available for creating a new partition and formatting it according to your needs.
Deleting the existing partitions essentially prepares your Toshiba external hard drive for a clean slate. It removes any file systems or partition configurations that were previously set up on the drive. This step ensures that you can start fresh with a newly formatted partition.
When deleting partitions, exercise caution to avoid accidentally deleting the wrong partitions on your computer’s internal drives. Double-check the drive letter and partition information to ensure that you are performing the deletion process on the correct device.
With the existing partitions deleted, you can proceed to the next step: creating a new partition on your Toshiba external hard drive.
Step 6: Create a new partition
Now that you have deleted the existing partitions on your Toshiba external hard drive, it’s time to create a new partition. This process involves allocating a portion of the drive’s space to a new partition that can be formatted and used to store data. Follow these steps to create a new partition:
- In the Disk Management window, right-click on the unallocated space of your Toshiba external hard drive.
- Select “New Simple Volume” from the context menu.
- The New Simple Volume Wizard will open. Click “Next” to proceed.
- Specify the size for the new partition. By default, it will use the maximum available space.
- Assign a drive letter to the new partition. You can choose an available letter from the drop-down menu or select “Do not assign a drive letter” if you prefer.
- Choose a file system for the new partition. For compatibility and general use, the recommended file system is usually NTFS.
- Give the new partition a meaningful name or label to easily identify it, such as “Data” or “Backup.” This step is optional but can be helpful for organization purposes.
- Review the settings you have chosen for the new partition and click “Finish” to create it.
Once the new partition is created, you will see it listed in the Disk Management window with the drive letter and the file system that you assigned. The space that was allocated to the new partition will no longer be unallocated but will instead be designated for the new partition.
The creation of a new partition allows you to separate and organize your data on the Toshiba external hard drive. It ensures that different types of files or projects can be stored separately and accessed easily. Creating multiple partitions also helps in keeping the drive more organized and manageable in the long run.
With the new partition in place, you are ready to proceed to the next step: formatting the partition to make it accessible for storage and use.
Step 7: Format the new partition
After creating a new partition on your Toshiba external hard drive, the next step is to format it. Formatting prepares the partition for data storage by applying a file system and setting up the necessary structures. Follow these steps to format the new partition:
- In the Disk Management window, locate the newly created partition on your Toshiba external hard drive.
- Right-click on the partition and select “Format” from the context menu.
- The Format dialog box will appear. Here, you can choose the file system for the partition. The recommended option for Windows systems is NTFS.
- You can also set the allocation unit size, which determines the cluster size used for organizing files on the partition. By default, it is recommended to leave it as the default allocation unit size.
- Optionally, you can provide a name or label for the partition. This label will be displayed in File Explorer to help you identify the partition easily.
- Ensure that the “Quick Format” option is selected to speed up the formatting process. However, if you want a more thorough formatting that checks for bad sectors, you can uncheck this option.
- Double-check the settings you have chosen for formatting. Once you are satisfied, click “OK” to start the formatting process.
- A warning message will appear, notifying you that formatting will erase all data on the partition. Make sure you have backed up any important files before proceeding, and then click “OK” to confirm.
Formatting may take a few minutes, depending on the size of the partition. During this process, the file system structures will be created, and any existing data on the partition will be erased. Once the formatting is complete, the partition will be ready for use.
With the new partition successfully formatted, you can now store files, install software, or use the partition for any other purpose that suits your needs.
Next, we will proceed to the next step: assigning a drive letter to the newly formatted partition.
Step 8: Assign a drive letter
After formatting the new partition on your Toshiba external hard drive, the next step is to assign a drive letter to the partition. A drive letter allows you to easily access and identify the partition in File Explorer or any other file management software. Follow these steps to assign a drive letter:
- In the Disk Management window, locate the newly formatted partition on your Toshiba external hard drive.
- Right-click on the partition and select “Change Drive Letter and Paths” from the context menu.
- The Change Drive Letter and Paths dialog box will appear. Click on the “Add” button.
- In the next window, select “Assign the following drive letter.”
- Choose an available drive letter from the drop-down menu. It’s recommended to select a letter that is not currently assigned to any other drive on your computer.
- Click “OK” to assign the selected drive letter to the partition.
Once the drive letter is assigned, the partition will be accessible through File Explorer or any other file management software using the assigned drive letter. This makes it convenient to navigate and work with the partition, as you can easily open, copy, move, or delete files within it.
Assigning a drive letter is a crucial step in ensuring the usability and accessibility of the newly formatted partition. It allows you to seamlessly integrate the partition into your existing file hierarchy and makes it easier to manage and access your data.
With the drive letter assigned, you are now ready to proceed to the next step (optional): initializing the disk.
Step 9: Initialize the disk (optional)
Note: This step is optional and only necessary if your Toshiba external hard drive has not been initialized.
In some cases, when you connect a new or uninitialized Toshiba external hard drive to your computer, you may be prompted to initialize the disk before you can use it. Initialization involves preparing the drive for use by creating a new disk signature and partitioning scheme. Follow these steps to initialize the disk:
- In the Disk Management window, you may see a popup or a notification indicating that the disk needs to be initialized.
- Right-click on the disk that needs to be initialized and select “Initialize Disk” from the context menu.
- In the Initialize Disk dialog box, select the appropriate disk(s) to initialize. If you have only one disk, it will be selected by default.
- Choose the partition-style for the initialized disk. For most modern systems, the recommended option is “MBR (Master Boot Record).” However, if you have a newer system or require support for larger disk sizes, you can choose “GPT (GUID Partition Table).”
- Click “OK” to initialize the disk.
Once the initialization process is complete, the Toshiba external hard drive will have a disk signature and be ready for partitioning and formatting as needed. You can proceed to create new partitions following the earlier steps.
It’s important to note that initializing the disk will erase any existing data on the drive. Ensure that you have backed up any important files before proceeding with disk initialization.
If you have already initialized your Toshiba external hard drive or were not prompted to do so, you can skip this step and move on to the final step: completing the reformatting process.
Step 10: Complete the reformatting process
After following the previous steps to connect, backup, delete partitions, create a new partition, format it, assign a drive letter, and optionally initialize the disk, you are now ready to complete the reformatting process for your Toshiba external hard drive. Follow these final steps:
- Double-check that the newly formatted partition on your Toshiba external hard drive is listed correctly in the Disk Management window, along with the assigned drive letter.
- Ensure that you have backed up any necessary files and verified their integrity in the backup location.
- Confirm that you no longer require any data from the previously existing partitions, as reformatting erases all the data on the drive.
- If you have completed all the necessary steps and are ready to proceed, close the Disk Management window.
At this point, your Toshiba external hard drive has been successfully reformatted and is ready for use. The newly created partition with the assigned drive letter is formatted and prepared for storing data.
You can now access your Toshiba external hard drive through File Explorer or any other file management software. Use the assigned drive letter to navigate and manage your files, copy or move data into the drive, or create new folders as needed.
Keep in mind that reformatting is a permanent process that erases all the data on the drive. Make sure you have a backup of any important files before undertaking this process, as it cannot be undone once completed.
Now, you can enjoy using your Toshiba external hard drive with the newly reformatted partition, tailored to your specific needs.
Conclusion
Reformatting a Toshiba external hard drive is a straightforward process that allows you to optimize the drive’s performance, resolve any issues, or prepare it for a fresh start. By following the step-by-step guide outlined in this article, you have successfully learned how to connect the drive to your computer, backup your data, open Disk Management, locate the drive, delete existing partitions, create a new partition, format it, assign a drive letter, and optionally initialize the disk.
Remember, reformatting a hard drive erases all the data on the drive, so it is essential to create a backup of any important files before proceeding. Take caution and double-check the actions you perform in Disk Management to avoid accidentally deleting or formatting the wrong partitions.
By reformatting your Toshiba external hard drive, you can easily organize and manage your data, change the file system, or start fresh with a clean slate. Whether you use the drive for personal files, work projects, or storage purposes, reformatting allows you to customize it to your specific needs.
Now that you have completed the reformatting process, you can enjoy using your Toshiba external hard drive with the newly created partition, formatted and ready to store and access your data. Remember to regularly back up your files and maintain the drive’s health by keeping it free from dust and safely disconnecting it from your computer when not in use.
By following these steps, you have gained the knowledge and skills to reformat your Toshiba external hard drive confidently. Congratulations on completing this guide, and enjoy the improved performance and organization of your Toshiba external hard drive!