Introduction
Welcome to this guide on how to open a Seagate GoFlex External Hard Drive. If you’re experiencing issues with your hard drive or simply want to upgrade it, accessing the internal components can be necessary. The Seagate GoFlex is a widely-used external storage device, known for its durability and reliability. By following the steps outlined in this article, you’ll be able to safely open your Seagate GoFlex External Hard Drive and gain access to the inner workings.
Before we begin, it’s important to note that opening your hard drive may void any warranties or support agreements you have in place. So, proceed with caution and only attempt this if you’re comfortable with the potential risks involved.
In order to open your Seagate GoFlex External Hard Drive, you’ll need a few tools. Here’s a list of what you’ll need:
- Small Phillips head screwdriver
- Plastic spudger or flat-edged tool
- Tweezers (optional)
Once you have these tools ready, you can proceed with the following steps to open your Seagate GoFlex External Hard Drive. Remember to work in a clean and well-lit area to avoid losing any small screws or damaging any components.
Tools needed
Before you begin the process of opening your Seagate GoFlex External Hard Drive, you’ll need a few tools to ensure a smooth process. Having these tools handy will make it easier to disassemble the hard drive enclosure and access the internal components.
The following tools are recommended for opening your Seagate GoFlex External Hard Drive:
- Small Phillips head screwdriver: This will be used to remove the screws that hold the hard drive enclosure together. It’s important to use a screwdriver that fits securely into the screw heads to avoid damaging them.
- Plastic spudger or flat-edged tool: This tool is essential for prying apart the top and bottom halves of the hard drive enclosure. Using a plastic spudger or a flat-edged tool will help prevent any scratches or damage to the enclosure.
- Tweezers (optional): Tweezers can be helpful for removing any small screws or connectors inside the hard drive enclosure. They provide a better grip and precision compared to using your fingers.
By having these tools readily available, you’ll be well-equipped to handle the disassembly process and access the internal components of your Seagate GoFlex External Hard Drive.
Step 1: Disconnect the hard drive from power
Before you begin opening your Seagate GoFlex External Hard Drive, it’s important to ensure that the hard drive is disconnected from power to avoid any potential electrical hazards. Follow these steps to properly disconnect the hard drive:
- First, safely eject the hard drive from your computer or any other device it may be connected to. This will ensure that all data is saved and prevent any potential data loss or corruption.
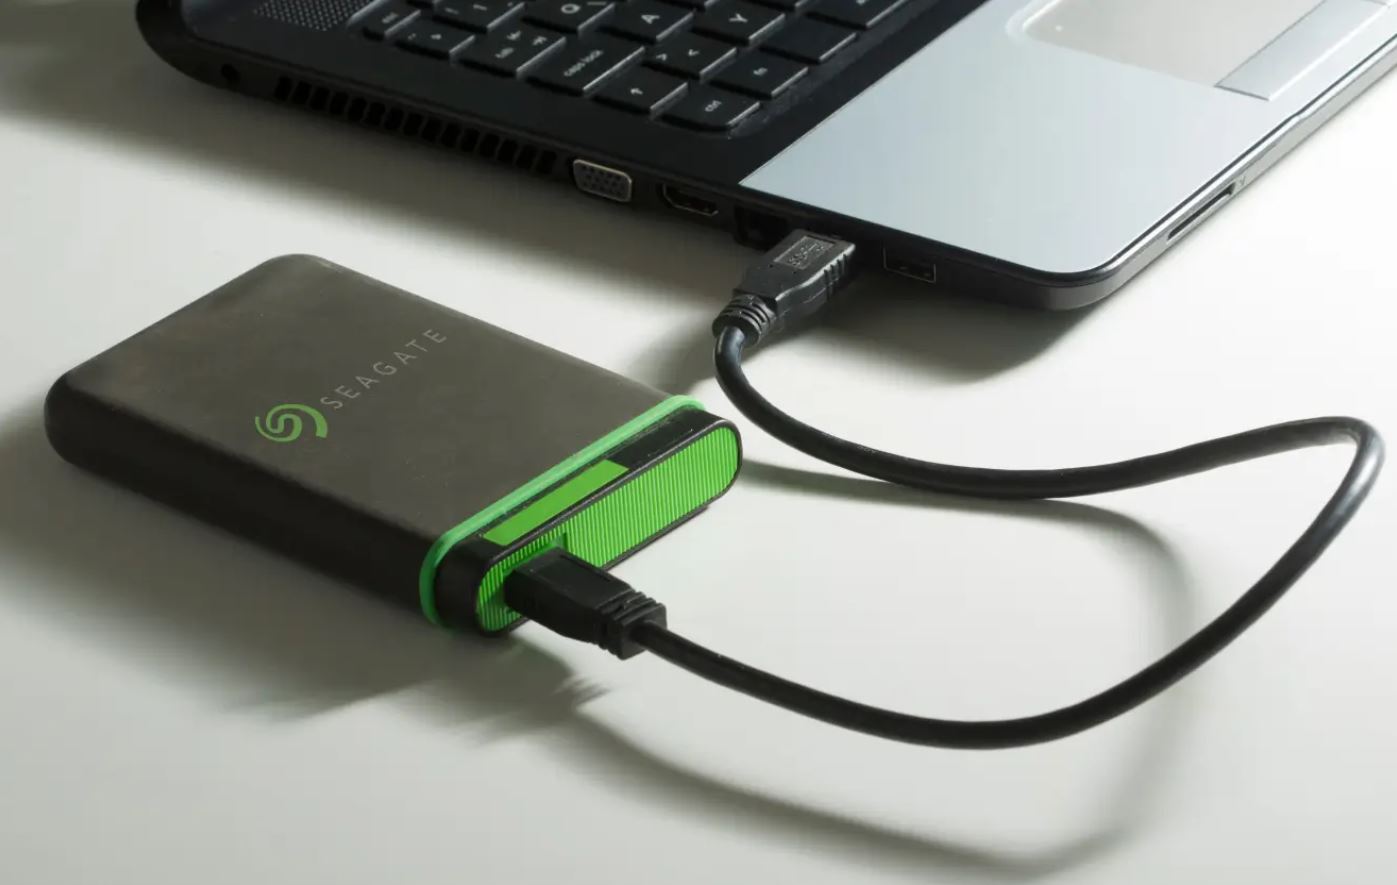
- Next, locate the power cable that is connected to the hard drive. This cable is typically a USB or power adapter cable, depending on the model of your Seagate GoFlex External Hard Drive.
- Gently unplug the power cable from the hard drive. Take care not to pull on the cable itself, but rather on the connector. Applying unnecessary force could damage the cable or the hard drive.
- Once the power cable is disconnected, verify that the hard drive is no longer receiving power. You can do this by checking if any lights on the hard drive are still lit. If they are, double-check that the power cable is completely disconnected.
By following these steps, you are ensuring that the hard drive is safely disconnected from power, reducing the risk of injury and protecting the integrity of the device. Now that the hard drive is no longer receiving power, you can proceed to the next step of opening the enclosure.
Step 2: Remove the rubber footing
Once you have safely disconnected the Seagate GoFlex External Hard Drive from power, the next step is to remove the rubber footing. This will allow access to the screws that hold the enclosure together. Follow these steps to remove the rubber footing:
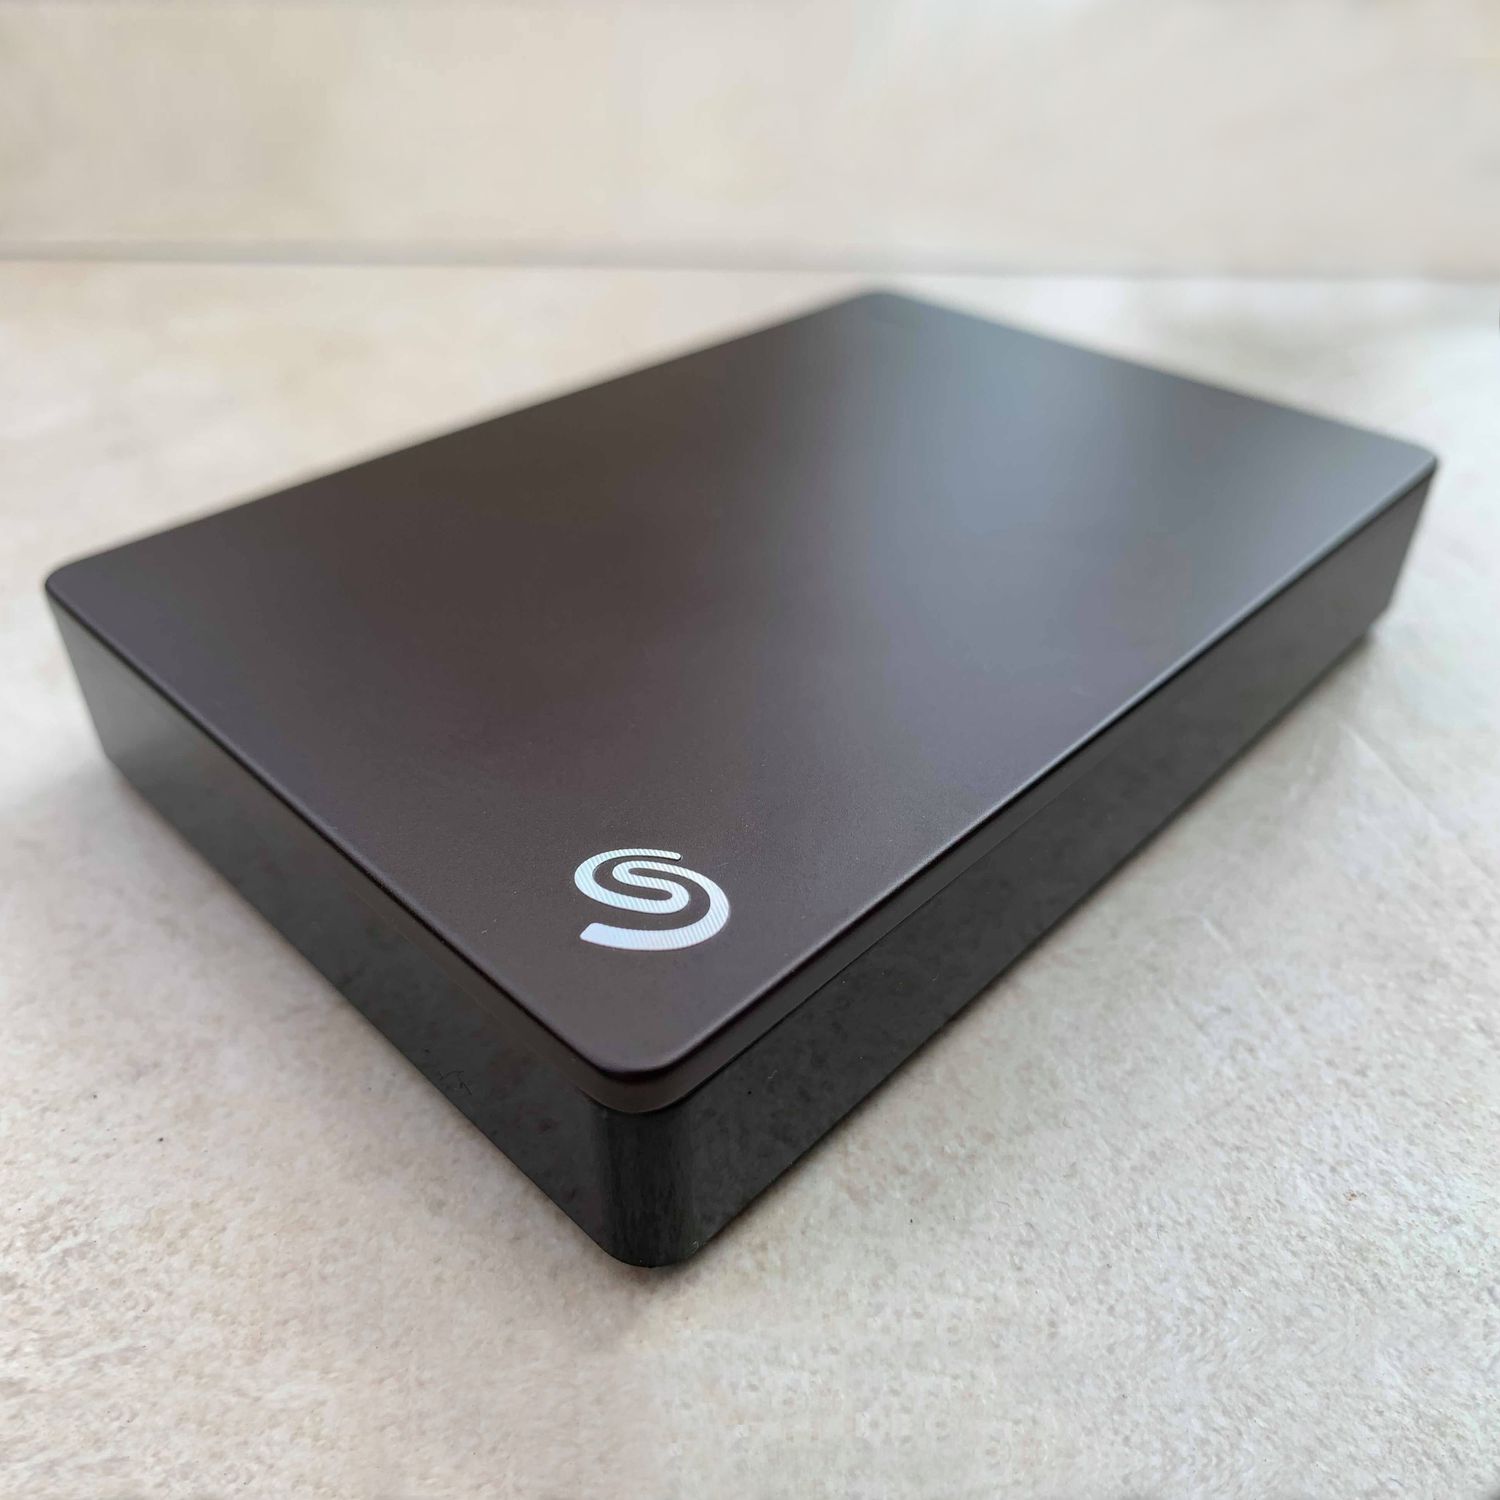
- Inspect the bottom of the hard drive enclosure to locate the rubber footing. It is usually located near the corners and helps to provide stability and prevent slipping.
- Using your fingers or a small flat-edged tool, gently pry off the rubber footing. Start at one corner and work your way around to loosen it. Take care not to damage the rubber footing or the surface it is attached to.
- Once the rubber footing is removed, set it aside in a safe place. You may need to reattach it later when reassembling the hard drive enclosure.
Removing the rubber footing will expose the screws that hold the enclosure together. It’s important to remove the footing carefully to avoid any damage, as it may need to be reattached in the future. With the rubber footing removed, you can now move on to the next step of removing the screws to access the internal components of the hard drive.
Step 3: Remove the screws
With the rubber footing removed, you can now proceed to remove the screws that hold the Seagate GoFlex External Hard Drive enclosure together. These screws secure the top and bottom halves of the enclosure, and removing them will allow you to separate the two and access the internal components. Follow these steps to remove the screws:
- Inspect the bottom of the hard drive enclosure to locate the screws. There are typically four screws, one in each corner of the enclosure. They may be Phillips head screws or Torx screws, depending on the model.
- Using a small Phillips head screwdriver or the appropriate screwdriver for your specific model, carefully unscrew each of the screws. Ensure that you have a firm grip and that the screwdriver is properly seated in the screw head to avoid stripping the screws.
- Once all the screws are loosened, gently lift the top half of the enclosure. Take care not to force it open, as there may be connectors or cables attached inside.
- If necessary, use a plastic spudger or a flat-edged tool to help separate the two halves of the enclosure without damaging any internal components.
- Set the screws aside in a safe place, as you will need them when reassembling the hard drive enclosure.
By following these steps, you will successfully remove the screws that hold the Seagate GoFlex External Hard Drive enclosure together. With the screws removed, you can now proceed to the next step of separating the top and bottom halves of the enclosure to access the internal components.
Step 4: Separate the top and bottom halves of the hard drive enclosure
Now that you have removed the screws holding the Seagate GoFlex External Hard Drive enclosure together, the next step is to separate the top and bottom halves of the enclosure. This will allow you to access the internal components and remove the hard drive. Follow these steps to carefully separate the two halves:
- Hold the hard drive enclosure firmly with both hands, ensuring a secure grip.
- Gently apply pressure and wiggle the top half of the enclosure. You should feel it start to loosen from the bottom half.
- Continue to carefully separate the top and bottom halves, working your way around the edges. Take your time and avoid using excessive force to prevent any damage to the enclosure or the internal components.
- If necessary, use a plastic spudger or a flat-edged tool to help pry apart the two halves, especially if they seem to be stuck together.
- Once the top and bottom halves are separated, set the top half aside. Be mindful of any connectors or cables that may still be attached between the two halves.
By following these steps, you will successfully separate the top and bottom halves of the Seagate GoFlex External Hard Drive enclosure. You are now one step closer to accessing the internal components and removing the hard drive from the enclosure.
Step 5: Remove the hard drive from the enclosure
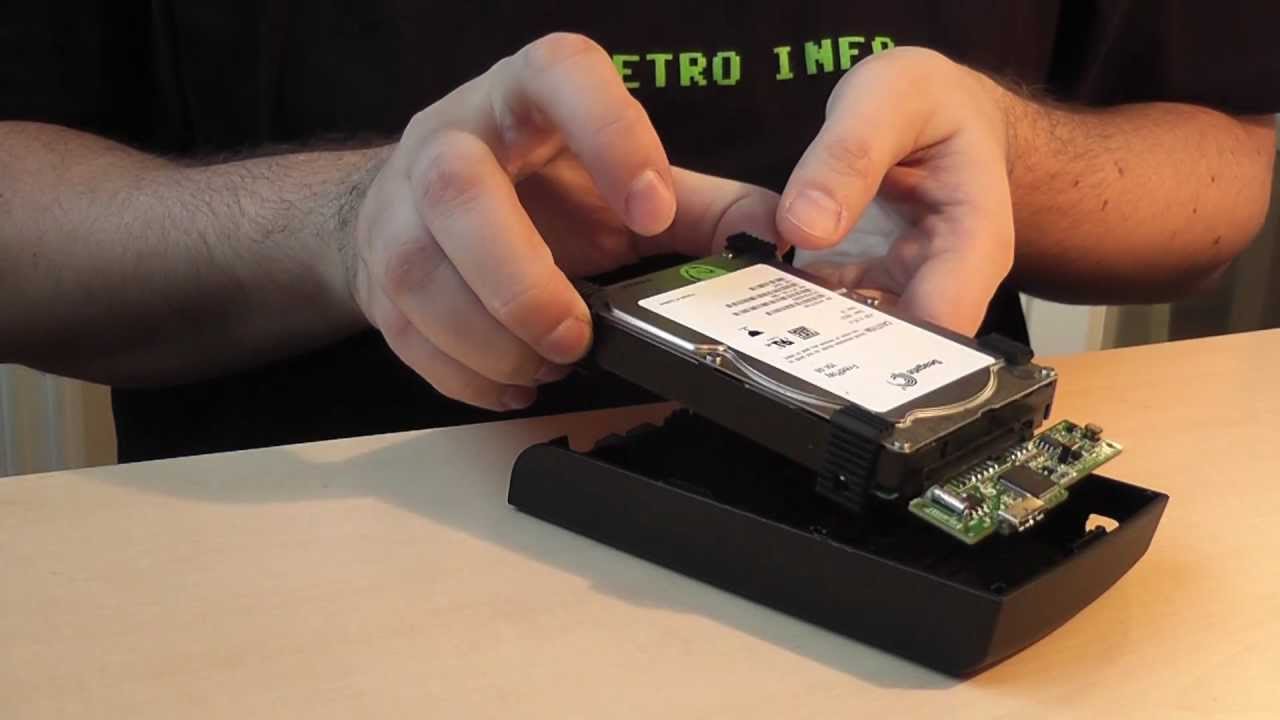
After successfully separating the top and bottom halves of the Seagate GoFlex External Hard Drive enclosure, it’s time to remove the hard drive itself. Follow these steps to safely remove the hard drive from the enclosure:
- Locate the hard drive inside the bottom half of the enclosure. It may be secured with screws, connectors, or both.
- If there are screws holding the hard drive in place, use a Phillips head screwdriver to carefully unscrew them. Set the screws aside in a safe place.
- If there are connectors attached to the hard drive, gently disconnect them by carefully pulling on the connectors, not the cables themselves. Take note of which connectors are attached and how they are positioned for easier reassembly.
- Once the screws are removed and the connectors are disconnected, lift the hard drive out of the enclosure. Be mindful of any cables that may still be attached to the hard drive.
- Handle the hard drive with care, avoiding any excessive force or dropping, as it contains sensitive components that can be easily damaged.
With the hard drive successfully removed from the enclosure, you now have access to the internal components. Take this opportunity to inspect the hard drive for any visible damage or signs of wear. If you plan to replace the hard drive or perform any repairs, consult the manufacturer’s instructions or seek professional assistance.
Remember to keep the screws and any connectors in a safe place, as you will need them when reassembling the hard drive enclosure. With the hard drive removed, you can proceed to the next step of connecting it to your computer.
Step 6: Connect the hard drive to your computer
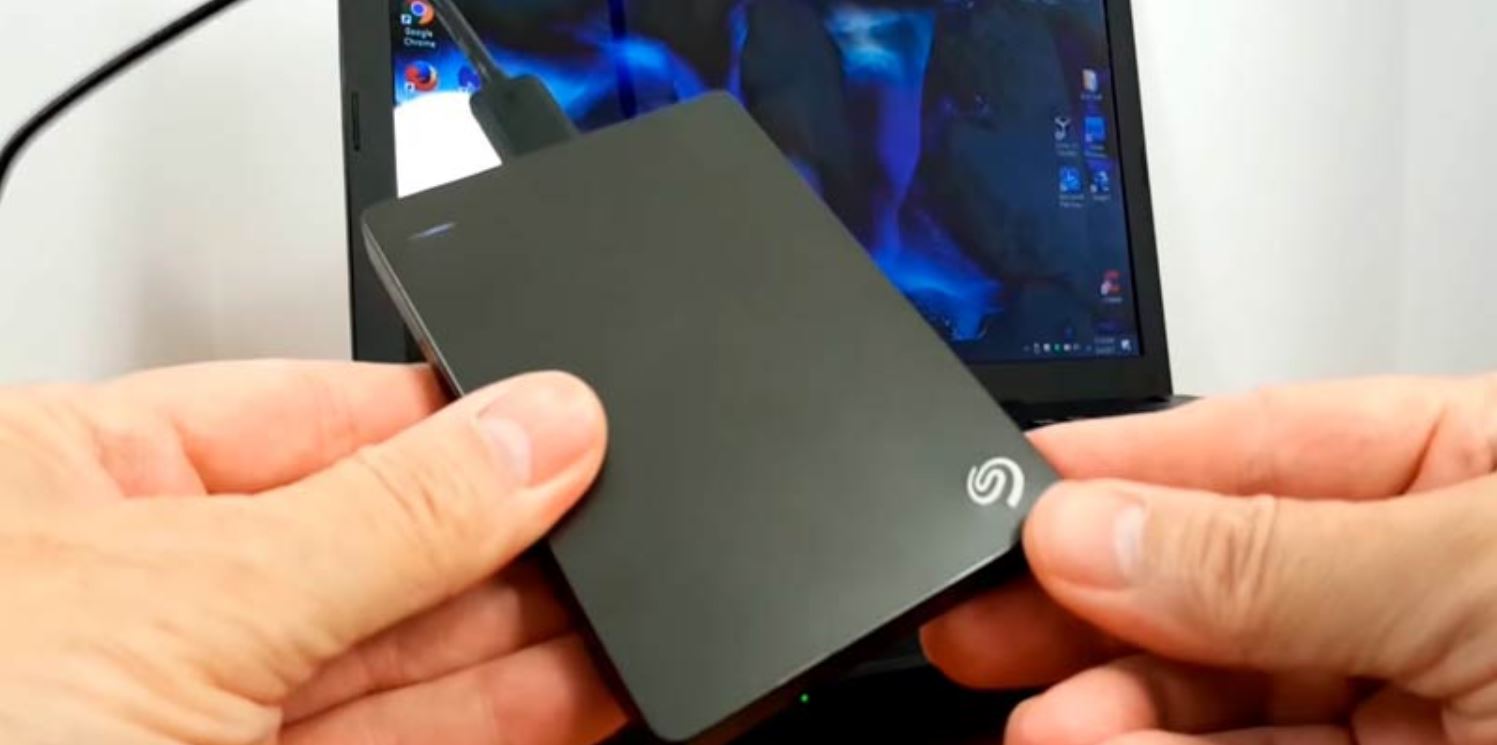
Now that you have successfully removed the hard drive from the Seagate GoFlex External Hard Drive enclosure, it’s time to connect it to your computer. Connecting the hard drive to your computer will allow you to access and manage the data stored on it. Follow these steps to connect the hard drive:
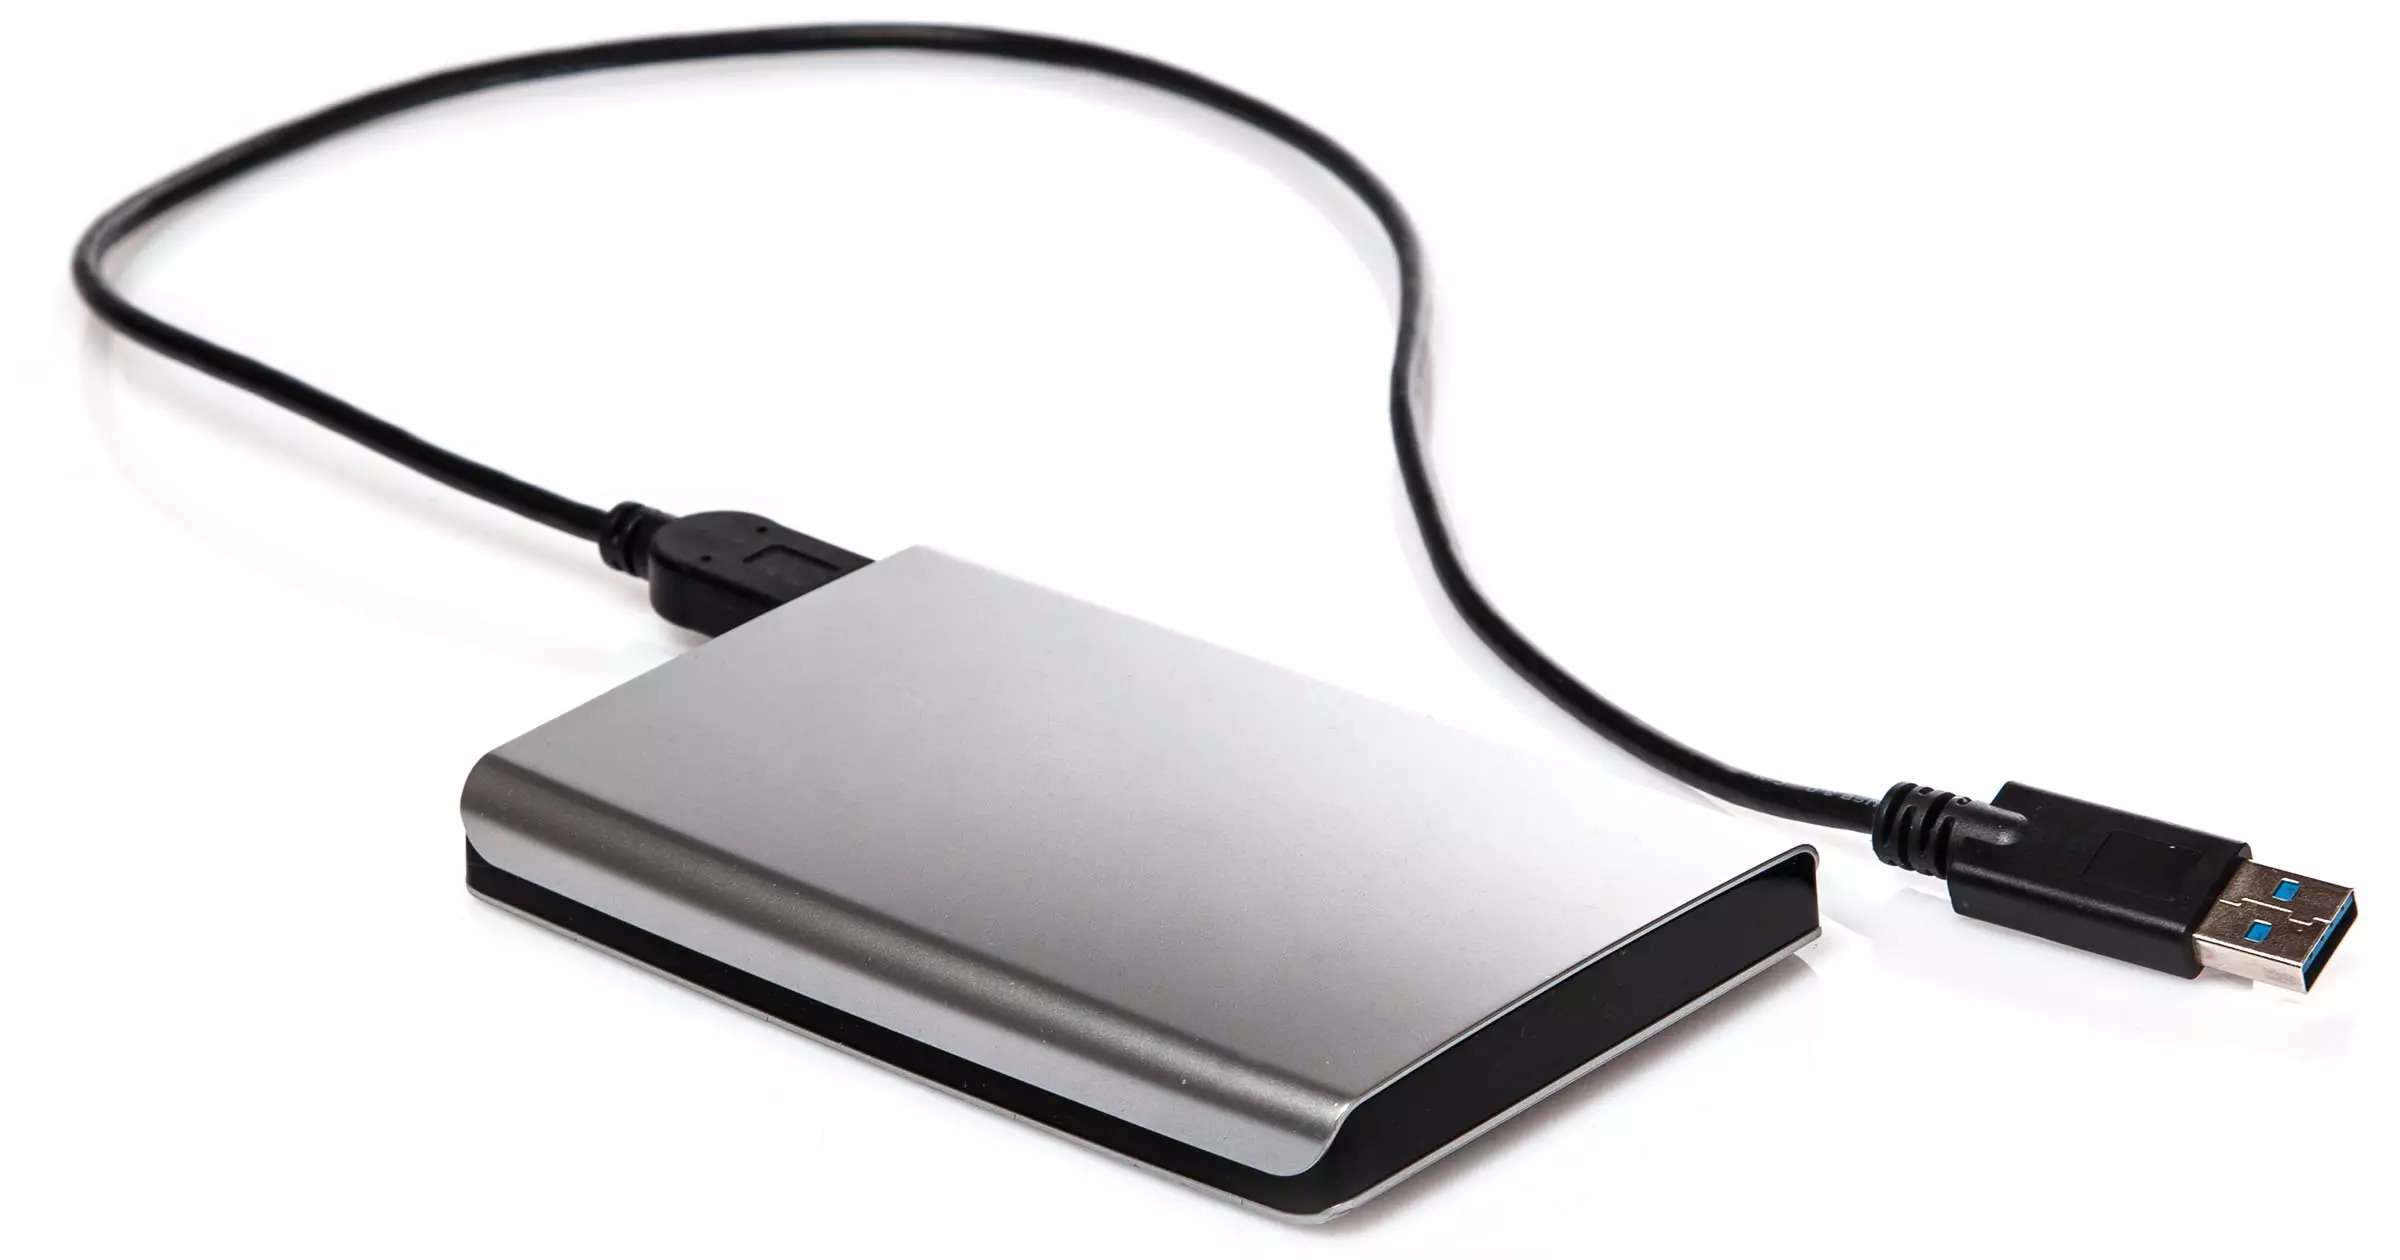
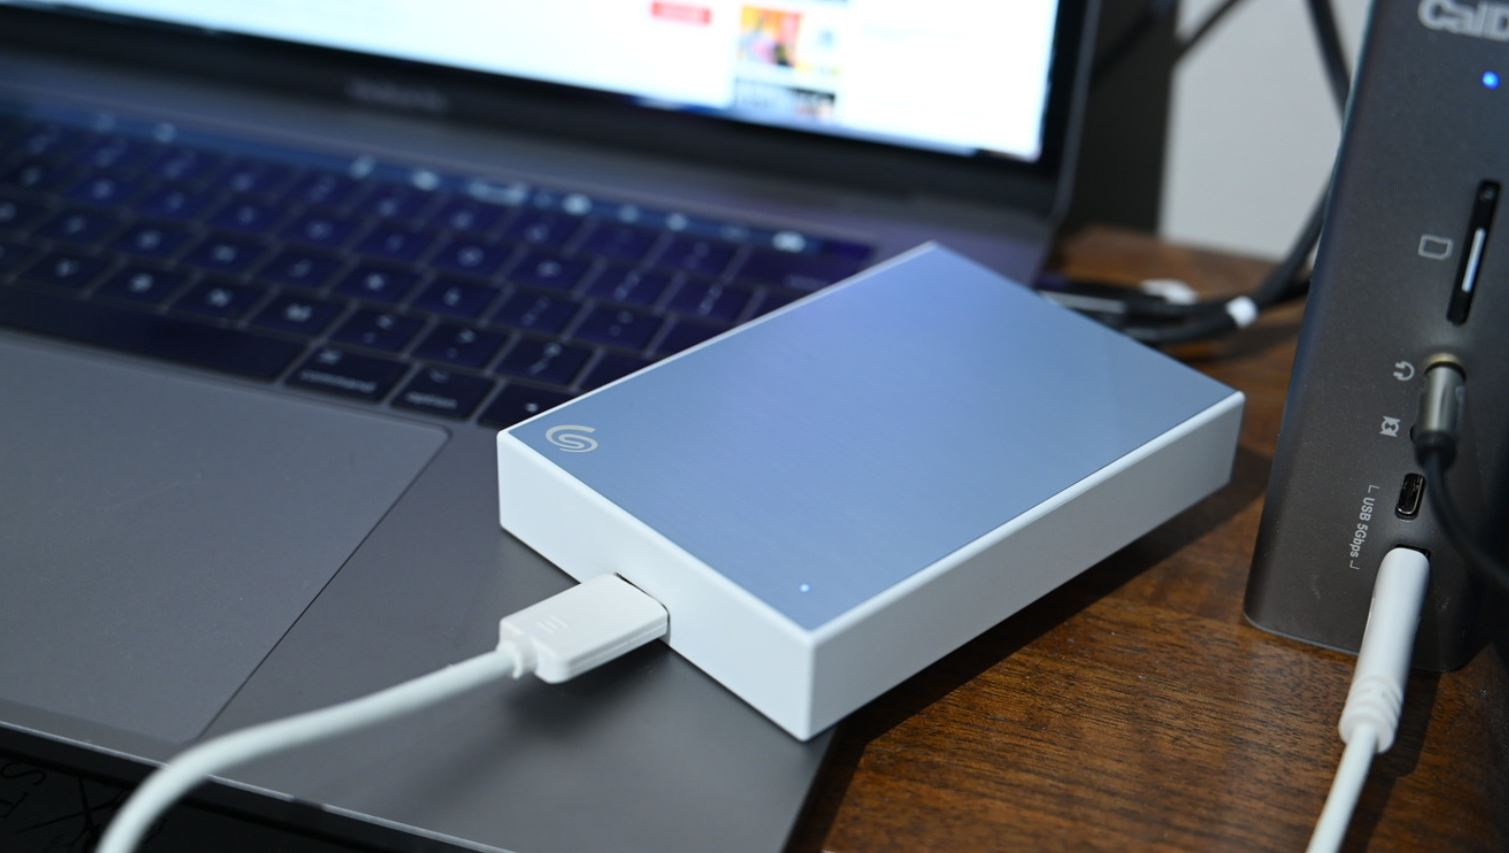
- Locate the appropriate port on your computer to connect the hard drive. Most computers have USB ports, which are commonly used for external storage devices.
- Insert the appropriate cable into the hard drive. The Seagate GoFlex External Hard Drive has interchangeable adapters, so ensure you have the correct adapter for your computer’s port.
- Connect the other end of the cable to your computer’s USB port. Ensure that the connection is secure.
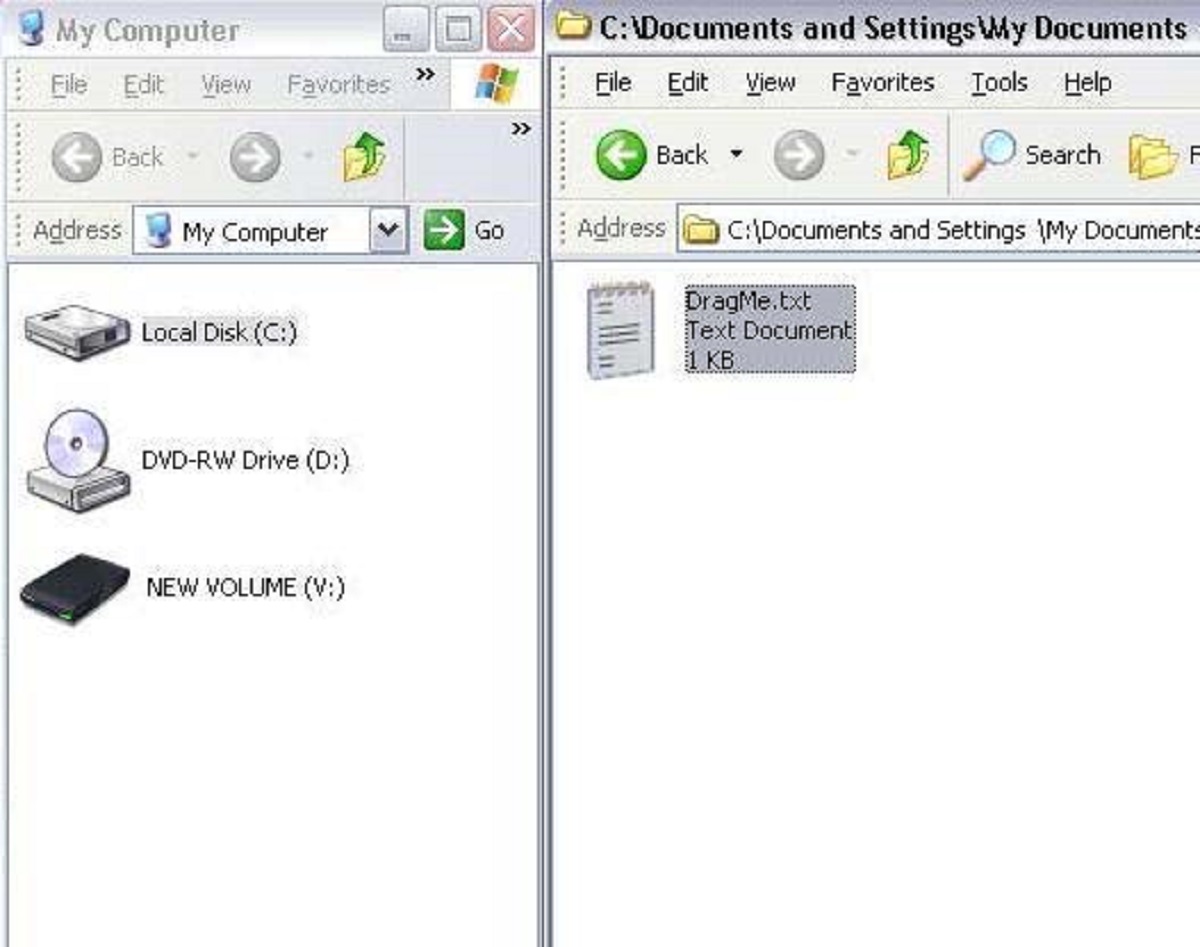
- Wait for your computer to recognize the connected hard drive. Depending on your computer’s settings, it may automatically detect and mount the hard drive, or you may need to manually access the drive through your computer’s file browser.
- If necessary, install any additional drivers or software provided by Seagate to ensure proper compatibility and functionality of the hard drive.
- Once the hard drive is successfully connected and recognized by your computer, you can access, manage, or transfer files to and from the hard drive as needed.
Remember to safely eject the hard drive from your computer when you’re finished using it. This will prevent any potential data corruption or loss. To eject the hard drive, right-click on its icon and select the “Eject” or “Safely Remove” option.
By following these steps, you can easily connect the Seagate GoFlex External Hard Drive to your computer and start utilizing its storage capacity for your data needs.
Conclusion
Congratulations! You have successfully learned how to open a Seagate GoFlex External Hard Drive. By following the steps outlined in this guide, you were able to safely disconnect the hard drive from power, remove the rubber footing, unscrew and separate the enclosure, remove the hard drive itself, and finally connect it to your computer. This process allows you to access and manage the internal components of the hard drive for troubleshooting, upgrading, or data transfer purposes.
It’s essential to proceed with caution when opening your Seagate GoFlex External Hard Drive, as doing so may void any warranties or support agreements you have in place. Always work in a clean and well-lit environment, and be mindful of the delicate nature of the internal components. Take note of the screws, connectors, and cables as you remove them, as this will aid in reassembling the hard drive enclosure correctly.
Remember, if you’re uncertain or uncomfortable with opening your hard drive, it’s always best to seek assistance from a professional or the manufacturer’s support team. They can provide guidance or perform the necessary repairs or upgrades for you.
Now that you have successfully opened your Seagate GoFlex External Hard Drive, you have gained valuable knowledge and skills in handling external storage devices. Whether you’re troubleshooting technical issues, upgrading storage capacity, or simply exploring the internal workings of your device, this guide has equipped you with the necessary steps to confidently navigate the process.
We hope that this article has been informative and helpful in guiding you through the process of opening your Seagate GoFlex External Hard Drive. May your journey with your external hard drive be smooth and fruitful!