Introduction
Welcome to this guide on how to delete files off a Seagate external hard drive on a Mac. Seagate external hard drives are widely used for data storage and backup purposes, offering a convenient way to store files and free up space on your computer’s internal storage. However, over time, you may find that your Seagate drive has become cluttered with unnecessary files or you simply need to make some space for new data.
Deleting files from a Seagate external hard drive on a Mac is a straightforward process that can be accomplished in a few simple steps. In the following sections, we will walk you through the necessary steps to delete files from your Seagate drive while ensuring that the process is safe and efficient.
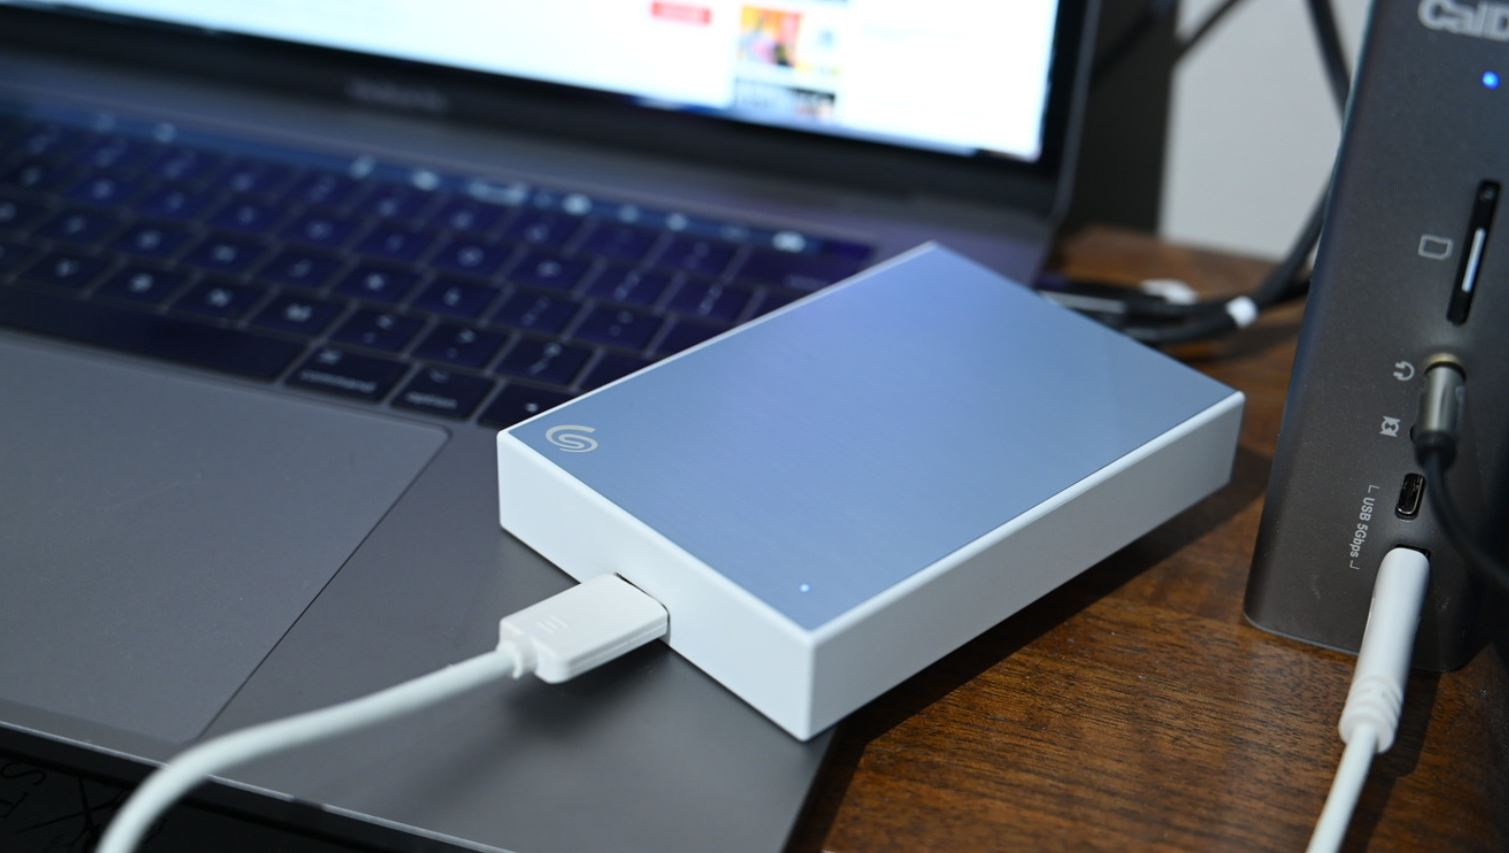
Before we begin, make sure that your Seagate external hard drive is properly connected to your Mac. This can be done by plugging the USB cable from the Seagate drive into an available USB port on your Mac. Once connected, your Mac should automatically recognize the external drive.
Now that we have established the basics, let’s move on to the step-by-step instructions for deleting files off your Seagate external hard drive on a Mac.
Step 1: Connecting Seagate External Hard Drive to Mac
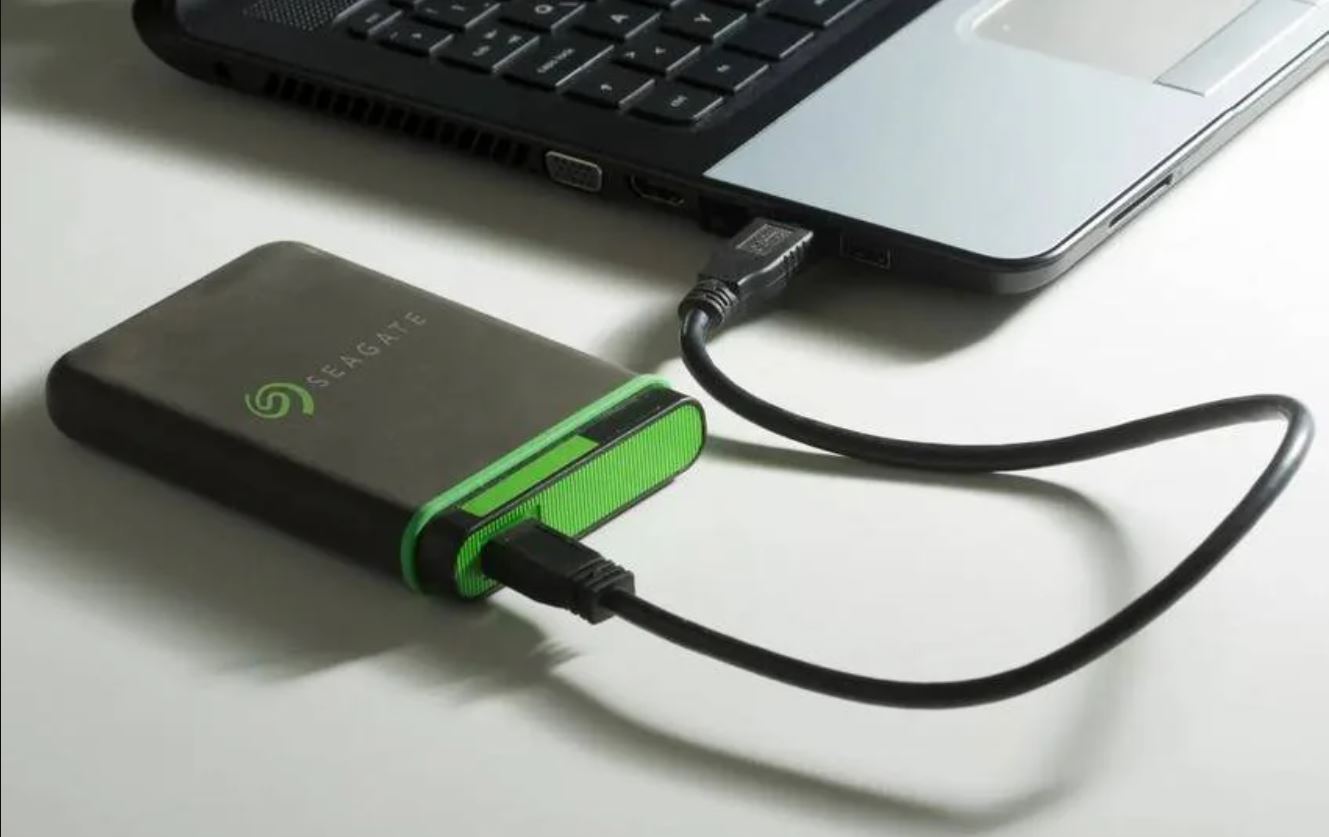
The first step in deleting files off a Seagate external hard drive on a Mac is to ensure that the drive is properly connected to your computer. Follow these simple steps to connect your Seagate external hard drive:
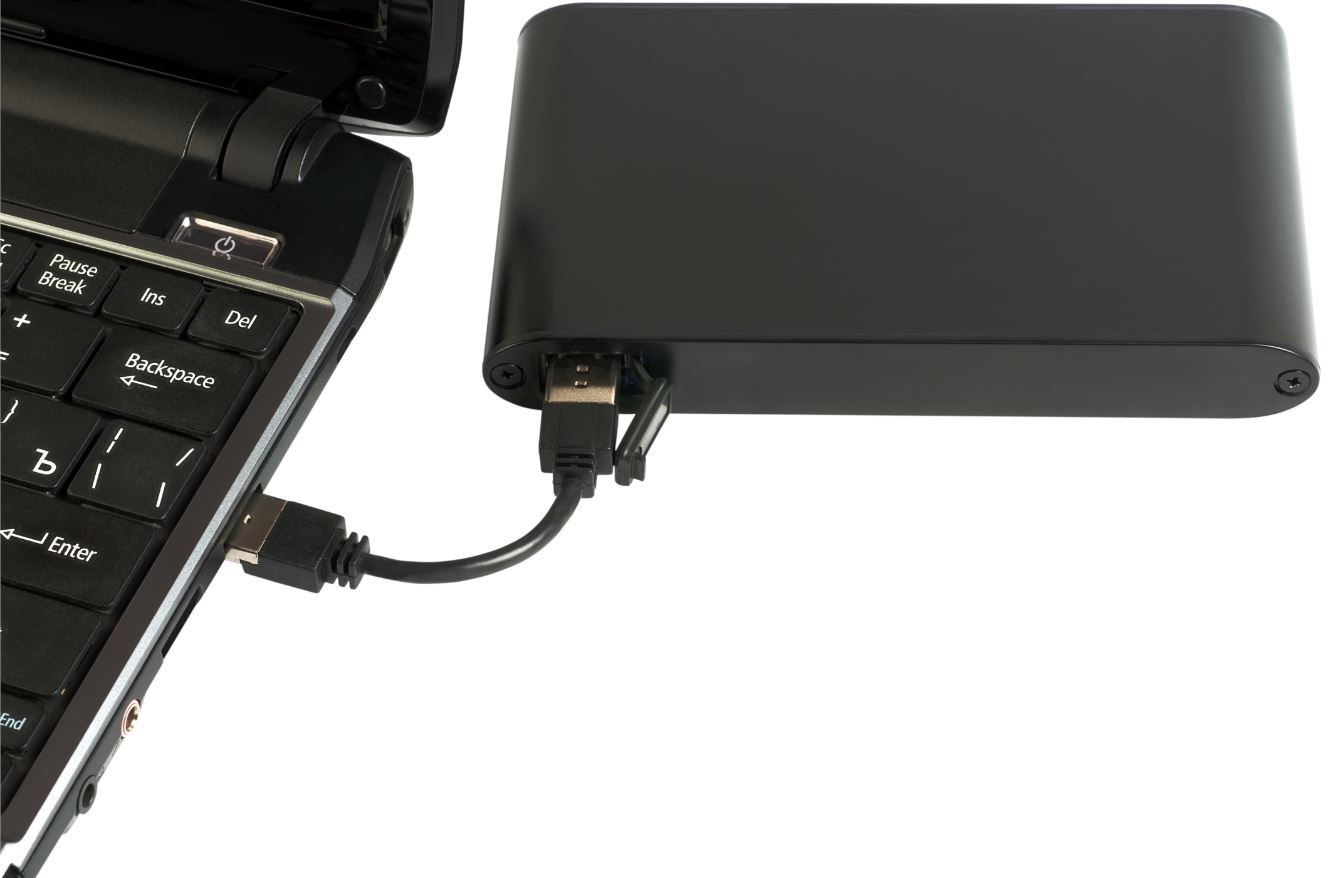
- Locate an available USB port on your Mac. This could be on the side or back of your computer, depending on the model.
- Take the USB cable that came with your Seagate drive and plug one end into the USB port on your Mac.
- Next, take the other end of the USB cable and plug it into the USB port on your Seagate external hard drive. Make sure the connection is secure.
- Once connected, your Mac should recognize the Seagate drive and display it as an external device on your desktop.
You can verify that the connection has been successfully established by looking for the Seagate drive icon on your desktop. You can also access it by clicking on the Finder icon in your dock and checking for the Seagate drive under the “Devices” section in the left-hand sidebar.
It’s important to note that some Seagate drives may require additional steps for proper connection, such as the installation of driver software. However, most modern Seagate drives should be plug-and-play, meaning they are automatically recognized by your Mac without the need for additional software or drivers.
Now that your Seagate external hard drive is successfully connected to your Mac, we can proceed to the next step of deleting files.
Step 2: Opening Finder
Once your Seagate external hard drive is connected to your Mac, the next step is to open Finder. Finder is the default file manager on macOS and allows you to navigate through your computer’s directories and access files and folders.
To open Finder, you can either click on the Finder icon located in the dock at the bottom of your screen or use the keyboard shortcut Command + Spacebar to open Spotlight, then type “Finder” and press Enter.
Once Finder is open, you will see a window with various options and a sidebar on the left-hand side. The sidebar displays different locations and devices that you can navigate to, including your internal hard drive, external drives, and network locations.
In the sidebar, under the “Devices” section, you should see the icon for your Seagate external hard drive. It is typically labeled with the name you gave to the drive or the default name assigned by the system.
Clicking on the Seagate external hard drive icon in the sidebar will open its contents in the main section of the Finder window.
Alternatively, you can also access your Seagate external hard drive by double-clicking on its icon on the desktop if it is displayed there.
Now that Finder is open and the Seagate external hard drive is accessible, we can proceed to the next step of navigating to the drive to locate the files you want to delete.
Step 3: Navigating to Seagate External Hard Drive
Now that Finder is open, you need to navigate to your Seagate external hard drive in order to locate the files you want to delete. Follow these steps to find your Seagate drive:
- In the Finder window, look for the sidebar on the left-hand side.
- Under the “Devices” section in the sidebar, you should see the icon for your Seagate external hard drive. It will have the name you gave the drive or the default name assigned by the system.
- Click on the Seagate external hard drive icon in the sidebar.
By clicking on the Seagate drive icon, you will open the contents of the drive in the main section of the Finder window. You will see a list of the files and folders stored on the Seagate drive.
If you have organized your files into specific folders on the Seagate drive, you can further navigate into those folders by clicking on them. This will allow you to locate the specific files you want to delete.
Take your time to browse through the folders and subfolders on the Seagate drive until you find the files you wish to delete. You may also use the search bar located at the top-right corner of the Finder window to search for specific file names or types.
Once you have successfully located the files you want to delete, proceed to the next step to remove them from your Seagate external hard drive.
Step 4: Locating the Files to Delete
Now that you have navigated to your Seagate external hard drive in Finder, it’s time to locate the specific files you want to delete. Follow these steps to find the files:
- Browse through the folders and subfolders on your Seagate drive to locate the desired files. You can click on folders to open them and view their contents.
- If you have a large number of files, you can use the search bar at the top-right corner of the Finder window to search for specific file names or types. Simply enter the relevant keywords and press Enter to see matching results.
- Take your time to review the files and identify the ones you want to delete. Pay attention to file names, sizes, and file types to ensure you’re selecting the correct files.
- If you want to delete multiple files at once, you can hold down the Command key on your keyboard and click on each file to select them individually. Alternatively, you can click and drag your cursor to select multiple files at once.
It’s important to double-check your selection and ensure you are deleting the intended files. Deleting files permanently removes them from your Seagate drive, so be cautious when making your selections.
Once you have located and selected the files you wish to delete, you are ready to proceed to the next step and remove them from your Seagate external hard drive.
Step 5: Deleting Files from Seagate External Hard Drive
Now that you have identified the files you want to delete from your Seagate external hard drive, you can proceed with the deletion process. Follow these steps to delete files:
- Make sure you have selected the files you wish to delete. If you haven’t done so yet, you can hold down the Command key on your keyboard and click on each file to select them individually.
- With the files selected, right-click on any one of them to open a contextual menu.
- In the contextual menu, click on “Move to Trash” or “Send to Trash.” This action will move the selected files to the Trash folder on your Mac.
- If you want to delete the files immediately without sending them to the Trash, you can hold down the Option key on your keyboard while right-clicking on one of the selected files. In the contextual menu, click on “Delete Immediately” or “Remove Immediately.”
After performing one of these actions, the selected files will be either moved to the Trash or permanently deleted from your Seagate external hard drive.
If you have accidentally deleted the wrong file or changed your mind about deleting a file, you can retrieve it from the Trash folder before emptying it. Simply open the Trash folder by clicking on its icon in the dock, locate the file you want to restore, right-click on it, and select “Put Back.”
Remember that deleting files from your Seagate external hard drive by moving them to the Trash or deleting them immediately will only remove them from the drive. To permanently free up storage space, continue to the next step and empty the Trash.
Step 6: Emptying Trash to Permanently Delete Files
After deleting files from your Seagate external hard drive, they are moved to the Trash folder on your Mac. However, to permanently free up storage space on your Seagate drive, you need to empty the Trash and delete the files permanently. Follow these steps to empty the Trash:
- Locate the Trash folder on your Mac. You can do this by clicking on the Trash icon in the dock at the bottom of your screen.
- Once the Trash folder is open, you will see a list of the deleted files. Review the contents of the Trash to ensure you no longer need any of the files.
- To empty the Trash, right-click on any empty space within the Trash folder. In the contextual menu that appears, click on “Empty Trash.”
- A confirmation dialog box will appear, asking if you are sure you want to permanently delete the files. Click “Empty Trash” or “Continue” to proceed with the deletion.
Once you have emptied the Trash, the selected files will be permanently deleted from your Seagate external hard drive. It’s important to note that this action cannot be undone, so make sure you have reviewed the contents of the Trash carefully before emptying it.
By emptying the Trash, you have successfully freed up storage space on your Seagate external hard drive. The deleted files will no longer take up any space on the drive, allowing you to utilize it for other purposes.
Remember that once the files are permanently deleted, there is no way to recover them unless you have a backup of the files elsewhere. To avoid data loss, it is always a good practice to regularly back up your important files to a separate storage device or to the cloud.
With the Trash emptied, you have now completed the process of deleting files from your Seagate external hard drive on a Mac. Congratulations!
Conclusion
Congratulations, you have successfully learned how to delete files off a Seagate external hard drive on your Mac! By following the step-by-step instructions in this guide, you now have the knowledge and confidence to manage the storage space on your Seagate drive efficiently.
We started by ensuring that the Seagate drive was properly connected to your Mac. We then opened Finder, allowing us to navigate to the Seagate external hard drive and locate the files we wanted to delete. After identifying the files, we deleted them by either moving them to the Trash or permanently deleting them.
Finally, we learned how to empty the Trash to permanently delete the files and free up storage space on the Seagate drive. It’s important to note that permanently deleted files cannot be recovered unless you have a backup elsewhere, so always exercise caution when deleting files.
Remember, periodically cleaning up your Seagate external hard drive by deleting unnecessary files and organizing your data can help optimize its performance and ensure that you have enough storage space for your needs.
Thank you for following this guide. We hope it has been helpful in guiding you through the process of deleting files from your Seagate external hard drive on a Mac. If you have any further questions or need additional assistance, feel free to consult the Seagate support resources or reach out to their customer service.
Happy file management and keep your Seagate external hard drive organized!