Introduction
Welcome to the world of data backups! In today’s digital age, it is crucial to have a solid backup solution for your valuable files and documents. One of the easiest and most reliable ways to backup your Mac is by using a Seagate external hard drive. Whether you are a professional photographer, a student with important assignments, or simply someone who wants to protect their precious memories, having a backup of your data is essential.
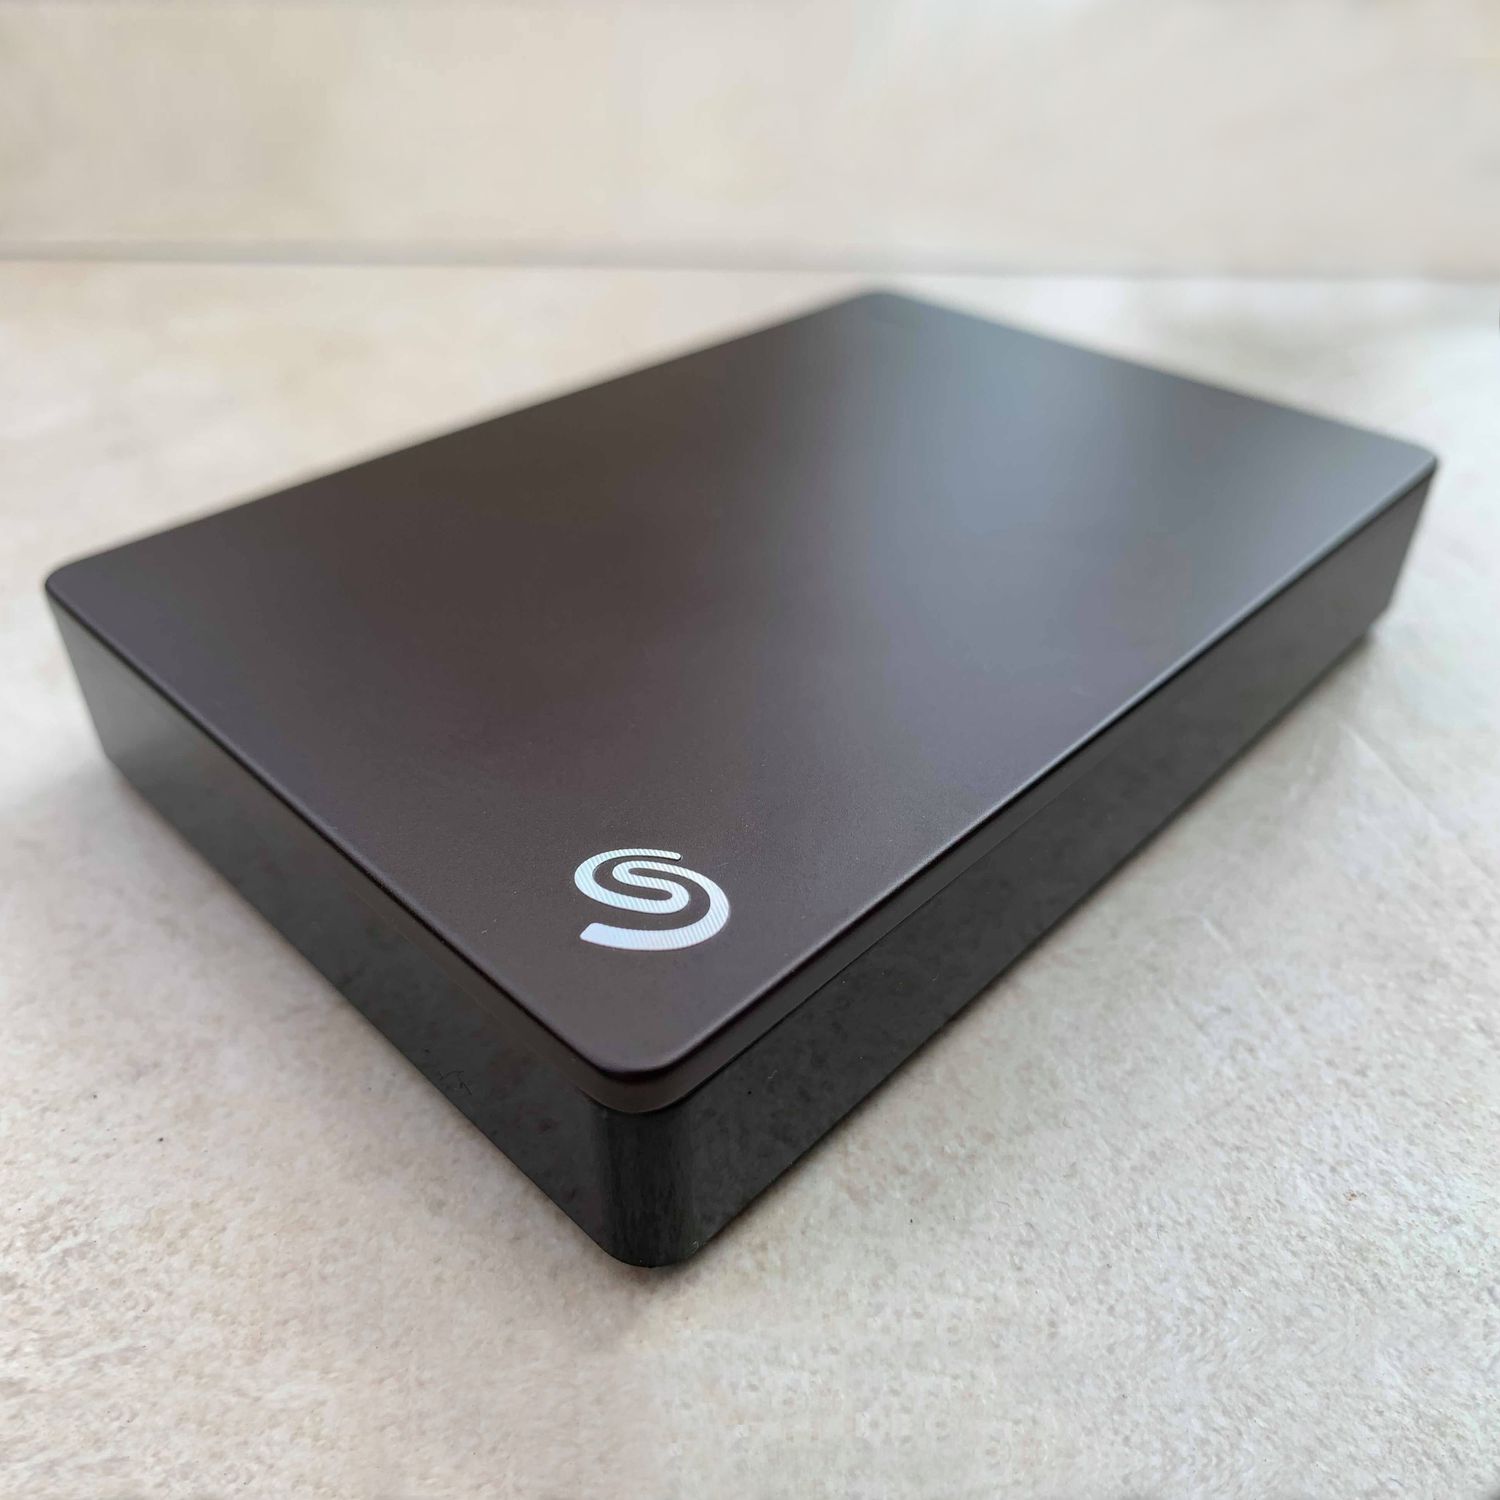
Seagate, a renowned manufacturer of external hard drives, offers a wide range of products that are compatible with Mac computers. These external hard drives provide ample storage space, fast transfer speeds, and reliable performance, making them an excellent choice for Mac users.
In this article, we will guide you through the process of backing up your Mac on a Seagate external hard drive. We will cover topics such as choosing the right Seagate drive, formatting the drive for Mac, using Time Machine for backups, setting up automatic backups, restoring files, troubleshooting tips, and common issues.
By the end of this article, you will have a clear understanding of how to safeguard your data and ensure that you never lose important files again. So, let’s dive in and discover how to backup your Mac on a Seagate external hard drive!
Choosing the Right Seagate External Hard Drive
When it comes to choosing the right Seagate external hard drive for your Mac, there are a few key factors to consider. Let’s take a closer look at these factors to help you make an informed decision:
- Storage Capacity: Determine how much storage space you require for your backups. Seagate offers a range of options, from compact drives with a few hundred gigabytes to high-capacity drives with several terabytes of storage. Consider your current and future storage needs to ensure you choose a drive with sufficient capacity.
- Connection Interface: Consider the connection interface supported by your Mac and make sure the Seagate drive you choose is compatible. The most common connection interfaces are USB 3.0, Thunderbolt, and USB-C. USB 3.0 is widely supported and offers fast data transfer speeds, while Thunderbolt and USB-C provide even faster speeds if your Mac supports them.
- Portability: If you need to carry your external hard drive with you frequently, opt for a portable and lightweight model. Seagate offers slim and portable drives that are easy to slip into your bag or pocket. However, if portability is not a priority, you can choose a larger desktop model with higher storage capacity.
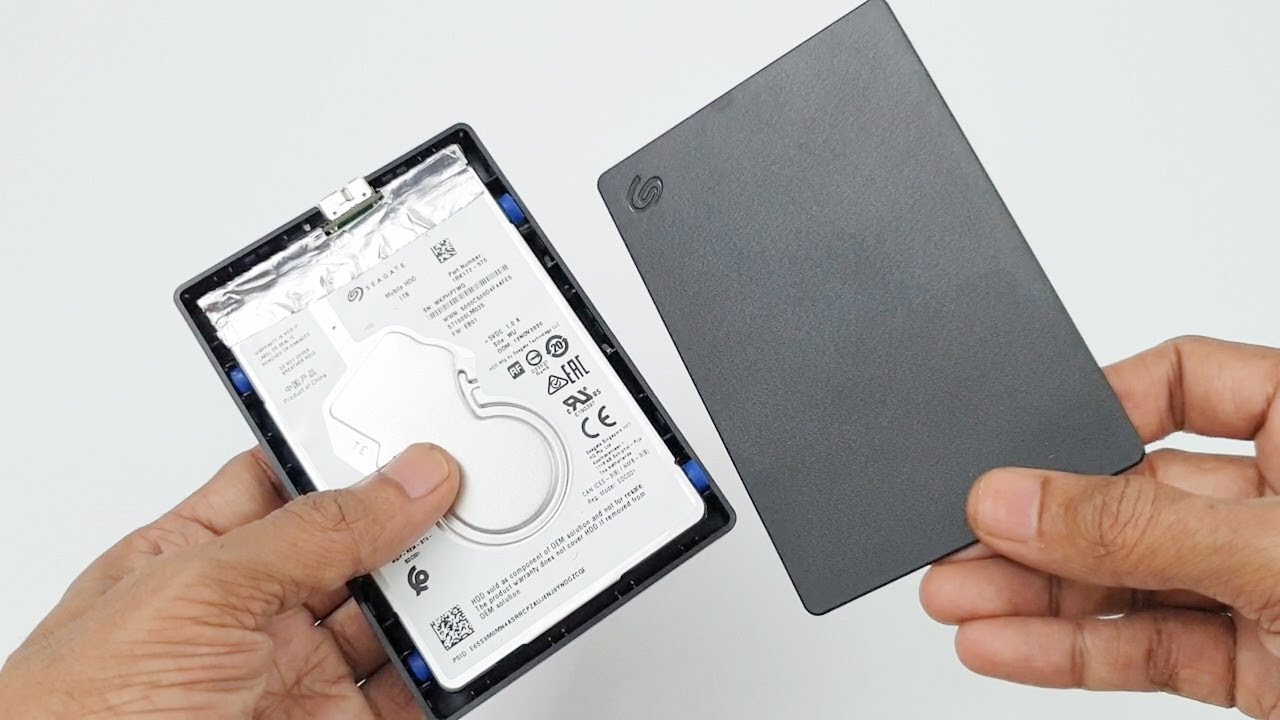
- Reliability: Look for Seagate drives with a good reputation for reliability and durability. Reading customer reviews and checking product ratings can give you insights into the reliability of different models. Seagate’s range includes drives designed specifically for long-term reliability, such as those from the IronWolf or BarraCuda series.
- Additional Features: Consider any additional features that might be useful to you. For example, some Seagate drives come with built-in hardware encryption for enhanced data security, while others have automatic backup software included. These extra features can add value to your backup solution.
By considering these factors, you can choose a Seagate external hard drive that meets your specific needs and provides a reliable backup solution for your Mac. Once you have selected the right drive, you can move on to the next step of formatting it for use with your Mac.
Formatting the Seagate External Hard Drive for Mac
Before you can begin using your Seagate external hard drive to backup your Mac, you need to format it to a file system that is compatible with macOS. Here’s a step-by-step guide on how to format the Seagate drive for Mac:
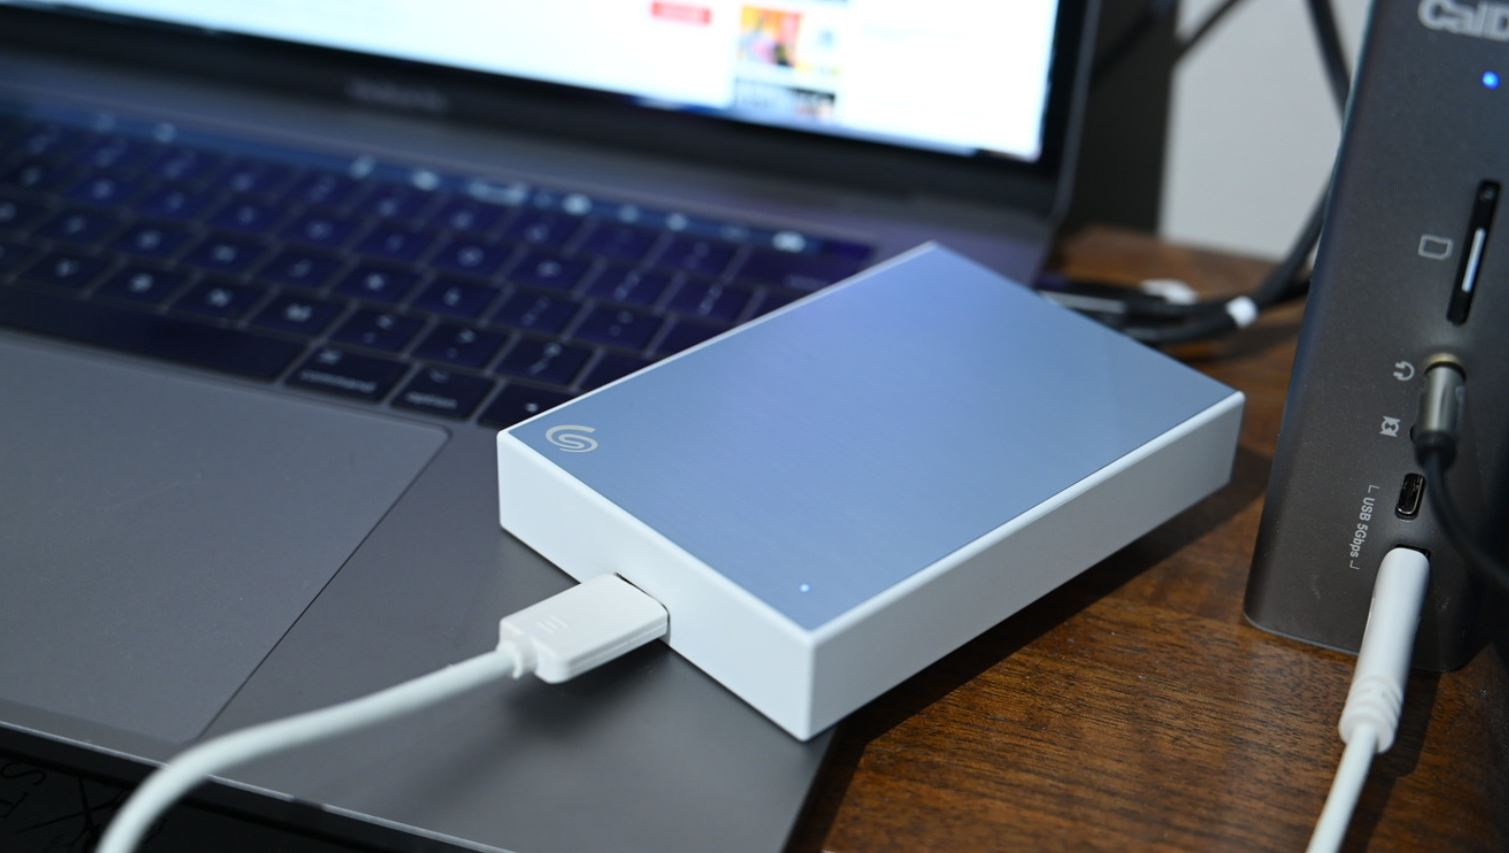
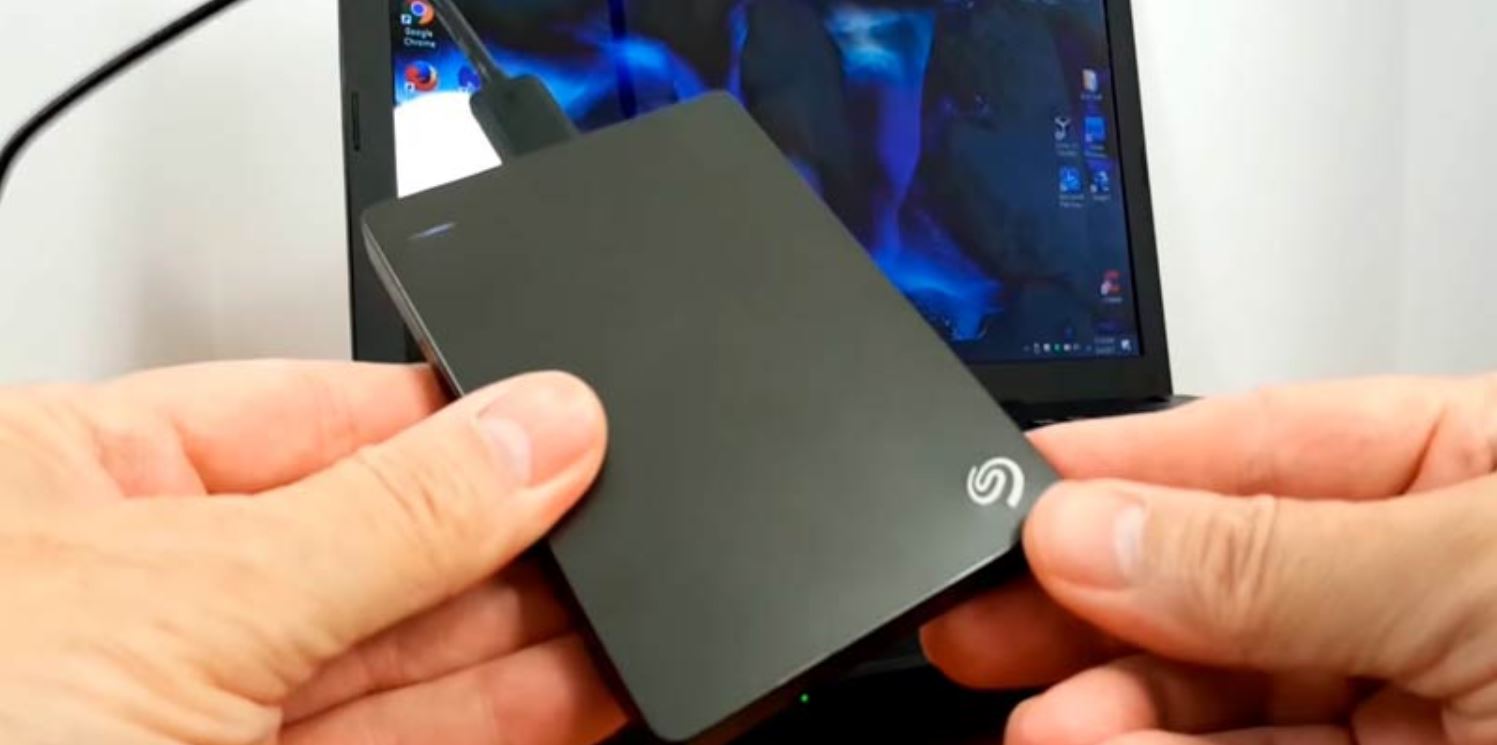
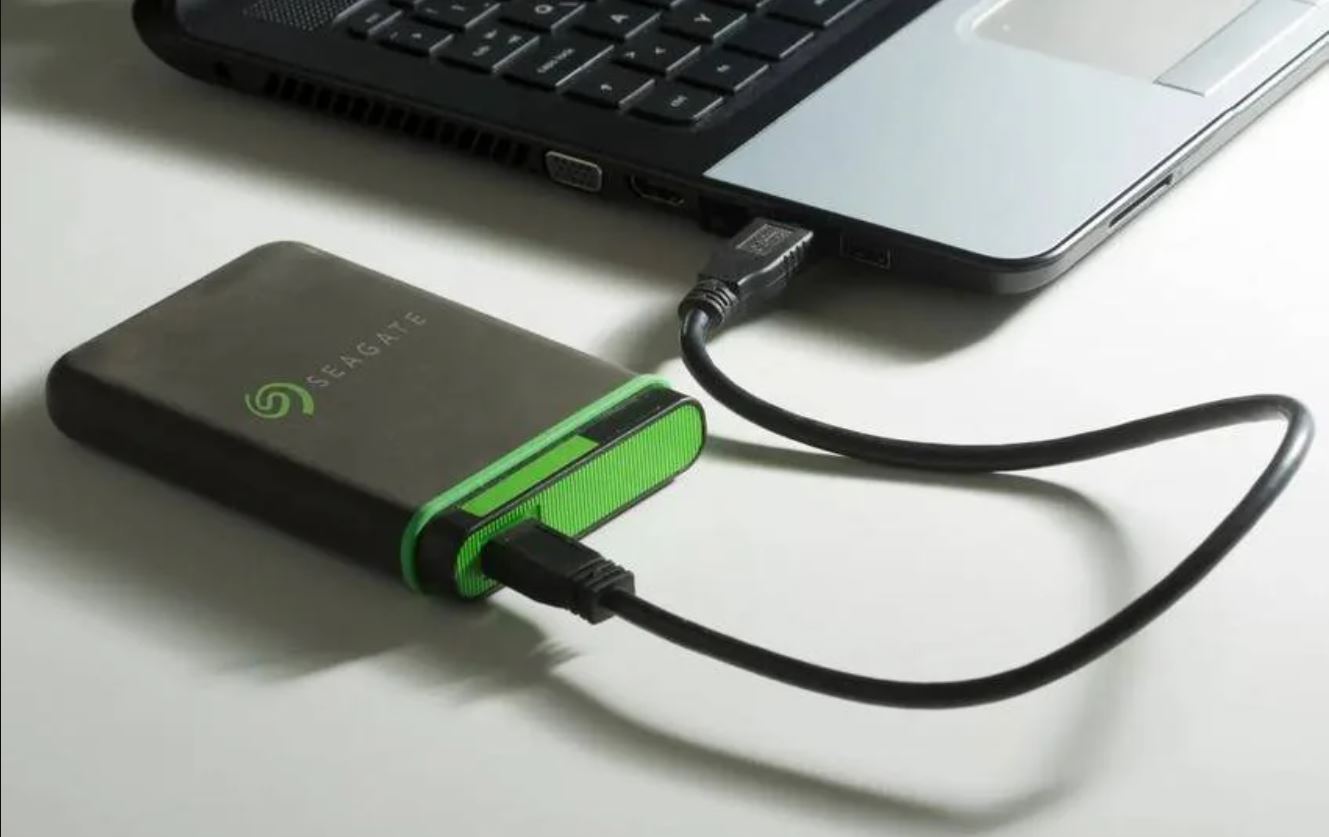
- Connect the Seagate external hard drive to your Mac using the appropriate cable or connector.
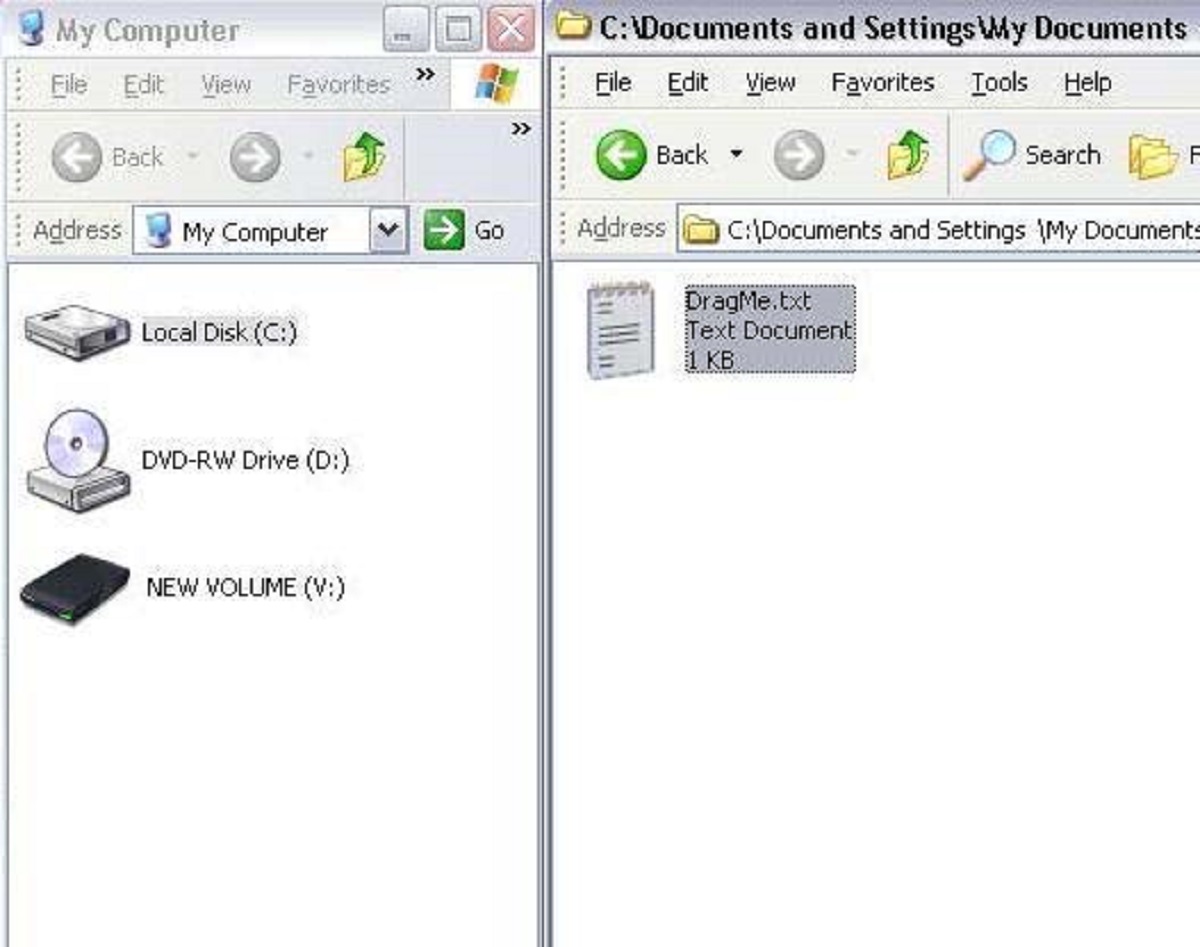
- Launch the Disk Utility application on your Mac. You can find it by navigating to Applications > Utilities > Disk Utility.
- In the Disk Utility window, you will see a list of all the connected drives. Select the Seagate drive from the sidebar on the left.
- Click on the “Erase” tab at the top of the Disk Utility window.
- Choose a suitable name for your Seagate drive. This name will be displayed when the drive is connected to your Mac.
- Next, select the desired format. For maximum compatibility with macOS, choose “Mac OS Extended (Journaled)”. If you plan to use the drive with other operating systems, select “ExFAT”.
- Verify that the scheme is set to “GUID Partition Map”. This is the recommended scheme for Intel-based Mac computers.
- Double-check all the settings to make sure you have selected the correct drive and formatting options.
- Click on the “Erase” button to begin the formatting process. This will erase all the data on the Seagate drive, so make sure you have a backup if necessary.
- Wait for the formatting process to complete. This may take a few minutes, depending on the size of the drive.
- Once the formatting is done, you can close the Disk Utility application.
With the Seagate external hard drive successfully formatted for macOS, you are now ready to use it as a dedicated backup drive for your Mac. In the next section, we will explore how to utilize Time Machine, Apple’s built-in backup software, to safeguard your data on the Seagate drive.
Using Time Machine to Backup Your Mac
Time Machine, Apple’s built-in backup software, makes it easy to backup and restore your Mac’s data. When paired with a Seagate external hard drive, Time Machine provides a seamless and reliable backup solution. Here’s how to use Time Machine to backup your Mac:
- Connect the Seagate external hard drive to your Mac.
- Go to the Apple menu and select “System Preferences.”
- In the System Preferences window, click on “Time Machine.”
- Toggle the Time Machine switch to “On.” This activates Time Machine and enables automatic backups.
- Click on “Select Backup Disk” to choose your Seagate drive as the backup destination.
- From the list of available drives, select your Seagate drive and click on “Use Disk.”
- Time Machine will start creating the initial backup of your Mac. The time required for the initial backup may vary based on the amount of data on your Mac.
- Once the initial backup is complete, Time Machine will automatically backup your Mac at regular intervals, typically every hour.
- To manually initiate a backup, click on the Time Machine icon in the menu bar and select “Back Up Now.”
When Time Machine performs a backup, it captures all the files and folders on your Mac and stores them on the Seagate external hard drive. The backups are incremental, meaning Time Machine only copies new and changed files, reducing the amount of storage space required for subsequent backups.
If your Seagate drive becomes full, Time Machine will automatically delete the oldest backups to make room for the new ones. This ensures that you always have a recent backup available.
Remember, it’s important to keep your Seagate drive connected to your Mac as much as possible to ensure regular backups. Disconnecting the drive for extended periods may result in missed backups.
Now that you have set up Time Machine to backup your Mac on the Seagate external hard drive, let’s explore the options for automatic versus manual backups in the next section.
Setting Up Time Machine on the Seagate External Hard Drive
Now that you have connected your Seagate external hard drive to your Mac and activated Time Machine, it’s time to configure the settings for your backups. Here’s how to set up Time Machine on the Seagate drive:
- Open the Time Machine preferences by clicking on the Time Machine icon in the menu bar and selecting “Open Time Machine Preferences,” or by going to System Preferences > Time Machine.
- In the Time Machine preferences window, you will see a list of options for configuring your backups.
- To exclude specific files or folders from the backup, click on “Options.” You can add items to the exclusion list by clicking on the “+” button and navigating to the desired files or folders.
- By default, Time Machine keeps local snapshots of your files so that you can restore them even when the external hard drive is not connected. If you prefer to disable this feature, uncheck the box that says, “Back Up Automatically.”
- To encrypt your Time Machine backups for added security, check the box that says, “Encrypt Backup Disk.” Enter a secure password and make sure to remember it, as it will be required to access the backups.
- Click on the “Show Time Machine in menu bar” option if you want quick access to Time Machine settings and manual backup initiation from the menu bar.
- Once you have adjusted the settings according to your preference, close the Time Machine preferences window.
With Time Machine set up on your Seagate external hard drive, it will now automatically back up your Mac’s data at regular intervals and store them securely. You can also manually initiate a backup by clicking on “Back Up Now” from the Time Machine menu bar icon.
It’s important to occasionally check on the status of your backups to ensure they are running smoothly. You can do this by clicking on the Time Machine icon in the menu bar, which will display the progress and status of the backups.
Now that your backups are being successfully stored on the Seagate external hard drive, let’s explore the options for restoring files from Time Machine in the next section.
Automatic vs Manual Backup
Time Machine offers the flexibility to choose between automatic and manual backups, depending on your preferences and needs. Let’s explore the differences between automatic and manual backups to help you decide which option is best for you:
Automatic Backup:
With automatic backups enabled, Time Machine will regularly and automatically back up your Mac to the Seagate external hard drive. This ensures that your data is constantly protected without requiring any manual intervention. Automatic backups are ideal for users who want a hands-off approach to backups.
The frequency of automatic backups can be adjusted in the Time Machine preferences. By default, Time Machine backs up your Mac every hour, but you can change this interval if desired. Automatic backups are especially useful for individuals who frequently work on important files and need real-time backups to ensure the latest versions are always protected.
Manual Backup:
If you prefer more control over your backups, you can choose to manually initiate backups using Time Machine. This allows you to backup specific files or folders at a time of your choosing.
To manually initiate a backup, simply click on the Time Machine icon in the menu bar and select “Back Up Now.” This is beneficial when you want to ensure that specific changes or additions are immediately backed up, rather than waiting for the regular automatic backup schedule.
Manual backups are particularly useful in situations where you are making critical updates or modifications to files and want to ensure they are backed up immediately. It gives you the flexibility to backup on-demand and can be helpful in scenarios where you need to create separate backups for specific projects or events.
Whether you choose automatic or manual backups, the important thing is to establish a regular backup routine to protect your data. Time Machine, combined with the reliability of the Seagate external hard drive, provides a comprehensive backup solution for Mac users.
In the next section, we will explore how to restore files from the Seagate external hard drive using Time Machine.
Restoring Files from the Seagate External Hard Drive
Time Machine not only allows you to backup your Mac on the Seagate external hard drive, but it also makes it easy to restore files whenever needed. Here’s how you can restore files from the Seagate external hard drive using Time Machine:
- Ensure that your Seagate drive is connected to your Mac.
- Click on the Time Machine icon in the menu bar and select “Enter Time Machine.”
- A new window will appear, displaying a timeline on the right side and a “Finder-like” interface on the left side.
- Navigate through the timeline or use the arrows to browse through different backups.
- Once you have located the specific file or folder you want to restore, select it.
- Click on the “Restore” button to restore the selected file or folder to its original location on your Mac.
- If you prefer to restore the file to a different location, you can click and drag the file to the desired location.
- If you want to restore your entire system, hold down the Command key while clicking the Time Machine icon in the menu bar. From there, select “Restore from Time Machine Backup.”
Time Machine will efficiently retrieve the selected files or folders, restoring them to their original state or desired location. It’s worth noting that Time Machine retains multiple versions of files, allowing you to restore previous versions if needed.
Restoring files from the Seagate external hard drive using Time Machine can be a lifesaver in situations where you accidentally delete or modify important files, encounter system crashes, or experience data loss from other unexpected events.
Keep in mind that the restore process may take some time, depending on the size and number of files being restored. It is advisable to be patient and let Time Machine complete the restoration process before using your Mac.
In the next section, we will explore some troubleshooting tips and common issues that you may encounter while using Time Machine and the Seagate external hard drive.
Troubleshooting Tips and Common Issues
While Time Machine and the Seagate external hard drive provide a reliable backup solution for your Mac, you may encounter some common issues along the way. Here are some troubleshooting tips to help you resolve these issues:
- Drive Not Recognized: If your Seagate external hard drive is not recognized by Time Machine or your Mac, try disconnecting and reconnecting the drive. Also, ensure that the drive is properly powered and connected to a working USB or Thunderbolt port.
- Backup Failed: If a backup fails to complete, check the available storage space on your Seagate drive. Ensure that it has sufficient capacity to accommodate the backup. Also, make sure the drive is properly formatted for use with your Mac.
- Slow Backup Speeds: If backups are taking an unusually long time, check for any background processes or other applications that may be utilizing system resources. Also, verify that you are using a compatible and high-speed connection interface, such as USB 3.0 or Thunderbolt.
- Incomplete Backups: If certain files or folders are consistently missing from the backups, double-check the Time Machine exclusion settings to ensure they are not being excluded. Also, make sure the files or folders are not in use or locked by other applications.
- Corrupted Backups: In rare cases, backups stored on the Seagate drive may become corrupted. If you encounter this issue, try repairing the backup using the Disk Utility application. If unsuccessful, you may need to delete the corrupted backup and start a new one.
- Password Issues: If you have encrypted your Time Machine backups, ensure that you enter the correct password when prompted to access or restore the backups. Store the password in a secure location to avoid any password-related issues.
- Time Machine Stuck on Preparing Backup: If Time Machine gets stuck on the “Preparing Backup” stage, try restarting your Mac and then initiate the backup process again. If the issue persists, check for any file system errors on the Seagate drive using the Disk Utility application.
If you encounter persistent issues that you are unable to resolve, it is recommended to seek further assistance from Seagate support or Apple Support. They can provide specific guidance tailored to your situation and help troubleshoot any complex issues.
By employing these troubleshooting tips, you can ensure that your backups are successful and your data remains secure and readily recoverable.
In the next section, we will wrap up this article and summarize the key points discussed throughout the guide.
Conclusion
In today’s digital world, it is crucial to have a reliable backup solution for your Mac, and utilizing a Seagate external hard drive along with Time Machine offers an excellent and straightforward backup option. By following the steps outlined in this guide, you can easily set up and configure Time Machine to automatically back up your Mac on the Seagate drive, ensuring the safety and recoverability of your valuable data.
We discussed the importance of choosing the right Seagate external hard drive based on factors such as storage capacity, connection interface, and portability. We also learned how to format the Seagate drive for use with your Mac and explored the benefits of automatic and manual backups.
Additionally, we covered the process of restoring files from the Seagate drive using Time Machine and discussed common troubleshooting tips to resolve any issues that may arise during the backup process.
Remember, consistent backups are essential for safeguarding your data against unexpected events, such as hard drive failures, accidental deletions, or system crashes. A reliable backup solution, like the combination of Time Machine and a Seagate external hard drive, provides you with peace of mind, knowing that your important files are protected and recoverable.
Whether you are a professional with critical work documents, a student with important assignments, or someone with cherished memories captured in photos and videos, taking the time to implement a backup strategy is invaluable.
Now that you are equipped with the knowledge of how to backup your Mac on a Seagate external hard drive using Time Machine, we encourage you to take action and start protecting your files today. Don’t wait until it’s too late!
If you have any further questions or concerns, do not hesitate to consult the Seagate support documentation or reach out to Apple Support for assistance. Happy backing up!