Introduction
Welcome to the comprehensive guide on how to access your Seagate external hard drive! Having an external hard drive is a convenient and reliable way to store and back up your important files. Whether you are using a Windows or Mac computer, accessing your Seagate external hard drive is a straightforward process. In this article, we will walk you through the step-by-step instructions, ensuring you can access your valuable data with ease.
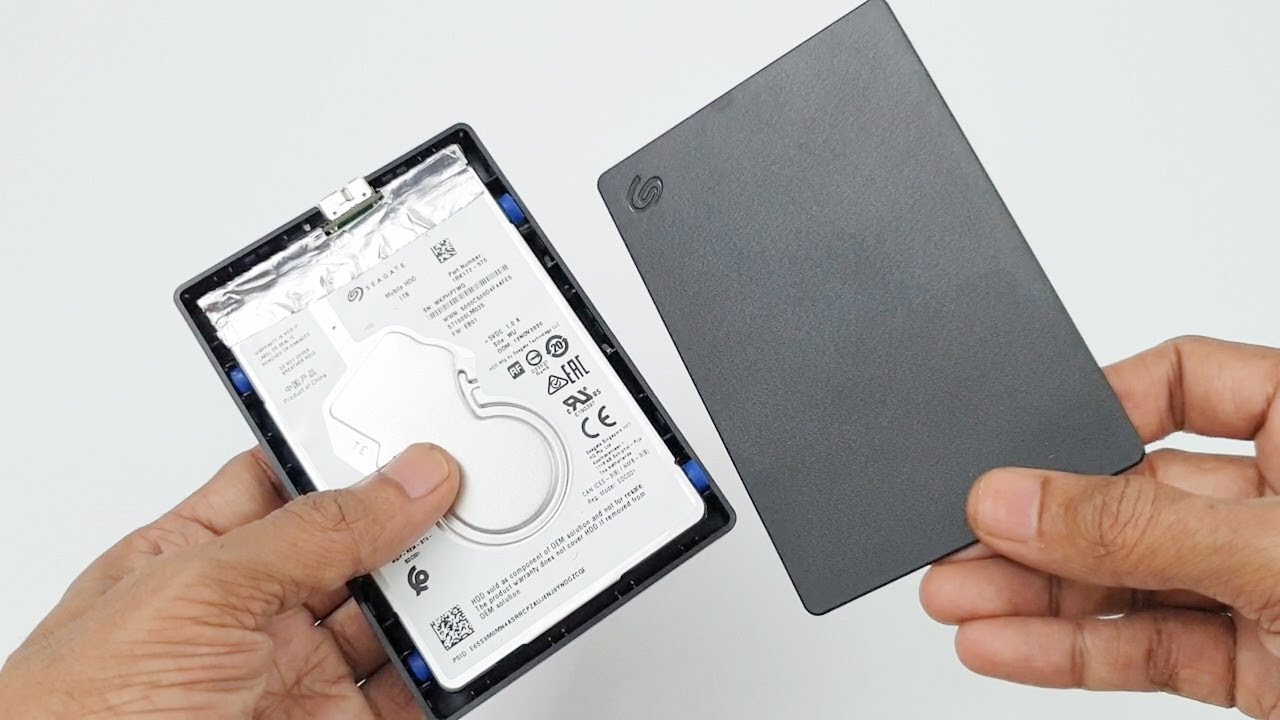
Seagate is a renowned manufacturer of high-quality external hard drives, known for their durability and performance. Their drives come in various sizes and models, catering to different storage requirements and connectivity options such as USB and Thunderbolt. Regardless of the specific Seagate drive you own, the steps outlined in this guide will help you access your data effortlessly.
Accessing your Seagate external hard drive will allow you to view, copy, move, and manage your files and folders stored on the drive. This can be particularly useful if you need to access your files on multiple computers, share data with colleagues or friends, or safely store important documents, photos, videos, and other media.
Whether you are a tech-savvy user or a beginner, this guide will provide you with the necessary instructions to get started. So, let’s jump right in and learn how to access your Seagate external hard drive on both Windows and Mac operating systems.
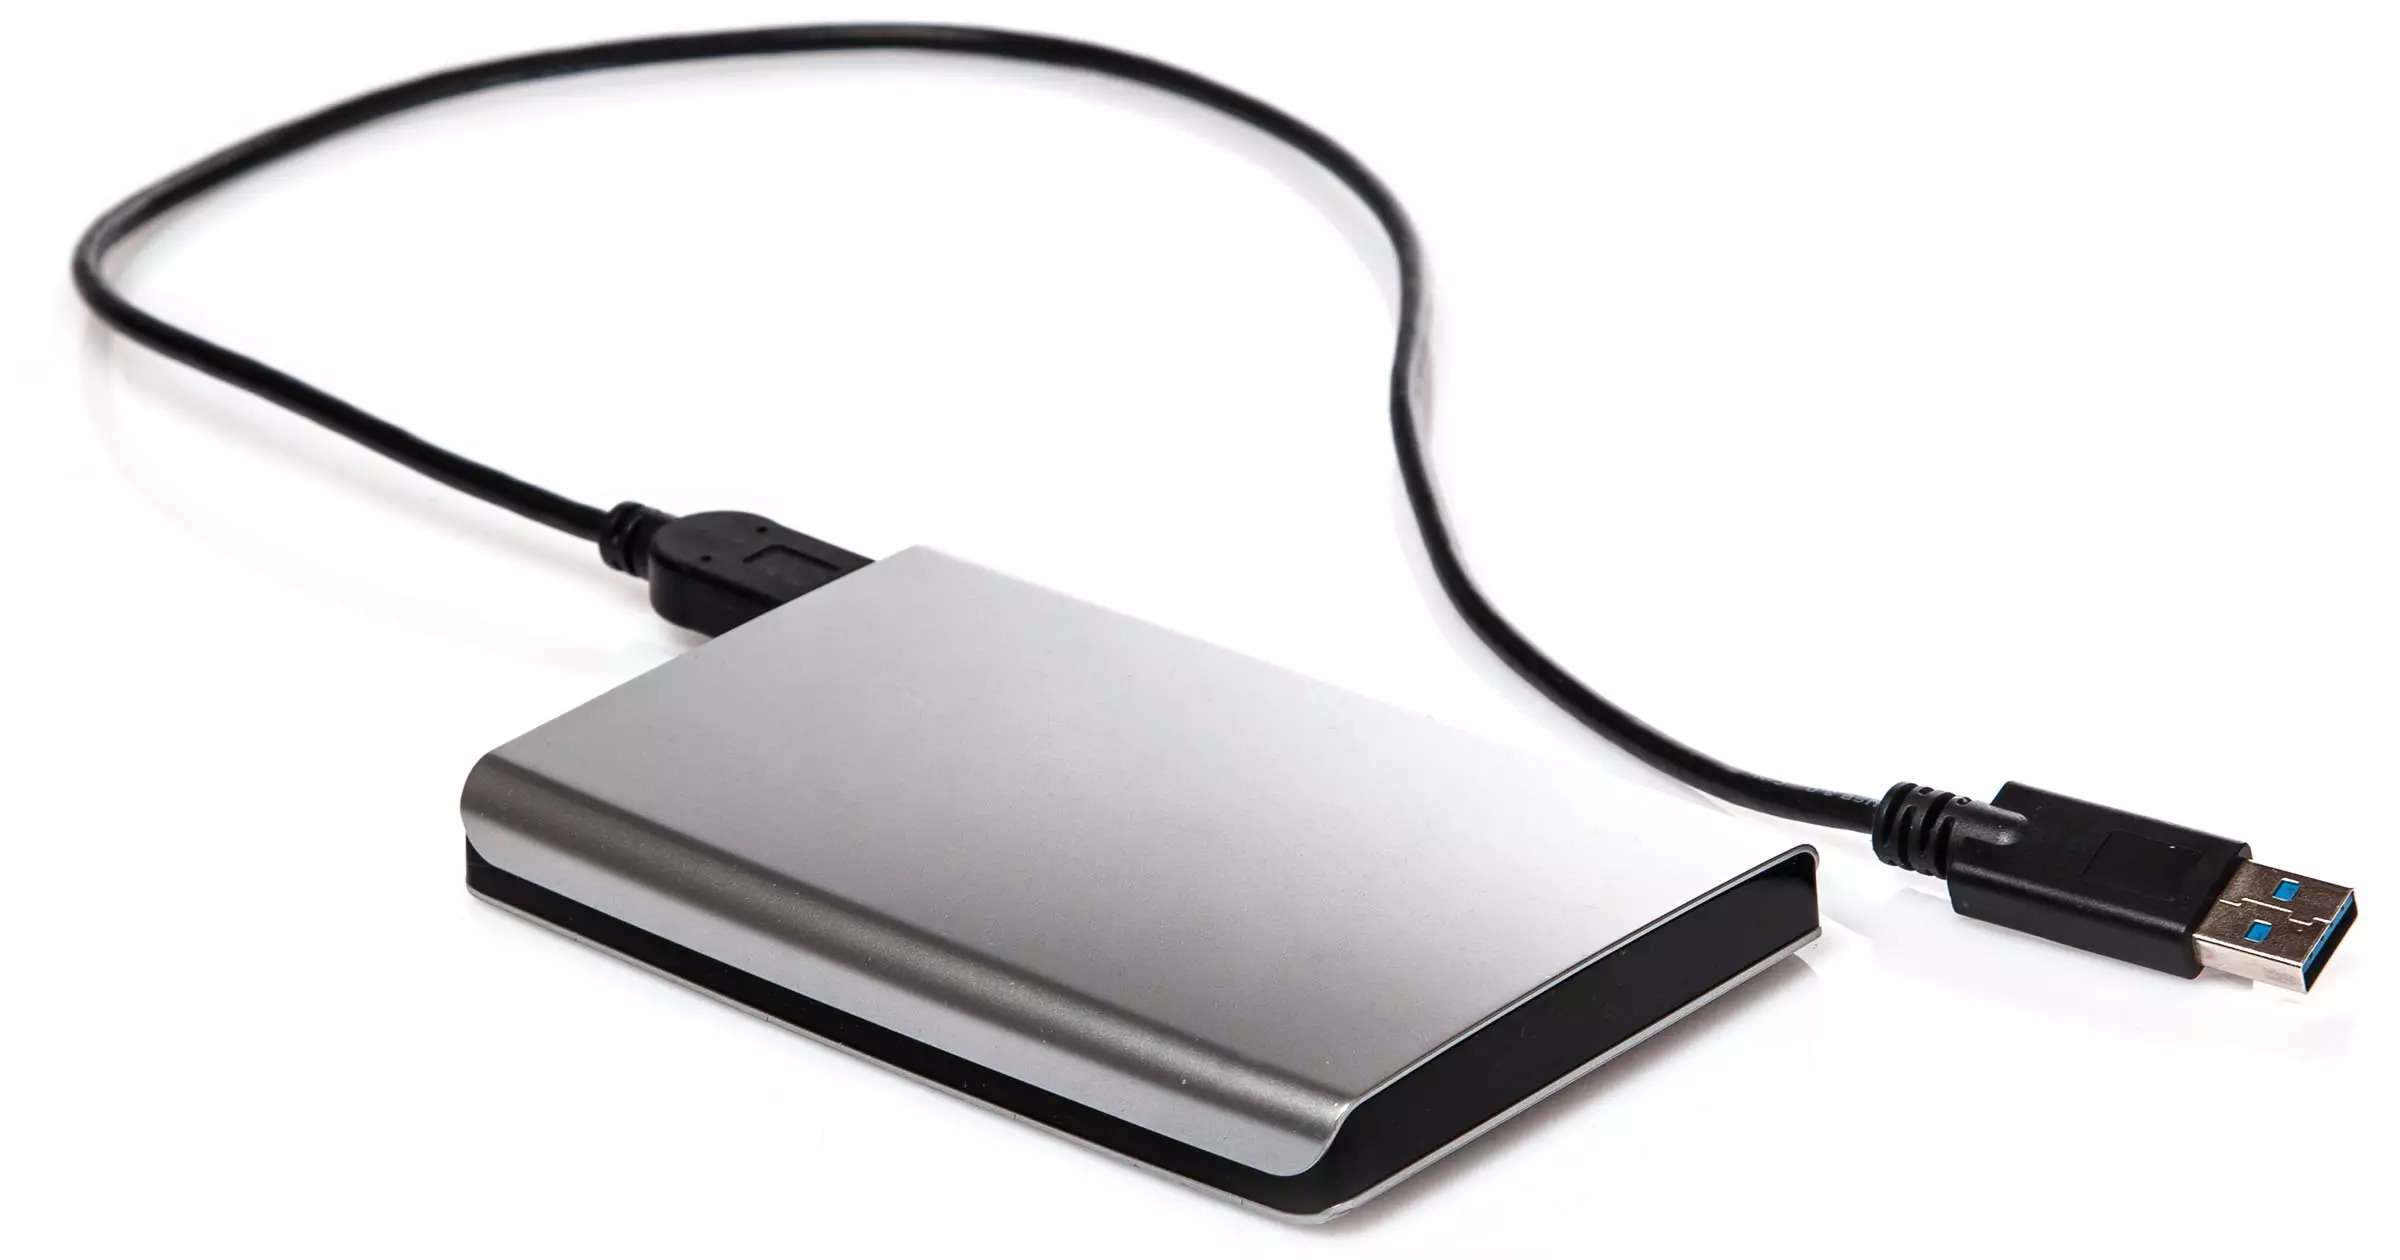
Step 1: Connect your Seagate external hard drive
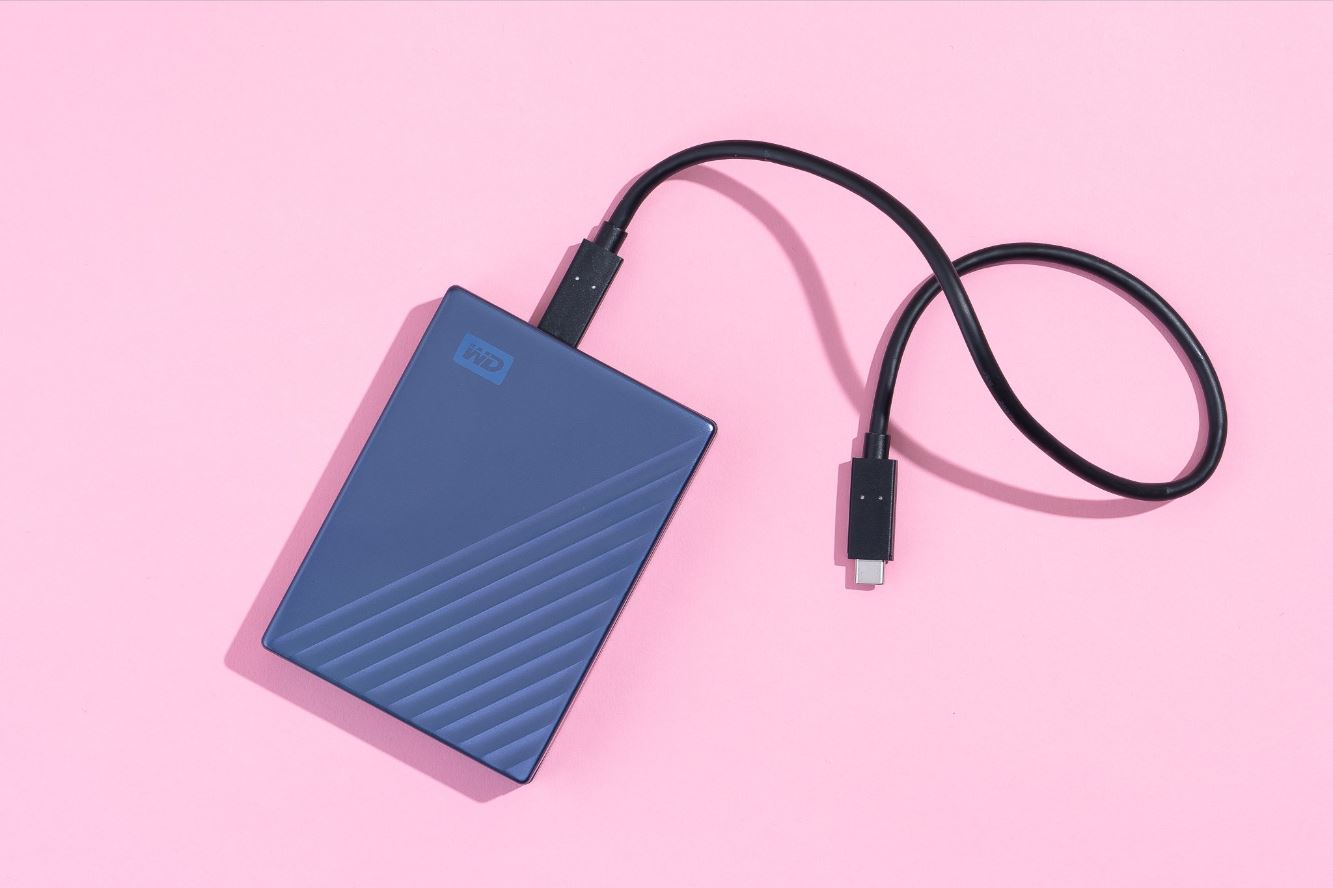
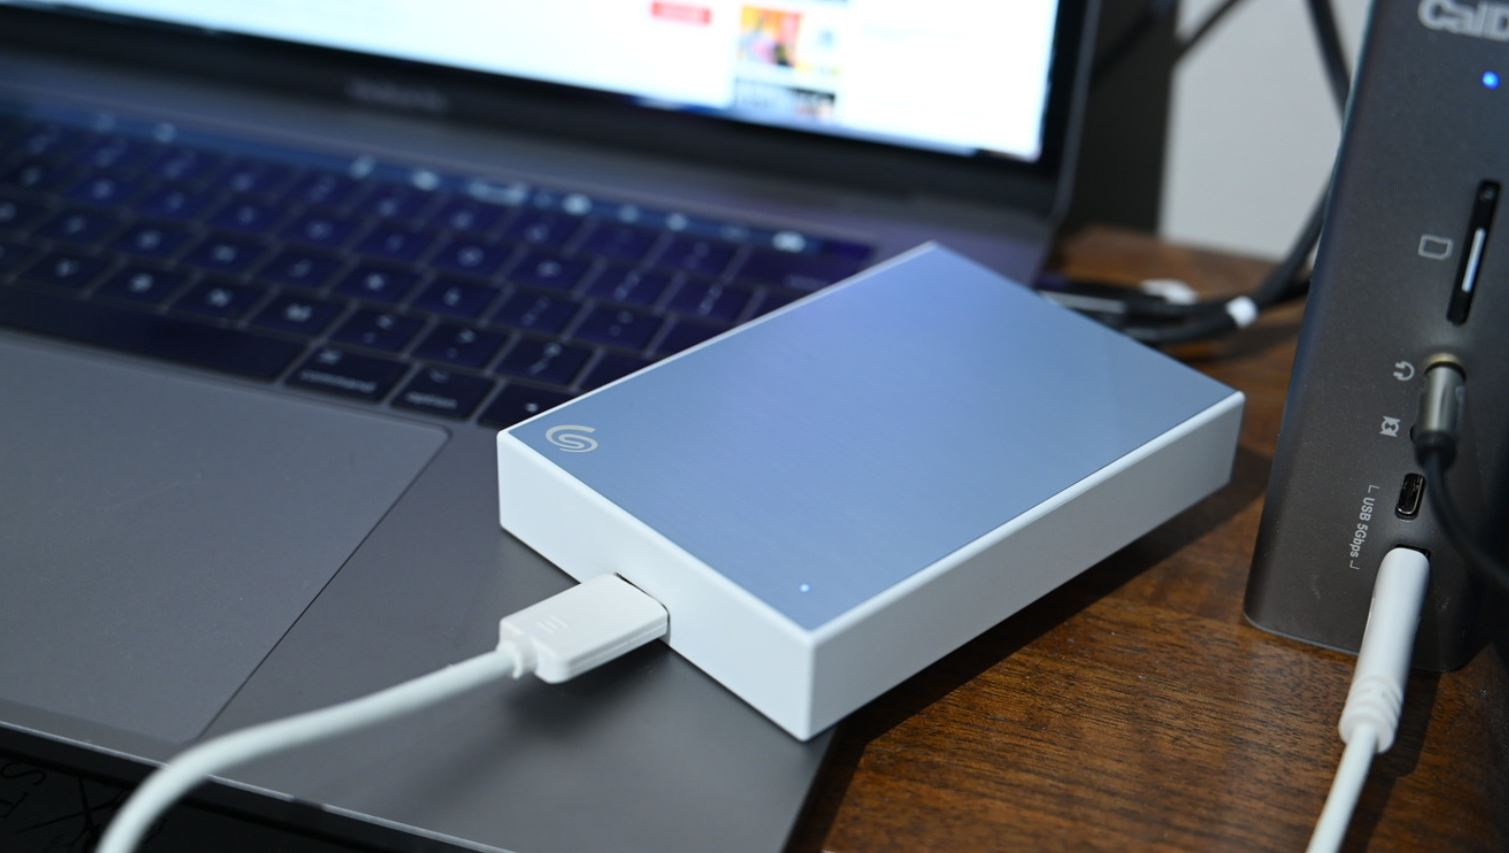
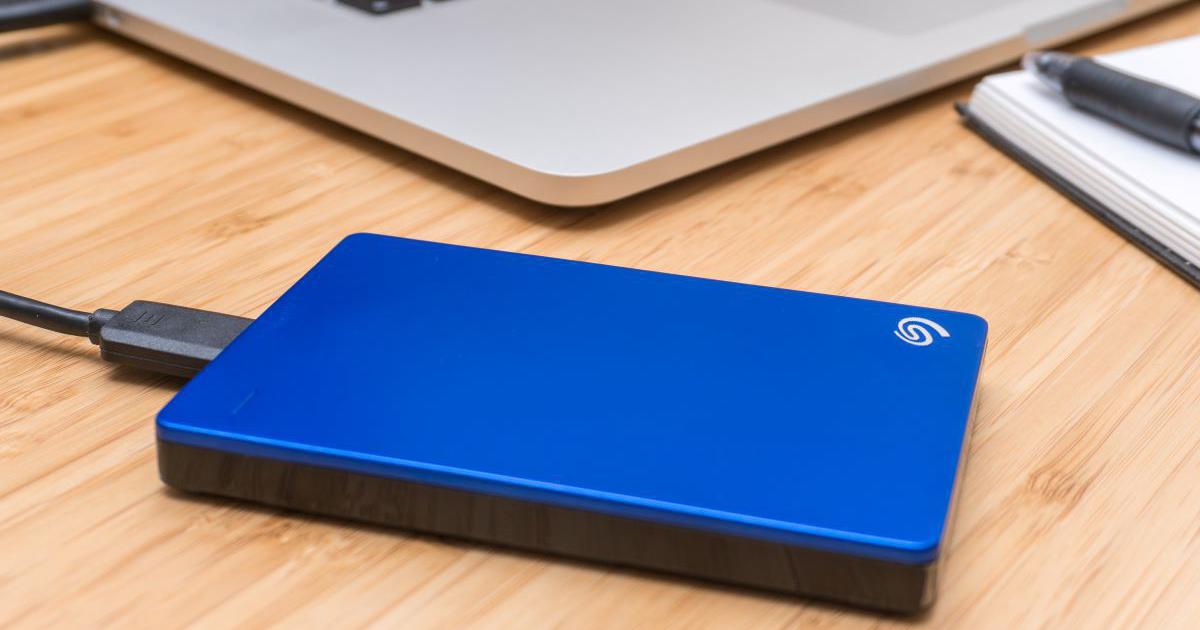
The first step to accessing your Seagate external hard drive is to connect it to your computer. Follow these simple instructions to ensure a proper connection:
- Locate the USB or Thunderbolt port on your computer.
- Plug one end of the USB or Thunderbolt cable into the corresponding port on the external hard drive.
- Plug the other end of the cable into the USB or Thunderbolt port on your computer.
- Ensure that the connection is secure and the cable is properly inserted.
- If your Seagate external hard drive requires external power, plug in the power adapter to an electrical outlet and connect it to the drive.
Once the connection is established, your computer should automatically detect the external hard drive. In some cases, you may need to install device drivers or software provided by Seagate to ensure proper recognition of the drive.
It is important to note that if you are using a Mac computer with a USB-C port, you may need to use a USB-C to USB-A adapter or a USB-C to USB-C cable, depending on the specific model of your Seagate drive and your computer’s port configuration.
Now that you have successfully connected your Seagate external hard drive to your computer, we can move on to the next step: checking if the drive is recognized.
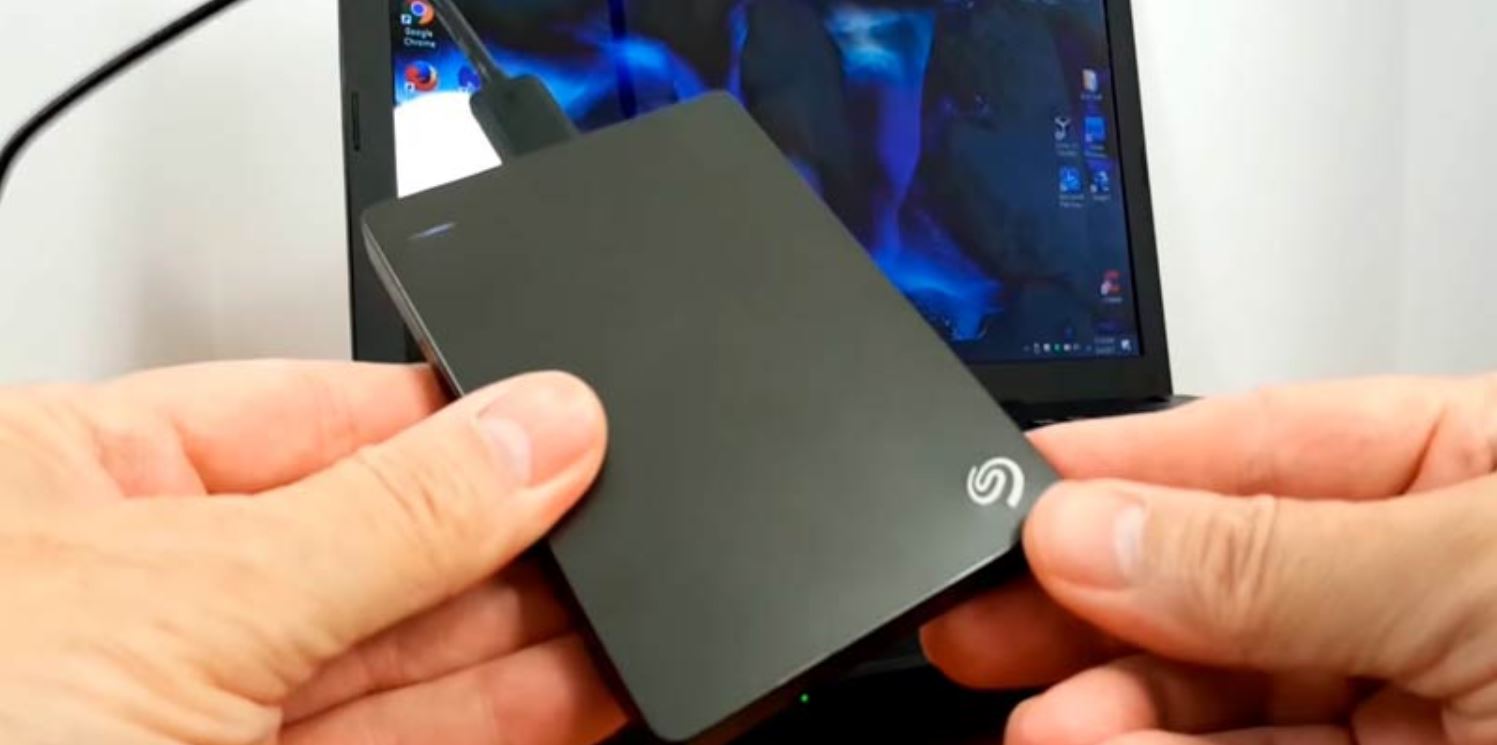
Step 2: Check if the Seagate drive is recognized
After connecting your Seagate external hard drive to your computer, it’s important to ensure that the drive is recognized. Here’s how you can check:
- Open “File Explorer” on Windows or “Finder” on Mac by clicking on the corresponding icon in the taskbar or dock.
- Look for the Seagate drive under the “Devices and Drives” section in the left-hand pane of the File Explorer window or under “Locations” in the Finder window.
- If you see the Seagate drive listed, it means that your computer has successfully recognized the external hard drive.
- If you don’t see the drive listed, try the following troubleshooting steps:
- Verify that the drive is properly connected to your computer and that the cables are securely plugged in.
- Restart your computer and check again if the drive is recognized.
- Try connecting the Seagate drive to a different USB or Thunderbolt port on your computer.
- If you are using a USB hub or extension cable, connect the drive directly to your computer to rule out any potential issues with the additional peripherals.
- Install any necessary device drivers or software provided by Seagate. You can typically find these on the Seagate website or on a CD/DVD that came with the drive.
Once your Seagate drive is recognized by your computer, you are ready to access the contents of the external hard drive. In the next steps, we will discuss how to access the Seagate external hard drive on both Windows and Mac operating systems.
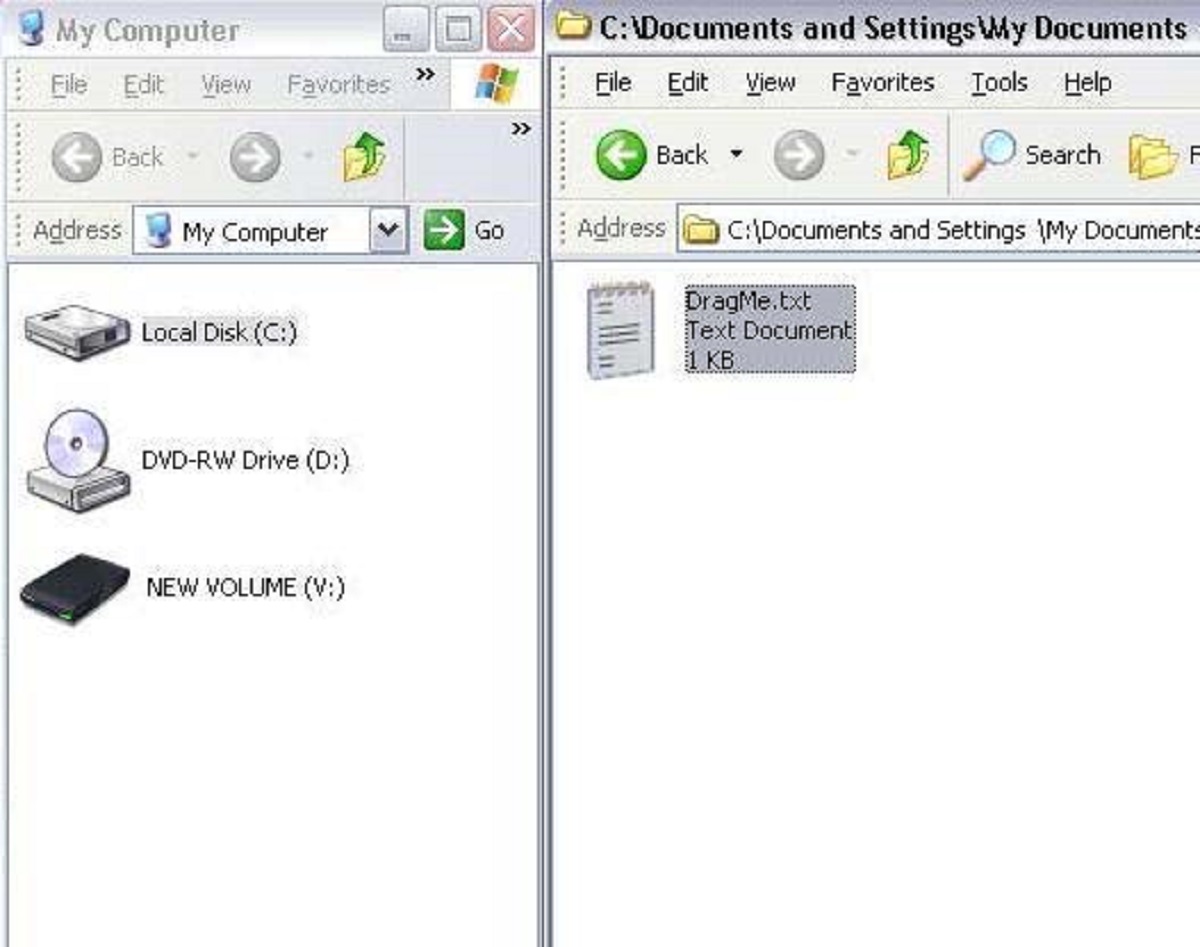
Step 3: Access the Seagate external hard drive on Windows
If you are using a Windows computer, follow these steps to access your Seagate external hard drive:
- Open “File Explorer” by clicking on the folder icon in the taskbar or by pressing the “Windows key + E” on your keyboard.
- In the File Explorer window, locate the “This PC” or “My Computer” option on the left-hand side and click on it.
- You should see your Seagate external hard drive listed under the “Devices and Drives” section. Click on the drive’s icon to open it.
- Once the external hard drive opens, you can navigate through the folders and files stored on the drive, just like you would with the internal storage of your computer.
- To access a specific file or folder, simply double-click on it to open it.
- You can copy, move, delete, or perform any other file management tasks on the Seagate drive, similar to how you would with any other storage device.
- After you have finished working with the Seagate external hard drive, make sure to safely eject it to prevent data loss. Right-click on the drive’s icon and select “Eject” from the context menu. Wait for the notification that it is safe to remove the drive before unplugging it from your computer.
Following these steps will ensure that you can easily access your Seagate external hard drive on a Windows computer and manage your data efficiently.
Step 4: Access the Seagate external hard drive on Mac
If you are using a Mac computer, follow these steps to access your Seagate external hard drive:
- Click on the “Finder” icon in the dock to open the Finder window.
- In the Finder window, look for the “Locations” section in the left-hand sidebar and click on “External Drives.”
- You should see your Seagate external hard drive listed under the “External Drives” section. Click on the drive’s icon to open it.
- Once the external hard drive opens, you can browse through the files and folders stored on the drive, similar to navigating through your Mac’s internal storage.
- To access a specific file or folder, simply double-click on it to open it.
- You can perform various actions on the files, such as copying, moving, renaming, or deleting, just like you would with any other files on your Mac.
- When you have finished using the Seagate external hard drive, it is essential to eject it properly to avoid any data corruption. Right-click on the drive’s icon and select “Eject” from the context menu. Wait for the notification that it is safe to remove the drive before disconnecting it from your Mac.
By following these steps, you can easily access your Seagate external hard drive on your Mac and manage your files and folders effectively.
Step 5: Safely eject your Seagate external hard drive
After you have finished working with your Seagate external hard drive, it is crucial to safely eject it from your computer to prevent data loss or corruption. Follow these steps to properly eject your Seagate drive:
- On your Windows computer, locate the Seagate external hard drive in the File Explorer window.
- Right-click on the drive’s icon and select “Eject” from the context menu that appears.
- Wait for a notification message confirming that it is safe to remove the drive.
- On your Mac, find the Seagate external hard drive icon in the Finder window.
- Right-click on the drive’s icon and select “Eject” from the context menu.
- Wait for a notification message indicating that it is safe to disconnect the drive.
- Once you have received the confirmation message on either Windows or Mac, you can safely unplug the Seagate external hard drive from your computer.
- It is essential to wait for the proper confirmation before disconnecting the drive to avoid potential data loss or damage to the files stored on the drive.
By following these steps and safely ejecting your Seagate external hard drive, you can ensure the integrity and availability of your data.
Conclusion
Accessing your Seagate external hard drive is a straightforward process that allows you to conveniently manage and retrieve your important files. Whether you are using a Windows or Mac computer, following the step-by-step instructions provided in this guide will help you access your Seagate drive with ease.
We started by connecting the Seagate external hard drive to your computer, ensuring a secure and proper connection. Then, we checked if the drive was recognized by your computer, troubleshooting any potential issues along the way.
On Windows, we accessed the Seagate drive through the File Explorer, enabling us to navigate through files and folders effortlessly. On Mac, we used the Finder window to access the drive and perform file management tasks.
Lastly, we emphasized the significance of safely ejecting your Seagate external hard drive. By following the proper ejection procedure, you can avoid data loss or corruption, ensuring the safety of your files and the drive itself.
With this comprehensive guide, you can confidently access, manage, and protect your valuable data stored on your Seagate external hard drive. Whether you need to transfer files between computers, back up important documents, or access your files on-the-go, the steps provided in this guide will make the process seamless and efficient.
So, connect your Seagate external hard drive, access your data, and enjoy the convenience and reliability of this essential storage solution!