Introduction
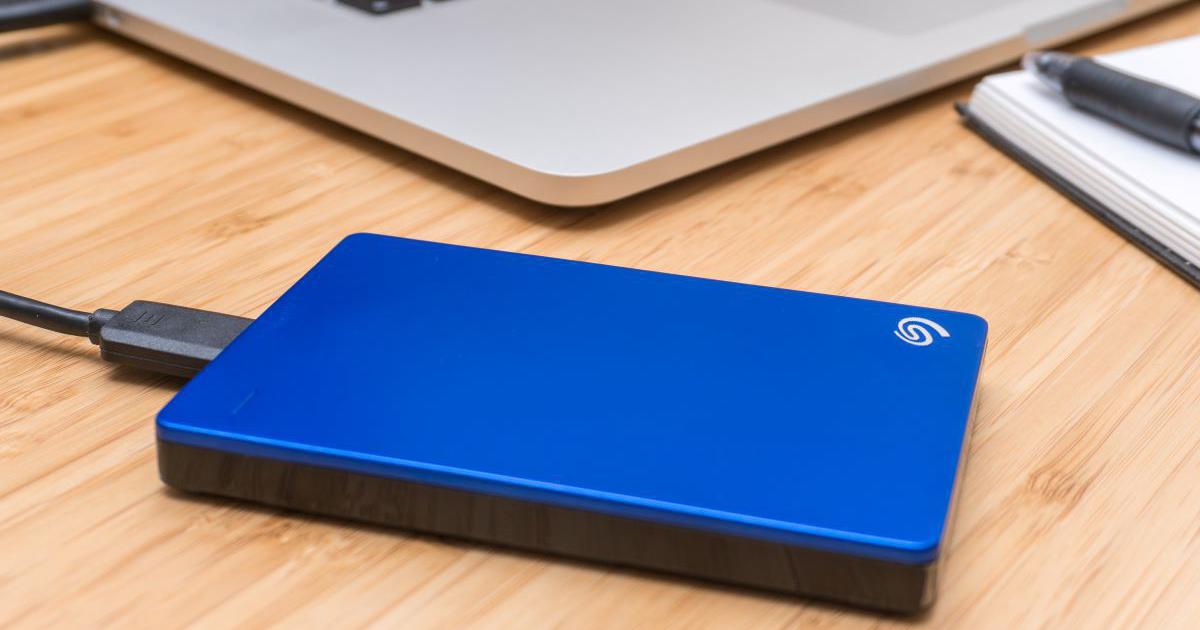
Welcome to the world of Seagate external hard drives! If you are someone who needs additional storage space for your files, documents, photos, or videos, then you have come to the right place. Seagate external hard drives are known for their reliability, performance, and ease of use, making them an ideal choice for both personal and professional needs.
In this article, we will guide you on how to make the most out of your Seagate external hard drive. Whether you just purchased a new drive or have been using one for a while, you will find valuable information and step-by-step instructions to help you optimize your storage experience.
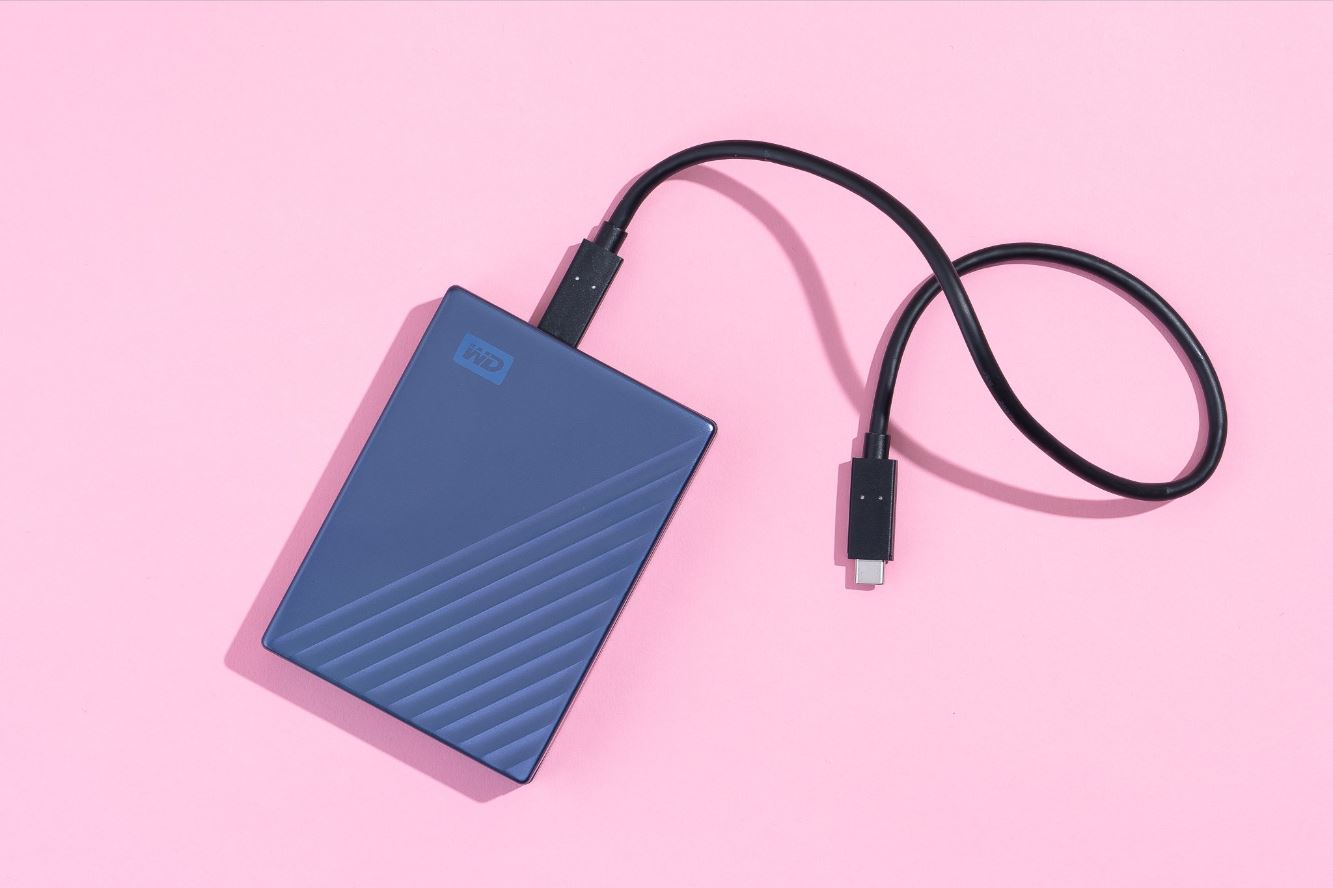
Before we dive into the specifics, let’s briefly touch upon the basics. An external hard drive is a portable storage device that connects to your computer via a USB or Thunderbolt cable. It provides you with additional space to store data that may exceed the capacity of your computer’s internal hard drive. Seagate, one of the leading manufacturers of external hard drives, offers a range of options to cater to different storage needs.
Now that you have a basic understanding let’s move on to the next section, where we will discuss how to connect your Seagate external hard drive to your computer. So, grab your Seagate drive, and let’s get started!
Understanding the Basics
Before we jump into the nitty-gritty of using your Seagate external hard drive, it’s important to understand a few fundamental concepts. This will ensure that you have a solid foundation and can make the most out of your storage device.
1. Storage Capacity: When shopping for a Seagate external hard drive, you will notice that they come in various storage capacities, ranging from a few hundred gigabytes (GB) to several terabytes (TB). The storage capacity determines how much data you can store on the drive. Consider your needs and choose a capacity that fits your requirements.
2. File Systems: Seagate external hard drives come pre-formatted with a specific file system, which determines how the data is organized and stored on the drive. Windows systems typically use the NTFS file system, while Mac systems use the macOS Extended (HFS+) file system. Ensure that the file system of your Seagate drive is compatible with your computer’s operating system.
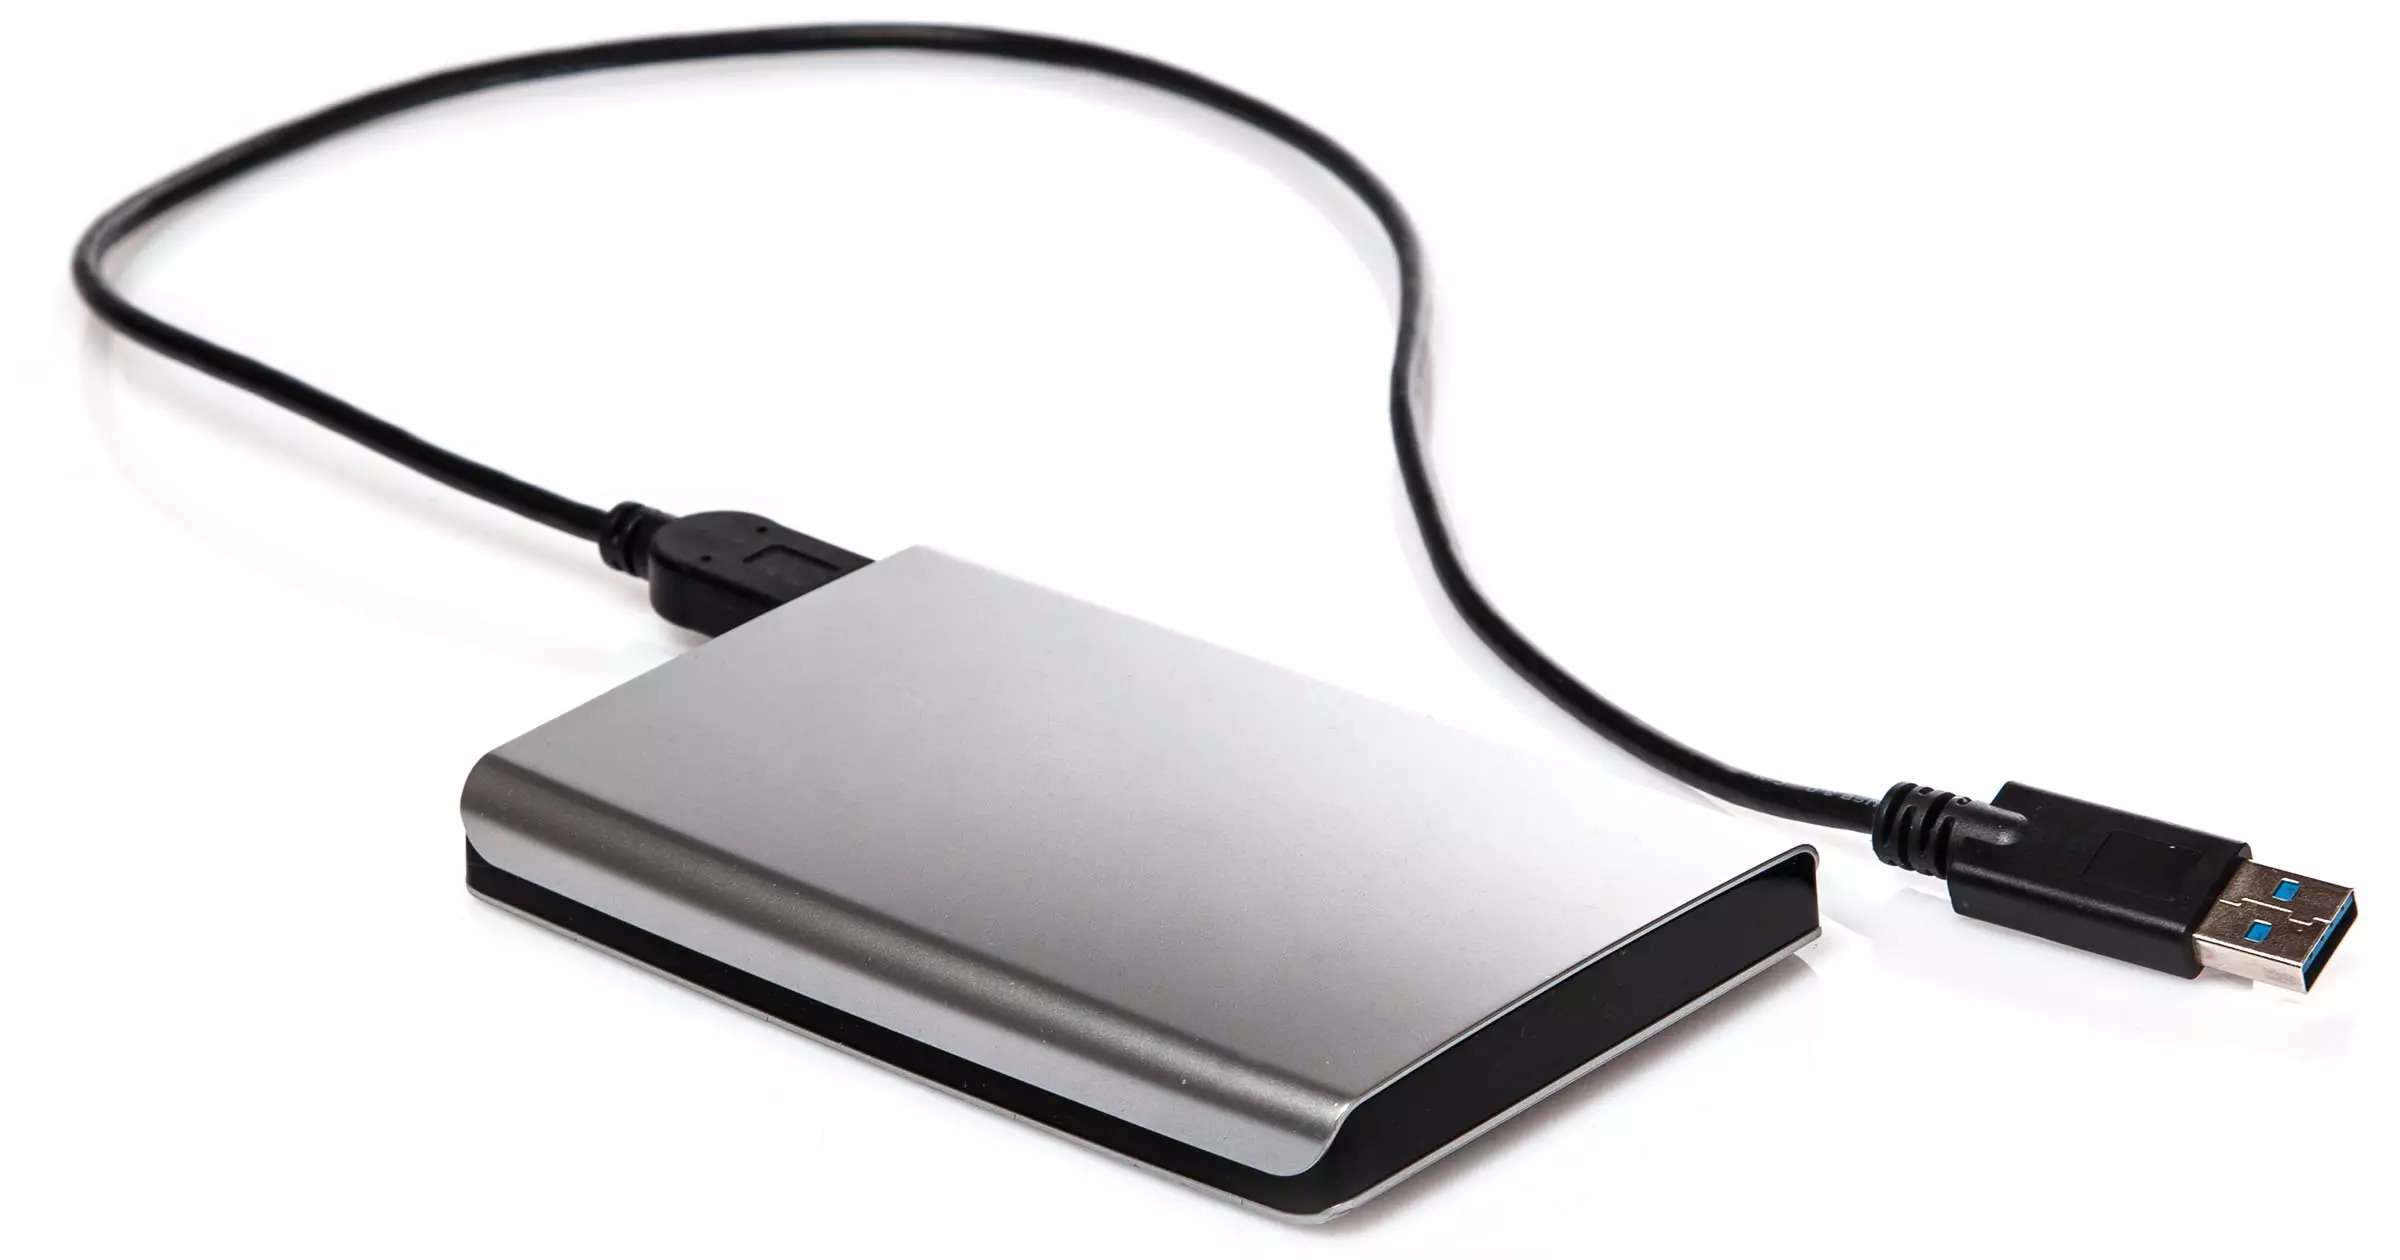
3. Supported Interfaces: Seagate external hard drives generally support standard interfaces such as USB and Thunderbolt. USB 3.0 and USB 3.1 interfaces offer faster data transfer speeds compared to the older USB 2.0 interface. Ensure that your computer has the necessary ports to connect your Seagate drive.
4. Power Options: Some Seagate external hard drives draw power directly from the computer they are connected to, while others require an external power source. Make sure you understand the power requirements of your specific Seagate drive and have the necessary power source available.
5. Backup Software: Seagate provides its users with backup software that allows easy and automated data backups. Take advantage of this software to safeguard your important files and documents.
By familiarizing yourself with these basics, you will have a better understanding of how to use your Seagate external hard drive effectively. In the next section, we will walk you through the process of connecting your Seagate drive to your computer and getting it ready for use. So, let’s move on!
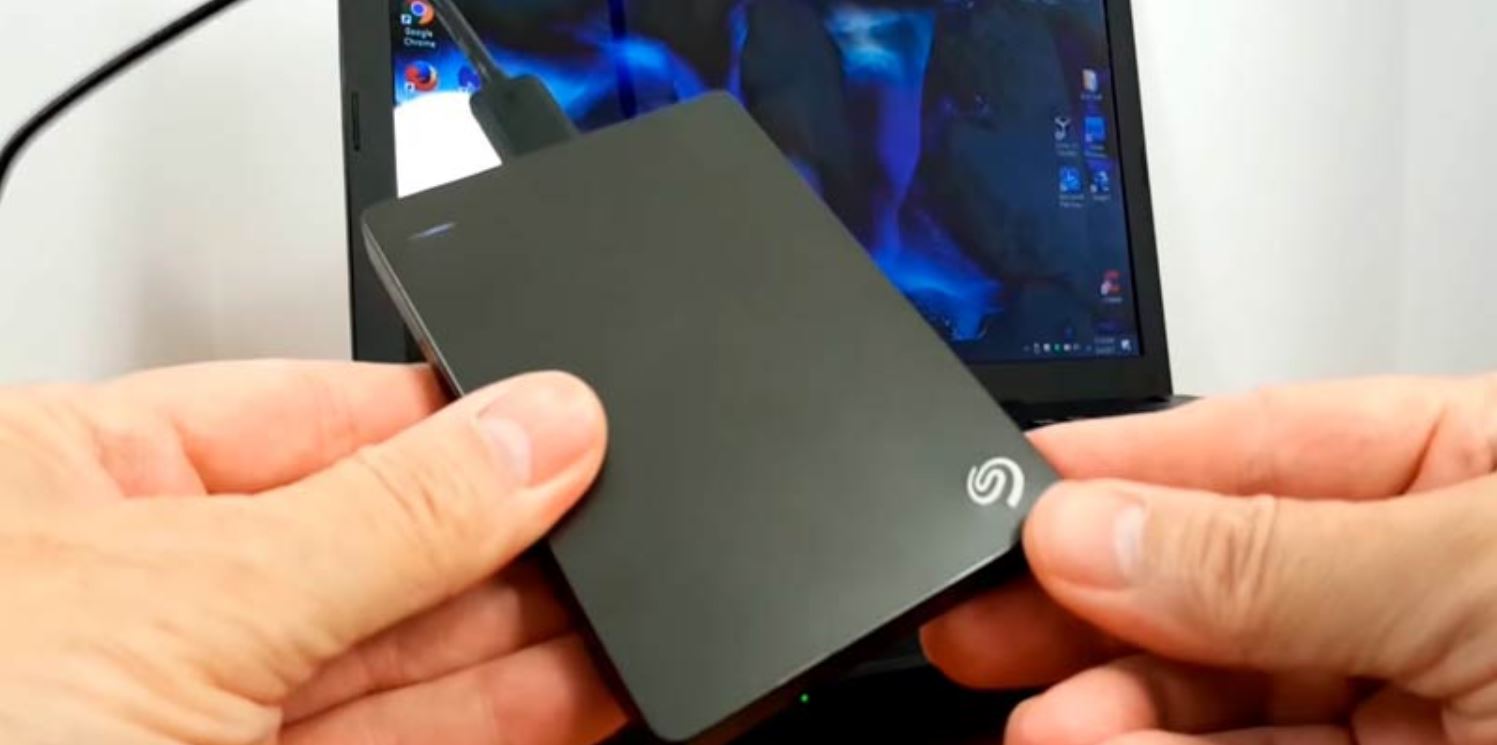
Connecting the Seagate External Hard Drive
Now that you have an understanding of the basics, it’s time to connect your Seagate external hard drive to your computer and get started with storing and accessing your files.
Follow these steps to connect your Seagate drive:
- Ensure that your computer is powered on and running.
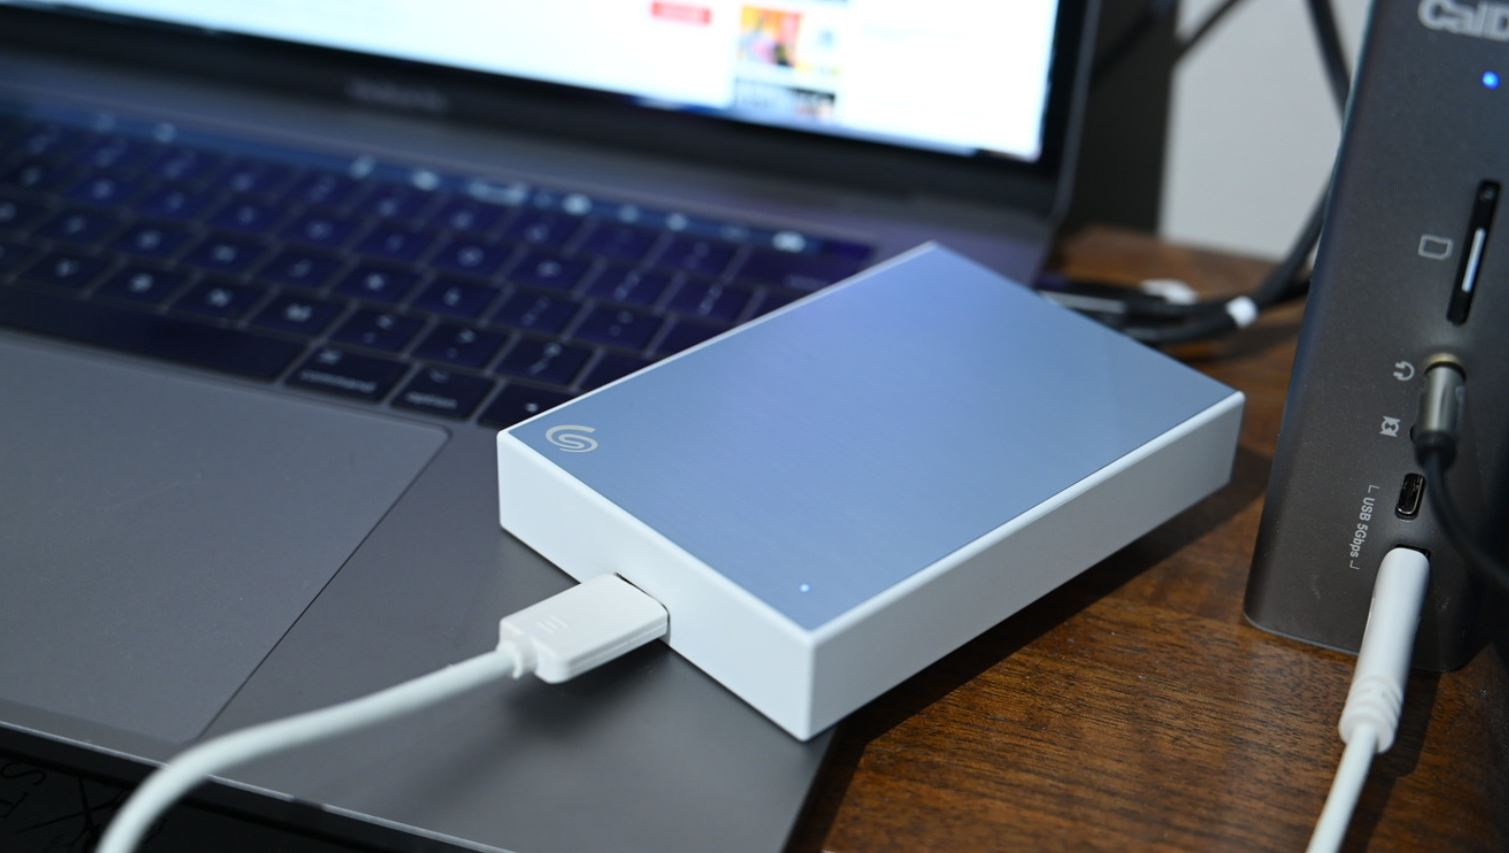
- Locate an available USB or Thunderbolt port on your computer. USB ports are usually found on the sides or back of the computer, while Thunderbolt ports are more commonly found on Mac systems.
- Take the USB or Thunderbolt cable provided with your Seagate external hard drive and connect one end to the port on your computer.
- Connect the other end of the cable to the corresponding port on your Seagate drive.
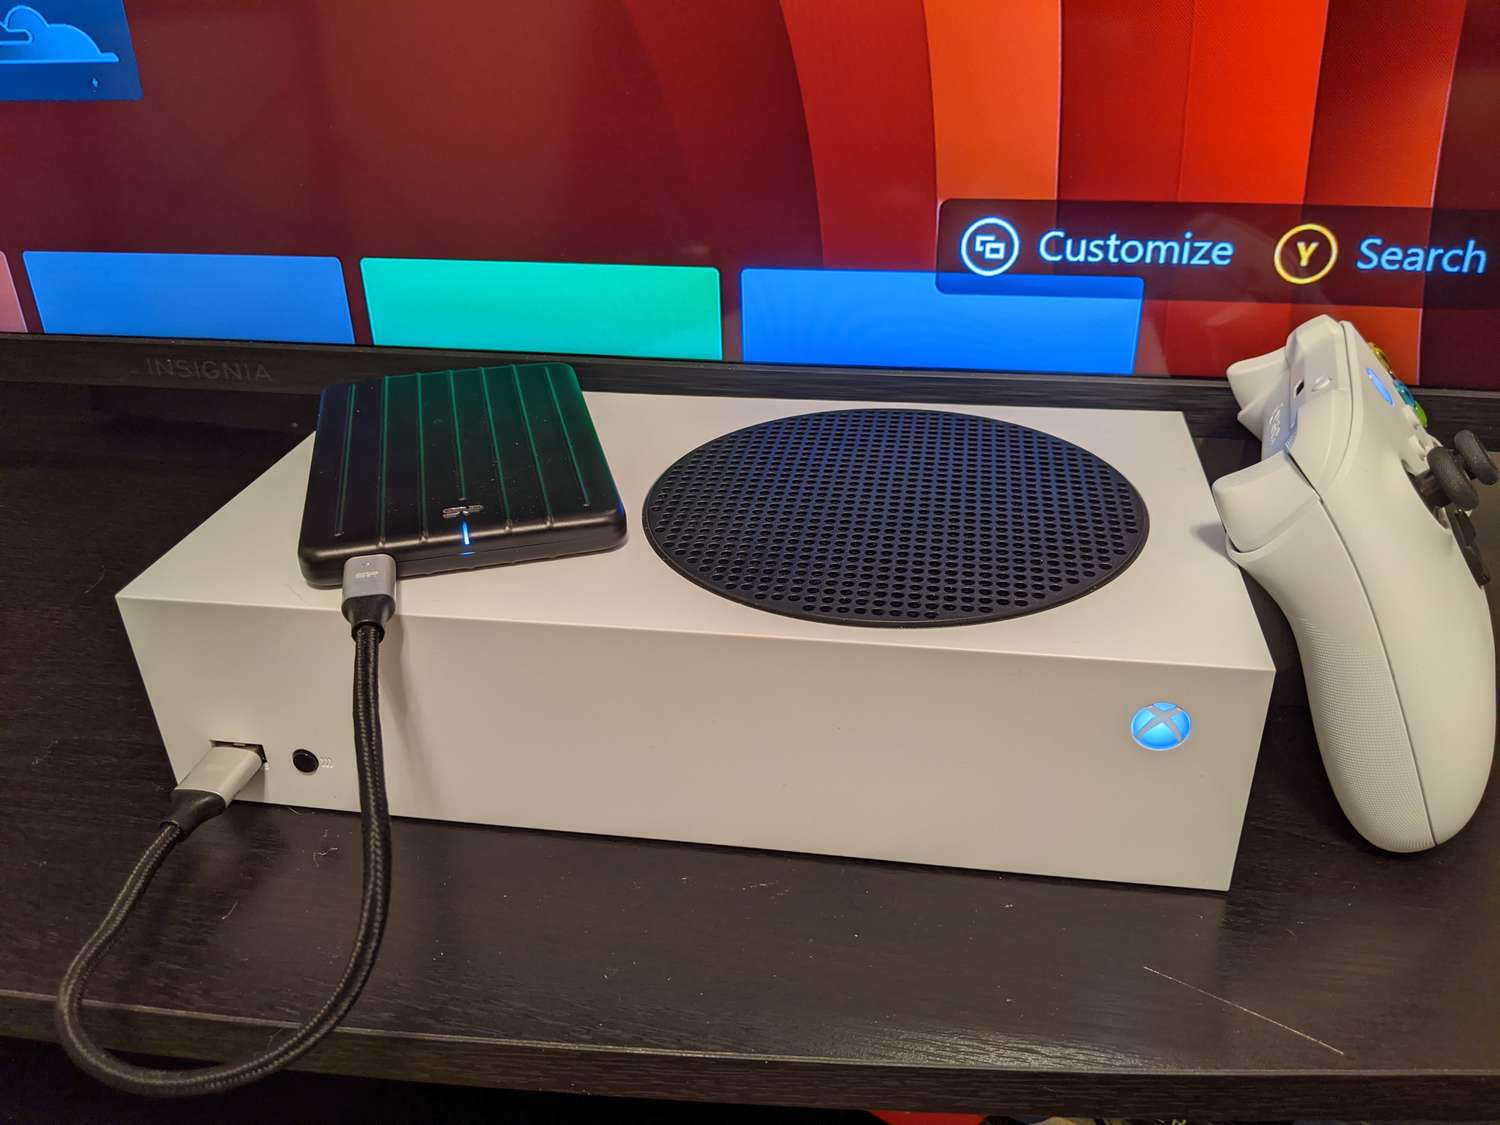
- Once the connection is established, your computer should recognize the Seagate drive and install any necessary drivers. Wait for the device to be recognized.
Some Seagate drives may require an external power source as well. If your drive has a separate power adapter, connect it to a power outlet and ensure it is securely connected to the drive.
Once the device is recognized and the necessary drivers are installed, you are ready to start using your Seagate external hard drive. It will typically appear as a new drive letter or volume on your computer.
Note: If your Seagate drive does not appear on your computer, make sure the cable connections are secure. You may also try connecting the drive to a different USB or Thunderbolt port on your computer to rule out any port-related issues.
In the next section, we will discuss how to format your Seagate external hard drive, ensuring it is ready to store and organize your files. So, let’s move forward!
Formatting the Seagate External Hard Drive
Before you can start using your Seagate external hard drive, it is recommended to format it to ensure compatibility with your computer’s operating system and optimize its performance. Formatting will erase any existing data on the drive, so make sure you have backed up any important files.
Follow these steps to format your Seagate drive:
- Open “File Explorer” on Windows or “Finder” on macOS.
- Locate the Seagate external hard drive in the list of drives. It may be labeled with the manufacturer’s name or a generic name such as “Untitled.”
- Right-click on the Seagate drive and select “Format” (Windows) or “Get Info” (Mac).
- In the formatting or information window, choose the desired file system. For Windows, NTFS is the recommended file system. For Mac, select macOS Extended (HFS+).
- Choose a name for your drive. This will be the label that appears when you connect it to your computer.
- Ensure that the quick format option is checked for faster formatting, unless you have specific formatting requirements.
- Click “Format” (Windows) or “Erase” (Mac) to start the formatting process. Note that this process may take several minutes.
- Once the formatting is complete, your Seagate external hard drive is ready to be used with your computer.
Formatting your Seagate drive might seem like an extra step, but it ensures compatibility and efficient file storage. If you plan to use the drive with both Windows and Mac systems, consider formatting it using the exFAT file system, which is compatible with both operating systems.
After formatting, you can start transferring files to your Seagate external hard drive, which we will explore in the next section. So, let’s proceed!
Transferring Files to the Seagate External Hard Drive
With your Seagate external hard drive connected and formatted, it’s time to start transferring your files. Whether you want to back up important documents, store photos or videos, or simply free up space on your computer, the process is straightforward.
Follow these steps to transfer files to your Seagate drive:
- Open “File Explorer” on Windows or “Finder” on macOS.
- Navigate to the folder or location where the files you want to transfer are located.
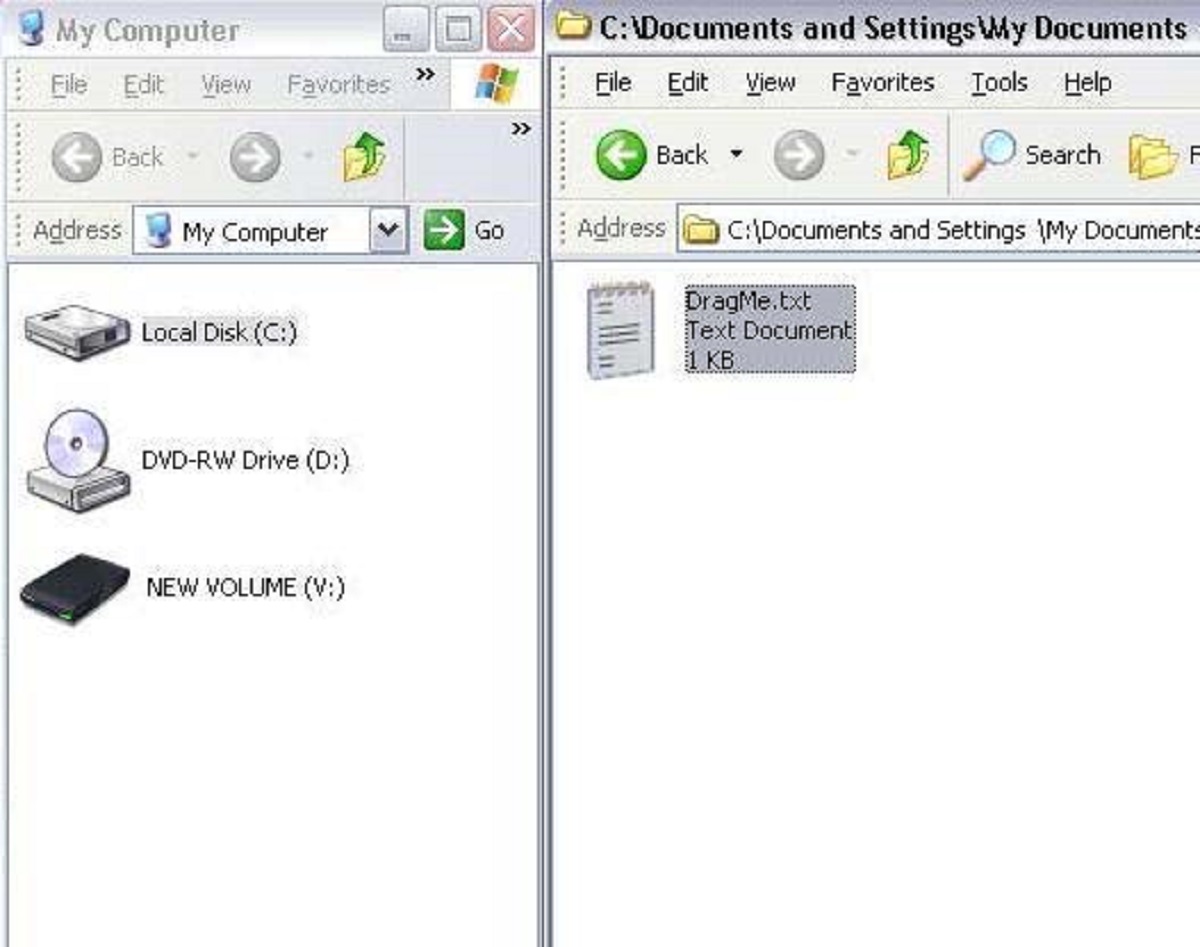
- Select the files by clicking and dragging around them or holding down the Ctrl or Command key and clicking on individual files.
- Once the files are selected, right-click on them and select “Copy” (Windows) or press Command + C (Mac).
- Go back to “File Explorer” or “Finder” and navigate to your Seagate external hard drive.
- Right-click on an empty space within the Seagate drive and select “Paste” (Windows) or press Command + V (Mac).
- Wait for the files to be copied to the Seagate drive. The time taken will depend on the size of the files and the speed of your computer and drive.
- Once the transfer is complete, you can safely disconnect the Seagate drive from your computer.
Tip: If you have a large number of files or folders to transfer, you can create a new folder on your Seagate drive and copy all the files into a single location. This will help keep your files organized and easily accessible.
Remember, transferring files to your Seagate drive frees up storage space on your computer and provides a reliable backup of your important data. However, it’s important to periodically check and ensure that your files are being successfully transferred to the Seagate drive.
In the next section, we will discuss the proper way to safely eject your Seagate external hard drive to avoid data corruption or loss. So, let’s continue!
Safely Ejecting the Seagate External Hard Drive
After transferring your files to the Seagate external hard drive, it’s crucial to properly eject it from your computer to prevent data corruption or loss. This step ensures that all pending read/write operations are completed and that it is safe to disconnect the drive.
Follow these steps to safely eject your Seagate drive:
- Ensure that all file transfer operations involving the Seagate drive are complete.
- On Windows, locate the “Safely Remove Hardware and Eject Media” icon in the system tray at the bottom right corner of the screen. On Mac, look for the Seagate drive icon on the desktop or in the Finder sidebar.
- Click on the “Safely Remove Hardware and Eject Media” icon (Windows) or drag the Seagate drive icon to the Trash (Mac).
- A list of connected devices will appear. Select the Seagate drive from the list.
- Wait for a message to indicate that it is safe to disconnect the drive.
- Once you receive the confirmation message, you can safely unplug the Seagate drive from your computer.
It is important to note that abruptly disconnecting the Seagate drive while data is being read or written can lead to data corruption or loss. By following the proper ejecting process, you ensure that all data is safely written to the drive, reducing the risk of file errors.
Now that you know how to safely eject your Seagate external hard drive, you can confidently disconnect it from your computer without worrying about data integrity. In the next section, we will address some common issues that you may encounter while using your Seagate drive and provide troubleshooting tips. So, let’s move forward!
Troubleshooting Common Issues
While Seagate external hard drives are generally reliable, you may encounter some common issues while using them. Let’s address a few of these issues and provide some troubleshooting tips to help resolve them.
1. Drive Not Recognized: If your computer does not recognize the Seagate drive, try the following:
- Check the cable connections and ensure they are secure.
- Try connecting the drive to a different USB or Thunderbolt port on your computer.
- Restart your computer and reconnect the drive.
- Update the device drivers for your Seagate drive by visiting the Seagate website and downloading the latest drivers.
2. Slow Transfer Speeds: If you notice slow data transfer speeds, consider the following:
- Ensure that you are using a USB 3.0 or USB 3.1 compatible port for faster speeds.
- Check for any background processes or applications that may be consuming system resources and slowing down the transfer.
- Try using a different USB or Thunderbolt cable, as a faulty cable can affect transfer speeds.
3. File Corruption: If you encounter file corruption issues, try these steps:
- Ensure that you are properly ejecting the Seagate drive before disconnecting it from your computer.
- Run a disk check or scan for errors on your Seagate drive to identify and repair any potential file system issues.
- Keep your Seagate drive and its firmware up to date by periodically checking for firmware updates on the Seagate website.
4. Incompatibility with macOS: If you face compatibility issues with macOS, try the following:
- Ensure that your Seagate drive is formatted with a macOS compatible file system, such as macOS Extended (HFS+).
- Check for any software updates for your macOS version, as it may include improvements for external drive compatibility.
- If the drive is still not recognized, you may need to reformat it using Disk Utility on your Mac.
These are just a few common issues that users may encounter while using Seagate external hard drives. If you continue to experience problems, it is advisable to consult the Seagate support website or contact their customer support for further assistance.
With the troubleshooting tips mentioned above, you should be able to resolve most issues and enjoy a smooth experience with your Seagate drive. In the next section, we will briefly summarize the key points discussed in this article. So, let’s wrap it up!
Conclusion
Congratulations! You now have a solid understanding of how to use a Seagate external hard drive effectively. We covered the basics, including storage capacity, file systems, supported interfaces, power options, and backup software. By familiarizing yourself with these concepts, you can make informed decisions when choosing and using your Seagate drive.
We also discussed the step-by-step process of connecting your Seagate drive to your computer, formatting it to ensure compatibility, transferring files to the drive, and safely ejecting it to protect your data. Following these guidelines will help you utilize your Seagate external hard drive efficiently and keep your files organized, accessible, and secure.
Remember to regularly back up your important files to your Seagate drive to prevent data loss. Additionally, be mindful of common issues that may arise, such as drive recognition problems, slow transfer speeds, file corruption, or compatibility issues with macOS. We provided troubleshooting tips to help you troubleshoot and resolve these issues if they occur.
Seagate external hard drives offer a reliable and convenient storage solution for a wide range of needs. Whether you use it for personal files, work documents, or multimedia content, your Seagate drive will provide you with the necessary storage space and peace of mind.
If you ever encounter any difficulties or have questions, do not hesitate to consult the Seagate support website or reach out to their customer support for assistance tailored to your specific situation.
Now that you have the knowledge and tools, it’s time to unleash the full potential of your Seagate external hard drive. Enjoy the convenience, reliability, and extra storage space it brings to your digital life!