Introduction
Welcome to the world of Seagate External Hard Drives for Mac! If you own a Mac and are looking for a reliable and spacious storage solution, Seagate has got you covered. With their sleek design, ample storage options, and compatibility with Mac operating systems, Seagate external hard drives are the perfect companion for your Mac.
Whether you need extra space for storing your important files, backing up your data, or transferring large media files, Seagate external hard drives offer the performance and reliability you need. But, before you can start using your Seagate external hard drive on your Mac, there are a few important steps you need to follow.
In this guide, we’ll walk you through the process of choosing the right Seagate external hard drive for your Mac, connecting it to your Mac, formatting it, transferring files, safely ejecting it, and troubleshooting common issues. By the end of this guide, you’ll be a pro at using your Seagate external hard drive with your Mac.
So, let’s dive in and get started on harnessing the power and convenience of Seagate external hard drives on your Mac!
Choosing the Right Seagate External Hard Drive for Your Mac
When it comes to choosing the right Seagate external hard drive for your Mac, there are a few factors you need to consider. The first and most crucial factor is the storage capacity. Determine how much storage space you require based on your needs. If you work with large files such as high-resolution photos or videos, opt for a higher capacity drive like the Seagate Backup Plus Hub with up to 12TB of storage.
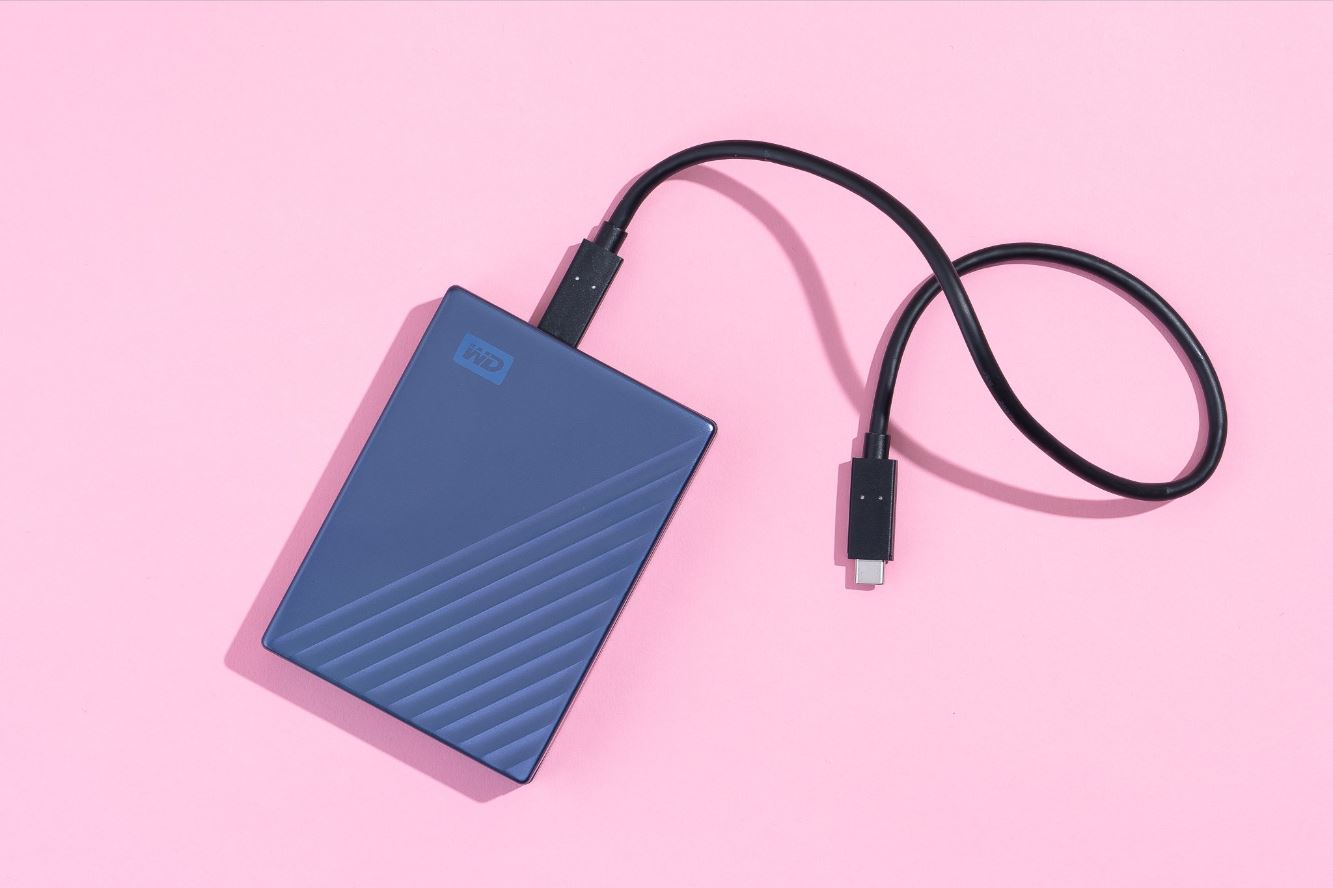
Another important consideration is the interface of the external hard drive. Seagate offers various options, including USB 3.0, USB-C, and Thunderbolt. Your choice of interface will depend on the available ports on your Mac. If your Mac has USB-C ports, it is advisable to choose an external hard drive with USB-C compatibility for faster data transfer speeds.
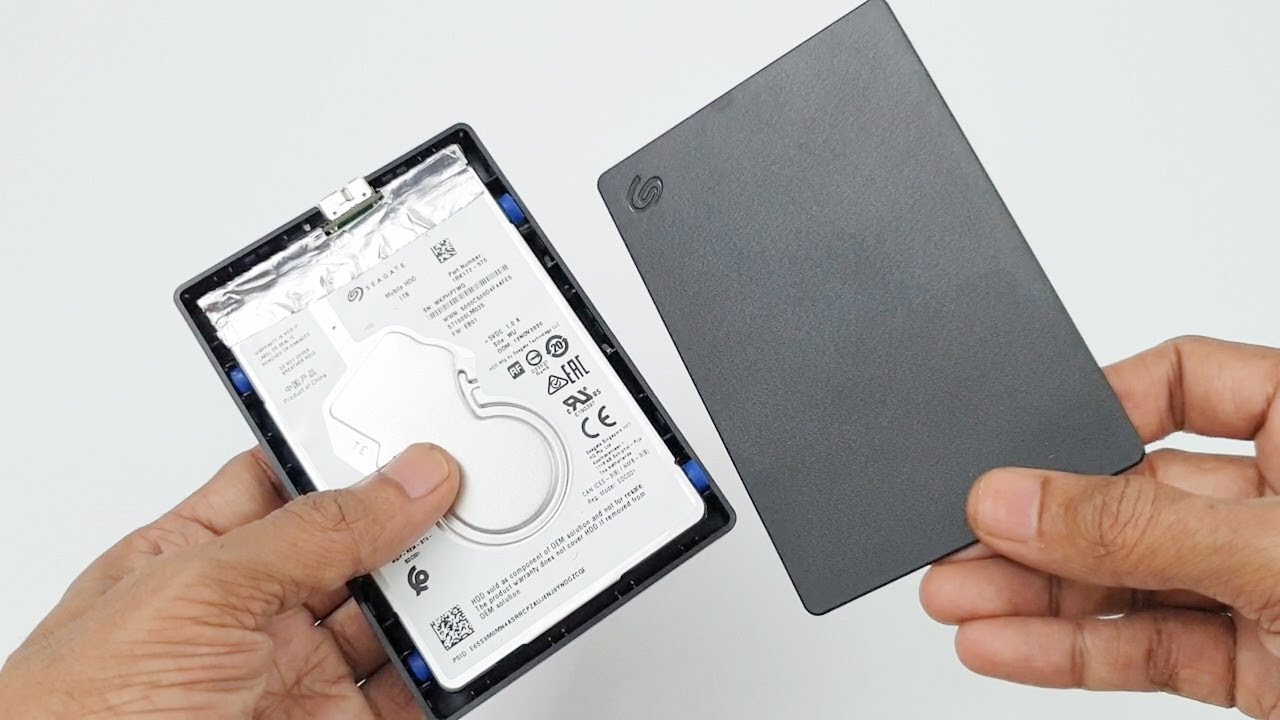
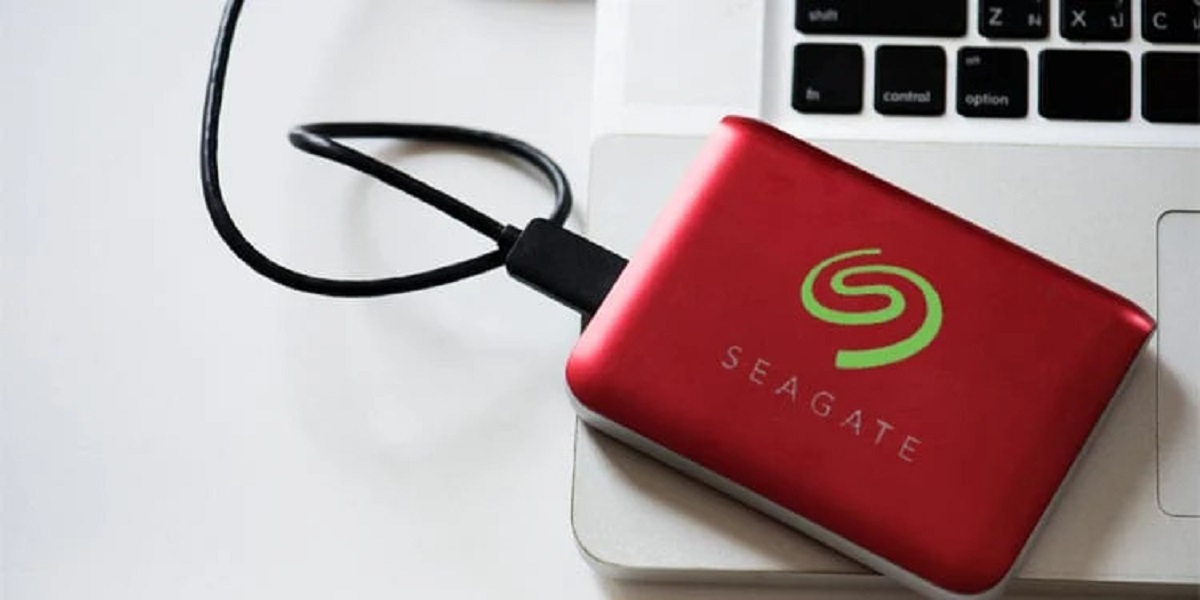
Additionally, think about the physical size and design of the external hard drive. If portability is a priority, opt for a smaller and more compact drive like the Seagate Backup Plus Slim, which easily fits into your pocket or backpack. On the other hand, if you plan to use the drive as a stationary backup solution, consider larger options with additional features like the Seagate Backup Plus Desktop Hub.
Compatibility with Mac operating systems is also a key factor to keep in mind. Seagate external hard drives are specifically designed to work seamlessly with Mac systems, ensuring smooth integration and easy plug-and-play setup. Look for models that explicitly mention Mac compatibility in their specifications to avoid any compatibility issues.
Lastly, consider your budget and any additional features you may require. Some Seagate external hard drives offer built-in hardware encryption for enhanced security, while others come with backup software for automated data backups. Assess your needs and budget to find the perfect balance between storage capacity and functionality.
By taking these factors into account, you’ll be able to select the right Seagate external hard drive that best suits your Mac and meets your storage requirements. Once you’ve chosen the perfect drive, it’s time to connect it to your Mac and get ready to unleash its full potential!
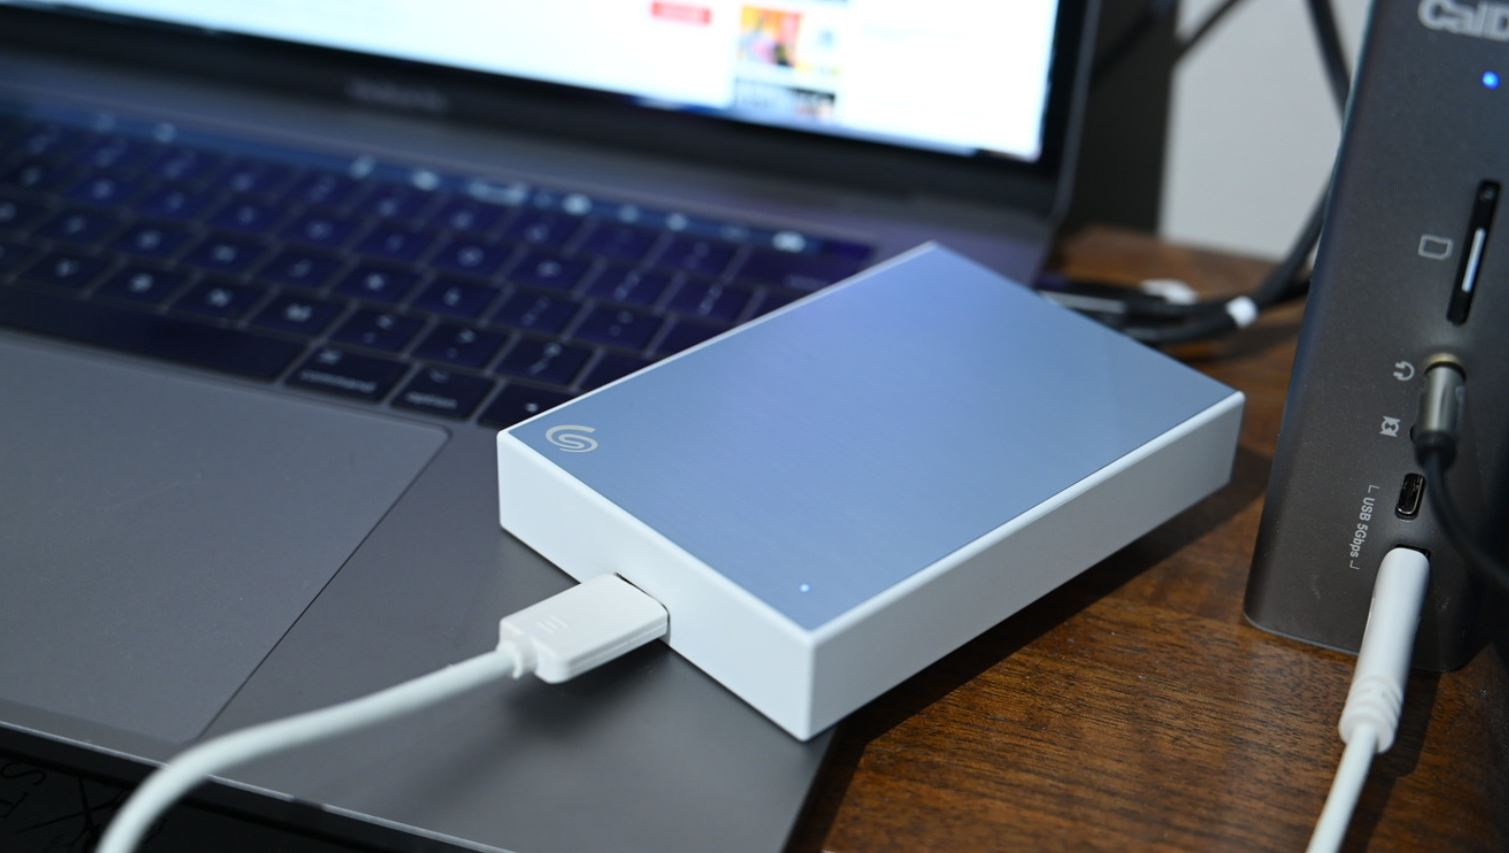
Connecting the Seagate External Hard Drive to Your Mac
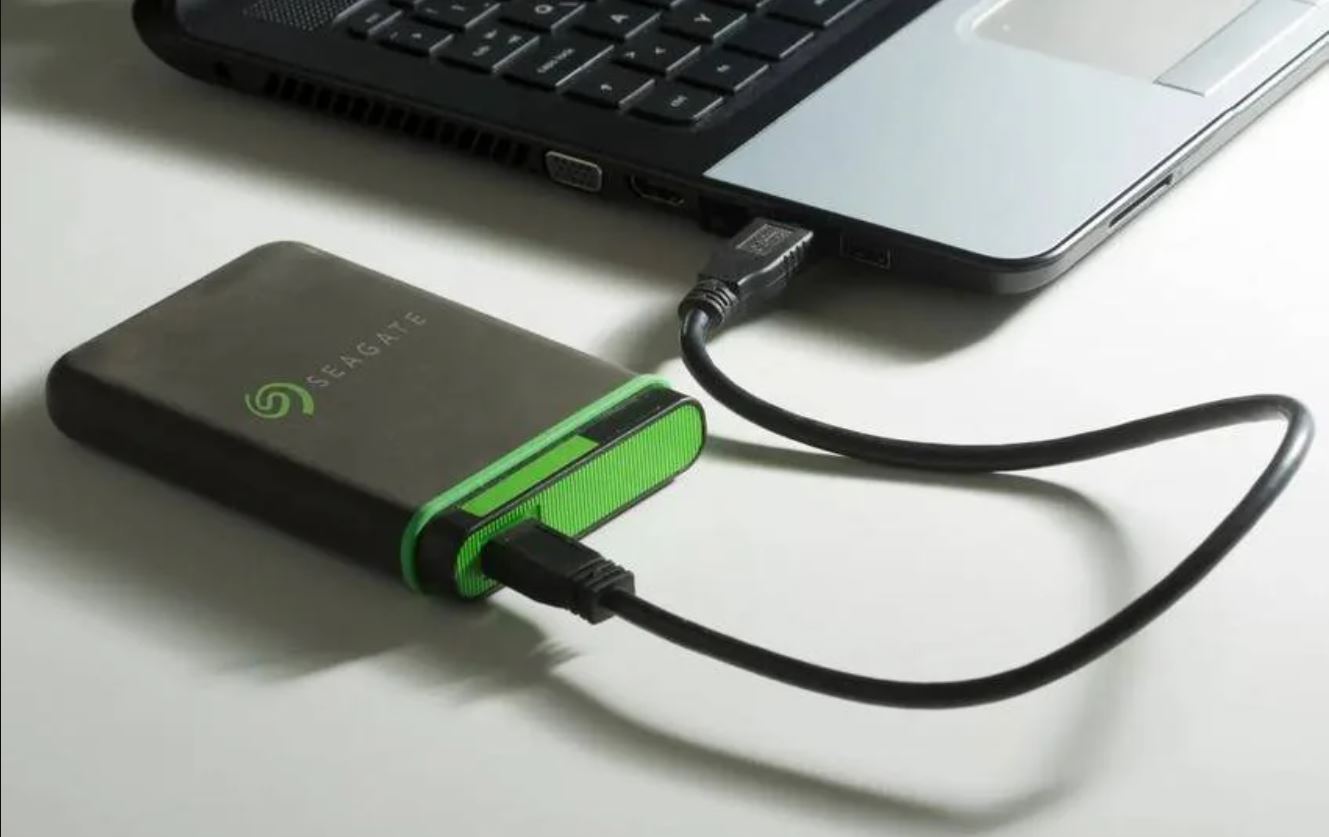
Connecting your Seagate external hard drive to your Mac is a simple and straightforward process. Follow these steps to get started:
- Make sure your Mac is turned on and running.
- Locate the appropriate connection port on your Seagate external hard drive. Depending on the model, it may have a USB, USB-C, or Thunderbolt port.
- Connect one end of the corresponding cable to the port on your Seagate external hard drive.
- Connect the other end of the cable to an available USB or Thunderbolt port on your Mac. If you are using a USB-C cable, make sure to connect it to a USB-C port on your Mac.
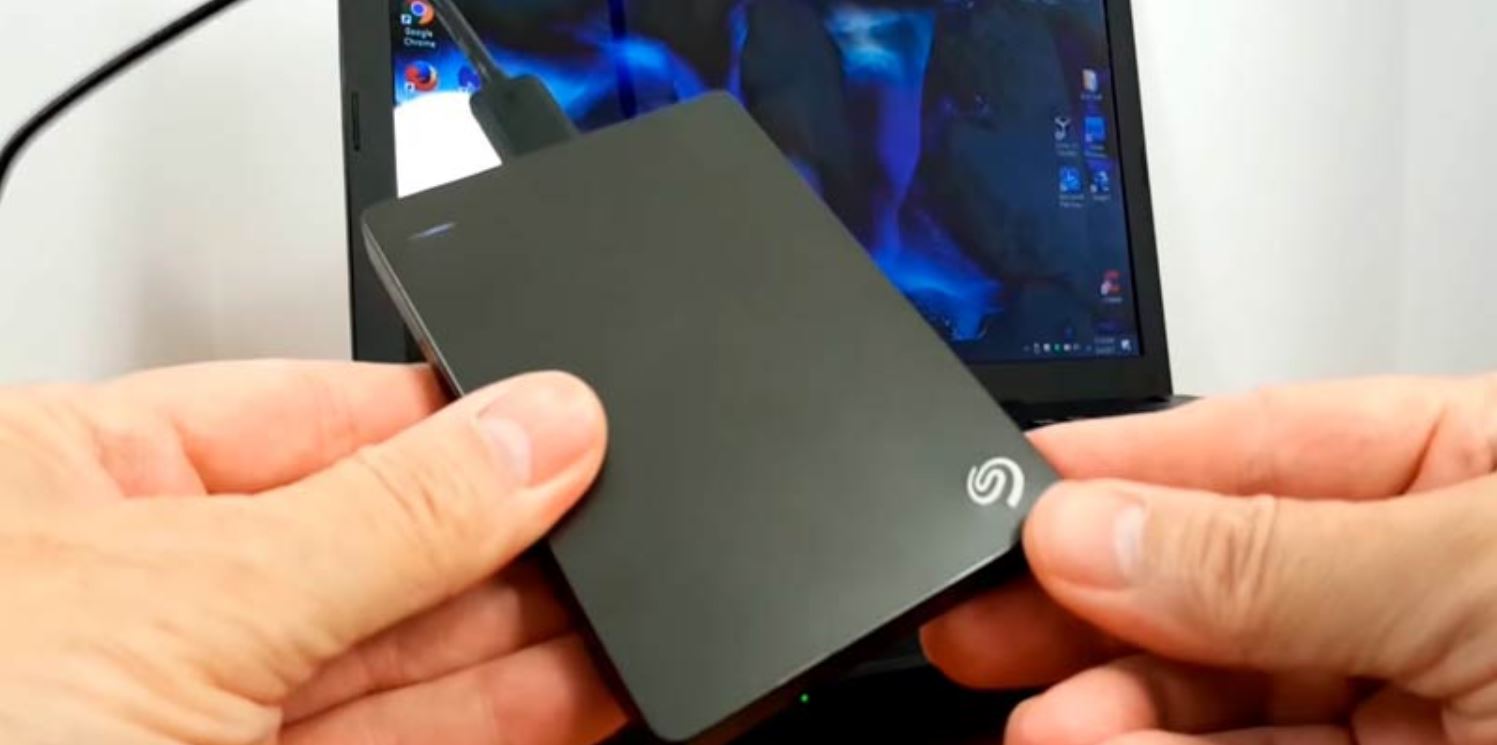
- Wait for a few seconds as your Mac recognizes the connected Seagate external hard drive.
- You will see the Seagate external hard drive icon appear on your desktop or in the Finder sidebar. This indicates that the drive is successfully connected to your Mac.
Once connected, you can start using your Seagate external hard drive to store and access your files. It will appear as a separate storage device on your Mac, just like any other internal or external drive.
If you’re having trouble connecting the Seagate external hard drive or it’s not being recognized by your Mac, there are a few troubleshooting steps you can try. First, ensure that both ends of the cable are securely connected. If you’re using a USB hub, try connecting the drive directly to your Mac instead. You can also try using a different cable or port on your Mac to rule out any hardware issues.
Additionally, check if the Seagate external hard drive has its own power source. If it requires external power, make sure it’s properly connected and turned on. Some Seagate models also come with a power-saving feature that may cause the drive to appear as disconnected or unresponsive. In such cases, try restarting your Mac or disabling the power-saving feature through the drive’s settings or Seagate Dashboard software.
By following these steps and troubleshooting tips, you should be able to connect your Seagate external hard drive to your Mac without any issues. Next, let’s move on to formatting the drive to ensure optimal compatibility and performance on your Mac.
Formatting the Seagate External Hard Drive for Mac
Formatting your Seagate external hard drive is an essential step to ensure seamless compatibility and optimal performance on your Mac. By formatting the drive specifically for Mac, you can avoid potential issues and make the most out of its storage capacity. Follow these steps to format your Seagate external hard drive for Mac:
- Open “Finder” on your Mac by clicking on the Finder icon in your dock or by pressing Command + Spacebar and typing “Finder” in the Spotlight search.
- Connect the Seagate external hard drive to your Mac using the appropriate cable.
- Once the drive appears on the desktop or in the Finder sidebar, click on it to select it.
- In the top menu bar, click on “File” and then select “Get Info” or press Command + I. This will open the Information window for the selected drive.
- In the Information window, make sure you are on the “General” tab.
- Ensure that the drive is empty or backed up, as formatting will erase all data on the drive. If you have important files on the drive, transfer them to another location before proceeding.
- Under “Format,” select “Mac OS Extended (Journaled)” from the drop-down menu. This is the recommended file system format for Mac.
- Give your Seagate external hard drive a name in the “Name” field. Choose a descriptive name that will help you easily identify the drive.
- Double-check the formatting options and the drive’s name to make sure they are correct.
- In the bottom right corner of the Information window, click on the “Erase” button.
- A warning message will appear, informing you that the disk will be erased. Confirm that you have backed up any important data, and then click on “Erase” to proceed with the formatting process.
- Wait for the formatting process to complete. This may take a few minutes, depending on the size of the drive.
- Once the formatting is finished, your Seagate external hard drive will be ready for use on your Mac. It will now be formatted with the Mac OS Extended (Journaled) file system and can be easily accessed and used for storing your files.
After formatting, your Seagate external hard drive will be optimized for compatibility with Mac and will be free from any previous file system limitations. You can now start transferring files to your newly formatted drive and enjoy the seamless storage experience it provides.
In the next section, we will discuss how to transfer files to your Seagate external hard drive using your Mac.
Transferring Files to the Seagate External Hard Drive
Now that you have successfully formatted your Seagate external hard drive for your Mac, it’s time to start transferring your files. Whether you want to back up important documents, store media files, or free up space on your Mac, transferring files to your Seagate external hard drive is a breeze. Here’s how you can do it:
- Connect your Seagate external hard drive to your Mac using the appropriate cable.
- Wait for the drive icon to appear on the desktop or in the Finder sidebar, indicating that it is recognized by your Mac.
- Open a new Finder window by clicking on the Finder icon in the dock or by pressing Command + N.
- In the Finder window, navigate to the location where your files are stored. This can be your Documents folder, Downloads folder, or any other location on your Mac’s internal storage.
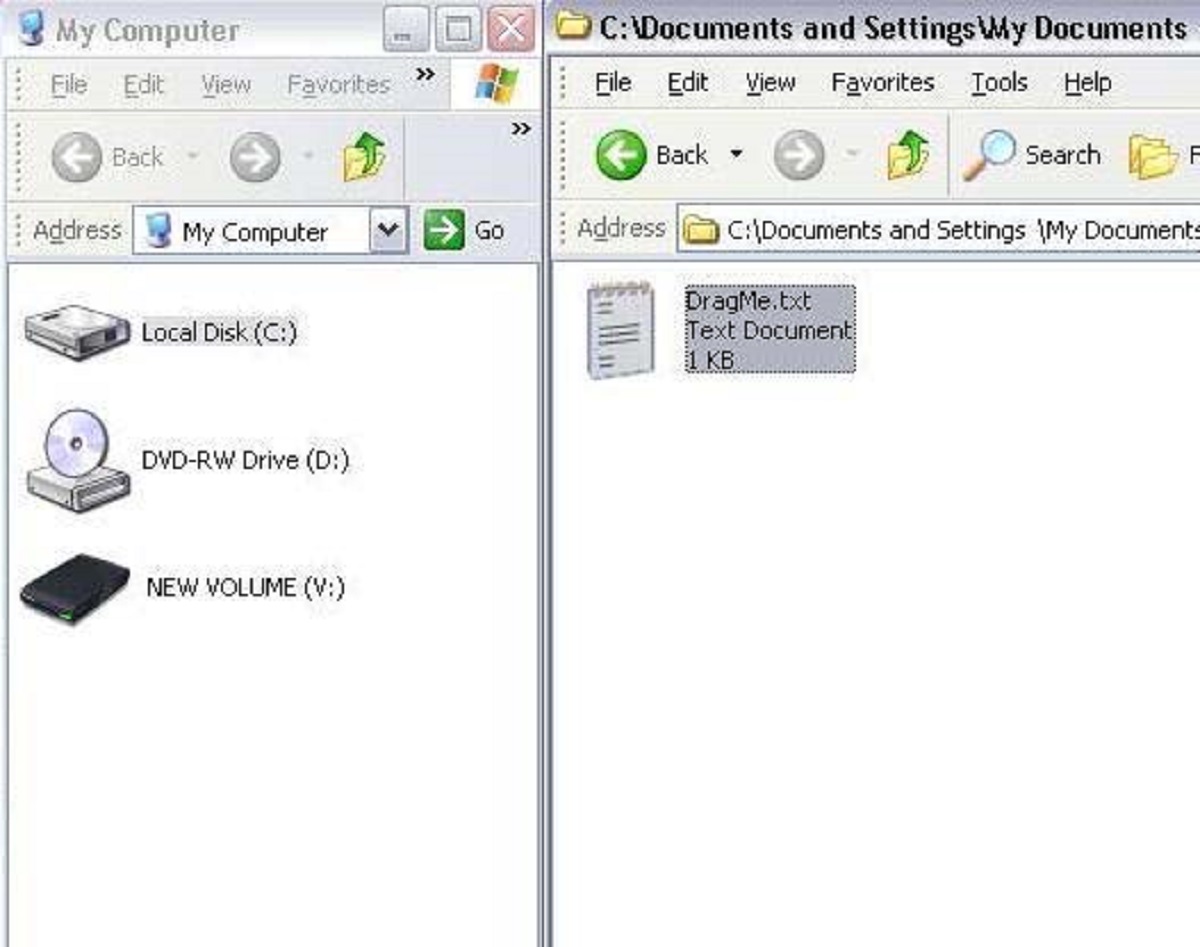
- Select the files or folders that you want to transfer to your Seagate external hard drive.
- Click and hold the selected files or folders, then drag them to the drive icon on the desktop or in the Finder sidebar. Release the mouse button to initiate the transfer.
- You can also use the “Copy” (Command + C) and “Paste” (Command + V) commands to transfer files. Simply select the files or folders, press Command + C to copy them, navigate to the Seagate external hard drive, and then press Command + V to paste them.
- Wait for the files to finish transferring. The time it takes will depend on the size of the files and the transfer speed of your external hard drive.
- Once the transfer is complete, you can verify that your files have been successfully transferred by navigating to your Seagate external hard drive through the Finder. Your files should be visible and accessible on the drive.
It’s important to note that you can organize your files and create folders on your Seagate external hard drive, just like you would on your Mac’s internal storage. This allows you to keep your files organized and easily find what you need.
Remember to safely eject your Seagate external hard drive from your Mac before unplugging it. To do this, simply right-click on the drive icon on your desktop or in the Finder sidebar and select “Eject.” Wait for the “Drive Name” has been ejected message to appear before disconnecting the drive.
Transferring files to your Seagate external hard drive offers a convenient way to expand your storage and keep your files safe. In the next section, we will explore how to safely eject your Seagate external hard drive from your Mac to avoid data loss or corruption.
Safely Ejecting the Seagate External Hard Drive from Your Mac
When you’re done using your Seagate external hard drive on your Mac, it’s important to safely eject it before disconnecting it from your computer. Safely ejecting your drive helps prevent data loss or corruption and ensures that all files are properly saved and closed. Here’s how you can safely eject your Seagate external hard drive from your Mac:
- Ensure that all file transfers or operations involving the Seagate external hard drive are complete. Make sure that no files are currently being accessed or modified.
- Locate the drive icon on your desktop or in the Finder sidebar representing your Seagate external hard drive.
- Click the right mouse button (or Control-click) on the drive icon. This will open a context menu.
- In the context menu, select “Eject” or “Eject ‘Drive Name’.” Alternatively, you can drag the drive icon to the Trash icon in the dock.
- Wait for the system to complete the ejection process. A progress bar may appear, indicating that the drive is being prepared for safe removal.
- Once the ejection process is complete, you will see the drive icon disappear from the desktop or Finder sidebar. This indicates that it is safe to disconnect the Seagate external hard drive from your Mac.
- Physically disconnect the cable connecting your Seagate external hard drive from your Mac.
It’s crucial to note that prematurely disconnecting your Seagate external hard drive without safely ejecting it can lead to data loss or damage to the drive itself. Following the proper ejection procedure ensures the integrity of your files and the longevity of your external hard drive.
If you have trouble ejecting the drive using the above method, you can also try the following alternative methods:
- Click on the Finder icon in the dock to bring Finder to the foreground. In the top menu bar, click on “File” and select “Eject [Drive Name].” This will safely eject the Seagate external hard drive.
- Use the keyboard shortcut Command + E to quickly eject the selected drive.
By safely ejecting your Seagate external hard drive from your Mac, you can ensure that your data remains intact and avoid potential data corruption or loss. Now that you know how to safely eject your drive, you’re ready to utilize your Seagate external hard drive with confidence and peace of mind.
Troubleshooting Common Issues with Seagate External Hard Drive on Mac
While Seagate external hard drives are known for their reliability, you may occasionally encounter some issues when using them on your Mac. Here are some common problems you might come across and their potential solutions:
1. Drive not recognized: If your Seagate external hard drive is not appearing on your Mac, try the following steps:
- Check the cable connection between the drive and your Mac. Ensure it is securely plugged in.
- Try connecting the drive to a different USB or Thunderbolt port on your Mac.
- Restart your Mac and reconnect the drive.
- If the drive has its own power source, make sure it is properly connected and turned on.
2. Slow transfer speeds: If you notice slow transfer speeds when copying files to your Seagate external hard drive, consider these troubleshooting steps:
- Try using a different USB or Thunderbolt cable to rule out a faulty cable.
- Ensure that all software and firmware on your Mac and the Seagate drive are up to date.
- Avoid running multiple resource-intensive tasks simultaneously, as this can affect transfer speeds.
- Check for any background processes or applications that might be using significant system resources.
3. File system compatibility: If you are unable to access files on your Seagate external hard drive, it might be due to incompatible file systems. Macs use the HFS+ or APFS file systems, while Windows PCs generally use NTFS. To make your drive compatible with both platforms, consider formatting it to exFAT or FAT32. Keep in mind that formatting will erase all data on the drive, so make sure to back up any important data before proceeding.
4. Drive not appearing in Disk Utility: If your Seagate external hard drive is not showing up in Disk Utility, try these steps:
- Check if the drive appears in the Finder sidebar or on the desktop. If it does, you can still access and use it even if it doesn’t show up in Disk Utility.
- Try connecting the drive to a different Mac or PC to see if it is recognized.
- Inspect the drive for any physical damage or loose connections.
- If none of these steps work, the drive may be faulty. Contact Seagate customer support for further assistance or consider a warranty claim if applicable.
If you encounter any other issues with your Seagate external hard drive on your Mac, it’s always beneficial to check Seagate’s website for troubleshooting guides and software updates specific to your drive model. Additionally, reaching out to Seagate’s customer support team can provide you with personalized assistance and solutions.
By following these troubleshooting tips, you can resolve common issues and ensure a smooth experience while using your Seagate external hard drive on your Mac.
Conclusion
Congratulations! You have now mastered the art of using a Seagate external hard drive on your Mac. By following the steps in this guide, you are well-equipped to choose the right Seagate external hard drive for your Mac, connect it, format it, transfer files, and safely eject it.
Seagate external hard drives offer a reliable and convenient way to expand your storage space, back up your data, and safely store your important files. Whether you’re a creative professional dealing with large media files or a student needing extra space for assignments and projects, Seagate has a solution to meet your needs.
Remember to choose a Seagate external hard drive with the right storage capacity, interface, and compatibility for your Mac. Connect the drive using the appropriate cable, format it using the Mac OS Extended (Journaled) file system, and effortlessly transfer files using simple drag-and-drop techniques.
When you’re finished using your Seagate external hard drive, always remember to safely eject it from your Mac before disconnecting it. This protects your data, ensures proper file saving, and maintains the integrity of the drive.
In the rare event that you encounter any issues, don’t worry! Use the troubleshooting tips provided in this guide to resolve common issues and reach out to Seagate’s customer support for further assistance.
Seagate external hard drives are designed to seamlessly integrate with your Mac, providing you with reliable storage and peace of mind. With your newfound knowledge, you can now confidently use your Seagate external hard drive to store and access your files, backup your data, and streamline your digital life on your Mac.
So go ahead, unleash the power of your Seagate external hard drive and enjoy the benefits of expanded storage and reliable performance on your Mac!