Introduction
Welcome! If you’re here, it probably means you’re looking for a solution to unlock your Seagate external hard drive. Don’t worry; you’ve come to the right place! In this article, we’ll walk you through the step-by-step process of unlocking your Seagate external hard drive, so you can regain access to your valuable data.
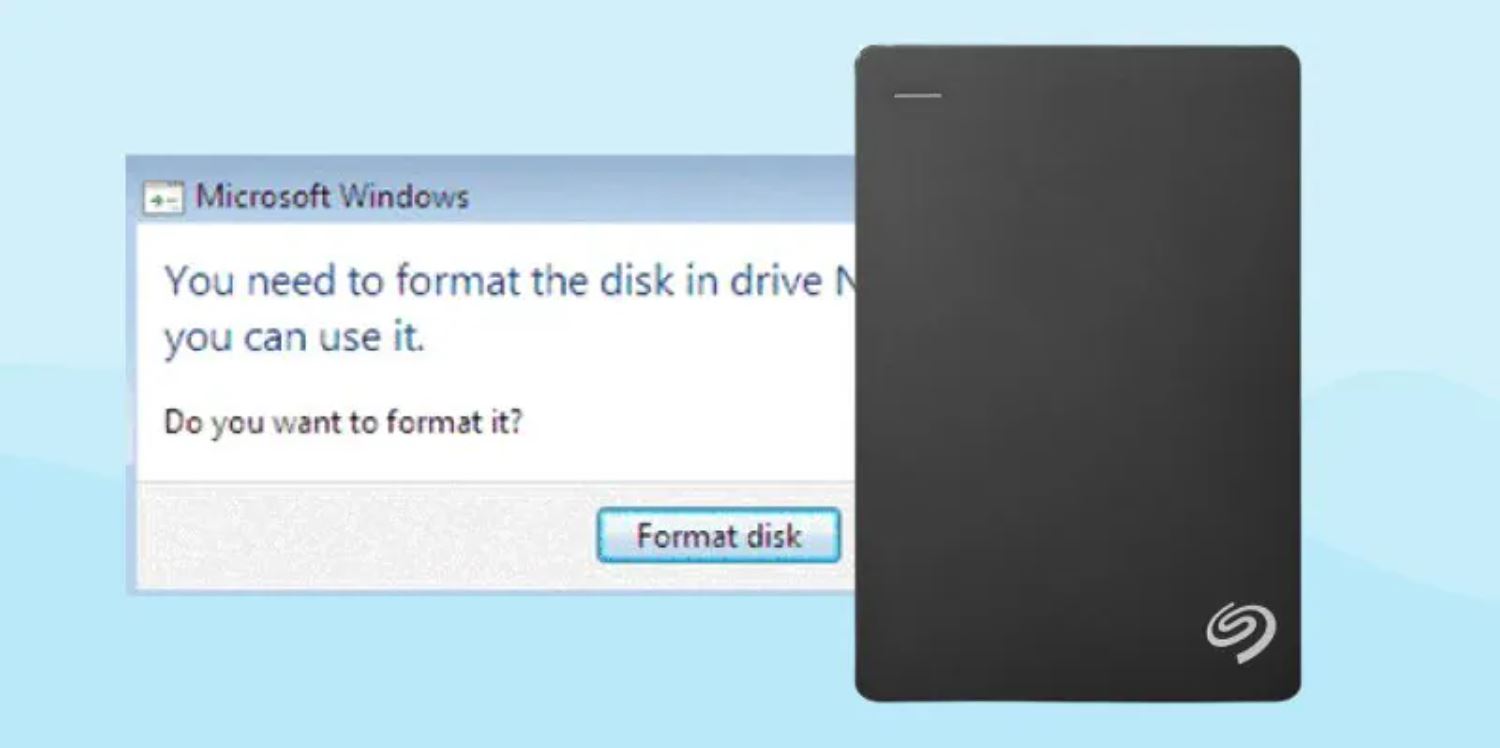
Securing your external hard drive with a lock is a smart move to protect your sensitive information. It provides an added layer of security in case your hard drive falls into the wrong hands. However, there might be instances when you need to unlock your Seagate external hard drive to access your files or make changes to your storage configuration.
Unlocking your Seagate external hard drive is a straightforward process that requires a few simple steps. You don’t need to be a tech guru to accomplish it—all you need is some basic knowledge and the right tools. Whether you forgot the password, are encountering an error message, or need to reconfigure your storage setup, we’ve got you covered.
Before we dive into the process, it’s important to ensure that you have the necessary tools and equipment at hand. This will streamline the unlocking process and ensure you can complete it smoothly. So grab your Seagate external hard drive, your computer, and let’s get started!
Step 1: Gather Necessary Tools and Equipment
Before you begin the process of unlocking your Seagate external hard drive, it’s important to gather all the necessary tools and equipment. Having everything ready will ensure a seamless and hassle-free experience. Here’s what you’ll need:
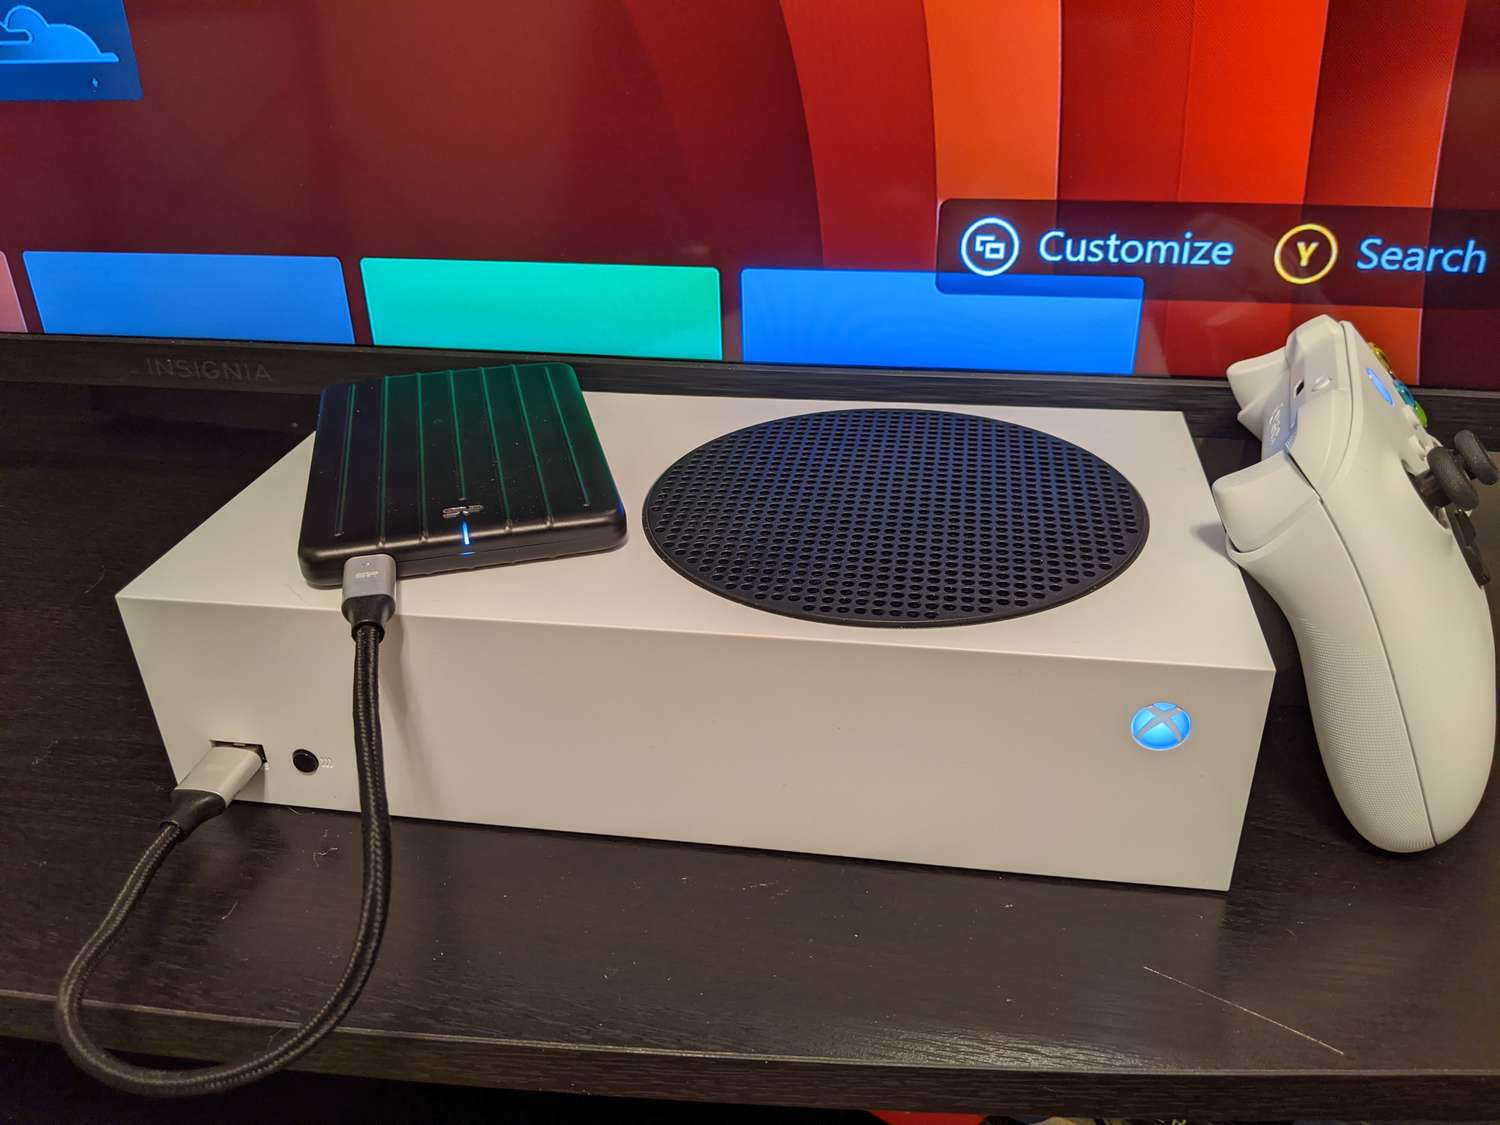
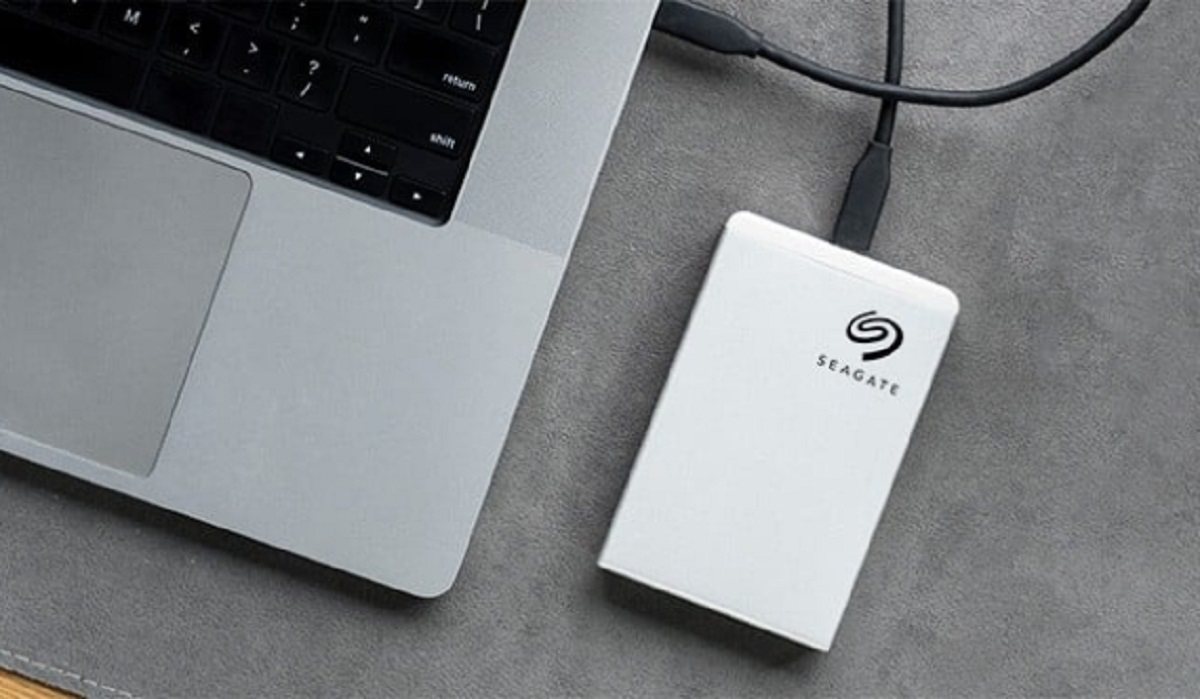
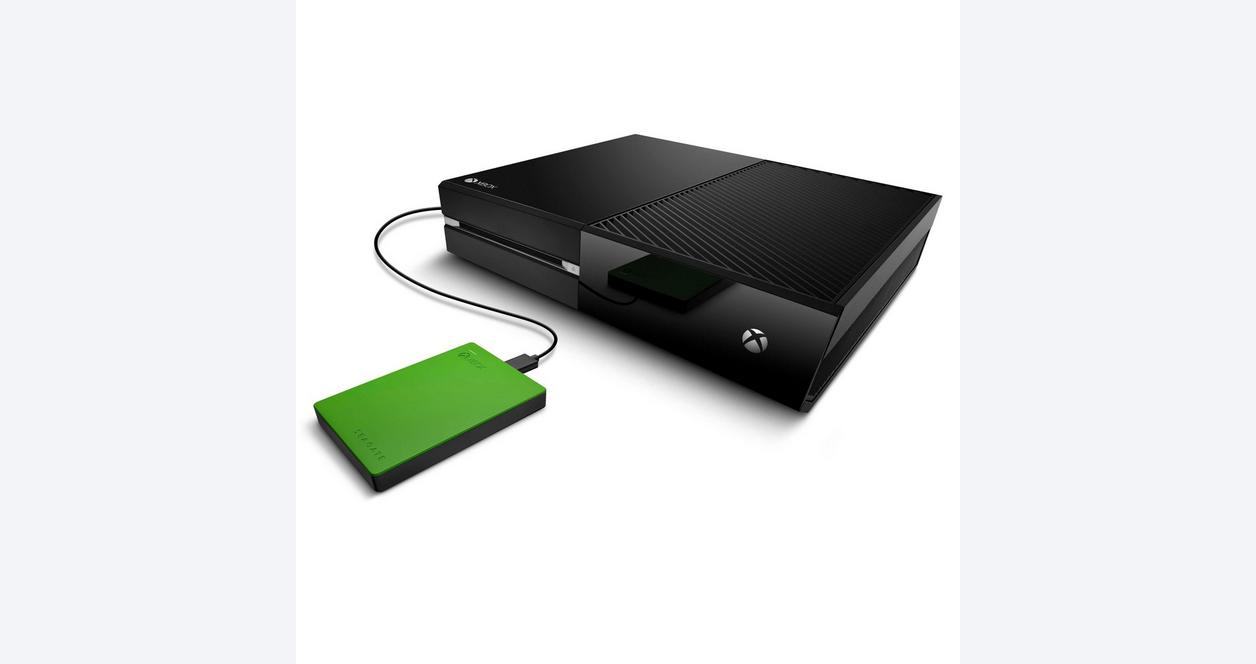
- Seagate External Hard Drive: Locate your Seagate external hard drive, which you intend to unlock. Make sure it is properly connected to your computer.
- Computer: You’ll need a computer to access the disk management utility and carry out the unlocking process. Ensure that your computer is powered on and ready to go.
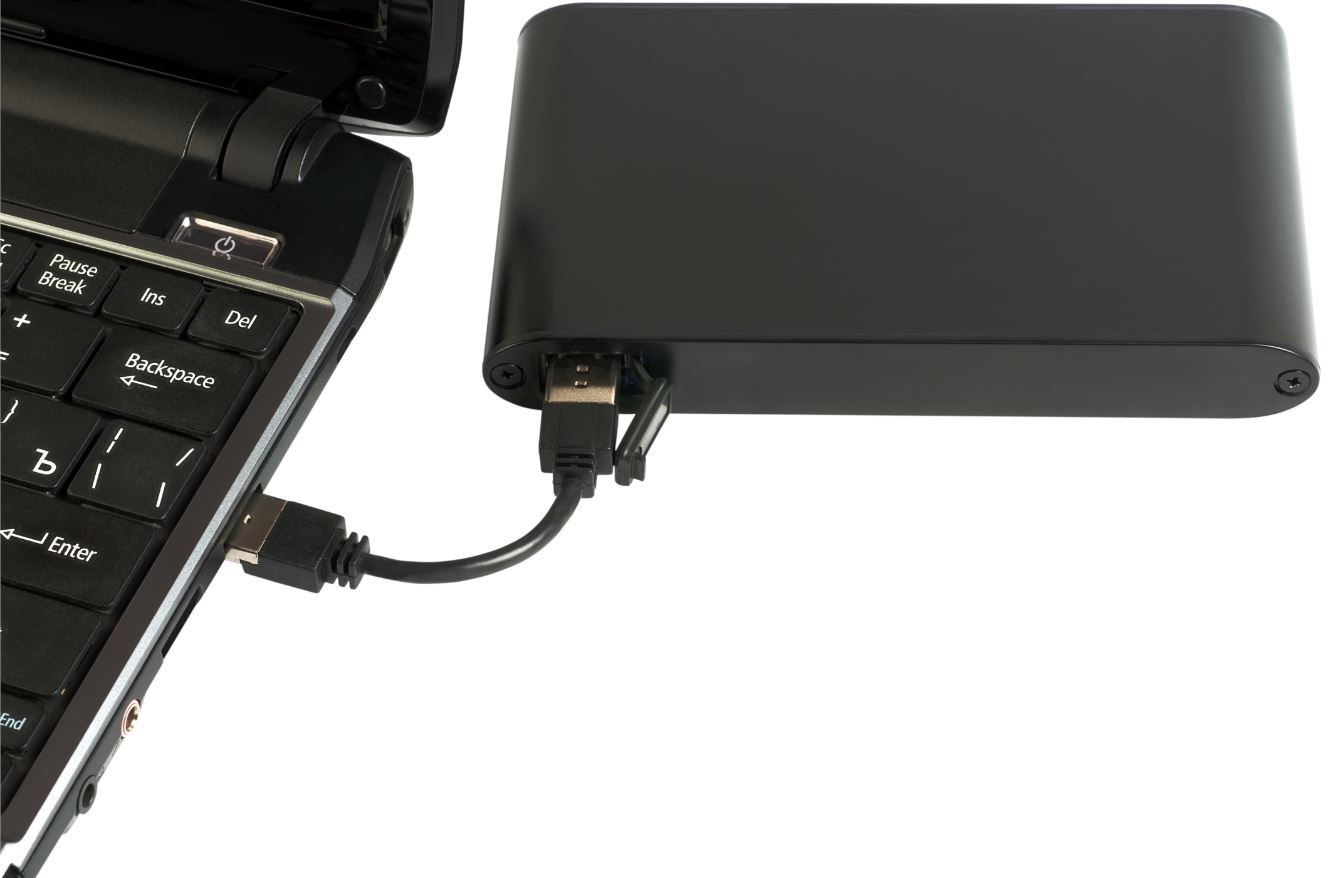
- USB Cable: Depending on the model of your Seagate external hard drive, you may need a USB cable to connect it to your computer. Check if your hard drive requires a USB cable, and have one handy if needed.
- Administrator Access: To carry out certain actions during the unlocking process, you may need administrator access to your computer. Ensure that you have the necessary permissions or credentials to make changes to your system.
By gathering these tools and equipment ahead of time, you’ll be well-prepared to unlock your Seagate external hard drive. Double-check that everything is in order before you proceed to the next step. Once you have everything ready, you’re all set to embark on the journey of unlocking your Seagate external hard drive.
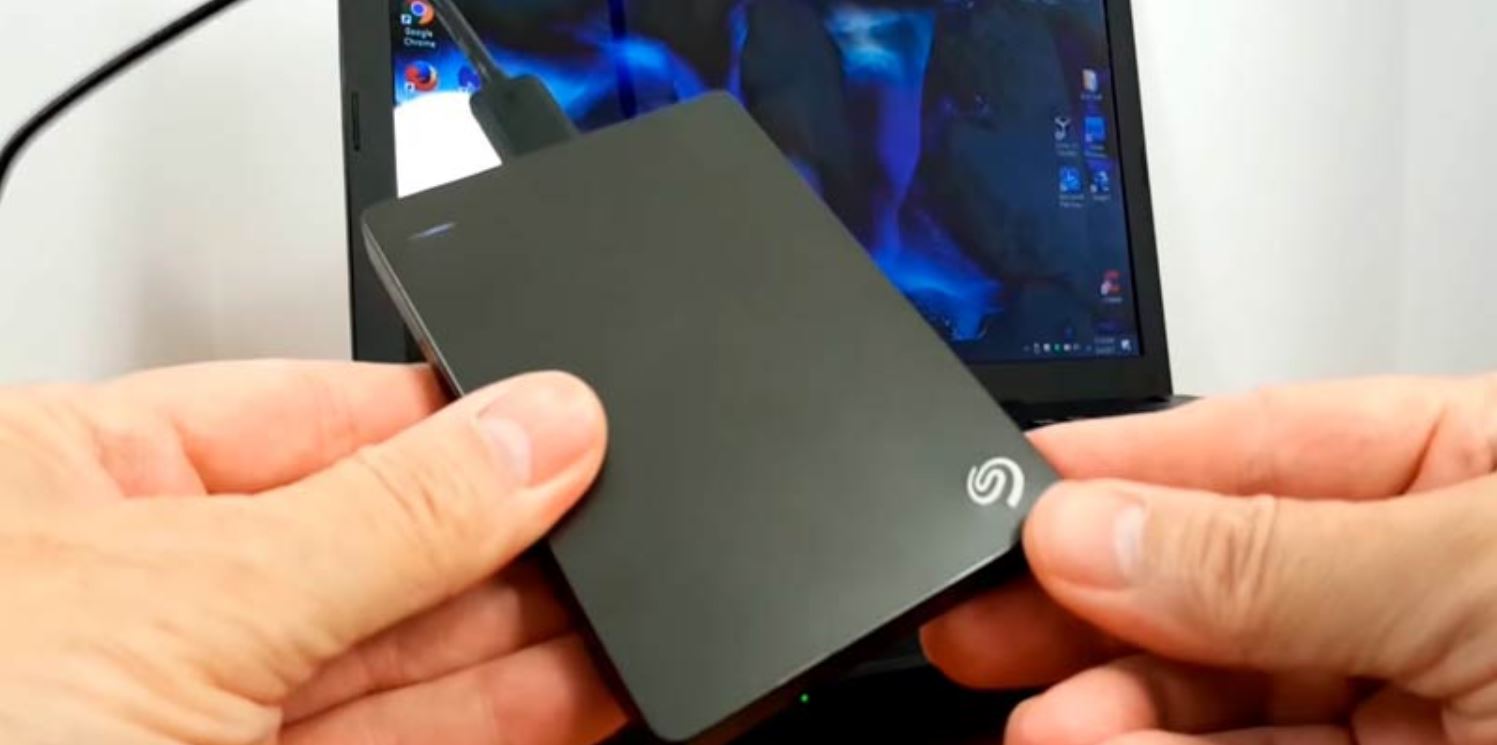
Step 2: Connect the Seagate External Hard Drive to Your Computer
Now that you have gathered all the necessary tools and equipment, it’s time to connect your Seagate external hard drive to your computer. Follow these steps:
- Locate the USB port on your computer. It is typically located on the side or back of your computer’s tower or on the side of your laptop.
- Take the USB cable that came with your Seagate external hard drive (if required) and connect one end into the USB port on your computer.
- Connect the other end of the USB cable into the corresponding port on your Seagate external hard drive. Ensure that the connection is secure.
- If your Seagate external hard drive has a separate power cable, plug it into a power outlet or USB port on your computer for power.
- Once the connection is established, you should see a notification or hear a sound indicating that your computer has detected the external hard drive.
It’s important to ensure a stable connection between your Seagate external hard drive and your computer. A secure connection will ensure smooth data transfer and enable you to effectively unlock your hard drive. Double-check that the USB cable is securely plugged in and that all connections are properly established before proceeding to the next step.
Step 3: Launch Disk Management Utility
With your Seagate external hard drive connected to your computer, it’s time to launch the Disk Management utility. This utility will allow you to manage the partitions and settings of your hard drive. Here’s how to launch the Disk Management utility:
- Open the Start menu on your computer and type “Disk Management” in the search bar.
- From the search results, click on “Create and format hard disk partitions” or “Disk Management.” This will open the Disk Management utility.
- Alternatively, you can also access the Disk Management utility by pressing the Windows key + R on your keyboard to open the Run dialog box. Type “diskmgmt.msc” and press Enter.
- The Disk Management utility will now open, displaying a list of all connected drives and their corresponding partitions.
Launching the Disk Management utility is a crucial step in unlocking your Seagate external hard drive. It allows you to view and manage the partitions on your hard drive, making it easier to unlock and assign a drive letter to your Seagate external hard drive. Take a moment to ensure that the Disk Management utility is open and ready to use before moving on to the next step.
Step 4: Locate the Locked Seagate External Hard Drive
After launching the Disk Management utility, the next step is to locate your locked Seagate external hard drive within the list of connected drives. Here’s how you can find it:
- In the Disk Management window, you will see a list of drives under the “Volume” column.
- Look for a drive that is labeled as “Locked” or “Offline.” This indicates that your Seagate external hard drive is locked and not currently accessible.
- The locked Seagate external hard drive will be displayed as a smaller-sized partition compared to the other drives.
- Take note of the drive letter associated with the locked Seagate external hard drive. This will be important for unlocking and assigning a drive letter later.
It’s essential to ensure that you have identified the correct locked Seagate external hard drive before proceeding. Double-check the drive label and drive letter to confirm that it matches the drive you want to unlock. This step is crucial to avoid any accidental modifications or changes to the wrong drive.
Step 5: Unlock the Seagate External Hard Drive
Now that you have located the locked Seagate external hard drive, it’s time to unlock it and regain access to your valuable data. Follow these steps to unlock your hard drive:
- Right-click on the locked Seagate external hard drive in the Disk Management window.
- From the context menu, select the “Change Drive Letter and Paths” option.
- In the dialog box that appears, click on the “Add” or “Change” button.
- Select an available drive letter from the drop-down menu. This will be the new drive letter assigned to your unlocked Seagate external hard drive. Choose a letter that is easy to remember and is not currently in use by any other drive.
- Click “OK” to confirm the drive letter assignment and unlock your Seagate external hard drive.
- You may receive a warning message stating that changing the drive letter may cause programs to no longer run. If you are certain that you want to proceed, click “Yes” to continue.
- Once the drive letter is assigned, you will see the locked Seagate external hard drive appear with the new drive letter and “Healthy (Primary Partition)” status. This indicates that your hard drive is now unlocked and ready to use.
By following these steps, you have successfully unlocked your Seagate external hard drive. You can now proceed to access and use the unlocked hard drive to retrieve or modify your files without any restrictions.
Step 6: Assign a Drive Letter to the Unlocked Hard Drive
Now that your Seagate external hard drive is unlocked, the next step is to assign a drive letter to it. Assigning a drive letter will make it easier for your computer to recognize and access the unlocked hard drive. Follow these steps to assign a drive letter:
- Right-click on the unlocked Seagate external hard drive in the Disk Management window.
- From the context menu, select the “Change Drive Letter and Paths” option.
- In the dialog box that appears, click on the “Change” button.
- Select an available drive letter from the drop-down menu. This will be the new drive letter assigned to your unlocked Seagate external hard drive. Choose a letter that is easy to remember and is not currently in use by any other drive.
- Click “OK” to confirm the drive letter assignment.
- A warning message may pop up, informing you that programs or system services relying on the drive might not work. If you are certain about assigning the drive letter, click “Yes” to continue.
- Once the drive letter is assigned, you will see the Seagate external hard drive with the new drive letter and “Healthy (Primary Partition)” status in the Disk Management window. This indicates that the drive letter has been successfully assigned.
- Your computer will now recognize the unlocked Seagate external hard drive with the new drive letter, making it easily accessible for file operations.
By assigning a drive letter to your unlocked Seagate external hard drive, you ensure seamless integration with your computer’s file system. This step allows you to easily access, manage, and organize your files on the unlocked hard drive.
Step 7: Access and Use the Unlocked Seagate External Hard Drive
Congratulations! You have successfully unlocked and assigned a drive letter to your Seagate external hard drive. Now, you can freely access and use your unlocked hard drive to retrieve, modify, or store your files. Here’s how you can access and use the unlocked Seagate external hard drive:
- Open File Explorer or the “My Computer” window on your computer.
- You will now see your unlocked Seagate external hard drive listed under the assigned drive letter.
- Double-click on the drive letter to open the unlocked hard drive.
- You can now browse through the folders and files stored on the unlocked Seagate external hard drive, just like you would with any other drive on your computer.
- Copy or move files to and from the unlocked hard drive by dragging and dropping them or using the cut and paste functions.
- If needed, you can also create new folders, rename files, or perform any other file operations on the unlocked Seagate external hard drive.
- When you are finished using the unlocked hard drive, remember to safely eject the external hard drive to prevent data corruption. Right-click on the drive in File Explorer and select the “Eject” option.
Now that you have access to the unlocked Seagate external hard drive, you can freely manage your files and enjoy the convenience of using the storage space. Make sure to always properly eject the drive before physically disconnecting it to avoid any data loss or damage.
Keep in mind that the unlocking process may vary slightly depending on your operating system and the specific model of your Seagate external hard drive. Consult the Seagate support documentation or reach out to their customer support for any specific guidance or assistance.
Conclusion
Congratulations on successfully unlocking your Seagate external hard drive! In this guide, we have walked you through the step-by-step process of unlocking your hard drive and accessing your valuable data. By following these simple steps, you have regained control and can now freely manage and utilize your Seagate external hard drive.
Remember, it’s crucial to gather all the necessary tools and equipment before starting the unlocking process. Ensure a stable connection between your hard drive and computer by securely plugging in the USB cable. Launching the Disk Management utility allows you to locate and manage your locked hard drive effectively.
Unlocking the Seagate external hard drive involves assigning a new drive letter, which makes it easier for your computer to recognize and access the drive. Finally, you can access and use your unlocked hard drive to retrieve, modify, and store your files without any restrictions.
It’s important to note that the process may vary slightly depending on your specific operating system and Seagate hard drive model. Refer to the Seagate support documentation or reach out to their customer support if you encounter any difficulties or require further assistance.
Thank you for following this guide, and we hope it has been helpful to you in unlocking your Seagate external hard drive. Enjoy the enhanced accessibility and convenience that comes with having your fully functional hard drive at your fingertips!