Introduction
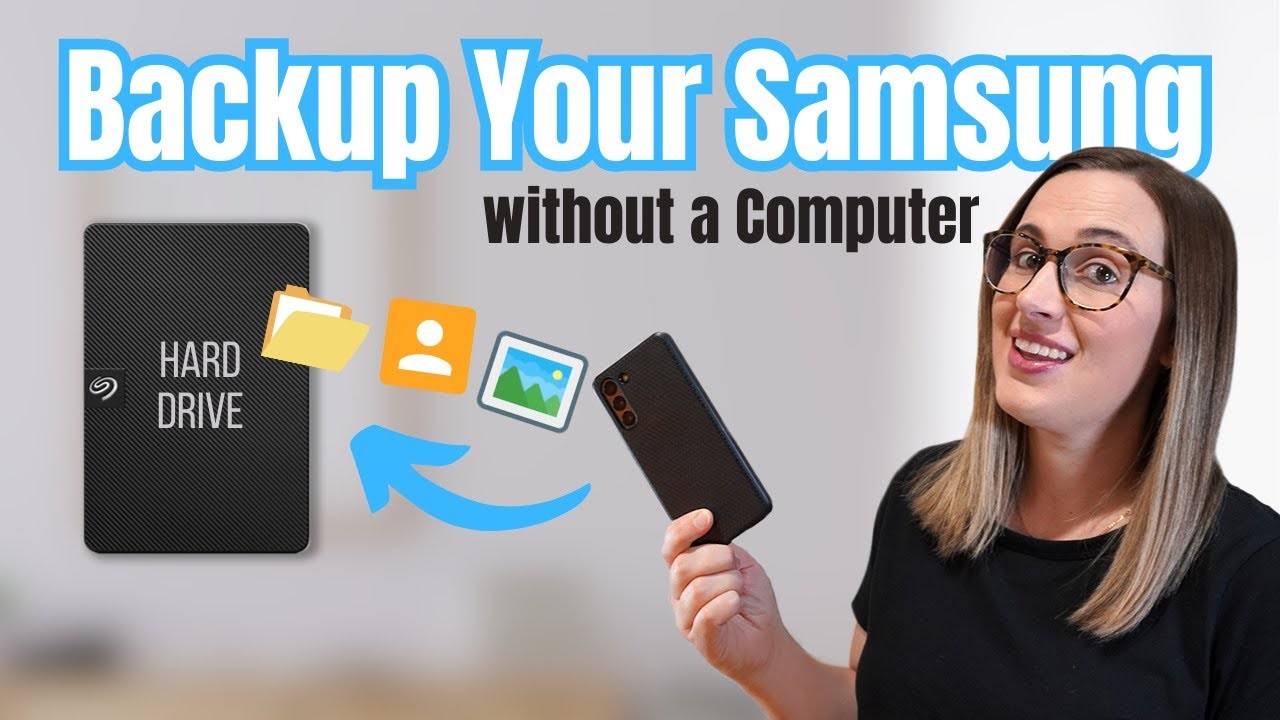
Are you running out of storage space on your Android phone? Do you have important files, photos, or videos that you want to keep safe and easily accessible? Look no further – an external hard drive is the solution you’ve been searching for!
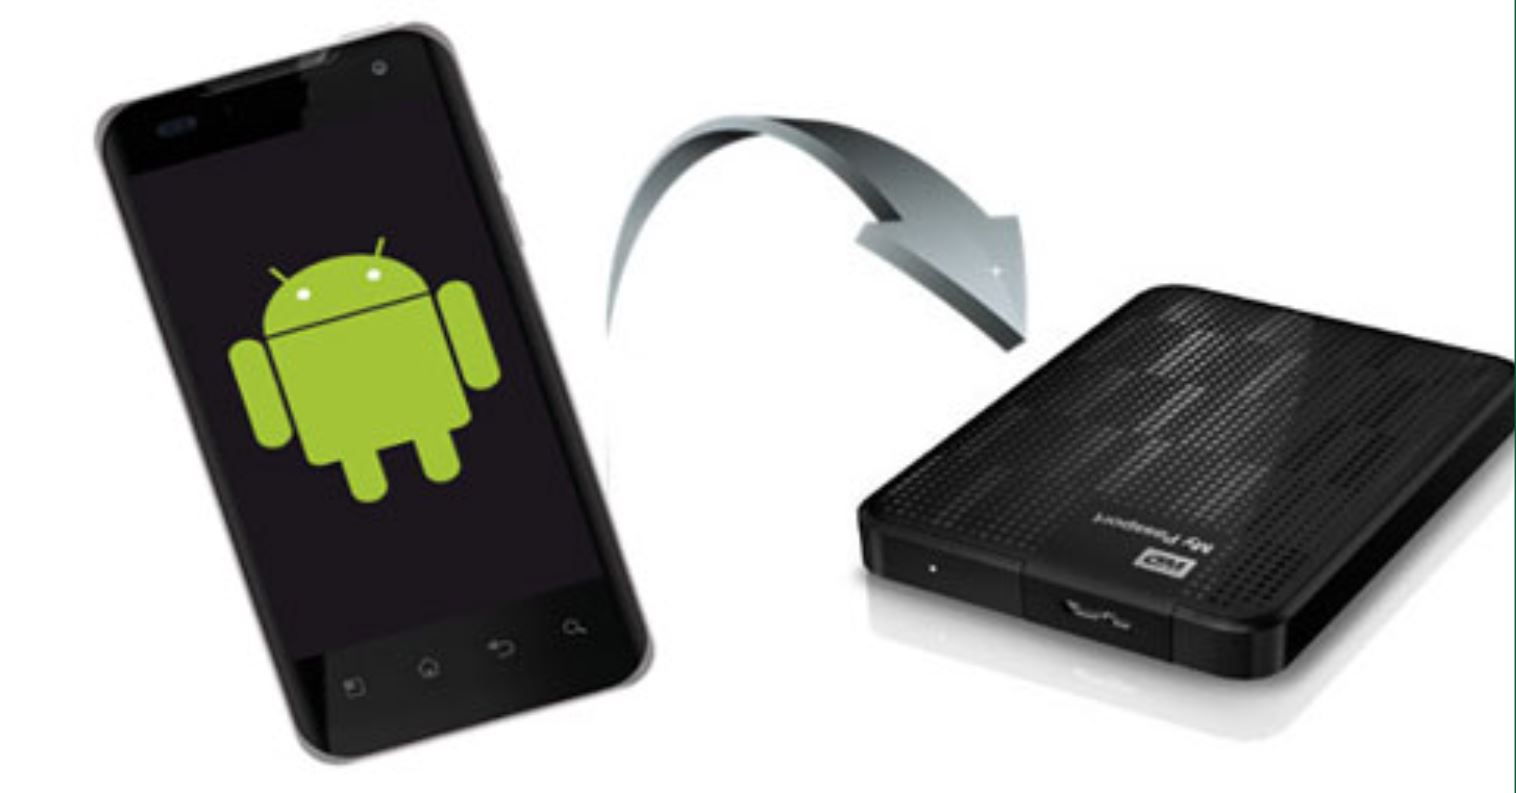
Using an external hard drive with your Android phone can greatly expand your storage capacity and provide a convenient way to store and access your files. Whether you’re a photographer, a videographer, or simply someone who enjoys capturing memories on your phone, having a reliable external storage option can be a game-changer.
In this article, we will explore how to use an external hard drive on your Android phone. We will guide you through finding a compatible external hard drive, connecting it to your device, transferring files, playing media files directly from the external hard drive, and safely ejecting it when you’re done. We’ll also share some valuable tips to optimize your experience and ensure the smooth usage of your external storage.
So, if you’re ready to unlock the full potential of your Android phone and eliminate storage worries, let’s dive into the world of external hard drives for Android!
Compatible External Hard Drives
When it comes to choosing an external hard drive for your Android phone, compatibility is key. Not all external hard drives are designed to work seamlessly with Android devices, so it’s crucial to select one that meets the necessary requirements. Here are a few factors to consider when searching for a compatible external hard drive:
1. USB OTG Support: USB On-The-Go (OTG) is a feature that allows your Android phone to act as a host and connect to external devices such as hard drives. Make sure the external hard drive you choose supports USB OTG.
2. Storage Capacity: The storage capacity of the external hard drive should align with your needs. Whether you require a few extra gigabytes or several terabytes of storage, ensure the selected drive offers ample space for your files.
3. Drive Format: Android devices are mostly compatible with drives formatted in exFAT or FAT32. It’s important to verify that the external hard drive you choose is formatted in one of these formats to ensure seamless compatibility.
4. Power Source: Consider the power requirements of the external hard drive. Some drives can draw power directly from the Android device, while others may require an external power source. Ensure that the drive’s power requirements align with your convenience and usage preferences.
5. Reliability and Durability: Look for a trusted brand that offers a reliable and durable external hard drive. This will ensure that your data remains safe and the drive withstands daily use and transport.
Popular external hard drives that are often compatible with Android devices include models from Seagate, Western Digital, and Samsung. These brands offer a range of options to suit various budgets and storage needs.
Before making a purchase, make sure to double-check the compatibility of the external hard drive with your specific Android phone model. You can visit the manufacturer’s website or consult the product specifications for detailed information.
By selecting a compatible external hard drive, you can enjoy a seamless and hassle-free experience while using it with your Android phone. With this aspect covered, let’s move on to the next step: connecting the external hard drive to your Android device.
Connecting External Hard Drive to Android Phone
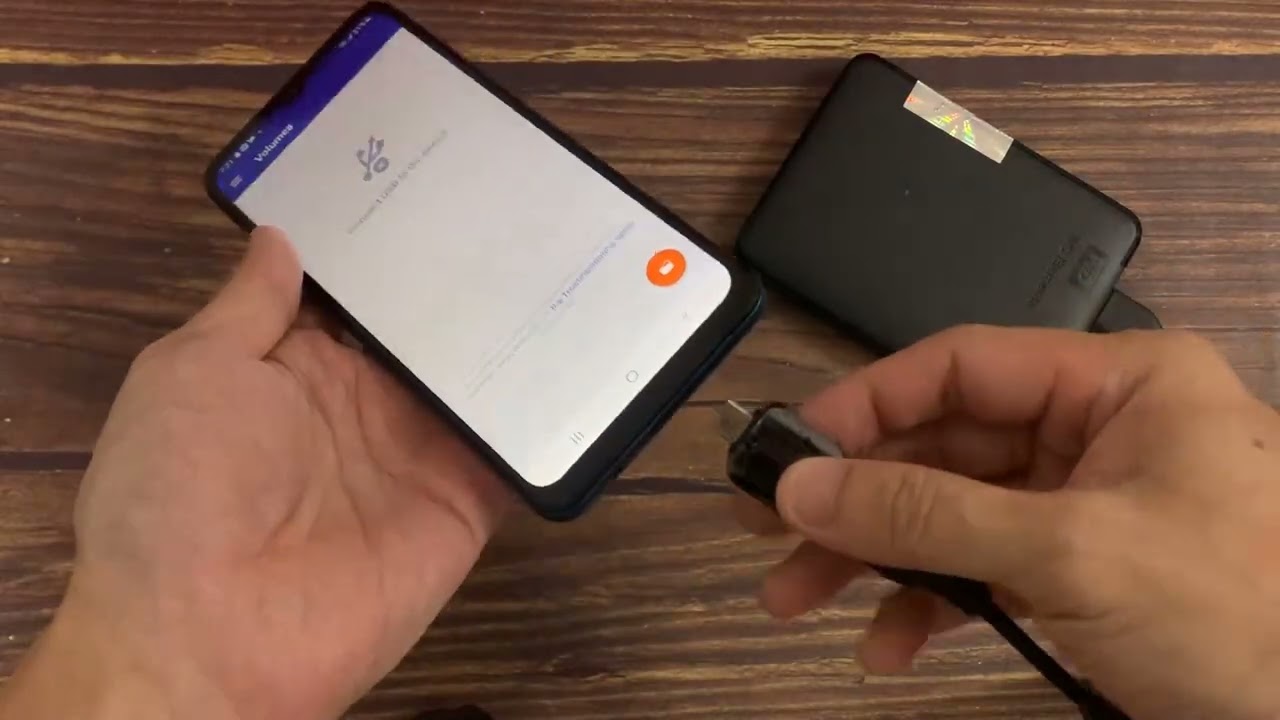
Connecting an external hard drive to your Android phone is a straightforward process, thanks to the USB On-The-Go (OTG) support. Follow these steps to establish a connection:
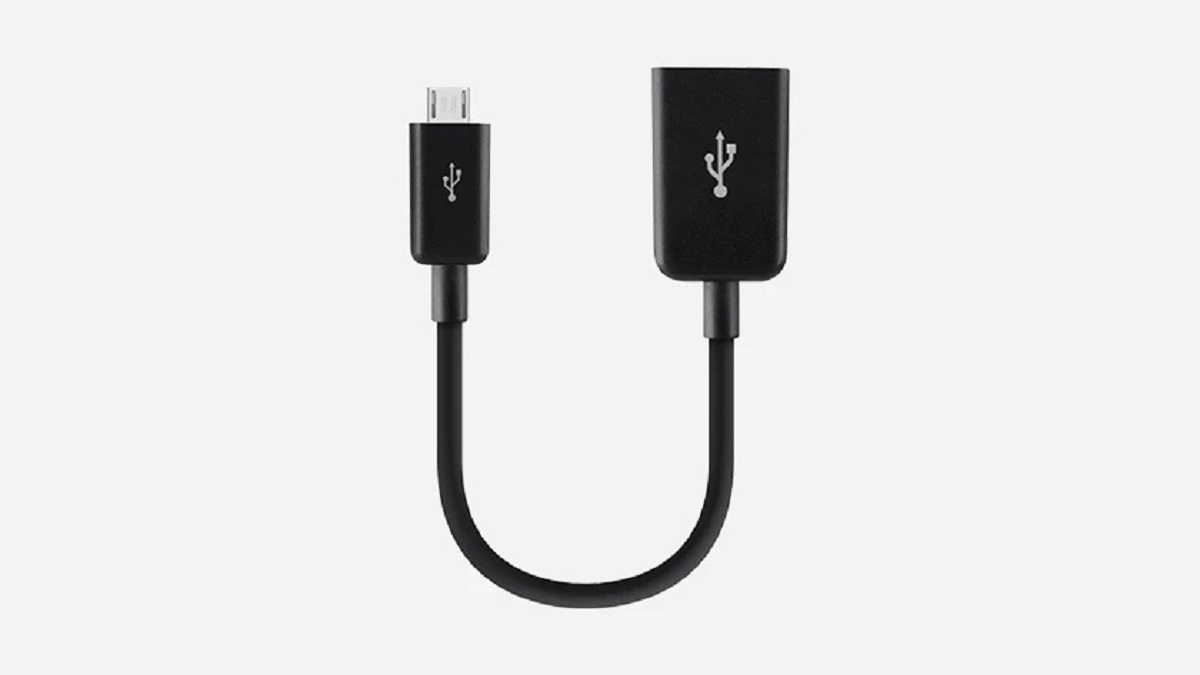
1. Check USB OTG Support: First, ensure that your Android phone supports USB OTG. You can verify this by looking for a micro USB or USB-C port on your device, which indicates OTG support.
2. Purchase an OTG Adapter: If your device doesn’t have a USB port, you’ll need to buy an OTG adapter that matches your phone’s charging port. These adapters usually have a female USB port that allows you to connect the external hard drive.
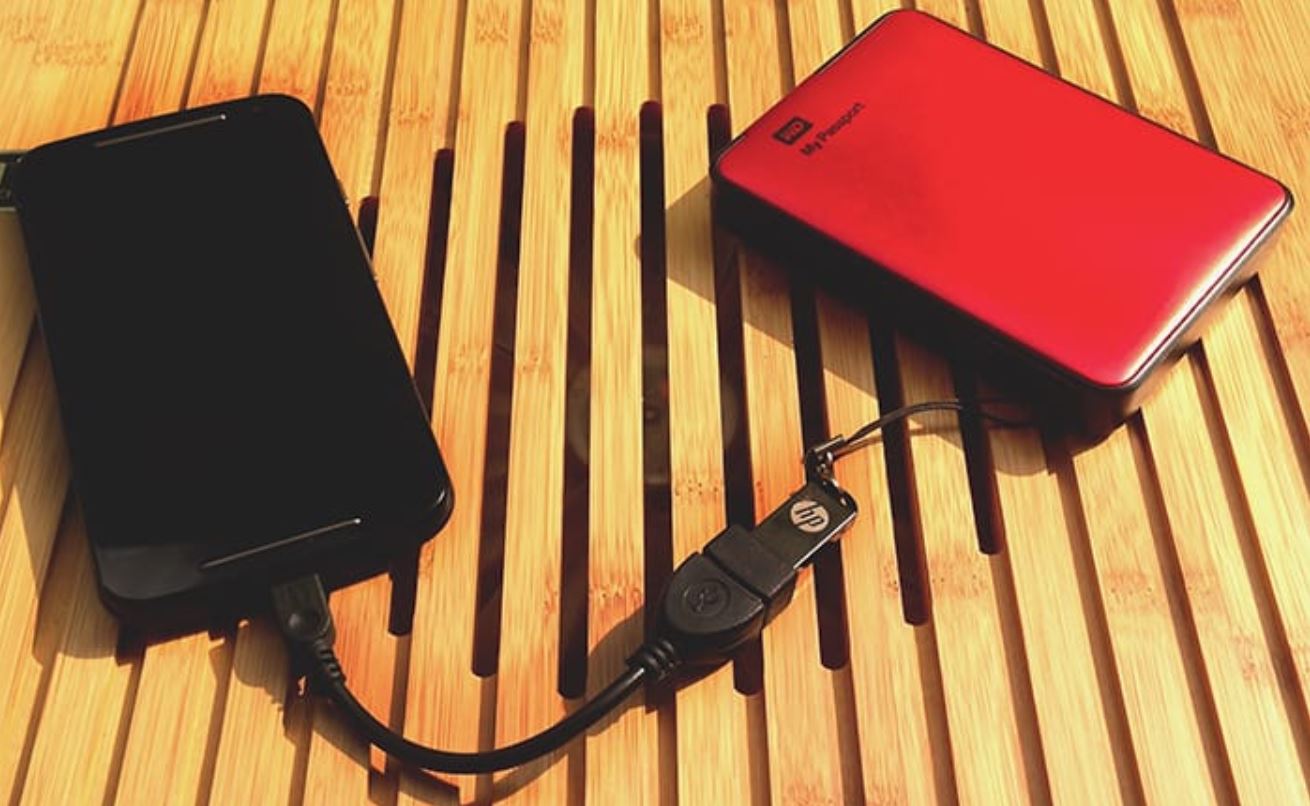
3. Connect the External Hard Drive: Plug one end of the adapter into your Android phone’s charging port or USB port. Then, connect the external hard drive to the adapter’s USB port. Once connected, your Android phone should recognize the external hard drive.
4. Allow Access: Your Android phone may prompt you to grant access to the connected external hard drive. Follow the on-screen instructions and allow the necessary permissions to access the drive.
5. File Manager: Open your phone’s file manager app. You should see the external hard drive listed as a removable storage option. Tap on it to access the files stored on the drive.
6. Explore and Manage Files: Once connected, you can browse, move, copy, and delete files on the external hard drive, just like you would with your internal storage. This allows you to free up space on your phone and keep important files organized.
It’s important to note that while some Android phones support hot-swapping (connecting and disconnecting devices while the phone is on), others may require you to restart the device after connecting the external hard drive. Refer to your phone’s user manual or the manufacturer’s website for specific instructions regarding USB OTG support and hot-swapping.
Now that you’ve successfully connected your external hard drive to your Android phone, it’s time to transfer your files and make the most of your expanded storage. We’ll explore how to transfer files in the next section.
Transferring Files to External Hard Drive from Android Phone
Transferring files from your Android phone to an external hard drive is a simple process that allows you to free up space on your device and ensure the safety of your important files. Follow these steps to transfer files:
1. Open File Manager: Launch your Android phone’s file manager app. You can usually find this app in the app drawer or by searching for “File Manager” in the search bar.
2. Select Files: Navigate to the location of the files you want to transfer. You can choose individual files or select multiple files by long-pressing on the first file and then selecting the other files.
3. Copy or Move: Once you’ve selected the files, tap on the option to copy or move them. The exact steps may vary depending on your file manager app, but you can usually find these options in the menu at the top or bottom of the screen. If you choose to move the files, they will be deleted from your phone after being transferred.
4. Navigate to External Hard Drive: After selecting the copy or move option, navigate to the location on your external hard drive where you want to save the files. You can create new folders or select existing ones to organize your files.
5. Paste Files: Tap on the paste or paste here option to transfer the files to the external hard drive. The transfer speed will depend on the size of the files and the speed of the external hard drive.
6. Verify the Transfer: Once the transfer is complete, verify that the files have been successfully copied to the external hard drive. You can disconnect the hard drive from your Android phone and connect it to a computer to ensure the files are accessible.
It’s important to remember that while transferring files, avoid disconnecting the external hard drive or interrupting the transfer process to prevent data loss or corruption. Keep an eye on the transfer progress and ensure that it completes successfully before removing the external hard drive.
By following these steps, you can easily transfer files from your Android phone to an external hard drive, freeing up valuable space on your device and ensuring that your files are securely stored. In the next section, we’ll explore how to play media files directly from the external hard drive on your Android phone.
Playing Media Files from External Hard Drive on Android Phone
One of the key advantages of using an external hard drive with your Android phone is the ability to directly play media files stored on the drive. Whether you have a collection of movies, TV shows, or music, here’s how you can play media files from your external hard drive:
1. Install a Media Player: If your Android phone doesn’t have a built-in media player that supports playing files from external storage, you can choose from a variety of media player apps available on the Google Play Store. Some popular options include VLC Media Player, MX Player, and Kodi.
2. Connect the External Hard Drive: Connect your external hard drive to your Android phone following the steps mentioned in the previous section. Ensure that your phone recognizes the drive and that it appears in your file manager app.
3. Launch the Media Player: Open the media player app you installed on your Android phone. The app should detect the media files stored on your external hard drive.
4. Browse and Select Files: Use the media player’s file browser or library function to navigate to the location of the media files on your external hard drive. You can browse through folders and select the file you wish to play.
5. Start Playing: Tap on the file you want to play, and the media player will start playing it directly from the external hard drive. You can control playback options such as play, pause, skip, and adjust volume within the media player app.
6. Enjoy Your Media: Sit back, relax, and enjoy your favorite movies, TV shows, or music directly from your external hard drive. The media player should provide a smooth and seamless playback experience.
It’s worth noting that the playback experience may vary depending on the specifications of your Android phone and the media player app you choose. Higher-resolution videos or larger-sized files may require a more powerful phone to ensure smooth playback.
Additionally, ensure that the media player app supports the file formats you have stored on your external hard drive. Most media player apps are quite versatile and can handle popular formats like MP4, AVI, MKV, MP3, and FLAC, but it’s always a good idea to double-check for compatibility.
With the ability to play media files directly from your external hard drive on your Android phone, you can carry your entire entertainment library with you wherever you go. In the next section, we’ll discuss the proper way to safely eject your external hard drive from your Android phone.
Safely Ejecting External Hard Drive from Android Phone
When you’ve finished using your external hard drive with your Android phone, it’s essential to eject it safely to prevent data corruption and ensure that all files are properly saved. Follow these steps to safely eject the external hard drive:
1. Save and Close Files: Before ejecting the external hard drive, ensure that you’ve saved and closed any files you were working on. This prevents any potential data loss or corruption.
2. Exit Media Player: If you were playing media files from the external hard drive, make sure to exit the media player app and stop the playback before proceeding.
3. Navigate to Storage Settings: Open your Android phone’s Settings app, then navigate to the Storage or USB settings. The exact location may vary depending on your phone’s manufacturer and Android version.
4. Find the External Hard Drive: In the Storage settings, locate and select the external hard drive from the list of connected devices or storage options. This will open the settings specific to the external hard drive.
5. Eject or Safely Remove: Look for the option to eject or safely remove the external hard drive. Tap on this option, and your Android phone will safely disconnect the device.
6. Wait for Confirmation: After selecting the eject or safely remove option, wait for a confirmation message or notification indicating that it is safe to remove the external hard drive. This ensures that all data has been properly saved and the drive is not in use.
7. Disconnect the External Hard Drive: Once you receive the confirmation, carefully disconnect the external hard drive from your Android phone. Avoid forcefully removing the drive or disconnecting it while the phone is still on.
By following these steps, you can safely remove your external hard drive from your Android phone without risking data loss or corruption. It’s important to note that abruptly disconnecting the drive without properly ejecting it may result in damaged files or even damage to the external hard drive itself.
To further protect your files, consider making regular backups of your external hard drive. You can create copies of important files on your computer or in cloud storage to ensure that you have multiple copies of your data in case of any unforeseen issues or accidents.
Now that you know how to safely eject your external hard drive, let’s move on to some valuable tips for using an external hard drive on your Android phone.
Tips for Using External Hard Drive on Android Phone
Using an external hard drive on your Android phone can greatly enhance your storage capabilities and improve your overall experience. To make the most of this setup, here are some useful tips:
1. Organize Your Files: Keep your files organized on the external hard drive by creating folders and subfolders. This will make it easier to find and access specific files when you need them.
2. Regularly Backup Your Files: Although external hard drives provide additional storage, they can also be susceptible to damage or loss. It’s important to regularly back up your files on another device or in the cloud to protect your data.
3. Maintain Adequate Power: Some external hard drives may require additional power from your Android phone to function properly. Ensure that your phone is adequately charged or connected to a power source to prevent any interruptions or performance issues.
4. Protect Your External Hard Drive: Invest in a protective case or sleeve for your external hard drive to safeguard it from physical damage while on the go. This will help extend its lifespan and protect your valuable data.
5. Keep Your Android Phone Updated: Regularly update your Android phone’s operating system and firmware to ensure compatibility with the external hard drive and to benefit from the latest enhancements and security features.
6. Scan for Viruses: Before connecting the external hard drive to your Android phone, scan it for any viruses or malware using reliable antivirus software. This will help keep your phone and data secure.
7. Use Reliable Apps: When playing media files or accessing files from your external hard drive, use trusted and reputable media player or file manager apps from the Google Play Store. This ensures a safe and reliable experience.
8. Monitor Storage Space: Regularly check the storage space on your external hard drive to ensure it doesn’t get overcrowded. Remove any unnecessary files or consider upgrading to a higher-capacity drive if needed.
9. Handle With Care: When connecting or disconnecting the external hard drive from your Android phone, handle it with care to prevent any physical damage or data loss.
10. Secure Your Data: Consider encrypting sensitive files stored on the external hard drive to add an extra layer of security. You can use encryption tools or apps available for Android devices to protect your data.
By following these tips, you can optimize your usage of an external hard drive on your Android phone, ensuring the safety of your data and maximizing your storage capabilities. Now, let’s wrap up this article with a quick recap.
Conclusion
Using an external hard drive with your Android phone is a fantastic way to expand your storage capacity, keep your important files safe, and enjoy a seamless media playback experience. By choosing a compatible external hard drive, connecting it properly, transferring files, and safely ejecting it, you can make the most of this powerful storage solution.
Remember to consider factors like USB OTG support, storage capacity, drive format, power source, reliability, and durability when selecting an external hard drive for your Android phone. Additionally, make sure to follow the appropriate steps for connecting the drive, transferring files, and playing media files directly from it.
To ensure a smooth and efficient experience, organize your files, regularly back up your data, maintain adequate power, and protect your external hard drive with a protective case. Keep your Android phone’s software up to date, scan for viruses, and use reliable apps for file management and media playback.
By monitoring storage space, handling the external hard drive with care, and considering encryption for sensitive files, you can maintain the security and longevity of your data.
With these tips in mind, you can fully unlock the potential of your Android phone and seamlessly integrate an external hard drive into your daily routine. Say goodbye to storage limitations and enjoy the freedom of having your files and media at your fingertips.
So go ahead, choose a compatible external hard drive, connect it to your Android phone, and experience the convenience and freedom of expanded storage. Start transferring files, playing media, and exploring the endless possibilities that come with using an external hard drive on your Android phone!