Introduction
Welcome to the world of gaming, where immersive experiences and endless adventures await. If you’re an Xbox Series S owner, you already know that the console’s internal storage can fill up quickly with game downloads and updates. This is where a Seagate external hard drive comes to the rescue, offering ample storage space to expand your gaming library.
In this guide, we’ll walk you through the step-by-step process of using a Seagate external hard drive with your Xbox Series S. With the help of this handy storage solution, you’ll be able to seamlessly store and manage your games, ensuring that you never have to sacrifice your gaming experience due to limited storage capacity.
With the Seagate external hard drive, you can increase your Xbox Series S storage capacity by terabytes, allowing you to install more games and never miss out on the latest releases. Whether you’re a casual gamer or a hardcore enthusiast, having additional storage is essential for maximizing your gaming enjoyment.
So, grab your Seagate external hard drive, follow along with our instructions, and get ready to unlock the full potential of your Xbox Series S. Let’s dive in and learn how to use the Seagate external hard drive with your console to enhance your gaming experience.
Step 1: Format the Seagate External Hard Drive
The first step in utilizing your Seagate external hard drive with the Xbox Series S is to format the drive to ensure compatibility with the console. Here’s how you can do it:
- Connect the Seagate external hard drive to your Xbox Series S using a USB cable.
- Power on your Xbox Series S and navigate to the Home screen.
- Press the Xbox button on your controller to open the guide.
- Scroll right and select “Profile & system”.
- In the “Settings” menu, choose “System”.
- From the options available, select “Storage”.
- Locate the connected Seagate external hard drive and select it.
- Choose “Format for games & apps”.
- Follow the on-screen prompts to confirm the formatting process.
- Wait for the formatting to complete, which may take a few minutes.
Once the formatting process is finished, your Seagate external hard drive will be ready to store games and apps for your Xbox Series S. It’s important to note that formatting the drive will erase any existing data on it, so make sure to back up any important files before proceeding.
With your Seagate external hard drive successfully formatted, you can now move on to the next step of connecting it to your Xbox Series S and configuring the settings to optimize your gaming experience.
Step 2: Connect the Seagate External Hard Drive to the Xbox Series S
Now that you have formatted your Seagate external hard drive, it’s time to connect it to your Xbox Series S. Follow these simple steps:
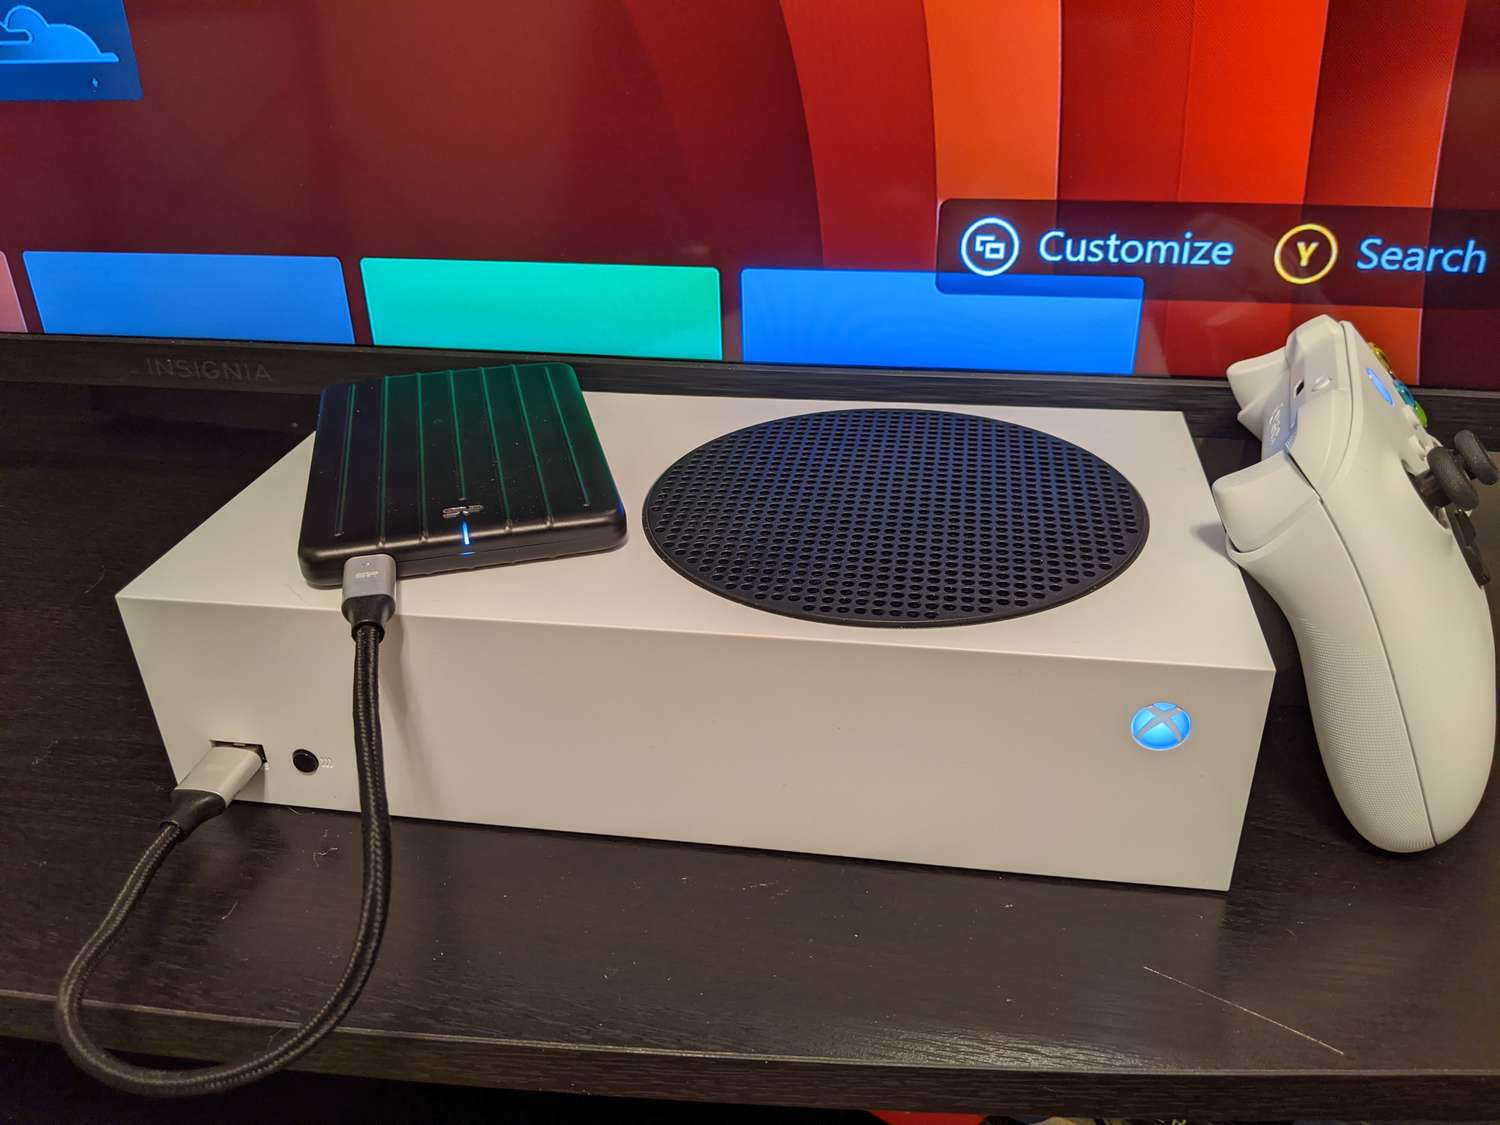
- Locate the USB port on the back of your Xbox Series S console.
- Take the USB cable that came with the Seagate external hard drive and plug one end into the USB port on the console.
- Take the other end of the USB cable and connect it to the USB port on the Seagate external hard drive.
- Ensure that the connection is secure and the cable is firmly connected.
Once the Seagate external hard drive is properly connected to your Xbox Series S, the console will automatically recognize the drive and prompt you to configure the settings for optimal performance.
It’s important to note that using your Seagate external hard drive with the Xbox Series S improves loading times and overall performance compared to running games directly from the internal storage of the console.
With the Seagate external hard drive connected, you’re now ready to move on to the next step and configure the settings to utilize the storage space efficiently.
Step 3: Configure the Seagate External Hard Drive
After connecting the Seagate external hard drive to your Xbox Series S, it’s important to configure the settings to optimize its usage. Here’s what you need to do:
- Power on your Xbox Series S and navigate to the Home screen.
- Press the Xbox button on your controller to open the guide.
- Scroll right and select “Profile & system”.
- In the “Settings” menu, choose “System”.
- From the options available, select “Storage”.
- Locate the connected Seagate external hard drive and select it.
- Select “Install new things here” to set the external drive as the default installation location for games and apps.
- You can also customize the settings for game captures, screenshots, and more.
- Explore additional options such as managing storage and transferring games between the internal and external storage.
Configuring the Seagate external hard drive allows you to fully utilize its storage capacity and ensures that all new games and apps are automatically installed on the external drive. This not only helps in organizing your game library but also frees up space on the internal storage of your Xbox Series S.
Keep in mind that some game data or updates may still be stored on the internal storage, so it’s a good practice to regularly check and manage your storage to maintain an optimal gaming experience.
With the Seagate external hard drive configured and ready to go, you can now start transferring and managing your games, as we’ll explore in the next step.
Step 4: Transfer and Manage Games
Now that your Seagate external hard drive is connected and configured, it’s time to transfer and manage your games. Follow these steps to make the most of your expanded storage:
- From the Home screen of your Xbox Series S, navigate to “My games & apps”.
- Select “Full library” to view all your installed games and apps.
- Choose a game you want to move to the external hard drive.
- Press the Menu button on your controller and select “Manage game”.
- In the game management menu, select “Move all” to transfer the game and its associated data to the Seagate external hard drive.
- Wait for the transfer process to complete. The time required will depend on the size of the game and the speed of the hard drive.
- Repeat the process for other games you wish to move.
Transferring games to the Seagate external hard drive allows you to free up space on the internal storage of your Xbox Series S without sacrificing your gaming library. It also enables you to easily switch between different games by transferring them back and forth between the internal and external storage.
You can also manage your games and apps directly from the “My games & apps” section. This includes sorting and filtering options, updating games, and deleting unwanted games to make more space for new ones.
With the ability to transfer and manage your games efficiently, you can confidently expand your gaming library and have quick access to your favorite titles whenever you want.
Step 5: Safely Disconnect the Seagate External Hard Drive
When you’re done gaming or need to move your Seagate external hard drive to another console, it’s important to safely disconnect it to avoid any potential data loss or damage. Follow these steps to safely disconnect your Seagate external hard drive from your Xbox Series S:
- From the Home screen of your Xbox Series S, press the Xbox button on your controller to open the guide.
- Scroll right and select “Profile & system”.
- In the “Settings” menu, choose “System”.
- From the options available, select “Storage”.
- Locate the connected Seagate external hard drive and select it.
- Choose “Eject” to safely remove the external hard drive from the console.
- Wait for the console to notify you that it’s safe to remove the device.
- Once you receive the notification, unplug the USB cable from the console.
- Similarly, disconnect the USB cable from the Seagate external hard drive.
It’s crucial to follow this proper procedure to ensure that all data has been written and saved before disconnecting the Seagate external hard drive. Abruptly removing the drive without proper ejection may result in data corruption or other issues.
Additionally, when you connect your Seagate external hard drive to another Xbox Series S console, make sure to follow the initial steps of formatting and configuring the drive on the new console. This will ensure seamless compatibility and optimal performance.
By safely disconnecting your Seagate external hard drive, you’ll maintain the integrity of your data and avoid any potential problems when using it with your Xbox Series S.
Conclusion
Congratulations! You’ve successfully learned how to use a Seagate external hard drive with your Xbox Series S to expand your storage capacity and enhance your gaming experience. Let’s recap the steps we covered:
- We started by formatting the Seagate external hard drive, ensuring compatibility with the Xbox Series S.
- Next, we connected the Seagate external hard drive to the console, using a USB cable.
- After the connection, we configured the settings to optimize the usage of the external hard drive.
- We then discussed how to transfer and manage games, allowing you to maximize your storage space efficiently.
- Lastly, we emphasized the importance of safely disconnecting the Seagate external hard drive to prevent data loss or damage.
With your Seagate external hard drive in place, you can now enjoy a vast collection of games without worrying about limited storage space. No longer do you need to uninstall games to make room for new ones. Simply transfer games between the internal and external storage at your convenience.
Remember, it’s essential to regularly manage your storage, delete unwanted games, and keep your library organized. This way, you can ensure you have enough space for new releases and updates.
By following these steps and best practices, you’ve unlocked the full potential of your Xbox Series S and Seagate external hard drive combination. Now, dive into the vast world of gaming and enjoy a seamless, storage-rich experience.