Introduction
Welcome to this guide on how to remove write protection from your Seagate external hard drive. If you’ve encountered a situation where you are unable to write, modify, or delete files on your Seagate external hard drive, there’s a high chance that it is due to write protection. Write protection is a built-in feature that prevents accidental deletion or modification of files, but it can be frustrating when you need to make changes to your files.
In this article, we will explore what write protection is, common causes of write protection, and provide step-by-step instructions on how to remove write protection from your Seagate external hard drive. Whether you are using a Windows or Mac computer, we’ve got you covered with detailed guides for both operating systems.
Understanding how write protection works and what causes it is crucial in finding the appropriate solution. We will discuss the physical write protection switch that some external hard drives have and the software-based mechanisms that can enable or disable write protection. By following the instructions provided in this guide, you will be able to regain full control of your Seagate external hard drive and perform necessary modifications without any issues.
It’s important to note that different Seagate external hard drive models may have varying methods for removing write protection. Therefore, it’s essential to identify your specific model and follow the instructions accordingly to ensure the best results.
So, if you’re ready to regain control of your Seagate external hard drive and start making the changes you need, let’s dive into the world of write protection and discover how to overcome it!
Understanding Write Protection
Write protection is a security feature that prevents unauthorized modification, deletion, or formatting of data on a storage device. When a device is write-protected, it means that you cannot make any changes to the files stored on it. This feature is particularly useful for protecting important files from accidental deletion or unauthorized access.
On Seagate external hard drives, write protection can be implemented through both hardware and software mechanisms. Understanding these mechanisms is crucial for effectively removing write protection.
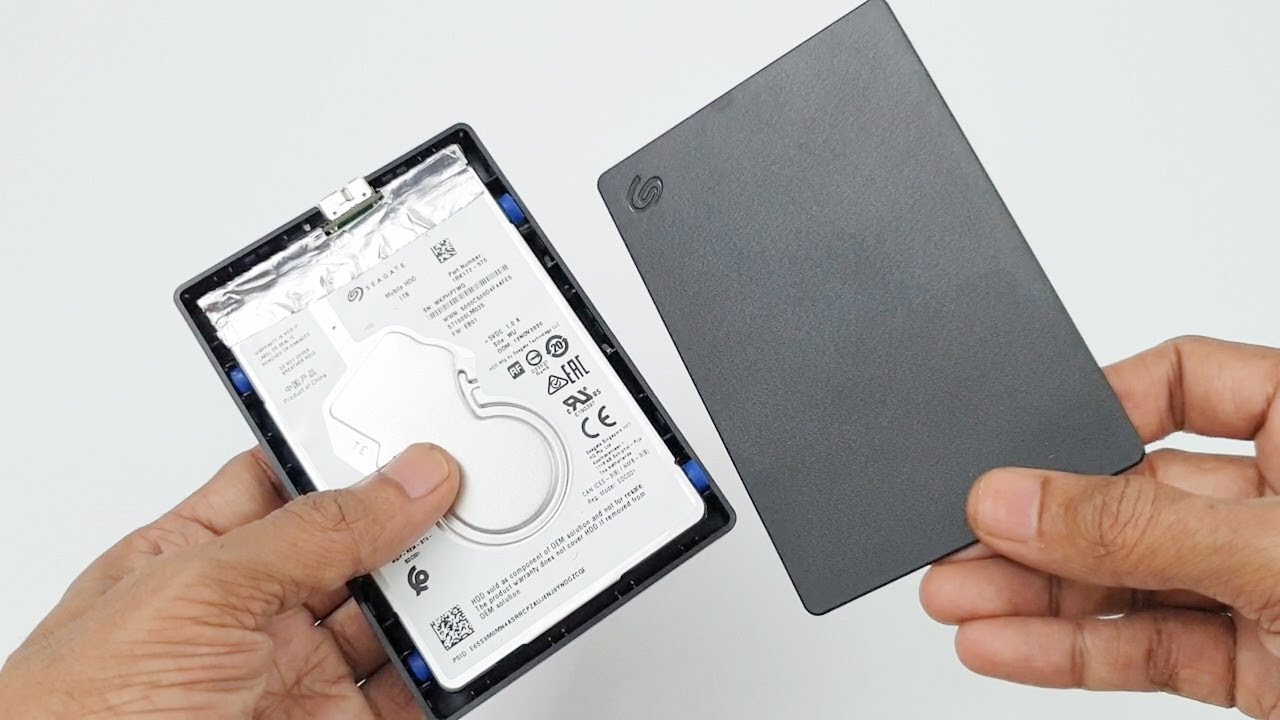
One common method of implementing write protection is through a physical switch located on the external hard drive itself. This switch can be toggled to enable or disable write protection. If your Seagate external hard drive has a physical write protection switch, make sure it is positioned in the correct direction according to your needs. Sometimes, the switch can get accidentally toggled, resulting in write protection being enabled.
In addition to the physical switch, Seagate external hard drives may also have software-based write protection. Software-based write protection is typically controlled through the storage device’s firmware or the operating system. The firmware can be programmed to set the external hard drive as read-only, preventing any write operations. Additionally, the operating system can also impose write protection on the device by altering its properties or permissions.
It’s worth noting that some write protection methods may prevent modifications at the file level, while others may restrict write access to the entire device. File-level write protection is implemented on specific files or folders, while device-level write protection applies to the entire external hard drive.
Understanding the type of write protection that is affecting your Seagate external hard drive is crucial for troubleshooting and finding the appropriate solution. In the next sections, we will explore the common causes of write protection and how to remove it on both Windows and Mac operating systems.
Now that we have a better understanding of what write protection is and the different methods of implementation, let’s move on to exploring the common causes of write protection on Seagate external hard drives.
Common Causes of Write Protection
There are several common causes that can lead to write protection on your Seagate external hard drive. Understanding these causes can help you identify the root issue and apply the appropriate solution.
1. Physical Write Protection Switch: If your Seagate external hard drive has a physical write protection switch, it’s essential to ensure that it is not accidentally enabled. This switch, if toggled to the locked position, can prevent any write operations on the device.
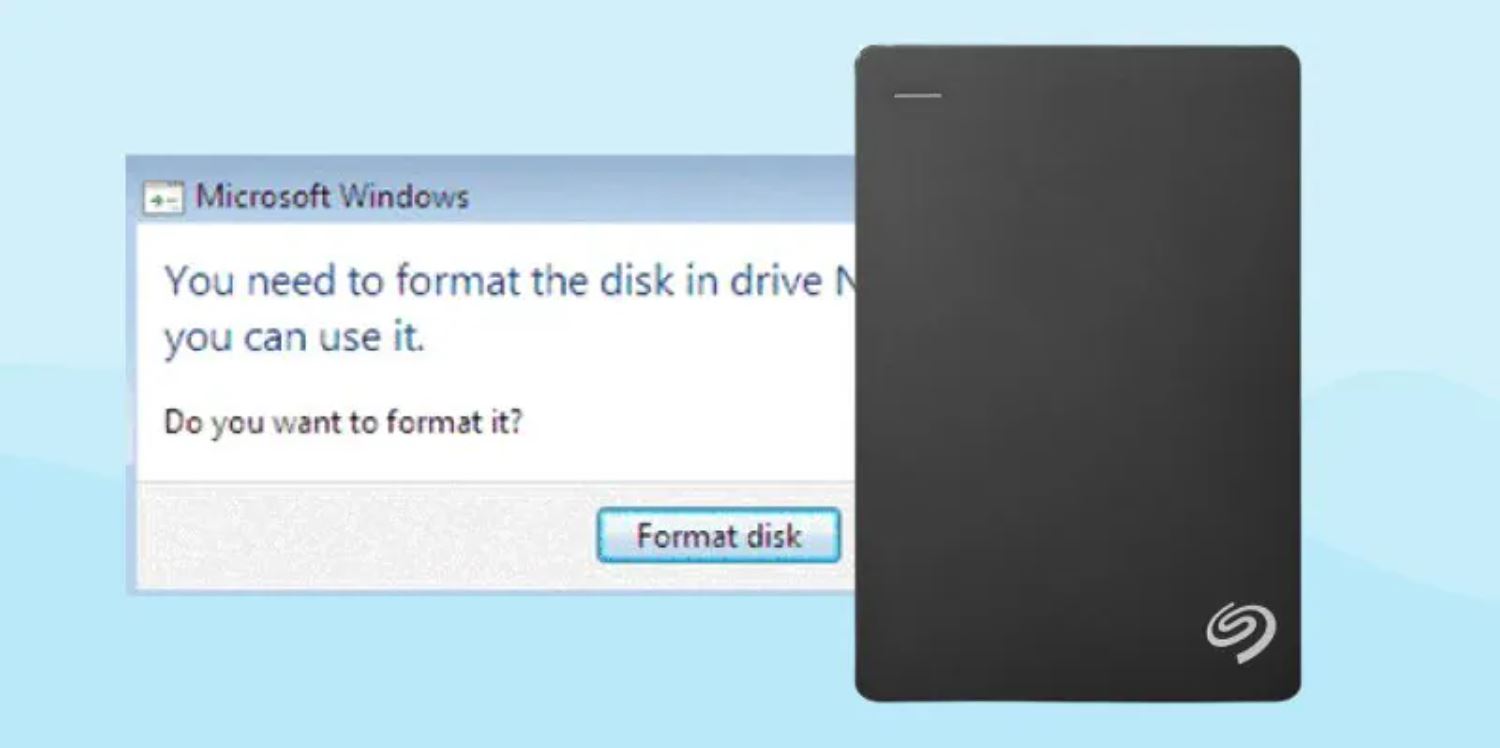
2. File System Errors: File system errors can occur due to improper ejection of the external hard drive or sudden power loss during data transfer. These errors can trigger write protection to safeguard the integrity of the files. In such cases, running a file system repair tool can help address the issue and remove write protection.
3. Corrupted File System: A corrupted file system can result from various factors, such as malware infections or software glitches. When the file system is corrupted, the operating system may enable write protection to prevent further damage. Repairing the file system through disk repair utilities or formatting the drive may resolve the issue.
4. Malicious Software: Malware or viruses can inject write protection into your Seagate external hard drive to prevent file modifications or to spread further infections. Running a thorough antivirus scan can help detect and remove any malicious software, thus eliminating the write protection.
5. Read-Only Attributes: Occasionally, the read-only attributes of files or folders on your Seagate external hard drive may be mistakenly enabled, resulting in write protection. By modifying the file attributes and removing the read-only restriction, you can regain write access to the affected files.
6. Insufficient User Permissions: The operating system may restrict write access to certain files or folders due to insufficient user permissions. In such cases, adjusting the permissions or taking ownership of the files can grant you the necessary access to modify or delete the files.
Identifying the specific cause of write protection on your Seagate external hard drive is crucial for applying the correct solution. In the next sections, we will provide step-by-step instructions on how to remove write protection on both Windows and Mac operating systems.
Now that we have explored the common causes of write protection, let’s move on to the process of checking for physical write protection switches on your Seagate external hard drive.
Checking for Physical Write Protection Switch
If you’re experiencing write protection on your Seagate external hard drive, the first step is to check if it has a physical write protection switch. This switch, if accidentally toggled, can enable write protection and restrict any modifications on the device.
Follow these steps to check for a physical write protection switch on your Seagate external hard drive:
Step 1: Disconnect the External Hard Drive
Ensure that the Seagate external hard drive is safely disconnected from your computer or any other devices before proceeding.
Step 2: Inspect the External Hard Drive Casing
Carefully examine the casing of your Seagate external hard drive for any switches or buttons. The physical write protection switch is usually located on the side, bottom, or back of the device. It might be labeled with a lock/unlock symbol or have a dedicated write protection indicator.
Step 3: Adjust the Switch Position
If you find the physical write protection switch, check its current position. If it’s in the locked or enabled position, toggle it to the unlocked or disabled position. Make sure to read any instructions or labels on the switch for proper orientation.
Step 4: Reconnect the External Hard Drive
Once you have adjusted the physical write protection switch, reconnect the Seagate external hard drive to your computer or other devices.
After reconnecting the external hard drive, check if the write protection issue has been resolved. If not, proceed to the next section for instructions on removing write protection on Windows operating systems.
Now that you’ve checked for a physical write protection switch and adjusted it if necessary, let’s move on to the steps to remove write protection on Windows.
Removing Write Protection on Windows
If you are experiencing write protection on your Seagate external hard drive on a Windows operating system, you can follow these step-by-step instructions to remove it:
Method 1: Using DiskPart
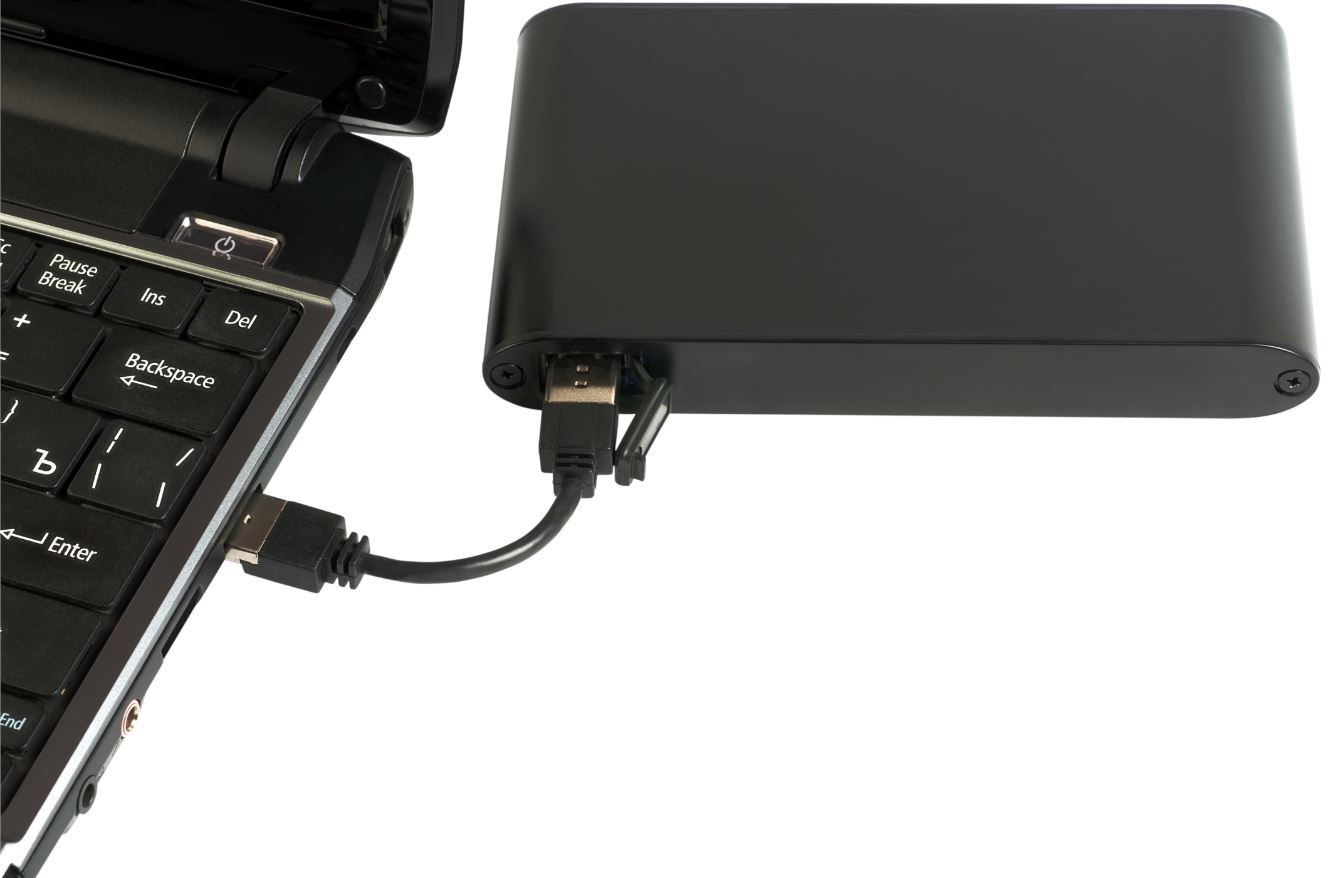
- Connect the Seagate external hard drive to your Windows computer.
- Press Win + R on your keyboard to open the Run dialog box.
- Type diskpart and press Enter. This will open the DiskPart command-line utility.
- Type list disk and press Enter to view a list of all disks connected to your computer.
- Identify your Seagate external hard drive from the list based on its size and note its disk number.
- Type select disk X (replace X with the disk number of your Seagate external hard drive) and press Enter.
- Type attributes disk clear readonly and press Enter to remove the write protection attribute from the disk.
- Once the command is completed successfully, close the DiskPart utility and check if the write protection has been removed.
Method 2: Modifying Registry Settings
- Press Win + R on your keyboard to open the Run dialog box.
- Type regedit and press Enter to open the Registry Editor.
- Navigate to the following location: HKEY_LOCAL_MACHINE\SYSTEM\CurrentControlSet\Control\StorageDevicePolicies
- If you don’t find a StorageDevicePolicies key, right-click on the Control key and select New > Key. Name it StorageDevicePolicies.
- Inside the StorageDevicePolicies key, right-click on the empty space on the right side and select New > DWORD (32-bit) Value. Name it WriteProtect.
- Double-click on the WriteProtect value and set its Value data to 0.
- Click OK and close the Registry Editor.
- Reconnect the Seagate external hard drive and check if the write protection issue is resolved.
If either of these methods successfully removed the write protection on your Seagate external hard drive, you can now freely modify, delete, and add files to it.
If the issue persists or you are using a Mac operating system, please refer to the next section for instructions on removing write protection on a Mac.
Removing Write Protection on Mac
If you are encountering write protection on your Seagate external hard drive while using a Mac, you can try the following methods to remove it:
Method 1: Checking and Modifying the Finder Options
- Connect the Seagate external hard drive to your Mac.
- Open a Finder window by clicking on the Finder icon in the Dock.
- Select your Seagate external hard drive from the list of devices in the sidebar.
- Click on the File menu at the top of the screen and select Get Info or press Command + I as a shortcut.
- In the Info window that appears, make sure the General tab is selected.
- Check if the Locked checkbox is enabled. If it is, uncheck it to remove the write protection.
- Close the Info window and try modifying the files on your Seagate external hard drive.
Method 2: Repartitioning the External Hard Drive
- Warning: Repartitioning will erase all data on the Seagate external hard drive. Ensure you have a backup of your important files before proceeding.
- Launch the Disk Utility application on your Mac. You can find it by going to Applications > Utilities > Disk Utility.
- Select your Seagate external hard drive from the list of devices on the left-hand side.
- Click on the Erase tab at the top of the Disk Utility window.
- Choose a desirable format (e.g., macOS Extended (Journaled)) and provide a name for the volume.
- Ensure that the Scheme is set to GUID Partition Map.
- Click Erase to initiate the repartitioning process.
- Once the process is completed, disconnect and reconnect the Seagate external hard drive.
- Try modifying files on the drive to check if the write protection has been removed.
By following these methods, you should be able to remove write protection from your Seagate external hard drive and regain full control over modifying your files on a Mac.
If you are still experiencing write protection issues or need further assistance, consider contacting Seagate’s support for personalized troubleshooting solutions.
With the write protection now removed from your Seagate external hard drive, you can use it freely to store, edit, and delete files according to your needs.
Troubleshooting Write Protection Issues
If you’ve followed the steps mentioned earlier to remove write protection from your Seagate external hard drive but are still encountering issues, there are a few additional troubleshooting steps you can try:
- Update Device Drivers: Outdated or incompatible device drivers can sometimes cause write protection issues. Visit the Seagate website or the manufacturer’s website to check for any available driver updates for your external hard drive.
- Try a Different USB Port and Cable: Faulty USB ports or cables can sometimes lead to write protection problems. Disconnect your Seagate external hard drive and try connecting it to a different USB port with a known good cable.
- Scan for File System Errors: Use the built-in disk repair tools on your operating system to scan and repair any file system errors that may be causing the write protection. For Windows, you can use the Command Prompt utility and run the “chkdsk” command with the appropriate parameters. On a Mac, use the Disk Utility application to verify and repair the disk.
- Disable Third-Party Security Software: Antivirus or security software can sometimes interfere with write operations on external hard drives. Temporarily disable or configure the security software to exclude the Seagate external hard drive from scanning or blocking write access.
- Use a Different Computer: Connect your Seagate external hard drive to a different computer to see if the write protection issue persists. This can help determine if the issue is specific to your computer or the external hard drive itself.
If none of the troubleshooting steps mentioned above resolve the write protection issue, it is recommended to contact Seagate support or seek assistance from a technical expert who can provide further guidance tailored to your specific situation.
Remember to always handle your Seagate external hard drive with care and follow proper ejection procedures to avoid potential data loss or damage.
Now that we’ve covered the troubleshooting steps, you have a better understanding of how to address potential write protection issues on your Seagate external hard drive.
Conclusion
Removing write protection from your Seagate external hard drive is essential to regain control over your files and perform necessary modifications. By following the steps outlined in this guide, you can troubleshoot and resolve write protection issues on both Windows and Mac operating systems.
We began by understanding what write protection is and the various methods through which it can be implemented. Whether it is a physical write protection switch or software-based mechanisms, identifying the cause is crucial to finding the appropriate solution.
We then explored the common causes of write protection, such as physical write protection switch enabled, file system errors, corrupted file system, malicious software, read-only attributes, and insufficient user permissions. Understanding these causes can help diagnose the issue and choose the most suitable method for removing write protection.
We provided step-by-step instructions on how to check for a physical write protection switch on your Seagate external hard drive. Additionally, we discussed the methods for removing write protection on Windows and Mac operating systems, including using DiskPart, modifying registry settings, checking Finder options, and repartitioning the external hard drive.
If you’ve followed all the troubleshooting steps and are still experiencing write protection issues, we recommended additional troubleshooting measures such as updating device drivers, trying different USB ports and cables, scanning for file system errors, disabling third-party security software, and testing the external hard drive on a different computer.
If you’re still unable to remove write protection or if you have any specific concerns about your Seagate external hard drive, it is advised to contact Seagate support or consult with a technical expert for further assistance.
Remember to handle your external hard drive with care, follow proper ejection procedures, and keep backups of your important files to avoid any potential data loss or damage.
We hope this guide has been helpful in resolving the write protection issue on your Seagate external hard drive and allowing you to freely manage your files with ease.