Introduction
As technology advances, we are now able to record our favorite shows and movies directly onto our DVRs (Digital Video Recorders). However, the limited storage space on these devices can sometimes become a challenge. Fortunately, there is a solution – copying DVR recordings to an external hard drive.
By transferring your DVR recordings to an external hard drive, you can free up space on your DVR and keep your favorite shows and movies for future viewing. Perhaps you want to save a special event, a compelling series, or just want to create a backup of your DVR recordings. Whatever the reason may be, the process of copying DVR recordings to an external hard drive is simpler than you might think.
In this step-by-step guide, we will walk you through the process of copying your DVR recordings to an external hard drive. Before we begin, it’s important to note that not all DVRs are equipped with the ability to connect to an external hard drive. Be sure to check if your DVR has this capability before proceeding with this guide. Additionally, make sure you have the necessary requirements for the external hard drive, such as compatible file formats and sufficient storage capacity.
Once you have verified that your DVR supports external hard drive connectivity and have the necessary requirements, you can follow the steps outlined in this guide to successfully copy your DVR recordings. Whether you want to transfer your recordings for archiving purposes or just to free up space, this guide will help you achieve your goal.
Step 1: Determine If Your DVR Allows External Hard Drive Connectivity
Before you can proceed with copying your DVR recordings to an external hard drive, it’s important to determine if your DVR supports this functionality. Not all DVRs have the capability to connect to an external hard drive, so it’s essential to check your device’s specifications to ensure compatibility.
To determine if your DVR allows external hard drive connectivity, you can refer to the user manual that came with your device. Look for information on external storage options or connectivity in the manual. If you no longer have the manual, you can visit the manufacturer’s website and search for your DVR model to find the necessary specifications.
Additionally, you can try accessing the settings menu on your DVR. Look for options related to storage or external devices. If you find an option to connect or format an external hard drive, it’s a good indication that your DVR supports this feature.
Another way to check for compatibility is to consult with the manufacturer’s customer support team. Reach out to them via phone, email, or live chat and provide them with your DVR model number. They should be able to confirm whether or not your device can connect to an external hard drive.
It’s worth noting that even if your DVR doesn’t officially support external hard drive connectivity, there may be alternative methods or workarounds available. Online forums and communities dedicated to DVRs are a great resource for troubleshooting and finding creative solutions. However, be cautious when attempting unofficial methods, as they may void your warranty or have other unforeseen risks.
Once you have determined that your DVR is capable of connecting to an external hard drive, you can proceed to the next step: checking the requirements for the external hard drive.
Step 2: Check the Requirements for the External Hard Drive
Now that you’ve confirmed that your DVR supports external hard drive connectivity, it’s important to ensure that the external hard drive you plan to use meets the necessary requirements. By checking these requirements beforehand, you can avoid any compatibility issues and ensure a smooth transfer process.
The first requirement to consider is the compatibility of file formats. Different DVRs may support different file systems and formats for the recordings. Common file systems include FAT32 and NTFS. Check your DVR’s specifications or user manual to determine the supported file system for external hard drives. Ensure that the external hard drive you choose is formatted with a compatible file system. If it’s not, you may need to format the external hard drive accordingly before using it with your DVR.
Along with file system compatibility, you should also consider the storage capacity of the external hard drive. DVR recordings can take up a considerable amount of space, so you’ll want to ensure that the external hard drive has enough storage to accommodate your recordings. Check the size of your DVR’s hard drive and determine how much space is currently used. Choose an external hard drive with sufficient storage capacity to handle the recordings you want to transfer.
Another factor to consider is the connection type of the external hard drive. Some DVRs may support USB connections, while others may require eSATA or other specific connection types. Check your DVR’s specifications to determine the supported connection type for external storage devices. Ensure that the external hard drive you choose has the compatible connection type to establish a proper connection with your DVR.
Lastly, consider the physical size and portability of the external hard drive. Depending on the location of your DVR and your storage preferences, you may want to opt for a compact and portable external hard drive. This will allow you to easily connect and disconnect the device when needed.
By checking these requirements for the external hard drive, you can ensure that it is compatible with your DVR and ready for the copying process. Once you have obtained a compatible external hard drive, move on to the next step: connecting it to your DVR.
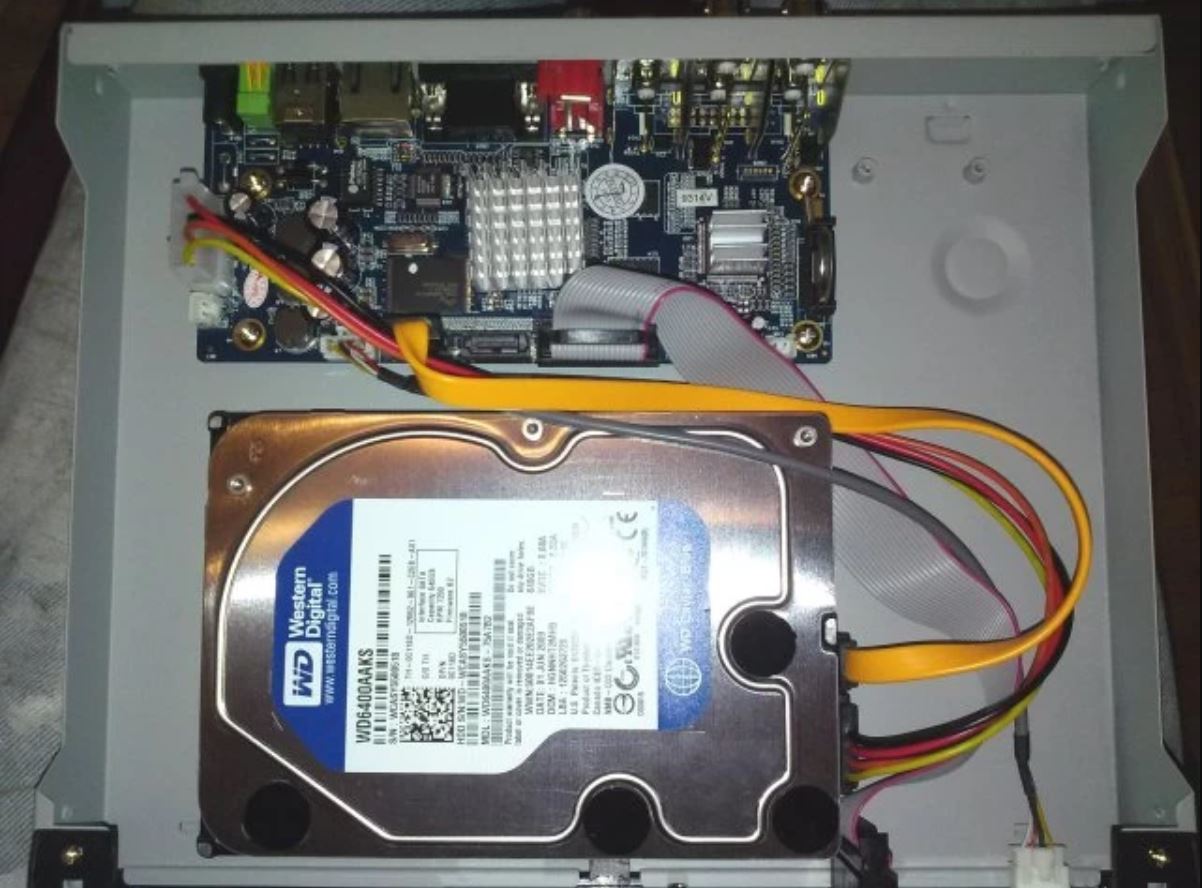
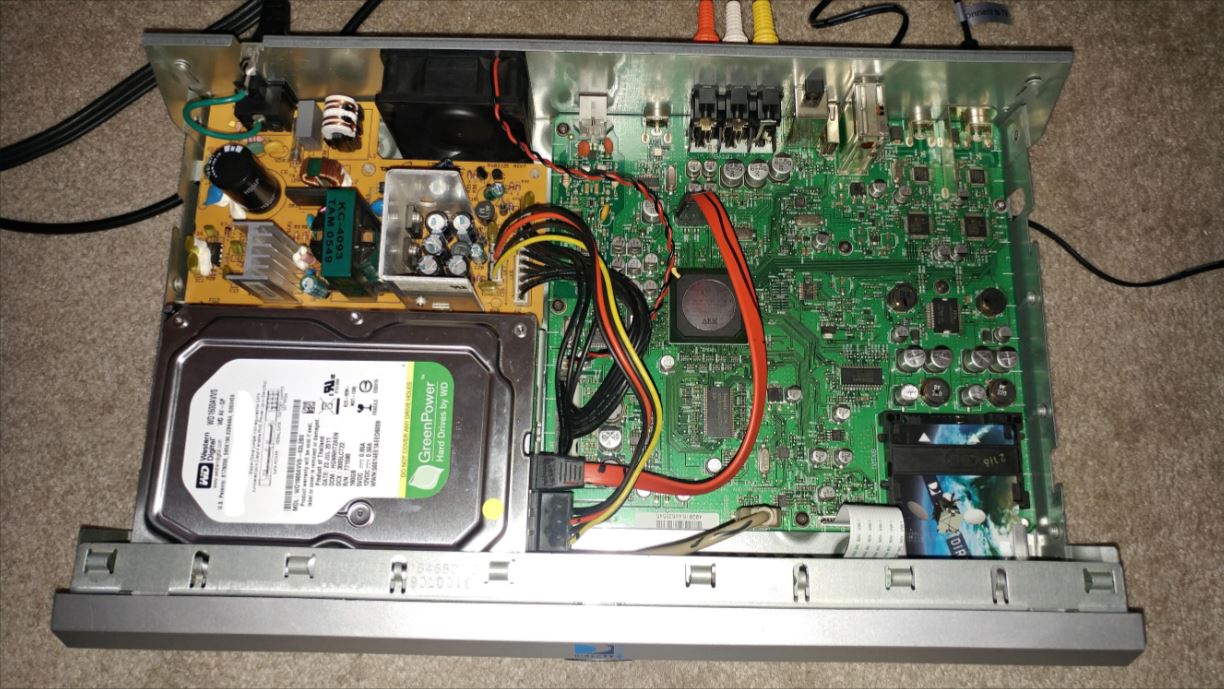
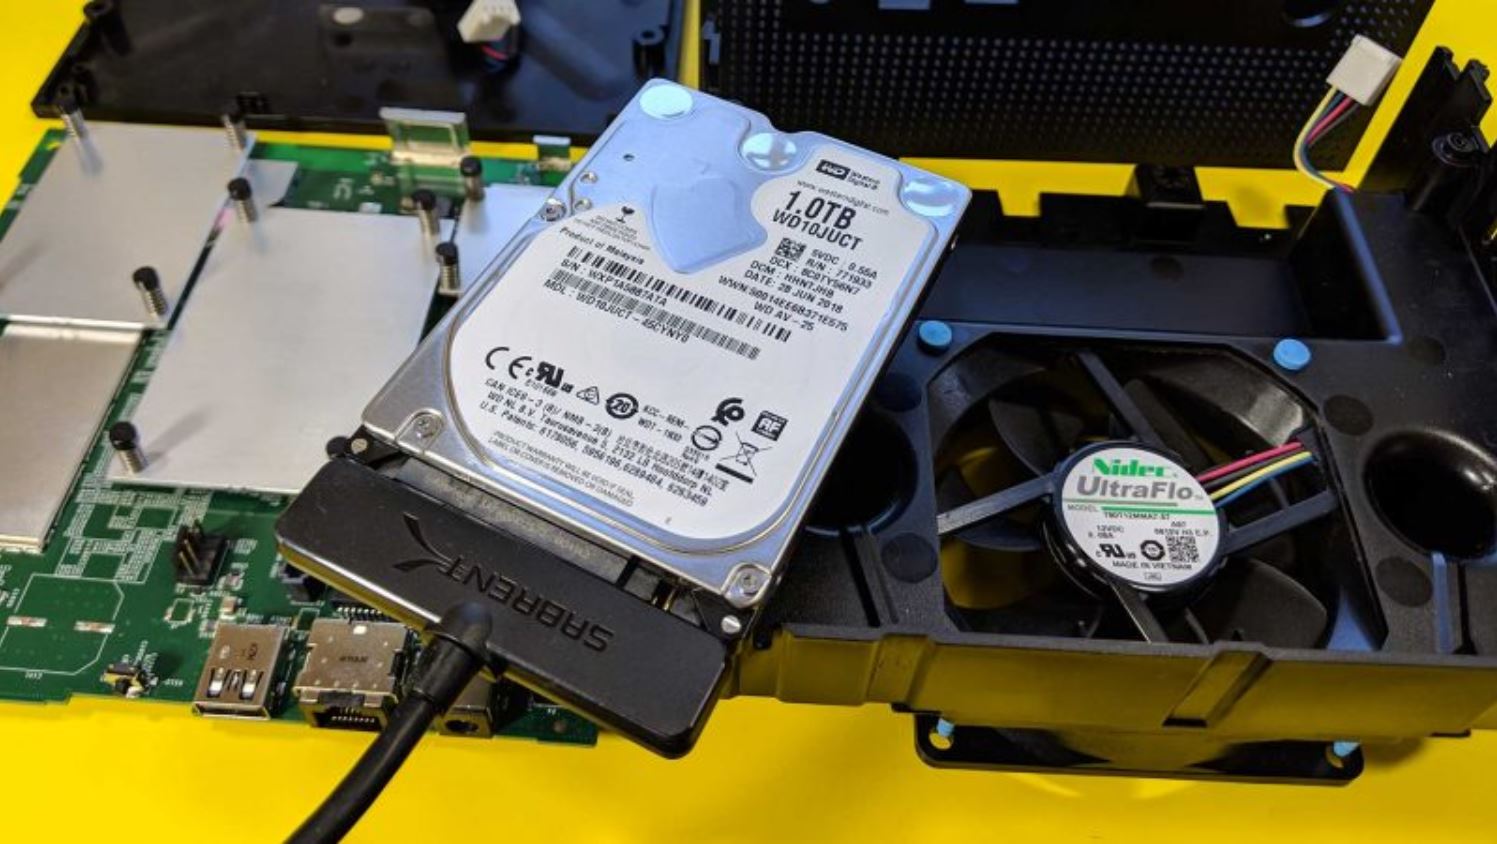
Step 3: Connect the External Hard Drive to Your DVR
Now that you have a compatible external hard drive, it’s time to connect it to your DVR. The process may vary depending on the specific model and make of your DVR, but the following general steps should guide you through the process.
1. Power off your DVR: Before making any connections, ensure that your DVR is turned off. This will prevent any potential damage or data loss during the connection process.
2. Locate the USB or eSATA port: Look for the USB or eSATA port on your DVR. The location of this port may vary depending on the model, but it is usually located on the back or side of the unit.
3. Connect the external hard drive: Take the appropriate cable (USB or eSATA) and connect one end to the USB or eSATA port on your DVR. Connect the other end to the respective port on the external hard drive.
4. Power on your DVR: Once the connections are secure, power on your DVR. The device should recognize the external hard drive and prompt you to format it if it hasn’t been formatted for use with the DVR before. Be aware that formatting will erase all data on the external hard drive, so make sure you have backed up any important files.
5. Follow the on-screen instructions: If your DVR prompts you to format the external hard drive, follow the on-screen instructions to complete the formatting process. This step may take a few moments to complete.
6. Confirm the connection: Once the formatting process is complete, check your DVR’s settings or storage options to confirm that the external hard drive is recognized and connected successfully. You should see the available storage space on your DVR increase, indicating that the external hard drive is now ready to use for copying DVR recordings.
By following these steps, you should be able to connect your external hard drive to your DVR without any issues. In the next step, we will discuss how to format the external hard drive to ensure compatibility with your DVR and prepare it for copying DVR recordings.
Step 4: Format the External Hard Drive
After connecting the external hard drive to your DVR, the next step is to format it. Formatting ensures that the external hard drive is compatible with your DVR’s requirements and ready to store the copied DVR recordings. Here’s how you can format the external hard drive.
1. Access the DVR settings: Power on your DVR and navigate to the settings or storage options menu. Look for an option related to formatting or managing external storage.
2. Select the external hard drive: Locate the connected external hard drive from the list of available storage devices in the settings menu. Highlight it and select the option to format the drive.
3. Choose the file system: Your DVR may provide you with options for the file system during the formatting process. Select the file system that is recommended by your DVR’s specifications or user manual. Common file systems include FAT32 and NTFS.
4. Initiate the formatting process: Once you have selected the file system, initiate the formatting process. The DVR will begin formatting the external hard drive. This process may take a few minutes, depending on the size of the hard drive.
5. Wait for the formatting to complete: Allow the DVR to complete the formatting process. You may see a progress bar or indicator on the screen. Do not interrupt or turn off the DVR while formatting is in progress.
6. Confirm successful formatting: Once the formatting is complete, your DVR should display a confirmation message. You can also check the storage options menu to confirm that the external hard drive is now recognized and properly formatted.
Formatting the external hard drive ensures that it is formatted in a compatible file system and ready to store your DVR recordings. It erases any existing data on the external hard drive, so make sure you have backed up any important files before proceeding with the formatting process.
With your external hard drive properly formatted, you are now ready to move on to the next step—copying the DVR recordings to the external hard drive.
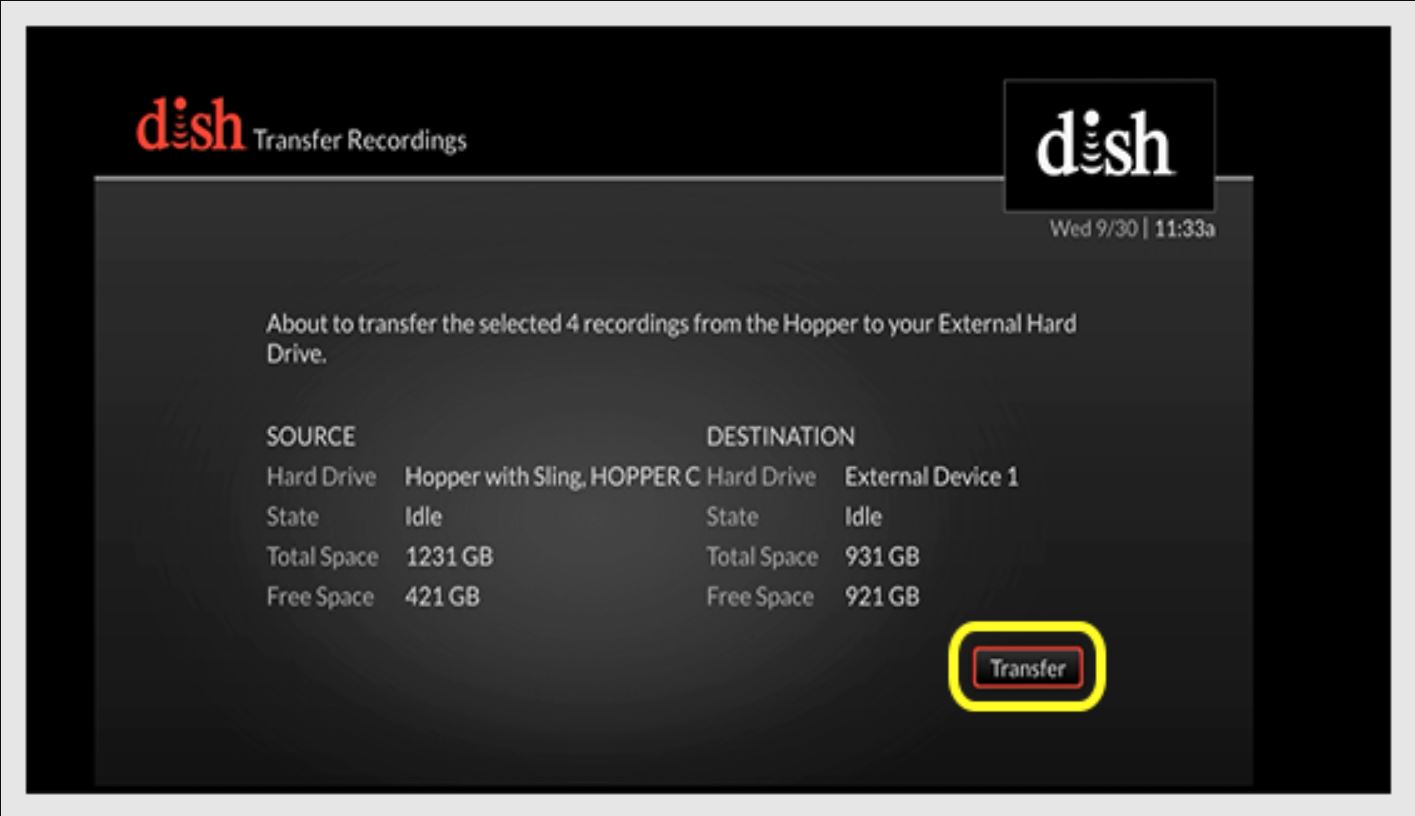
Step 5: Copying the DVR Recordings to the External Hard Drive
With your external hard drive properly connected and formatted, you can now start the process of copying your DVR recordings. The exact steps may vary depending on your DVR’s user interface and settings, but the following guidelines will help you through the general process.
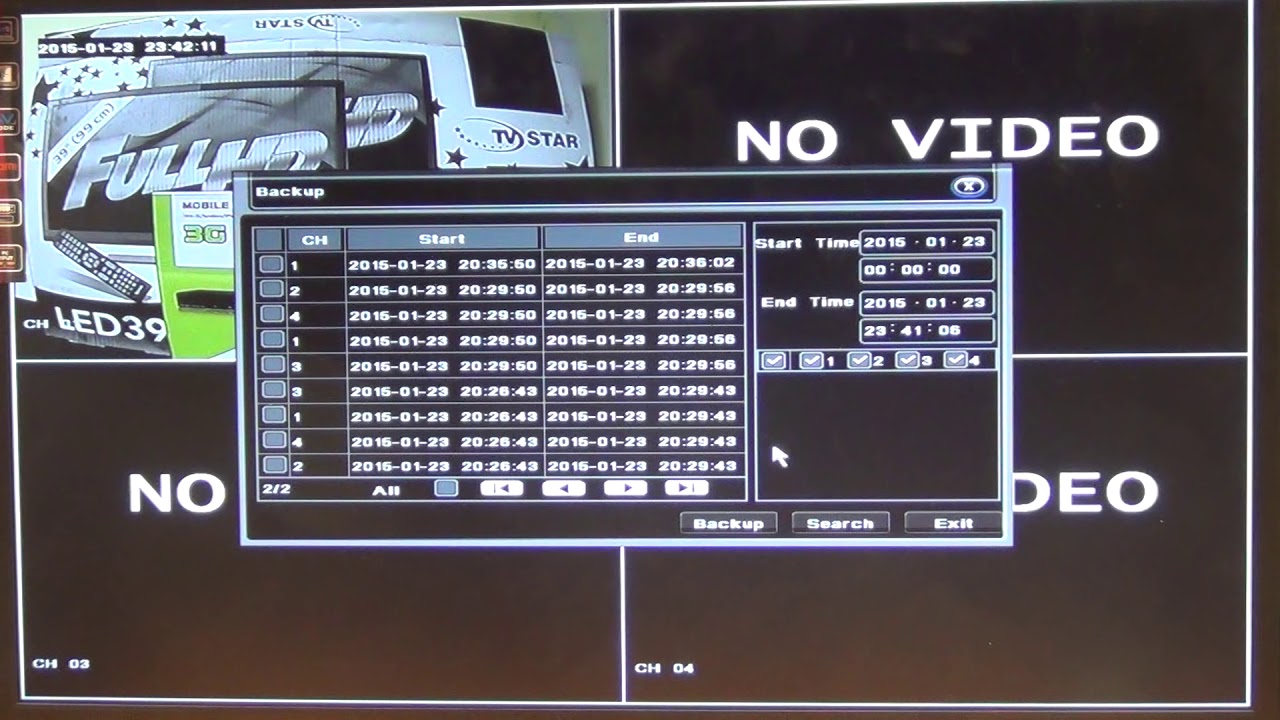
1. Access the DVR recording options: Turn on your DVR and navigate to the menu or settings where you can manage your DVR recordings. Look for options related to copying or transferring recordings.
2. Select the recordings to copy: Choose the recordings you want to transfer to the external hard drive. You may have different options for selecting individual recordings or entire folders.
3. Initiate the copying process: Once you have selected the recordings, initiate the copying process. This may involve selecting a “Copy” or “Transfer” option from the menu or using the appropriate button on your DVR’s remote control.
4. Choose the destination: When prompted, select the external hard drive as the destination for the copied recordings. The DVR should display a list of available storage options, including the external hard drive.
5. Start the copying process: Confirm your selection and begin the copying process. Your DVR will copy the selected recordings from its internal storage to the external hard drive. The time it takes to complete this process will depend on the size and number of recordings being copied.
6. Monitor the progress: While the copying process is underway, you may see a progress indicator or a list of the recordings being copied. It’s important to avoid interrupting or turning off your DVR during this process to avoid any data loss or corruption.
7. Verify the copied recordings: Once the copying process is complete, you can verify the transferred recordings on the external hard drive. Disconnect the external hard drive from your DVR and connect it to a computer or another compatible device. Use the file explorer or media player software to access the external hard drive and ensure that the recordings are successfully copied.
By following these steps, you will be able to copy your DVR recordings to the external hard drive and free up space on your DVR for future recordings. Remember to be patient during the copying process, especially if you have a large number of recordings to transfer.
In the next step, we will discuss how to safely remove the external hard drive from your DVR to ensure the integrity of your recorded content.
Step 6: Safely Remove the External Hard Drive
Once you have successfully copied your DVR recordings to the external hard drive, it is important to follow the proper procedure for safely removing the device from your DVR. Safely ejecting the external hard drive helps protect the integrity of your recordings and prevents data loss or corruption. Here’s how you can safely remove the external hard drive from your DVR.
1. Ensure all copying processes are complete: Before removing the external hard drive, make sure that all DVR recording copying processes have finished. Check for any ongoing transfers or processes related to the external hard drive.
2. Stop any background recordings: If your DVR has any ongoing background recordings, it is important to pause or stop these recordings before proceeding with the removal of the external hard drive. This will prevent any potential conflicts or data corruption.
3. Find the option to safely eject: Access the settings or storage options menu on your DVR and look for an option related to safely ejecting the external hard drive. This option may be labeled as “Eject,” “Remove,” or “Unmount.”
4. Select the external hard drive: Once you have located the option to safely eject the external hard drive, select it from the menu. This will initiate the process of safely disconnecting the device from your DVR.
5. Wait for the confirmation: Your DVR may display a confirmation message or indicator that it is safe to remove the external hard drive. Make sure to wait for this confirmation before physically disconnecting the device.
6. Physically disconnect the external hard drive: Once you have received the confirmation, carefully disconnect the external hard drive from the USB or eSATA port on your DVR. Gently remove the cable, making sure not to forcefully pull or damage the connectors.
By following these steps, you can ensure that the external hard drive is safely removed from your DVR without any risk of data loss or corruption. It is always a good practice to safely remove external devices to maintain the integrity of your recorded content.
With the external hard drive safely removed from your DVR, you can now enjoy the freed-up space on your DVR for new recordings. You can also connect the external hard drive to other devices, such as a computer or media player, to access and enjoy your copied DVR recordings.
Conclusion
Copying DVR recordings to an external hard drive provides a convenient and practical solution for freeing up space on your DVR while preserving your favorite shows and movies. By following the steps outlined in this guide, you can successfully transfer your DVR recordings to an external hard drive and enjoy the benefits of additional storage capacity.
Remember to start by determining if your DVR allows for external hard drive connectivity. Check the specifications, user manual, or contact customer support for confirmation. Next, ensure that the external hard drive meets the requirements of your DVR, including compatible file formats, sufficient storage capacity, and the appropriate connection type.
Once you have connected and formatted the external hard drive, you can proceed to copy your DVR recordings. Access the DVR settings, select the desired recordings, and initiate the copying process, ensuring that it completes successfully. Finally, follow the proper steps to safely remove the external hard drive from your DVR to prevent data loss or corruption.
With your DVR recordings safely stored on the external hard drive, you can enjoy the benefits of additional storage space on your DVR for new recordings. You can also connect the external hard drive to other compatible devices to access and enjoy your favorite shows and movies.
Remember to consult your DVR’s user manual or online forums for any specific instructions or troubleshooting tips related to your specific model. Each DVR may have slight variations in the process, so it’s essential to familiarize yourself with your device’s capabilities and interface.
By following these steps, you can efficiently manage your DVR recordings, organize your favorite shows and movies, and ensure that you never miss an episode. With the added flexibility and convenience of an external hard drive, you can keep your entertainment library updated and readily accessible for future enjoyment.