Introduction
Are you a DirecTV subscriber who loves to record your favorite shows and movies on your DVR? But what if you run out of space and want to transfer some of those recorded shows to an external hard drive? Well, you’re in luck! In this guide, we’ll walk you through the steps on how to transfer recorded shows from your DirecTV DVR to an external hard drive.
DirecTV offers a vast array of programming options, from popular TV shows to live sporting events, and having the ability to save and store them for later viewing is a major benefit. However, DVRs have their limitations in terms of storage capacity, and it’s all too easy to fill up the available space with your favorite shows. That’s when the option to transfer those recordings to an external hard drive comes in handy.
The process of transferring recorded shows is not only convenient but also allows you to free up space on your DVR and keep a backup of your favorite content. Whether you want to binge-watch a series during a long flight or share recordings with friends and family, having the ability to transfer shows to an external hard drive provides you with the flexibility to enjoy your media wherever and whenever you want.
Before diving into the step-by-step process, it’s important to note that not all DirecTV DVR models support the transfer of recorded shows to external hard drives. Therefore, the first step is to determine if your DVR is compatible. If it is, we can move forward and guide you through the necessary steps to successfully transfer your recordings.
Step 1: Check the compatibility of your DVR
In order to transfer recorded shows from your DirecTV DVR to an external hard drive, the first thing you need to do is check the compatibility of your DVR. Not all DVR models have the capability to transfer recordings, so it’s important to make sure yours does before proceeding.
Start by locating the model number of your DVR. This can usually be found on the front or back panel of the device, or in the settings menu of your DVR’s interface. Once you have the model number, check the official DirecTV website or consult the user manual to see if your DVR supports the transfer of recorded shows to external hard drives.
If your DVR is compatible, you’re one step closer to transferring your recordings. However, it’s important to note that even if your DVR is compatible, there may be additional requirements or limitations for transferring shows. For example, some DVRs may only allow the transfer of recordings to specific types or brands of external hard drives. It’s important to familiarize yourself with these requirements and limitations before proceeding.
Another important thing to consider is the available storage space on your external hard drive. Make sure it has enough capacity to accommodate the shows you wish to transfer. Keep in mind that high-definition recordings typically require more storage space than standard-definition ones.
Once you have confirmed that your DVR is compatible and have made any necessary preparations, you can proceed to the next step: formatting your external hard drive. This step is crucial to ensure proper compatibility and functionality between your DVR and the external hard drive.
Step 2: Format your external hard drive
Now that you have confirmed the compatibility of your DVR, the next step is to format your external hard drive. Formatting ensures that your DVR recognizes the external hard drive and can properly transfer the recorded shows.
Before proceeding, it’s important to note that formatting will erase all existing data on your external hard drive. So, if you have any important files or documents on the drive, make sure to back them up before formatting.
To format your external hard drive, follow these steps:
- Plug your external hard drive into your computer using the provided USB cable or any other appropriate connection.
- Go to your computer’s file explorer or finder and locate the external hard drive.
- Right-click on the external hard drive and select the “Format” option from the drop-down menu.
- Choose the desired file system format. For compatibility with your DVR, it’s recommended to use the FAT32 or NTFS format.
- Give your external hard drive a name or label, if desired.
- Click on the “Format” button to begin the formatting process. This may take a few minutes to complete.
After the formatting process is finished, your external hard drive is now ready to be connected to your DVR for the transfer of recorded shows.
Keep in mind that formatting may vary slightly depending on your operating system and individual manufacturer instructions. If you encounter any difficulties or uncertainties, you can refer to the user manual or support documentation provided with your external hard drive.
Now that your external hard drive is formatted and ready, you can move on to the next step: connecting it to your DVR.
Step 3: Connect your external hard drive to the DVR
With your external hard drive formatted and prepared, it’s time to connect it to your DirecTV DVR. This step is crucial to establish a connection between the two devices and enable the transfer of recorded shows.
To connect your external hard drive to the DVR, follow these steps:
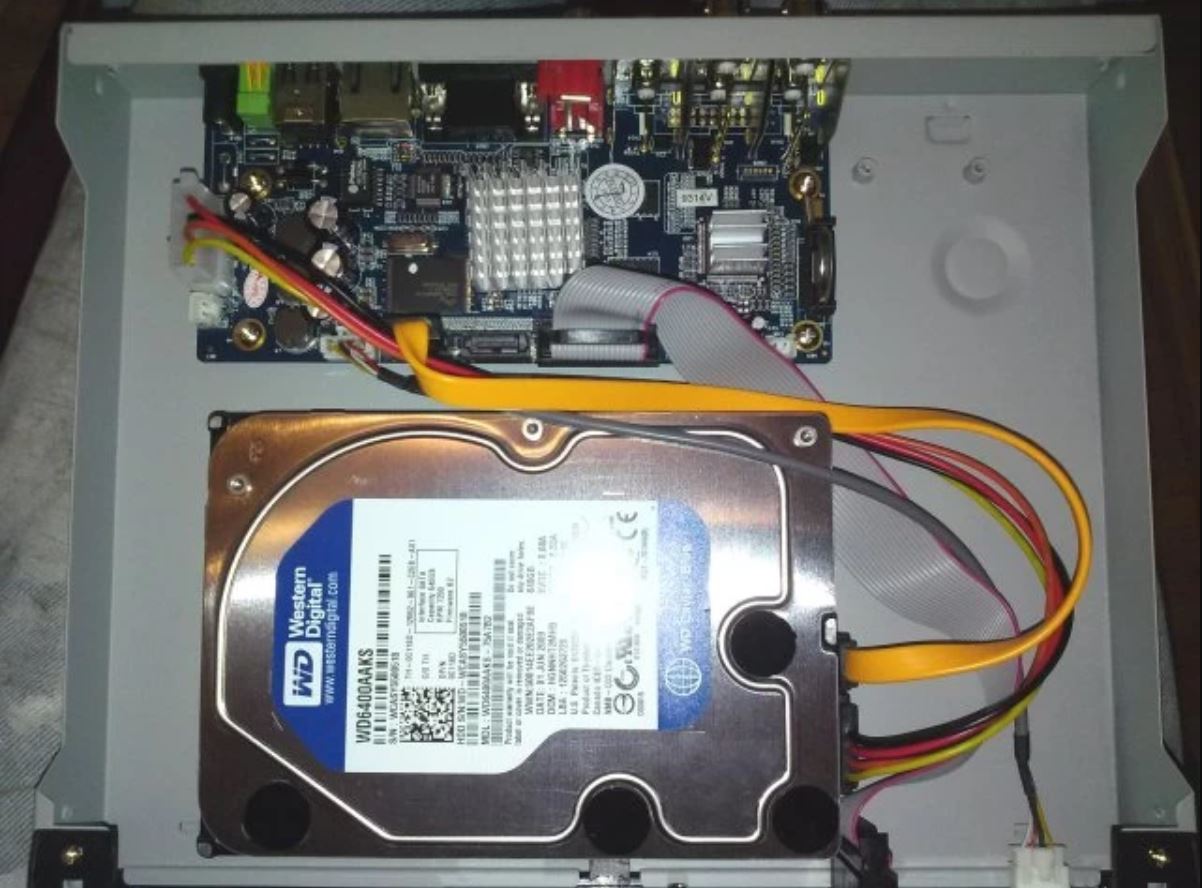
- Locate the USB port or eSATA port on your DirecTV DVR. The port’s location may vary depending on the model of your DVR, but it is typically located on the back panel.
- Plug one end of the USB cable or eSATA cable into the corresponding port on your DVR.
- Take the other end of the cable and connect it to the appropriate port on your external hard drive. Ensure a secure connection by inserting the cable fully into the port.
- Power on your DVR and wait for it to recognize the external hard drive. This may take a few moments as the DVR detects and establishes a connection with the drive.
Once the connection is established and the DVR recognizes the external hard drive, you are ready to proceed with transferring your recorded shows.
It’s important to note that some DirecTV DVR models may require additional configuration or settings adjustments to work with the external hard drive. Refer to the user manual or support documentation for your specific DVR model to ensure you have followed all necessary steps for proper connectivity.
Now that your external hard drive is successfully connected to your DVR, you can move on to the next step: selecting the shows you want to transfer.
Step 4: Select the shows you want to transfer
Now that your external hard drive is connected to your DirecTV DVR, it’s time to select the shows you want to transfer. This step allows you to choose the specific recordings that you want to copy from your DVR to the external hard drive.
Here’s how you can select the shows you want to transfer:
- Using your DirecTV remote control, navigate to the DVR menu or recording list on your TV screen. This is where you can access your recorded shows.
- Browse through the list of recorded shows and locate the ones you wish to transfer. You can use the arrow keys on your remote control to navigate and highlight the desired shows.
- Once you have selected a show, press the appropriate button on your remote control (e.g., the “Options” button or the “Select/OK” button) to bring up the available options for that recording.
- From the options menu, look for the “Transfer” or “Move” option. Select this option to initiate the transfer process for the chosen show.
- Repeat this process for each show you want to transfer. You can select multiple shows at once or transfer them individually, depending on your preferences.
During the selection process, it’s important to keep in mind the available storage space on your external hard drive. Make sure you have enough space to accommodate the shows you want to transfer.
It’s worth noting that some DVR models may have additional features or options for managing and organizing recorded shows. Take advantage of these features to easily identify the shows you want to transfer and streamline the selection process.
Once you have selected the shows you want to transfer, you’re ready to proceed to the next step: starting the transfer process.
Step 5: Start the transfer process
After selecting the shows you want to transfer from your DirecTV DVR to the external hard drive, it’s time to initiate the transfer process. This step allows you to copy the selected recordings from your DVR onto the external hard drive for safekeeping or viewing on other devices.
Here’s how you can start the transfer process:
- Once you have chosen the shows you want to transfer, navigate to the options menu for one of the selected recordings using your DirecTV remote control.
- Look for the “Transfer” or “Move” option in the menu. Select this option to begin the transfer process.
- Depending on your DVR model, you may be prompted to choose the destination for the transfer. Select your external hard drive as the destination where you want the recordings to be transferred.
- Confirm your selection and start the transfer process. This may take some time, especially if you are transferring multiple shows or large recordings.
- Wait for the transfer to complete. Your DVR will notify you once the transfer process is finished. Do not disconnect the external hard drive while the transfer is in progress.
During the transfer process, it’s important to ensure that the DVR remains powered on and connected to the external hard drive to maintain a stable transfer environment.
Once the transfer is complete, you can safely disconnect the external hard drive from your DVR and use it to view the transferred shows on other compatible devices or keep them as backups.
It’s worth noting that some DVR models may have limitations on the number of shows or the total size of recordings that can be transferred at one time. Be aware of these limitations and, if necessary, divide your selections into multiple transfer sessions.
Now that you have successfully transferred your selected shows to the external hard drive, you can move on to the final step: safely removing your external hard drive from the DVR.
Step 6: Safely remove your external hard drive
After successfully transferring your recorded shows from your DirecTV DVR to your external hard drive, it’s important to follow the proper procedure for safely removing the external hard drive. This ensures that no data loss or damage occurs during the disconnection process.
Here’s how you can safely remove your external hard drive from the DVR:
- Ensure the transfer process is complete before removing the external hard drive. If the transfer is still in progress, wait until it finishes.
- Using your DirecTV remote control, navigate to the appropriate menu or option on your DVR interface for safely removing external devices.
- Select the option to eject or remove the external hard drive. This will inform the DVR that you no longer need access to the drive.
- Wait for the DVR to confirm that it is safe to remove the external hard drive. This may be indicated by an on-screen message or a light on the DVR.
- Once you receive confirmation, carefully unplug the USB cable or eSATA cable from both the DVR and the external hard drive.
It’s important to avoid abruptly disconnecting the external hard drive while it is still connected to the DVR. Doing so can result in data corruption or hardware issues.
After safely removing the external hard drive, you can store it in a safe place or connect it to another device for playback or backup purposes. The transferred shows should now be accessible on the external hard drive for your convenience.
If you plan on reconnecting the same external hard drive to the DVR in the future, it’s recommended to power off the DVR before reconnection to ensure a proper initialization.
Congratulations! You have successfully transferred your recorded shows from your DirecTV DVR to an external hard drive and safely disconnected the drive from the DVR.
Conclusion
Transferring recorded shows from your DirecTV DVR to an external hard drive can be a convenient and practical solution to free up space on your DVR and store your favorite content for future viewing. By following the steps outlined in this guide, you can successfully transfer your recordings and enjoy them on other devices.
Starting with checking the compatibility of your DVR, formatting the external hard drive, and connecting it to your DVR, each step plays a crucial role in the process. Selecting the shows you want to transfer and initiating the transfer process ensures that you have control over the recordings you save. Finally, safely removing the external hard drive from the DVR is essential to avoid data loss or damage.
It’s important to note that the transfer process may be specific to your DirecTV DVR model, and there may be variations or additional steps involved. Consulting the user manual or support documentation provided by DirecTV can provide further guidance tailored to your specific situation.
By taking advantage of the ability to transfer recorded shows from your DVR to an external hard drive, you can create more storage space, preserve your favorite content, and enjoy your shows wherever and whenever you want. Whether you want to binge-watch during a trip or share your recordings with friends and family, the flexibility and convenience are at your fingertips.
So, go ahead and follow the steps outlined in this guide to unlock the full potential of your DirecTV DVR and external hard drive, and take control of your entertainment experience.