Introduction
Welcome to our guide on how to transfer your Dish DVR recordings to an external hard drive. If you’re an avid TV watcher, you’ve likely accumulated a vast library of saved shows and movies on your DVR. However, the limited storage capacity of a DVR can become a frustrating constraint. That’s where transferring your DVR recordings to an external hard drive comes in handy.
By transferring your recordings to an external hard drive, you can free up space on your DVR and enjoy the flexibility of accessing your favorite shows and movies from any device that supports USB connectivity. Whether you want to create a backup of your recordings, make space for new content, or simply have the convenience of watching your shows across multiple devices, transferring your Dish DVR recordings to an external hard drive is a simple and effective solution.
In this guide, we will walk you through the necessary steps to successfully transfer your Dish DVR recordings to an external hard drive. We will cover the requirements, the equipment you’ll need, and the troubleshooting tips to ensure a smooth transfer process. So, let’s dive in and learn how to unleash the full potential of your Dish DVR!
Why Transfer Dish DVR to an External Hard Drive?
There are several reasons why transferring your Dish DVR recordings to an external hard drive is beneficial. Let’s take a closer look at some of the key advantages:
1. More Storage Space: DVRs usually have limited storage space, which can quickly get filled up with recordings. By transferring your DVR recordings to an external hard drive, you can significantly expand your storage capacity and save more of your favorite shows and movies.
2. Flexibility and Portability: Once your recordings are on an external hard drive, they become easily portable. You can connect the hard drive to any compatible device and access your content whenever and wherever you want. You can take your favorite shows with you on the go or watch them on a different TV without the need for DVR connectivity.
3. Backup and Preservation: Recording shows and movies takes time and effort, so it’s essential to have a backup of your valuable content. Transferring your DVR recordings to an external hard drive ensures that your recordings are safely stored, protecting them from accidental deletion, DVR failures, or subscription changes.
4. Easy Sharing: If you have friends or family members who are interested in watching a particular show or movie, transferring the content to an external hard drive allows you to easily share it with them. You can lend them the hard drive or transfer the files to their own devices for a seamless viewing experience.
5. Enhanced Viewing Experience: Some external hard drives offer features like faster data transfer rates or cloud connectivity, which can enhance your viewing experience. With improved performance, you can enjoy your recordings without any lag or buffering issues.
With these advantages in mind, it’s clear that transferring your Dish DVR recordings to an external hard drive unlocks new possibilities and expands your entertainment options. Whether you want more storage space, flexible access, backup options, easy sharing, or an enhanced viewing experience, transferring your DVR recordings is a practical and convenient solution.
Understanding the Compatibility Requirements
Before transferring your Dish DVR recordings to an external hard drive, it’s important to ensure compatibility between your DVR and the external storage device. Here are the key compatibility factors you need to consider:
1. DVR Model and Manufacturer: Different DVR models and manufacturers may have specific requirements and limitations for transferring recordings to external devices. It’s crucial to check your DVR’s user manual or consult the manufacturer’s website to verify if it supports transferring recordings to an external hard drive.
2. File System Compatibility: DVRs typically use their own file system to store recordings, which may not be compatible with the file systems used by external hard drives. The most common file systems used by external hard drives are FAT32, NTFS, and exFAT. Verify if your DVR supports any of these file systems, and ensure that the external hard drive is formatted accordingly.
3. USB Port and Compatibility: Check the type and version of USB port available on your DVR. Most DVRs have USB 2.0 or USB 3.0 ports. For optimal performance, it’s advisable to use a USB 3.0 port and a USB 3.0 external hard drive. However, USB 2.0 ports and compatible hard drives can work as well, albeit at slower data transfer speeds.
4. Storage Capacity: Determine the storage capacity of your external hard drive. Make sure it has enough space to accommodate the recordings you intend to transfer. Keep in mind that high-definition (HD) recordings require more storage space compared to standard-definition (SD) recordings.
5. Power Supply: External hard drives may require their own power supply, especially if they have high capacity or mechanical (non-SSD) drives. Ensure that you have a power source and necessary cables to power the external hard drive if needed.
6. DRM-Protected Content: Some DVR recordings may be protected by digital rights management (DRM) restrictions, preventing their transfer to external devices. Check if your DVR allows the transfer of DRM-protected content and if the external hard drive supports DRM playback.
By understanding and addressing the compatibility requirements, you can ensure a smooth and successful transfer of your Dish DVR recordings to an external hard drive. It’s essential to verify these factors to avoid any compatibility issues and to make the most of your external storage device.
Required Equipment
Before you can transfer your Dish DVR recordings to an external hard drive, you’ll need a few essential pieces of equipment. Here’s what you’ll need:
1. Dish DVR: Obviously, you’ll need a Dish DVR to begin with. Make sure your DVR model supports transferring recordings to an external hard drive. Check the user manual or contact Dish Network customer service if you’re unsure about the capabilities of your DVR.
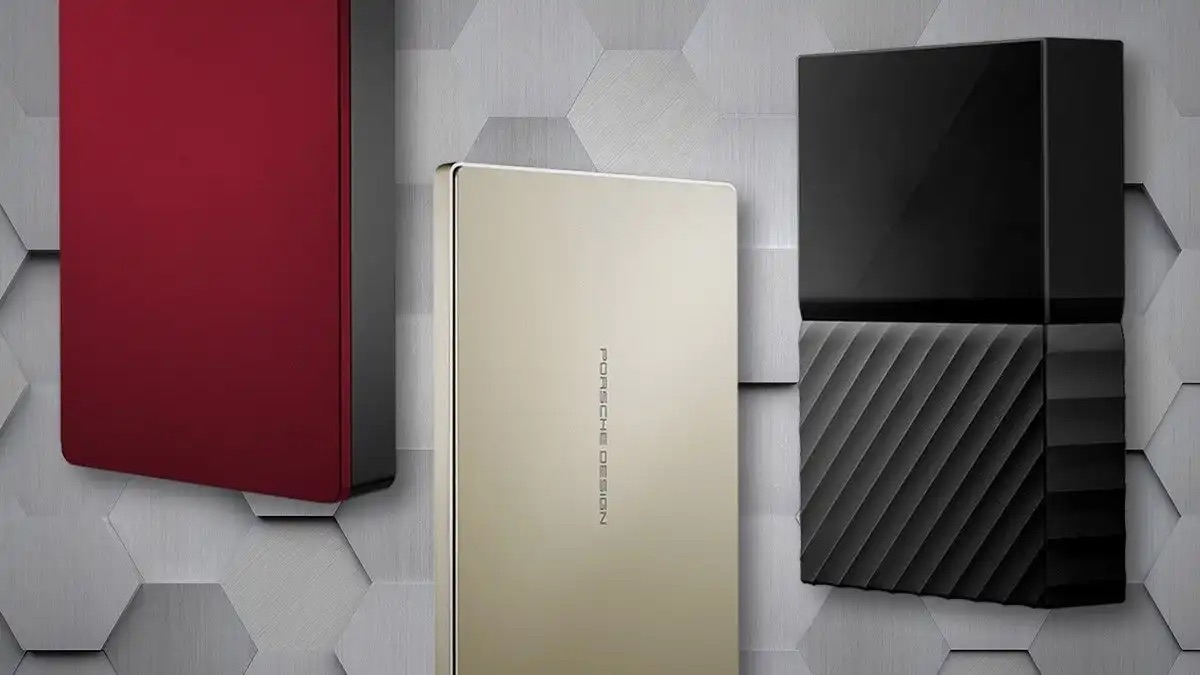
2. External Hard Drive: Select an external hard drive that is compatible with both your DVR and your personal computing devices. Look for a high-capacity hard drive to accommodate your recordings. Ensure that the hard drive’s file system (usually FAT32, NTFS, or exFAT) is supported by your DVR.
3. USB Cable: A USB cable is necessary to establish a connection between your DVR and the external hard drive. Make sure to use a cable that is suitable for the USB ports on your devices. For compatibility and better performance, use a USB 3.0 cable if your devices support it.
4. Power Supply (if applicable): Depending on the type and capacity of your external hard drive, it may require a separate power supply. Check the power requirements of the hard drive and ensure that you have the necessary cables and power source available.
5. Compatible Devices: Aside from the DVR and the external hard drive, ensure that you have other compatible devices to access and play back the transferred recordings. This could include computers, laptops, smart TVs, media players, or gaming consoles with USB ports and the ability to read the file system of the external hard drive.
6. User Manual and Documentation: Keep the user manuals and documentation for all the equipment handy. These resources will provide valuable information on setup procedures, troubleshooting tips, and any specific requirements or limitations for transferring recordings.
By gathering the necessary equipment, you’ll be well-prepared to transfer your Dish DVR recordings to an external hard drive. Make sure to double-check compatibility and review the user manuals to ensure a seamless transfer process.
Steps to Transfer Dish DVR to External Hard Drive
Now that you have all the required equipment, let’s walk through the step-by-step process of transferring your Dish DVR recordings to an external hard drive:
- Connect the External Hard Drive to the DVR: Start by plugging the USB cable into an available USB port on your Dish DVR. Then, connect the other end of the cable to the USB port on the external hard drive. Ensure a secure connection.
- Formatting the External Hard Drive: Before transferring any recordings, you may need to format the external hard drive to the appropriate file system supported by your DVR. Check the user manual or on-screen instructions provided by your Dish DVR to determine if formatting is necessary. Follow the instructions carefully to format the external hard drive.
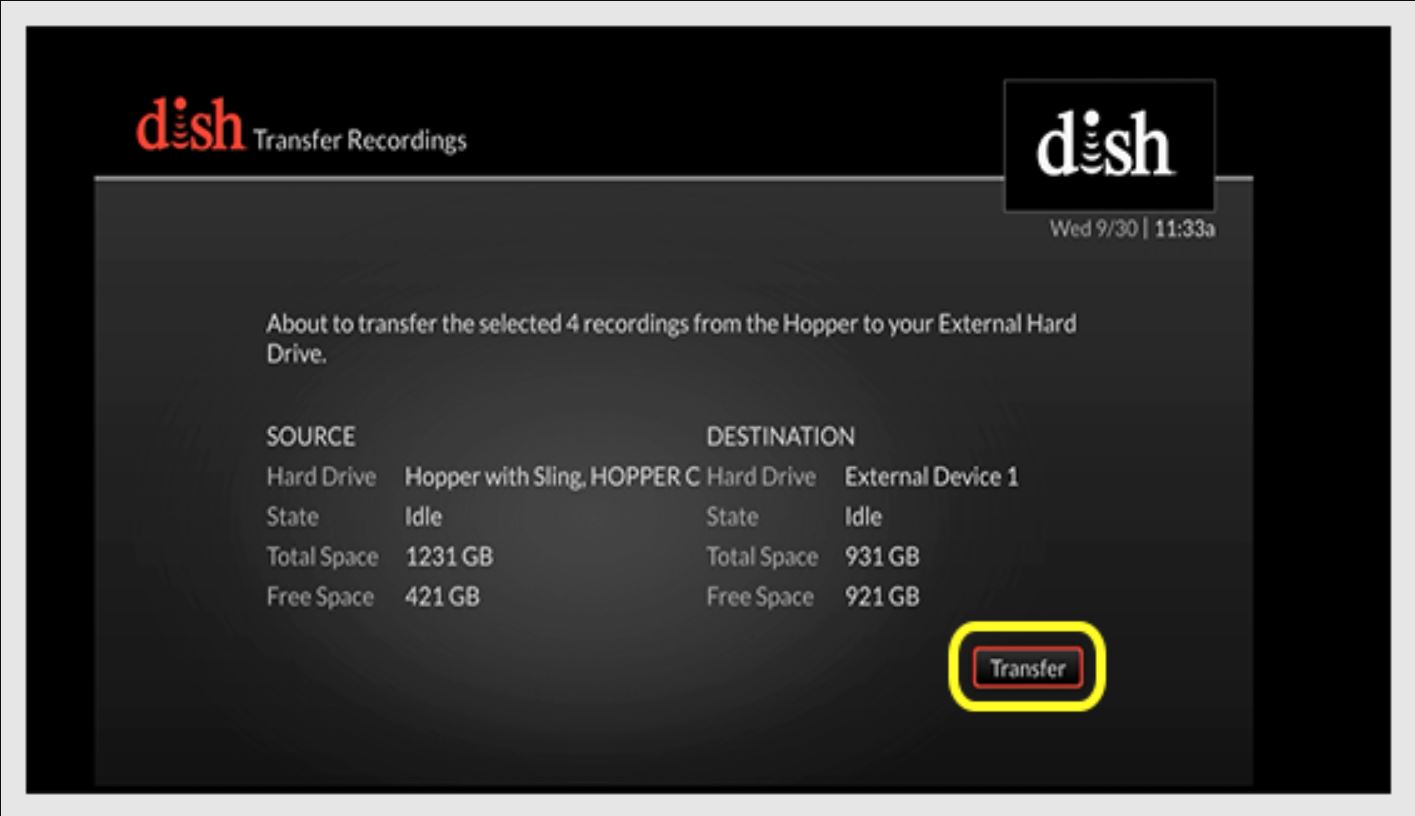
- Transferring DVR Recordings to the External Hard Drive: Once the external hard drive is connected and formatted, follow the on-screen instructions provided by your Dish DVR to transfer the recordings. This process may vary depending on the DVR model. Typically, you’ll need to access the DVR menu, select the recordings you want to transfer, and choose the option to transfer them to the external hard drive. Allow some time for the transfer process to complete.
- Verify the Transfer: After the transfer is complete, disconnect the USB cable from the DVR and access the external hard drive on your computer or other compatible devices. Verify that the transferred recordings are successfully accessible and playable. Make sure to play a few recordings to ensure they are working correctly.
- Disconnecting the External Hard Drive from the DVR: When you’re done transferring and verifying the recordings, safely disconnect the external hard drive from the DVR. Follow the proper procedure specified by your DVR, which usually involves selecting the option to eject or safely remove the external hard drive. This ensures that any data is safely written and prevents potential data loss or corruption.
Following these steps will enable you to successfully transfer your Dish DVR recordings to an external hard drive. Remember to refer to the user manual or on-screen instructions provided by your Dish DVR for specific details related to your model. Enjoy the increased storage space and flexibility of accessing your favorite shows and movies from your external hard drive!
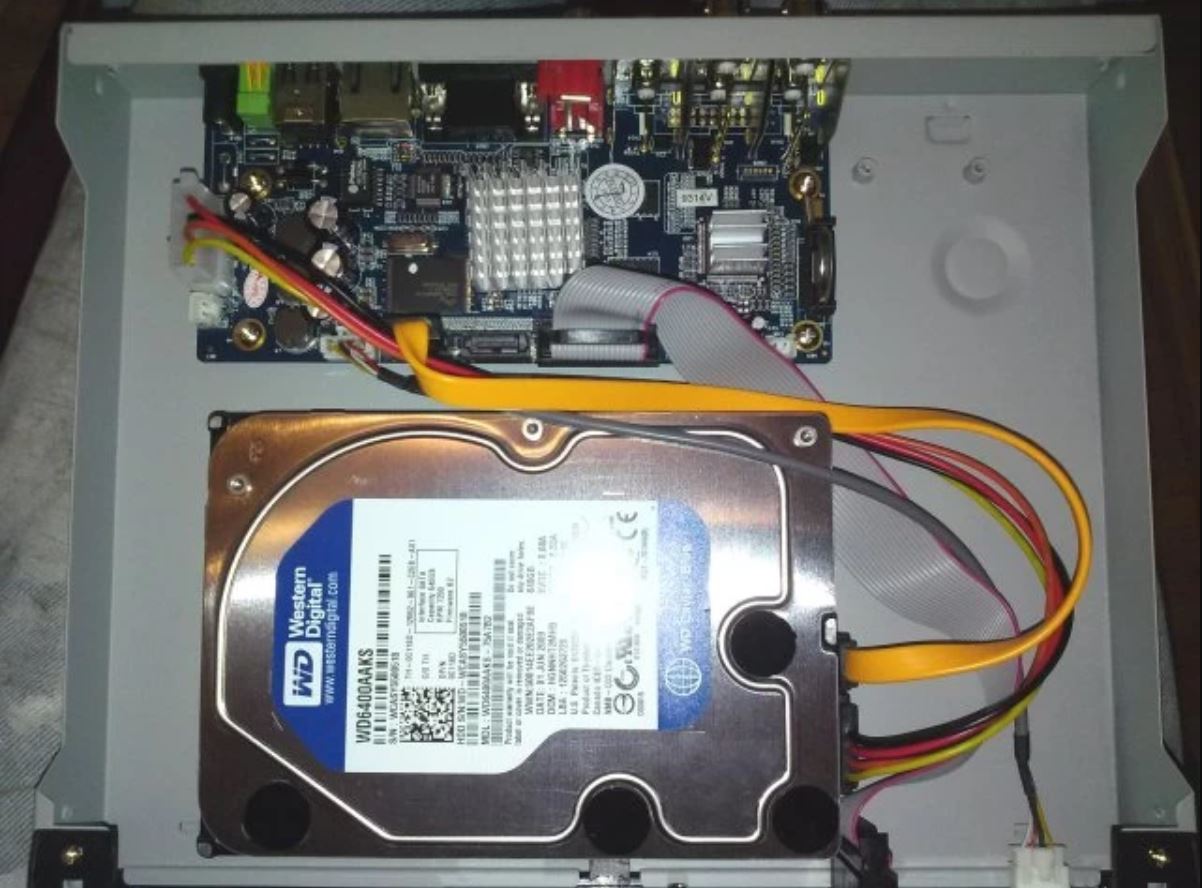
Connecting the External Hard Drive to the DVR
The first step in transferring your Dish DVR recordings to an external hard drive is to establish a connection between the two. Follow these steps to connect the external hard drive to your DVR:
- Locate the USB Port: Identify the USB port on your Dish DVR. It is usually located on the back or side of the device. Check the user manual or the DVR’s documentation if you are unsure of its exact location.
- Power Off the DVR: Before connecting any cables, it is advisable to power off your Dish DVR to ensure a safe and secure connection.
- Connect the USB Cable: Take one end of the USB cable and insert it into the USB port on your DVR. Ensure it is inserted securely.
- Connect the Other End of the USB Cable: Take the other end of the USB cable and plug it into the USB port on your external hard drive. Again, ensure a secure connection.
- Power On the DVR: Once the USB cable is connected, power on your Dish DVR by pressing the power button on the device or using the remote control.
- Wait for Recognition: Give the DVR a few moments to recognize and establish a connection with the external hard drive. The DVR may display a prompt or provide an on-screen notification when the connection is established.
- Verify the Connection: To confirm that the connection is successful, navigate to the DVR’s menu or settings option. Look for an option related to external storage or USB devices. Check if the external hard drive is detected and displayed as a connected device.
Following these steps should ensure a solid connection between your Dish DVR and the external hard drive. Remember to handle the USB cable and external hard drive with care to prevent any damage. Now that the connection is established, you can proceed to the next steps in the transfer process.
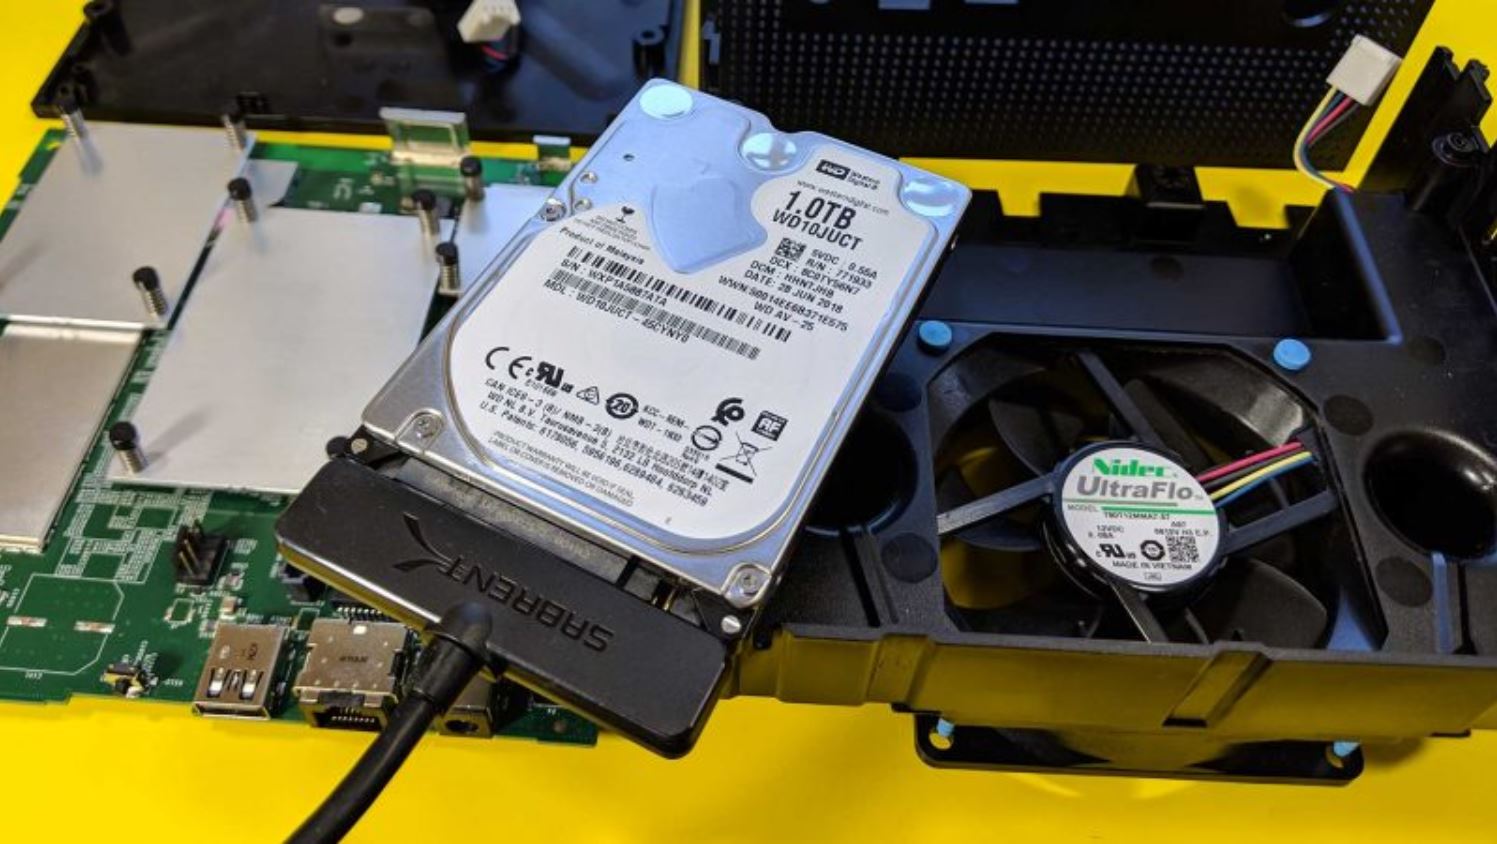
Formatting the External Hard Drive
Before you can transfer your Dish DVR recordings to the external hard drive, you may need to format it to ensure compatibility with your DVR. Follow these steps to format the external hard drive:
- Backup Important Data: Before proceeding with the formatting process, make sure to backup any important data on the external hard drive. Formatting will erase all data on the drive, so it’s essential to save any valuable files elsewhere.
- Connect the External Hard Drive to your Computer: If your external hard drive is not already connected to your computer, plug it in using the appropriate USB cable.
- Open Disk Management: On a Windows computer, you can open Disk Management by right-clicking the Start button, selecting “Disk Management” from the context menu, or by searching for “Disk Management” in the Windows search bar. On a Mac computer, you can open Disk Utility by going to “Applications,” then “Utilities,” and selecting “Disk Utility.”
- Select the External Hard Drive: In Disk Management or Disk Utility, locate your external hard drive in the list of available drives. Be cautious and make sure you identify the correct drive to avoid formatting the wrong device.
- Format the External Hard Drive: Right-click on the external hard drive in Disk Management (Windows) or click on the “Erase” tab in Disk Utility (Mac). Choose the formatting options that are compatible with your DVR. If you’re unsure, refer to your DVR’s user manual or check online for the recommended file system format.
- Confirm the Formatting: Before proceeding with the format, double-check that you have selected the correct external hard drive and the desired formatting options. This step is crucial to avoid accidental formatting of the wrong device.
- Start the Formatting Process: Once you are confident in your selections, click the “Format” button or confirm the format in the respective program. Depending on the size of the external hard drive, the formatting process may take a few minutes to complete.
- Verify the Formatting: After the formatting process is finished, your external hard drive should be ready for use. To confirm, check the status or properties of the drive in Disk Management (Windows) or Disk Utility (Mac). Ensure that the file system format matches the requirements of your DVR.
By following these steps, you can successfully format your external hard drive to a compatible file system for your DVR. Once formatted, the external hard drive will be ready to receive and store your Dish DVR recordings.
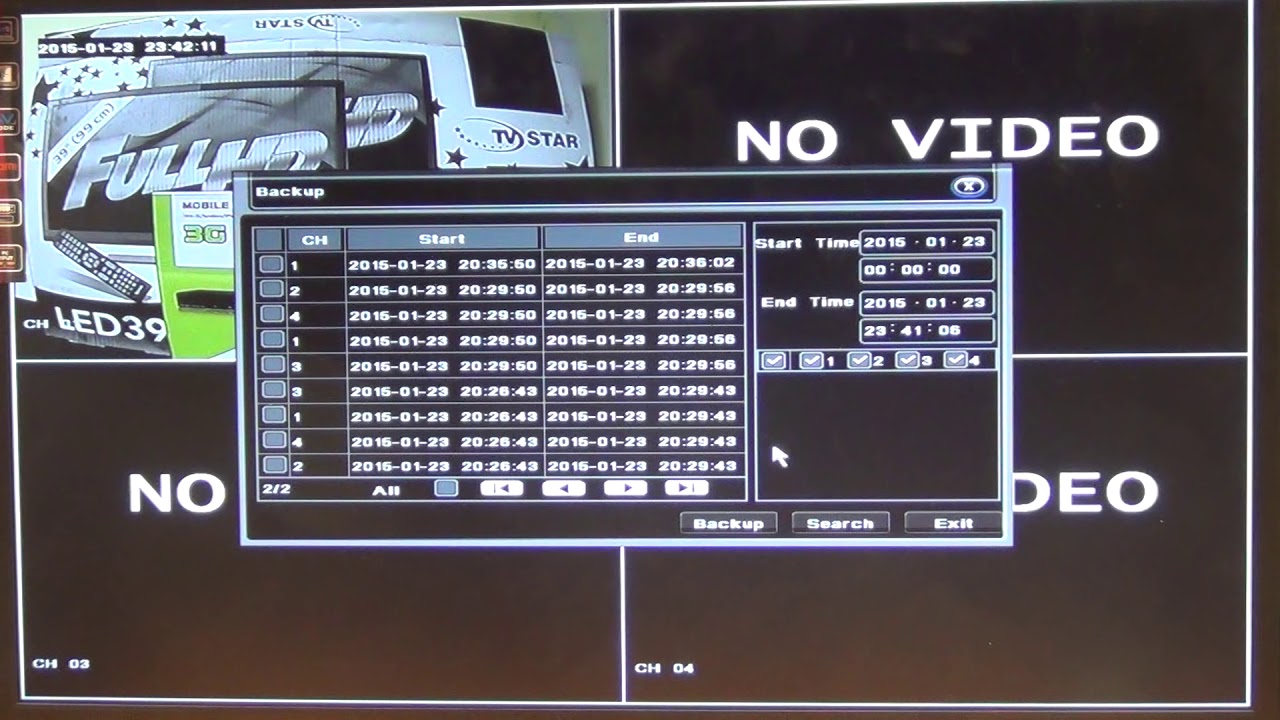
Transferring DVR Recordings to the External Hard Drive
Once you have connected and formatted the external hard drive, you can proceed with transferring your Dish DVR recordings to the drive. Follow these steps to complete the transfer process:
- Access the DVR Menu: Use your DVR remote control or navigate the on-screen menu to access the recorded content or DVR menu.
- Select the Recordings: Choose the recordings you want to transfer to the external hard drive. You can typically select multiple recordings at once by using the remote control’s arrow keys or specific buttons provided.
- Initiate the Transfer: Look for an option within the DVR menu that allows you to transfer the selected recordings to an external storage device. The wording of the option may vary depending on your DVR model but look for terms like “Transfer,” “Copy to USB,” or similar phrases.
- Confirm the Transfer: Before proceeding with the transfer, the DVR may display a confirmation message or prompt asking you to verify the action. Ensure that the correct external hard drive is selected and confirm the transfer.
- Monitor the Transfer Progress: The DVR will begin transferring the selected recordings to the external hard drive. Depending on the number and size of the files, the transfer process may take some time. Monitor the progress on the DVR screen or refer to any on-screen notifications provided.
- Verify the Transferred Recordings: Once the transfer is complete, safely disconnect the external hard drive from the DVR and connect it to a compatible device, such as your computer or smart TV. Access the external hard drive and navigate to the transferred recordings to ensure they are successfully transferred and playable.
It’s important to note that the transfer process may vary slightly depending on your DVR model. Refer to the user manual or manufacturer’s instructions for specific guidance on transferring recordings to an external hard drive.
By following these steps, you can successfully transfer your Dish DVR recordings to the external hard drive, freeing up space on your DVR and enabling you to enjoy your favorite shows and movies on various compatible devices.
Disconnecting the External Hard Drive from the DVR
Once you have successfully transferred your Dish DVR recordings to the external hard drive, it is important to disconnect the hard drive from the DVR properly. Follow these steps to ensure a safe disconnection:
- Stop Playback: If you are currently playing any recordings from the external hard drive, stop the playback and exit any media or playback applications before proceeding with the disconnection.
- Access the DVR Menu: Using your DVR remote control or on-screen menu, navigate back to the DVR menu or main screen.
- Locate the External Storage Option: In the DVR menu, look for an option related to external storage, USB devices, or similar terms. This option allows you to manage and disconnect connected external devices.
- Select the Disconnect or Eject Option: Within the external storage menu, choose the appropriate option to safely disconnect or eject the external hard drive. This step ensures that all data is securely written and any pending processes are completed before the disconnection.
- Wait for Notification: After selecting the disconnect or eject option, wait for a notification or on-screen message indicating that it is safe to remove the external hard drive.
- Physically Disconnect the Hard Drive: Once you receive the notification, carefully unplug the USB cable from the DVR. Then, unplug the other end of the cable from the USB port of the external hard drive. Ensure a smooth and gentle removal to avoid any damage to the connectors.
- Power Off the DVR: If you no longer need your DVR powered on, you can now safely power it off. This step is optional but can help conserve energy.
By following these steps, you can safely disconnect the external hard drive from your Dish DVR without the risk of data loss or damage to the storage device.
Remember to always follow the specific instructions provided by your DVR manufacturer in the user manual or on-screen menus for disconnecting external devices, as the process may vary slightly depending on the DVR model.
Troubleshooting Tips
While transferring your Dish DVR recordings to an external hard drive is a straightforward process, you may encounter some challenges along the way. Here are some troubleshooting tips to help you overcome common issues:
1. Ensure Proper Formatting: If your DVR is not recognizing the external hard drive, make sure it is formatted using a compatible file system. Reformat the hard drive if necessary, ensuring it matches the required format specified by your DVR.
2. Check USB Connections: If the transfer process is not starting or seems to be interrupted, double-check the USB connections. Ensure both ends of the USB cable are securely connected to the DVR and the external hard drive.
3. Verify DVR Compatibility: Confirm that your DVR model supports transferring recordings to an external hard drive. Check the user manual or the manufacturer’s website for compatibility information specific to your DVR.
4. Restart the DVR: If you encounter any connectivity issues or glitches, try restarting your DVR. Power it off, wait for a few seconds, and then power it back on. This can refresh the system and resolve minor software-related issues.
5. Update DVR Firmware: Ensure that your DVR has the latest firmware installed. Visit the manufacturer’s website or contact customer support to check if any firmware updates are available. Updating the firmware can address compatibility issues and provide bug fixes.
6. Check DVR Storage Capacity: If you transferred some recordings but are experiencing errors or incomplete transfers, verify the available storage space on your DVR. Ensure that there is enough free space to accommodate the recordings being transferred.
7. Confirm Proper Encoding: Some DVRs may have specific encoding requirements for recordings to play on external devices. Check the supported file formats and encoding settings for your DVR, and ensure that your recordings meet those specifications.
8. Test with Different Devices: If you encounter playback issues on a specific device, try accessing the transferred recordings on different devices. This can help determine if the issue is with the device’s compatibility or the transferred recordings themselves.
9. Contact Dish Network Support: If you have exhausted all troubleshooting tips and are still experiencing issues, it is recommended to contact Dish Network customer support. They can provide further assistance, troubleshoot specific DVR model-related issues, or guide you through the transfer process.
By following these troubleshooting tips, you can overcome common challenges and ensure a smooth transfer of your Dish DVR recordings to the external hard drive.
Conclusion
Transferring your Dish DVR recordings to an external hard drive provides a convenient and efficient way to expand your storage capacity, access your favorite shows and movies on various devices, and ensure the safety and preservation of your valuable content.
In this guide, we have covered the importance of transferring your DVR recordings to an external hard drive and the benefits it brings. We discussed the compatibility requirements, the necessary equipment, and the step-by-step process of connecting the external hard drive to your Dish DVR, formatting the drive, transferring the recordings, and safely disconnecting the hard drive.
It’s crucial to remember to verify compatibility between your DVR and the external hard drive, as well as to follow the specific instructions provided by your DVR manufacturer for a successful transfer. Troubleshooting tips can help you overcome any challenges that may arise during the process.
By transferring your Dish DVR recordings to an external hard drive, you can unlock more storage space, enjoy flexibility in accessing your content, create backups, easily share recordings, and enhance your overall viewing experience.
We hope this guide has provided you with the necessary information and steps to successfully transfer your Dish DVR recordings to an external hard drive. Now, you can make the most of your DVR and enjoy your favorite shows and movies on a wider range of devices!