Introduction
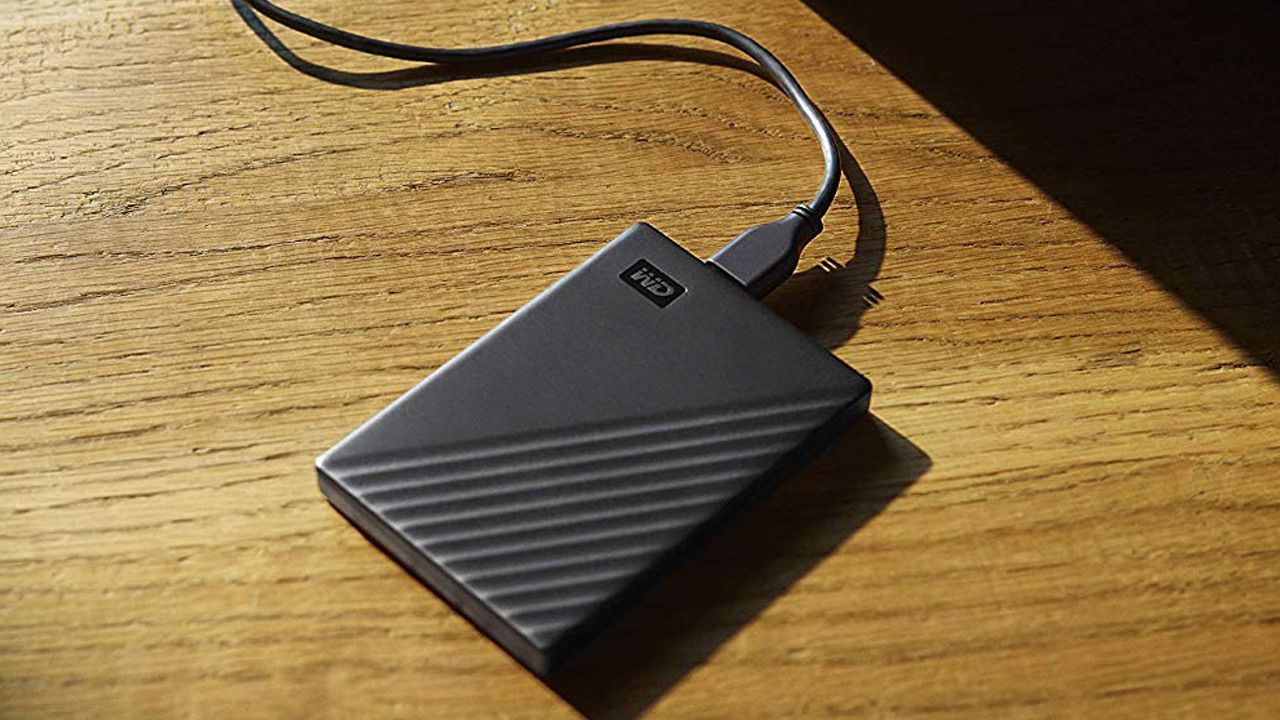
Welcome to the ultimate guide on how to reset a Maxtor external hard drive. Whether you’re experiencing technical issues or simply want to start fresh, resetting your Maxtor external hard drive can be a helpful solution. By resetting the hard drive, you can restore it to its default settings and resolve various problems that may have occurred over time.
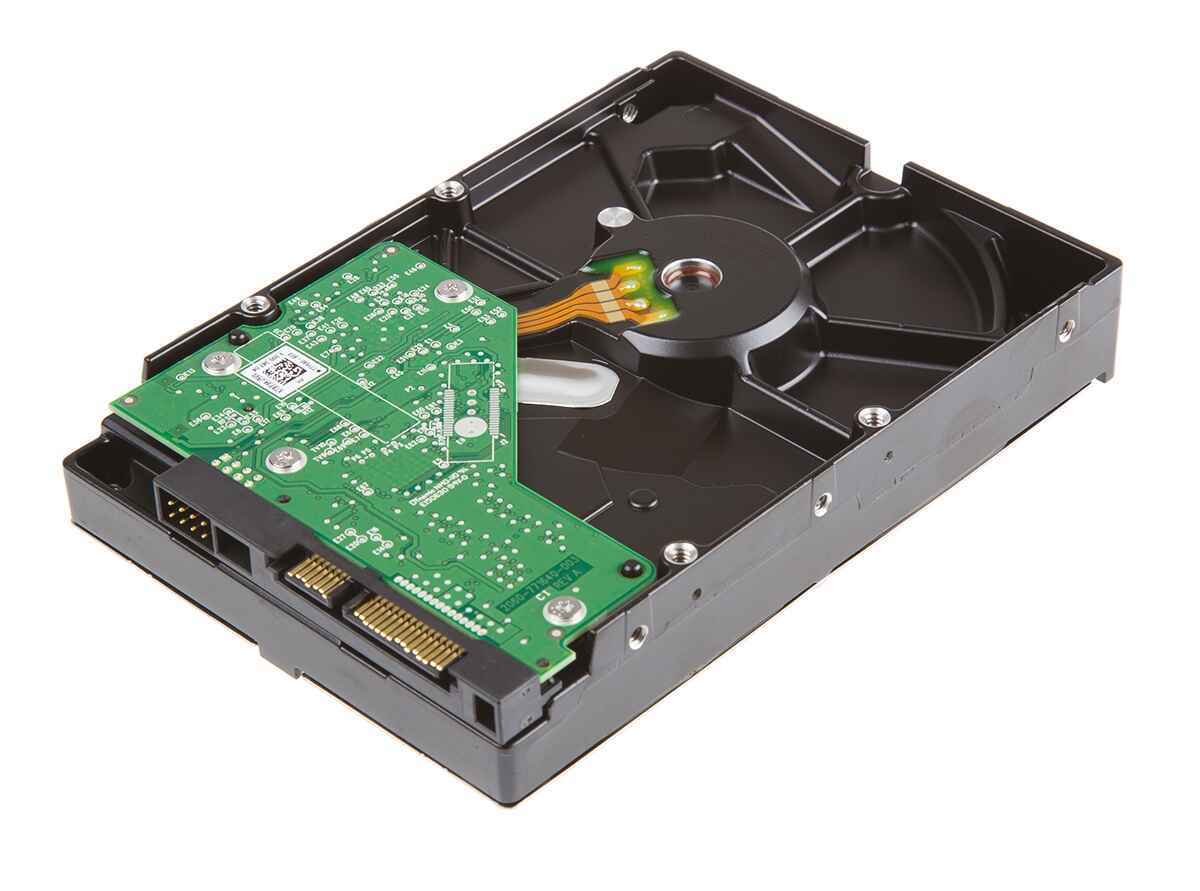
A Maxtor external hard drive is a convenient and reliable storage device that allows you to store and backup important files, documents, photos, videos, and more. However, like any electronic device, there may be situations where it becomes necessary to reset it.
In this guide, we will walk you through the step-by-step process of resetting your Maxtor external hard drive. This procedure is generally applicable to the Maxtor OneTouch, Maxtor M3, and other similar models. Please note that resetting your hard drive will erase all data stored on it, so it is crucial to back up any important files beforehand.
Before we begin, it is worth mentioning that resetting a Maxtor external hard drive is not guaranteed to fix all issues. If you continue to experience difficulties after performing a reset, we recommend reaching out to Maxtor customer support for further assistance.
Now, without further ado, let’s delve into the steps required to reset your Maxtor external hard drive and get it back to optimal performance.
Step 1: Disconnect the hard drive
The first step in resetting your Maxtor external hard drive is to disconnect it from your computer or any other device it may be connected to. This is an important precautionary measure to ensure the safety of your data and to avoid any accidental damage during the reset process.
To disconnect the hard drive, simply unplug the USB cable or any other connecting cables from your computer or device. Make sure you safely remove the device from your computer before physically unplugging it.
It’s also a good idea to turn off the power supply to the hard drive if it has its own power switch. This will further ensure that the device is fully disconnected and isolated from any external power source.
By disconnecting the hard drive, you are preventing any potential data loss or damage that could occur if the reset process is interrupted or if you accidentally delete important files during the reset process. Taking this precautionary step will give you peace of mind and safeguard your data.
Once you have safely disconnected the hard drive and ensured it is powered off, you can proceed to the next step of the reset process.
Step 2: Power off the hard drive
After disconnecting the Maxtor external hard drive in the previous step, the next important step is to power off the device. This step ensures that any residual power is completely drained from the hard drive, preparing it for the reset process.
To power off the Maxtor external hard drive, locate the power switch or button on the device. The power switch is usually located on the back or side of the hard drive. Once you’ve located it, simply press the power switch to turn off the device.
It’s essential to wait for a few seconds after powering off the hard drive to ensure that it is fully shut down. This allows any internal processes or background activities to come to a complete stop before proceeding with the reset.
Powering off the hard drive is crucial because it ensures that the device is in a stable and idle state, ready to be reset. This step eliminates any potential conflicts or issues that may arise if the hard drive is still powered on during the reset process.
By taking the time to power off the hard drive, you are setting the foundation for a smooth and successful reset process. Now that the hard drive is disconnected and powered off, you can move on to the next step of the reset process.
Step 3: Locate the reset button
To reset your Maxtor external hard drive, you will need to locate the reset button on the device. The reset button is typically small and recessed into the surface of the hard drive. It is designed to be pressed with a paperclip or a similar pointed object.
Start by carefully examining the exterior of the hard drive. Look for any small holes or buttons that stand out from the rest of the surface. The reset button may be labeled as “Reset” or indicated by an icon or symbol resembling a circular arrow.
Once you have identified the reset button, prepare a paperclip or a similar tool that can fit into the small hole. Make sure the paperclip is straight and gently press it into the reset button. You should feel a slight resistance as you press the button, but be careful not to exert excessive force.
The location of the reset button may vary depending on the model of your Maxtor external hard drive. It is recommended to refer to the user manual or visit the manufacturer’s website for specific instructions and illustrations that correspond to your particular model.
Finding the reset button is an essential step in the reset process, as it allows you to trigger the reset function and restore the hard drive to its default settings. Once you’ve located the reset button, you’re ready to proceed to the next step of the reset process.
Step 4: Use a paperclip to press the reset button
Now that you have located the reset button on your Maxtor external hard drive, it’s time to use a paperclip or a similar pointed object to press the button. This step activates the reset function and initiates the process of restoring the hard drive to its default settings.
Start by straightening out a paperclip or using a similar tool that can fit into the small hole where the reset button is located. Take care to ensure that the paperclip is not bent or twisted, as this may cause damage to the button or the hard drive.
Insert the straightened paperclip gently into the hole, and apply a slight amount of pressure to press the reset button. You should feel a slight click when the button is engaged. Hold it down for a few seconds to ensure that the reset process is initiated.
While pressing the reset button, it’s important to be patient and allow the hard drive time to respond. Depending on the model and the status of the device, the reset process may take a few moments to complete. Be sure to avoid removing the paperclip prematurely and give the hard drive ample time to reset.
Using a paperclip to press the reset button is a straightforward and effective method to trigger the reset function of your Maxtor external hard drive. Once you’ve successfully pressed the reset button, you can proceed to the next step of the reset process.
Step 5: Connect the hard drive and power it on
After successfully pressing the reset button on your Maxtor external hard drive, it’s time to reconnect the device and power it back on. This step allows the hard drive to initialize with the restored default settings and ensures that it is ready for use.
Start by reattaching the USB cable or any other connecting cables to your computer or device. Make sure the cables are securely plugged in to establish a stable connection. If your Maxtor external hard drive has its own power supply, ensure that it is plugged in and turned on.
Once the connections are in place, you can proceed to power on the hard drive using the power switch or button. Press the power switch and wait for a few moments for the hard drive to power up. You may notice lights or indicators on the device that illuminate, indicating that it is receiving power and initializing.
As the hard drive powers on, it will go through a startup sequence. Depending on the model, this may include spinning up the disk, initializing the firmware, and establishing a connection with your computer or device.
Once the Maxtor external hard drive is fully powered on and recognized by your computer, you can proceed to the next step of the reset process.
Note that after reconnecting and powering on the hard drive, you may need to wait for your computer or device to detect the hard drive and install any necessary drivers or software. This may take a few moments, so be patient and allow the process to complete.
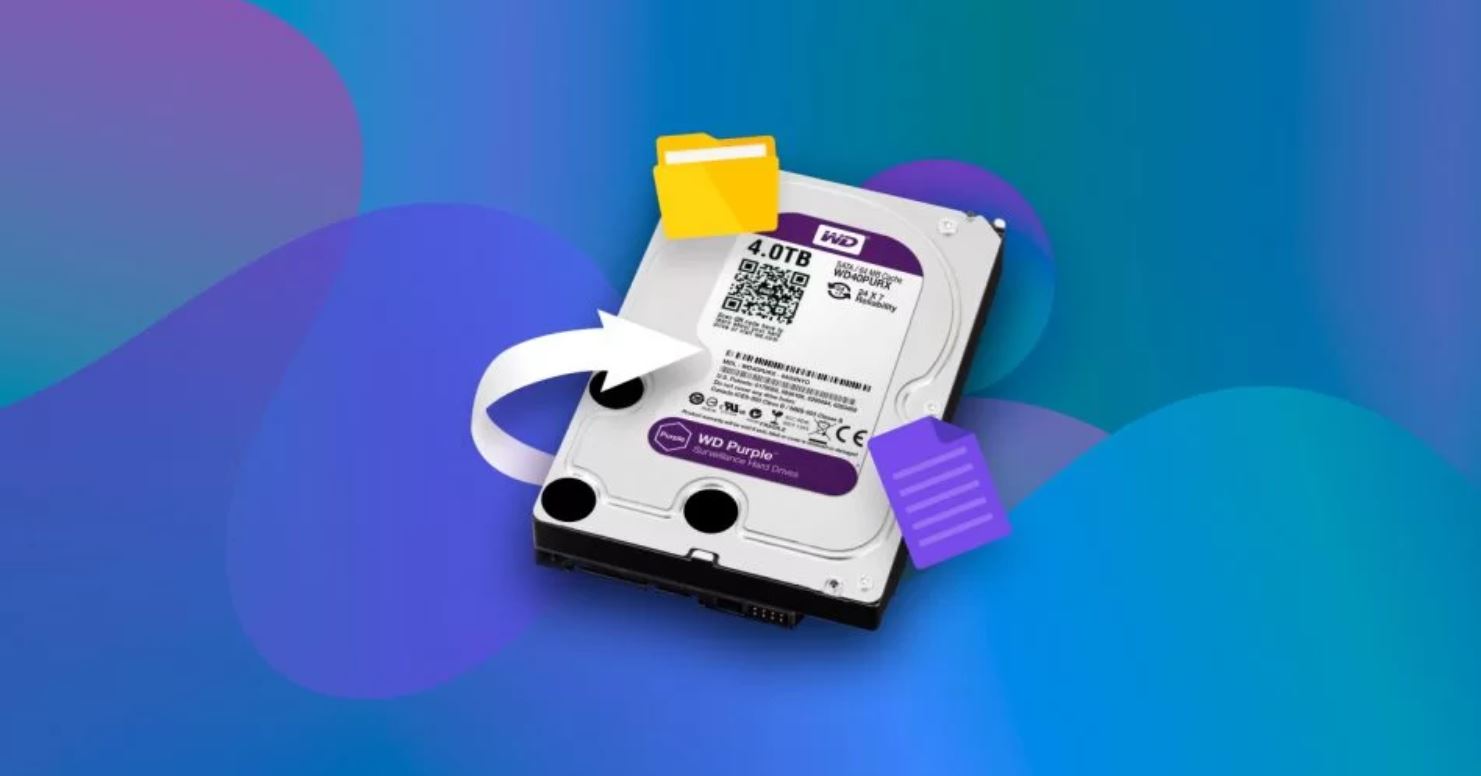
Step 6: Format the hard drive if necessary
Once you have successfully connected and powered on your Maxtor external hard drive after the reset process, it may be necessary to format the hard drive before you can start using it again. Formatting the hard drive will erase any existing data and prepare it for storing new files.
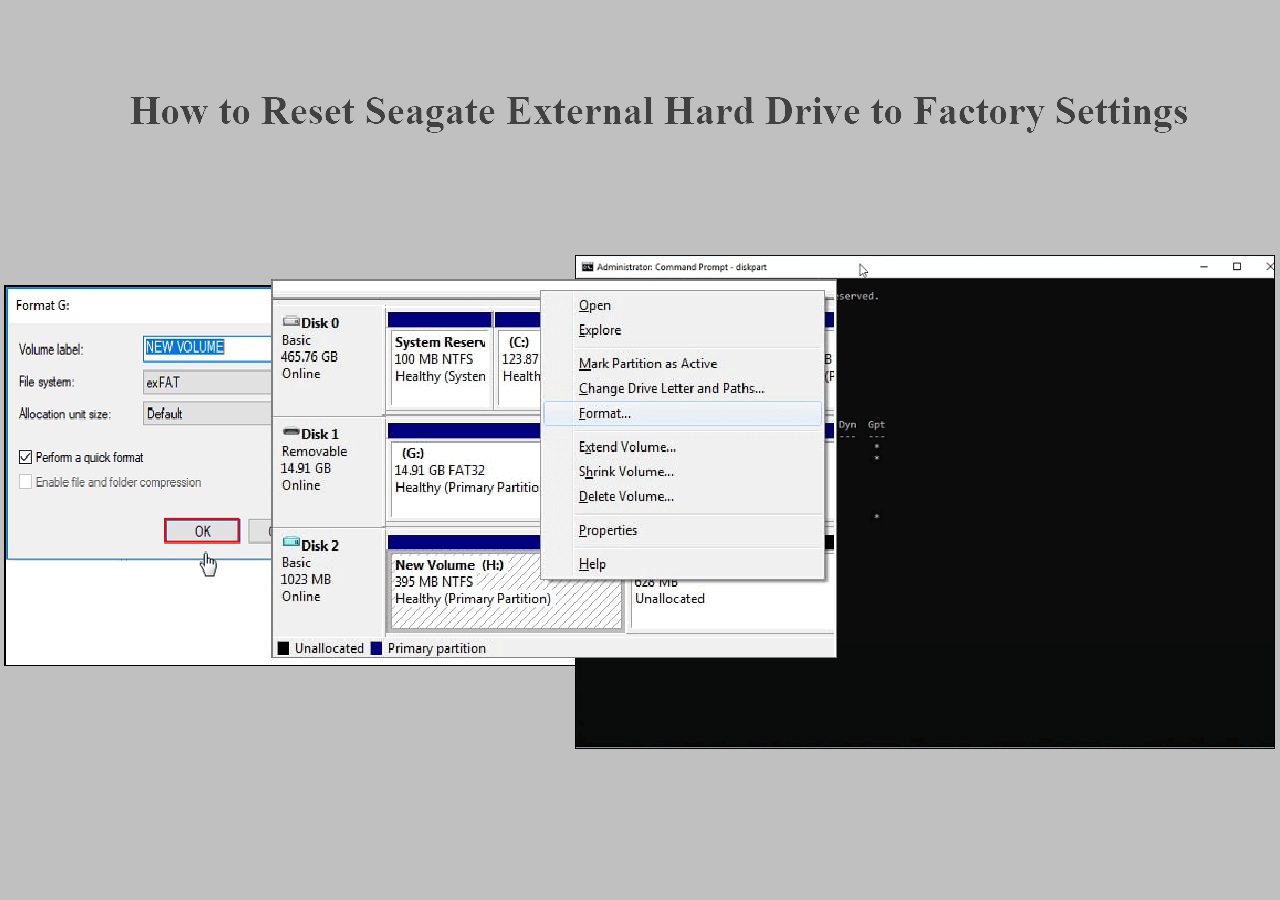
To format the hard drive, you will need to access the disk management tool on your computer. Disk management allows you to manage and configure storage devices connected to your computer, including external hard drives.
Here’s how you can format your Maxtor external hard drive:
- On Windows:
- Press the Windows key + R to open the Run dialog box.
- Type “diskmgmt.msc” (without quotes) and press Enter.
- Locate your Maxtor external hard drive in the list of disks.
- Right-click on the disk and select “Format”.
- Follow the on-screen prompts to choose the file system (such as NTFS or exFAT) and allocate the desired disk space.
- Click “OK” or “Finish” to begin the formatting process.
- On macOS:
- Open the Disk Utility application from the Applications/Utilities folder.
- Select your Maxtor external hard drive from the list of devices on the left side of the window.
- Click on the “Erase” tab.
- Choose the desired format (such as Mac OS Extended or APFS) and provide a name for the hard drive.
- Click on the “Erase” button to start the formatting process.
Formatting the hard drive will erase all data on it, so it is important to ensure that you have backed up any important files before proceeding. Once the formatting process is complete, your Maxtor external hard drive will be ready for use and can be accessed like any other storage device on your computer or device.
Keep in mind that formatting a hard drive is an irreversible process, so double-check that you have selected the correct drive before initiating the format.
Conclusion
Congratulations! You have successfully learned how to reset a Maxtor external hard drive. By following the step-by-step instructions in this guide, you have been able to disconnect the hard drive, power it off, locate the reset button, press the reset button with a paperclip, reconnect and power on the hard drive, and format it if necessary.
Resetting a Maxtor external hard drive can be a useful solution for resolving technical issues or starting fresh with a clean slate. However, it is important to remember that resetting the hard drive will erase all data stored on it. Therefore, it’s crucial to back up any important files before proceeding with the reset process.
We hope that this guide has provided you with the knowledge and confidence to perform a reset on your Maxtor external hard drive whenever needed. Remember, if you encounter any difficulties or issues during the process, it is advisable to consult the Maxtor customer support team or refer to the user manual specific to your model.
Now that you are equipped with the necessary information, go ahead and reset your Maxtor external hard drive with ease. Enjoy the reassurance of a fresh start and optimal performance from your device!