Introduction
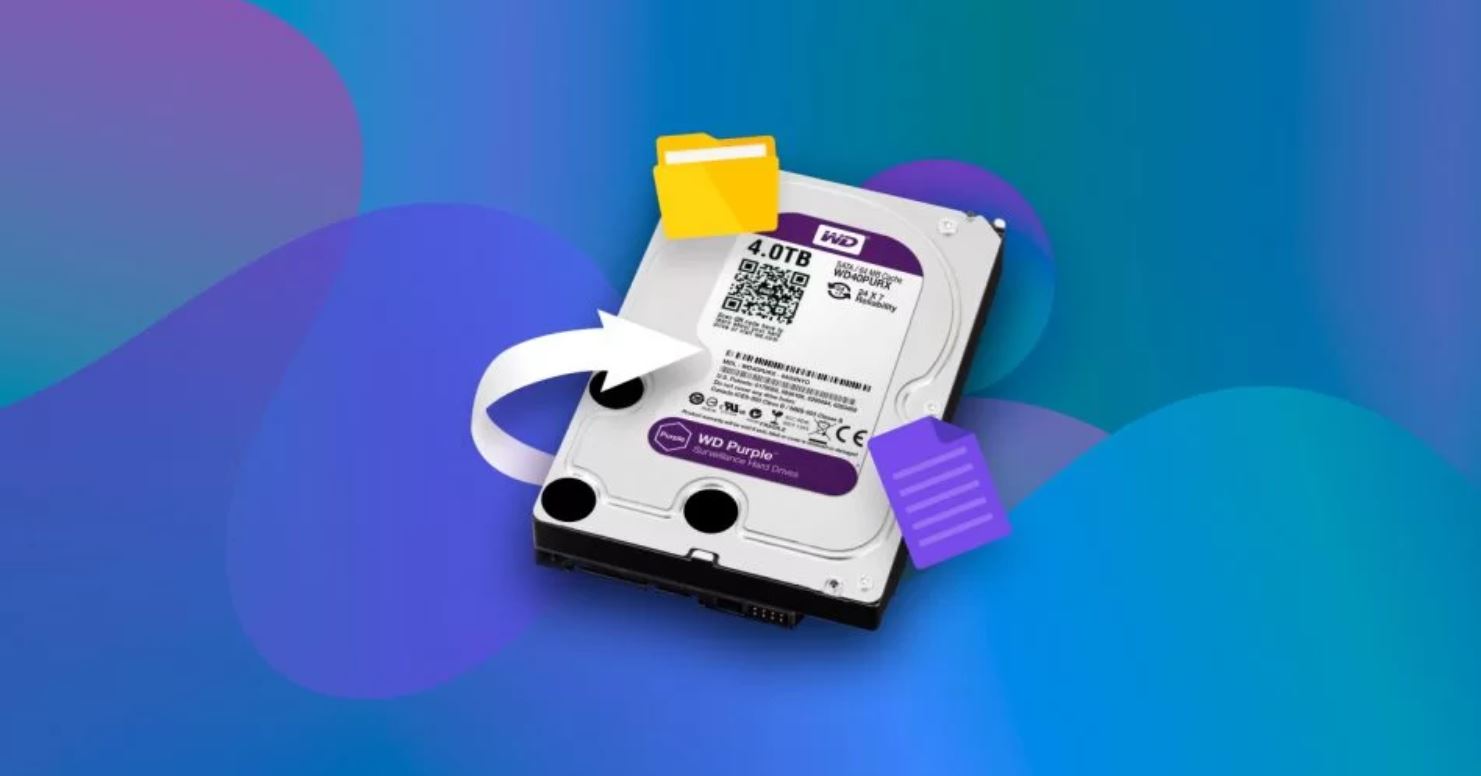
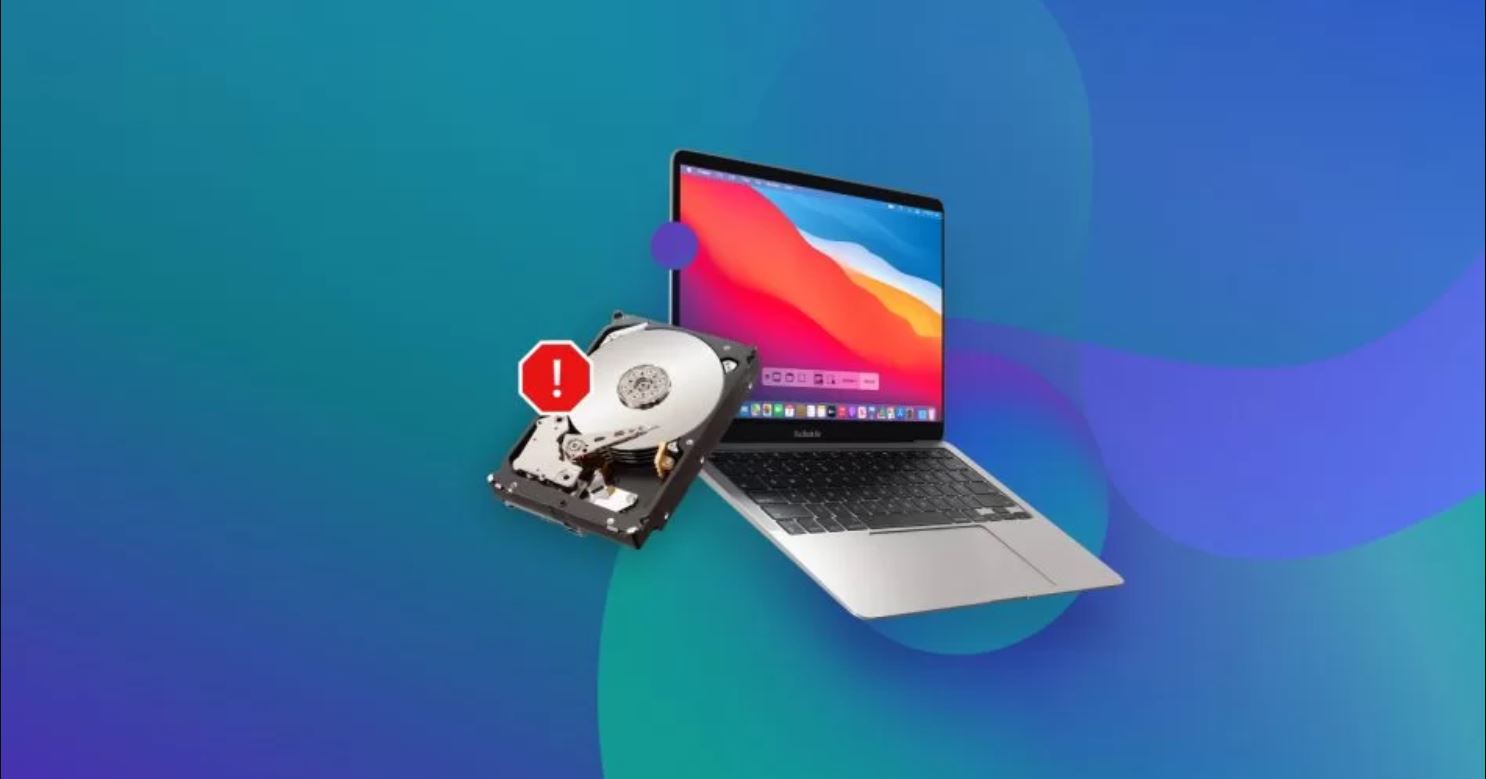
Welcome to our guide on how to factory reset an external hard drive. Whether you’re experiencing difficulties with your device or simply wanting to wipe it clean, a factory reset can help restore your external hard drive to its original settings. This process erases all data and settings on the drive, essentially returning it to its “factory” state when it was first manufactured.
Factory resetting an external hard drive can be beneficial in various scenarios. If you’re encountering performance issues like slow read/write speeds or frequent errors, a reset can help resolve these problems. Additionally, if you plan on selling or donating your hard drive, a factory reset ensures that your personal data is permanently erased, safeguarding your privacy.
Before embarking on the factory reset process, it’s essential to understand the implications and take necessary precautions. This guide will walk you through the step-by-step process for resetting an external hard drive on Windows, Mac, and Linux systems.
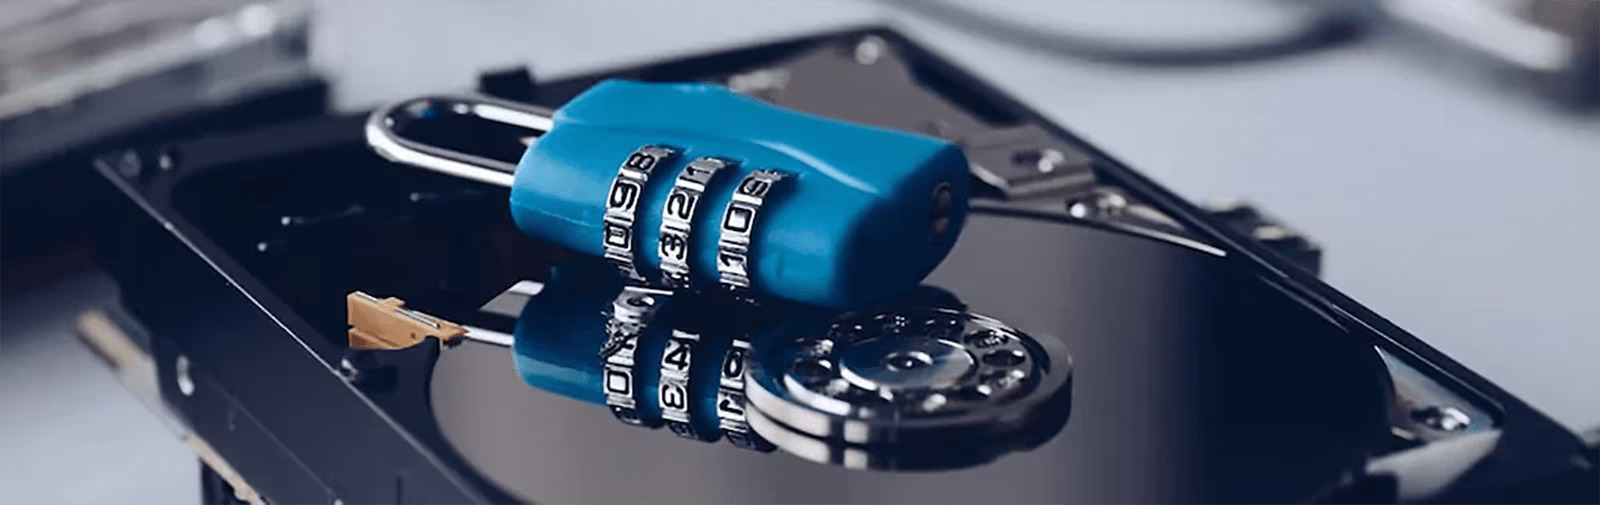
Please bear in mind that a factory reset permanently deletes all data on the drive, so it’s crucial to back up any important files before proceeding. Additionally, ensure that you are disconnected from any ongoing data transfers and have a stable power source to prevent any interruptions during the reset process.
Now that we have covered the basics, let’s dive into the detailed steps for factory resetting an external hard drive on different operating systems. This guide will equip you with the knowledge to confidently reset your drive while safeguarding your data and maintaining the integrity of your device.
Reasons for Factory Resetting an External Hard Drive
There are several reasons why you might consider performing a factory reset on your external hard drive. Understanding these reasons can help you determine if a reset is the right course of action for your particular situation. Here are a few common scenarios:
- Resolving Performance Issues: Over time, your external hard drive may start experiencing performance problems such as sluggishness, frequent freezing, or errors during file transfers. These issues can be caused by corrupted files, misconfigured settings, or software conflicts. Performing a factory reset can help eliminate these issues and restore your hard drive’s performance to its optimal state.
- Preparing for Sale or Donation: If you plan on selling or donating your external hard drive, it is crucial to ensure that all your personal data is securely erased. A factory reset wipes all data and settings on the drive, making it virtually impossible for anyone to recover your sensitive information. It provides peace of mind knowing that your data will not fall into the wrong hands.
- Starting Fresh: Sometimes, you may simply want to start fresh with your external hard drive. By performing a factory reset, you can remove all the clutter, unnecessary files, and software installations that have accumulated over time. This allows you to have a clean slate to work with, reducing potential conflicts and keeping your drive organized.
- Troubleshooting: If you’re encountering persistent issues with your external hard drive that cannot be resolved through other means, a factory reset can serve as a troubleshooting step. By resetting the drive to its factory settings, you can eliminate any software or configuration-related problems that might be causing the issue.
It’s important to note that a factory reset should not be taken lightly, as it erases all data on your drive. Before proceeding with the reset, ensure that you have backed up any essential files to avoid permanent data loss. Once the reset is complete, you will need to reinstall any necessary software and restore your backed-up data to resume using your external hard drive.
Now that we’ve explored the reasons why you might consider a factory reset, let’s move on to the preparations needed before beginning the reset process.
Before You Begin
Before embarking on the process of factory resetting your external hard drive, there are a few essential preparations you should undertake to ensure a smooth and successful reset. Here are some key considerations:
- Back up Your Data: As mentioned earlier, a factory reset erases all data on your external hard drive. Therefore, it is crucial to back up any important files, documents, or media before proceeding with the reset. You can transfer your data to another storage device, such as a computer, cloud storage, or another external hard drive. This step ensures that you can restore your files once the reset is complete.
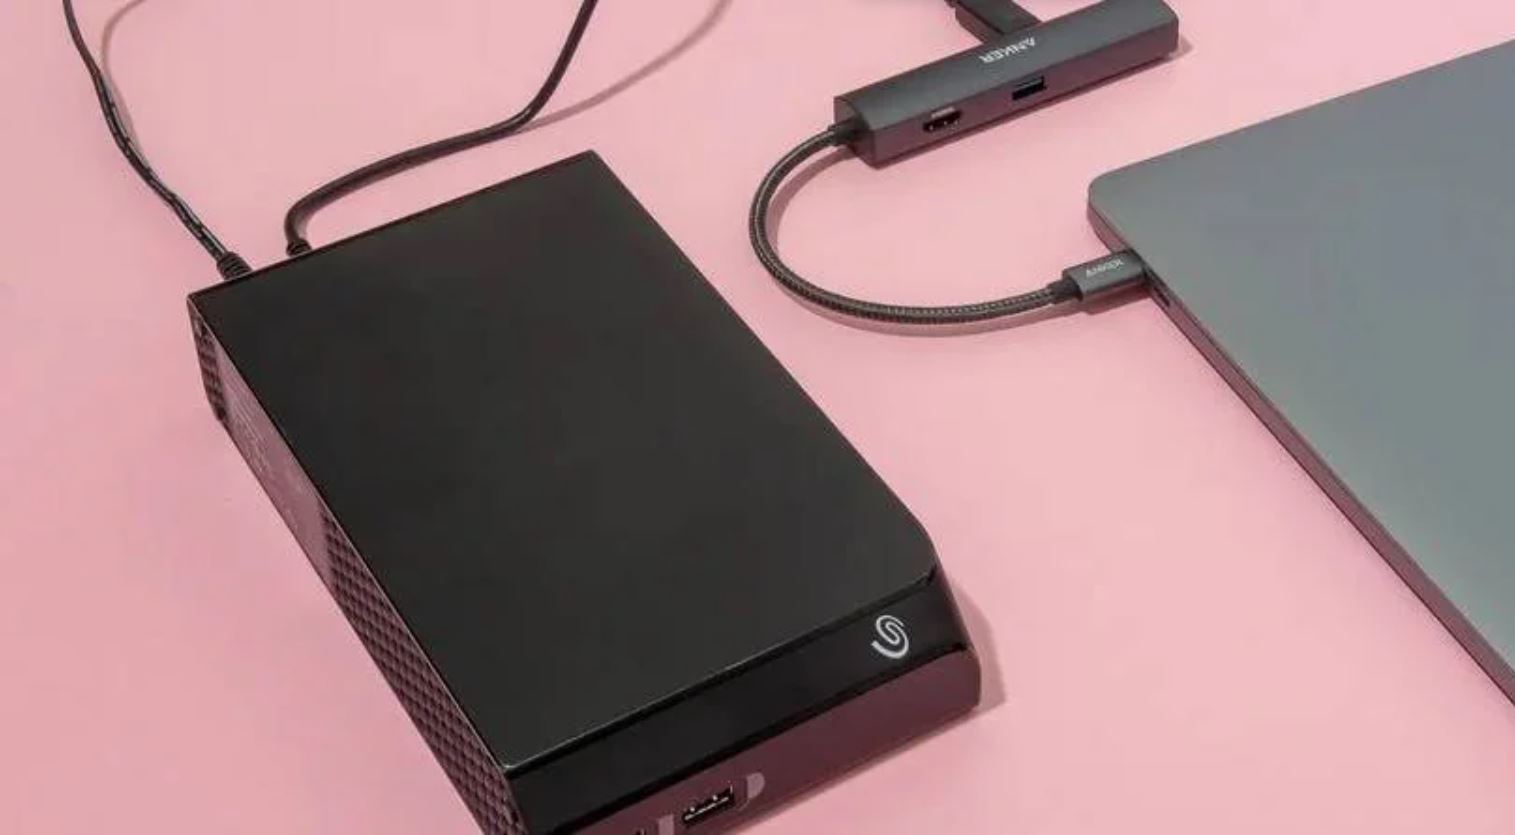
- Disconnect the External Hard Drive: Before initiating the reset process, make sure that your external hard drive is disconnected from any computers or devices. This prevents any ongoing data transfers or conflicts during the reset, which can lead to data corruption or incomplete reset.
- Determine the Reset Method: Different operating systems have varying methods for performing a factory reset on an external hard drive. Determine the type of system you are using (Windows, Mac, or Linux) and familiarize yourself with the specific steps involved in resetting your drive on that particular system. This will ensure that you follow the correct procedures and achieve the desired result.
- Ensure Power Stability: A sudden power loss or interruption during the reset process can cause issues and potentially corrupt the drive. To prevent this, make sure that your computer or device is connected to a stable power source. Consider using a UPS (Uninterruptible Power Supply) if available, to protect against power outages or fluctuations.
- Understand Data Loss: It is important to acknowledge that a factory reset permanently erases all data and settings on your external hard drive. Any information that is not backed up will be irretrievably lost. Double-check your data backup to ensure that you haven’t overlooked any crucial files or documents before proceeding with the reset.
By completing these preparatory steps, you are ready to move forward with the factory reset process. Following these precautions will help safeguard your data and ensure a successful reset of your external hard drive. In the next section, we will outline the step-by-step instructions for factory resetting your drive on Windows-based systems.
Step 1: Back up Your Data
Before proceeding with a factory reset of your external hard drive, it is absolutely crucial to back up any important data that you want to keep. This step ensures that you can restore your files once the reset is complete. Here are the necessary steps to back up your data:
- Identify Important Files: Take some time to identify the files, documents, media, or any other data that you consider important and want to keep. This may include personal documents, photos, videos, music, or any other files that hold significance to you.
- Select a Backup Method: Choose a backup method that suits your preferences and needs. You can opt for an external storage device (such as another external hard drive, a USB drive, or an SSD), cloud storage services (like Google Drive, Dropbox, or OneDrive), or even a combination of both for added security.
- Transfer Your Data: Once you have decided on a backup method, begin transferring your selected files to the chosen storage destination. Connect the external storage device or set up the necessary cloud storage account to facilitate the transfer process.
- Verify Your Backup: After the data transfer is complete, take a moment to verify that all the important files have been successfully backed up. Check the new storage location or cloud account to ensure that the files are present and accessible.
It’s important to note that the time required for the backup process will depend on the amount of data you are backing up and the speed of your external hard drive. Be patient and allow sufficient time to complete the backup process thoroughly.
Remember, a factory reset will permanently delete all data on your external hard drive. Failure to back up your files beforehand will result in permanent data loss. Take the extra precaution of double-checking your backup to ensure that no essential files are left behind.
Once you have confirmed that your data is securely backed up, you can proceed to the next step in the factory reset process. In the following section, we will guide you through the steps for disconnecting your external hard drive.
Step 2: Disconnect the External Hard Drive
Once you have successfully backed up your data, it is essential to disconnect your external hard drive from any devices or computers before proceeding with the factory reset. This step ensures that no data loss or conflicts occur during the reset process. Follow these steps to disconnect your external hard drive:
- Safely Eject the Drive (Windows): On a Windows system, locate the “Safely Remove Hardware” icon in the system tray. It usually resembles a small USB connector with a green checkmark. Right-click on the icon and select your external hard drive from the list of connected devices. A notification will appear indicating that it is safe to remove the drive. Once you receive this notification, gently unplug the external hard drive from the computer.
- Eject the Drive (Mac): If you are using a Mac, you can eject your external hard drive by clicking on the drive icon on the desktop or in the Finder. With the drive selected, right-click and choose “Eject” from the drop-down menu. Alternatively, you can drag the drive icon to the trash can in the Dock, and it will change to an eject symbol. Once the symbol appears, release the mouse button, and the drive will be ejected. Safely disconnect the drive from the Mac.
- Unmount the Drive (Linux): On Linux systems, unmounting your external hard drive is the equivalent of disconnecting it. Open the file manager and locate your drive in the sidebar. Right-click on the drive icon and select “Unmount” or “Eject” from the context menu. This action will unmount the drive and make it safe to disconnect from your Linux system.
Always follow the proper procedure to disconnect your external hard drive to avoid any potential data loss or damage to the drive. Abruptly removing the drive without properly ejecting or unmounting it can result in data corruption or file system errors.
Once you have successfully disconnected your external hard drive, you are ready to move on to the next step: determining the appropriate factory reset method based on your operating system. In the upcoming section, we will discuss the different reset methods for Windows systems.
Step 3: Determine the Reset Method
Before proceeding with the factory reset of your external hard drive, it is crucial to determine the reset method that is compatible with your specific operating system. The procedure for resetting an external hard drive varies between Windows, Mac, and Linux systems. Follow the instructions below to identify the appropriate reset method for your operating system:
- Windows: On a Windows system, the most common method for factory resetting an external hard drive is through the built-in Disk Management tool. To access this tool, right-click on the Start menu and select “Disk Management” from the list. Look for your external hard drive in the list of disks and ensure that it is listed as “Offline” or “Unallocated.” This means that it can be reset. If your drive is listed with a partition or assigned letter, a different method, such as using Diskpart or third-party software, may be required.
- Mac: For Mac systems, the factory reset process involves using the Disk Utility application. Launch the Disk Utility by clicking on the Spotlight search icon (magnifying glass) on the top-right corner of the menu bar, typing “Disk Utility,” and selecting the application from the search results. Locate your external hard drive in the list of disks and choose the “Erase” option. This will initiate the reset process.
- Linux: On Linux systems, the reset process may vary depending on the distribution and the file system format of your external hard drive. Generally, you can use the GParted application or the command-line tools like parted or fdisk to manage and reset the drive. Alternatively, you can also use the disk management utilities provided by the specific Linux distribution you are using.
By identifying the appropriate reset method for your operating system, you can ensure that you follow the correct procedures in the upcoming steps. It is important to note that the reset methods may differ slightly depending on the versions and updates of the operating systems you are using.
Now that you have determined the appropriate reset method for your operating system, it’s time to move on to the next step in the factory reset process. In the following sections, we will guide you through the step-by-step instructions for resetting your external hard drive on Windows, Mac, and Linux systems.
Step 4: Resetting on Windows
If you are using a Windows operating system, the process of factory resetting your external hard drive involves using the Disk Management tool. Follow these step-by-step instructions to reset your external hard drive on Windows:
- Open Disk Management: Right-click on the Start menu, and from the context menu, select “Disk Management.” This will launch the Disk Management tool.
- Locate the External Hard Drive: Look for your external hard drive in the list of disks displayed in the Disk Management window. Ensure that you select the correct drive, as the reset process will irreversibly erase all data on the chosen drive.
- Erase the Drive: Right-click on the volume/partition associated with your external hard drive and select “Delete Volume.” Confirm the deletion when prompted. This action removes the existing partition and prepares the drive for the factory reset.
- Create a New Partition: Right-click on the unallocated space of the drive and select “New Simple Volume.” Follow the on-screen instructions to create a new partition, assigning it a desired volume label, drive letter, and file system format.
- Complete the Factory Reset: After creating the new partition, right-click on it and select “Format.” Choose the desired file system and allocation unit size, and click “OK” to begin the formatting process. Once the format is complete, your external hard drive will be reset to its factory settings.
It is important to note that the reset process may take some time, depending on the size and speed of your external hard drive. Be patient and avoid interrupting the process to prevent any potential data loss or drive damage.
Once the factory reset is complete, your external hard drive is ready for use. You can now proceed to the next step, which involves resetting your external hard drive on a Mac system.
Step 5: Resetting on Mac
If you are using a Mac, the process of factory resetting your external hard drive involves using the Disk Utility application. Follow these step-by-step instructions to reset your external hard drive on a Mac:
- Open Disk Utility: Click on the Spotlight search icon (magnifying glass) located on the top-right corner of the menu bar. Type “Disk Utility” in the search bar and select the Disk Utility application from the search results.
- Locate the External Hard Drive: In the Disk Utility window, look for your external hard drive in the list of drives displayed on the left-hand side. Select the correct drive that you wish to reset. Take caution to choose the correct drive, as the reset process will permanently erase all data on the selected drive.
- Erase the Drive: With your external hard drive selected, click on the “Erase” tab in the top-center of the Disk Utility window. Choose the desired format for the drive, such as APFS, Mac OS Extended (Journaled), or exFAT. Give the drive a suitable name and click on the “Erase” button to initiate the erasing process.
- Confirm the Erase: A confirmation dialog will appear, verifying that you want to erase the selected drive. Make sure you have backed up any essential data and click on the “Erase” button to proceed.
- Complete the Factory Reset: Once the erasing process is complete, your external hard drive will be reset to its factory settings. You can now close the Disk Utility application and safely disconnect the drive from your Mac.
Remember that factory resetting your external hard drive permanently deletes all data on the drive. Ensure that you have backed up any important files before proceeding with the reset process. Additionally, the resetting process may take some time, depending on the size and speed of your external hard drive.
With the factory reset of your external hard drive complete on your Mac, you are now ready to move on to the final step of the process: resetting on a Linux system.
Step 6: Resetting on Linux
If you are using a Linux operating system, the process of factory resetting your external hard drive can be accomplished through various methods, depending on the Linux distribution and file system format of the drive. Here are some general guidelines to reset your external hard drive on Linux:
- Using GParted: GParted is a popular graphical partition editor available on many Linux distributions. Launch GParted from the system menu or by using the command “gparted” in the terminal. Select your external hard drive from the list of drives displayed in GParted. Right-click on the partition you want to reset and choose “Delete” to remove it. Once the partition is deleted, you can create a new partition and format it to complete the factory reset process.
- Using Command-Line Tools: Linux provides several command-line tools like parted, fdisk, or mkfs for managing and formatting drives. Launch the terminal and enter the appropriate command with administrative privileges to list the available drives and partitions. Use the command “mkfs” followed by the desired file system format to create a new file system on your external hard drive. Make sure to specify the correct device name to avoid accidentally formatting the wrong drive.
- Using Disk Management Utilities: Some Linux distributions provide their own disk management utilities for resetting drives. These tools may have a user-friendly interface or command-line options specific to the distribution. Refer to the documentation or support resources for your Linux distribution to learn how to reset an external hard drive using the provided utility.
It is important to exercise caution when resetting your external hard drive on Linux, as the process involves deleting partitions and formatting the drive. Make sure you have backed up any important data and double-check the commands or actions you are performing to avoid accidental data loss.
Once the reset process is complete, your external hard drive will be returned to its factory settings. You can now safely disconnect the drive from your Linux system.
Congratulations! You have successfully factory reset your external hard drive using the appropriate method for your Linux system. In the next step, we will proceed with formatting the drive to prepare it for future use.
Step 7: Formatting the External Hard Drive
After successfully resetting your external hard drive, the next step is to format it. Formatting prepares the drive for future use by creating a new file system and structure. Follow these instructions to format your external hard drive:
- Windows: Right-click on the Start menu and select “Disk Management.” In the Disk Management window, locate your external hard drive and right-click on the newly reset partition. Choose the “Format” option. Select the desired file system format (such as NTFS, exFAT, or FAT32) and specify a volume label if desired. Click “OK” to start the formatting process.
- Mac: Open the Disk Utility application by clicking on the Spotlight search icon and typing “Disk Utility.” In the Disk Utility window, select your external hard drive from the list of drives on the left-hand side. Click on the “Erase” tab. Choose the desired file system format (such as APFS or Mac OS Extended) and provide a name for your drive. Click on the “Erase” button to begin the formatting process.
- Linux: In Linux, you can use commands like “mkfs” or formatting tools such as GParted to format your external hard drive. Use the appropriate command or tool for your chosen file system format (e.g., mkfs.ext4 for ext4 format). Make sure to specify the correct device name, as formatting will erase all data on the selected drive.
Formatting your external hard drive may take some time, depending on the size of the drive and the speed of your computer. Be patient and allow the process to complete without interruption.
Once the formatting process is finished, your external hard drive is ready to be used as a blank storage device. You can now start using it to store files, back up data, or perform any other tasks you require.
With the formatting complete, you have successfully reset and formatted your external hard drive. The next and final step is to restore your backed-up data onto the drive.
Step 8: Restoring Your Backed-Up Data
After resetting and formatting your external hard drive, it’s time to restore your backed-up data. By following these instructions, you can easily transfer your files back onto the drive:
- Identify Your Backed-Up Data: Locate the storage device or cloud service where you previously backed up your data. Ensure that you have access to the backup files and folders you want to restore onto your external hard drive.
- Copy Your Data: Open the backup storage location and select the files and folders you wish to restore onto your external hard drive. You can use simple copy-and-paste operations to transfer the files or employ file synchronization software to facilitate the process.
- Paste Data to the External Hard Drive: Open the window or file explorer for your external hard drive and navigate to the desired location where you want to restore your files. Right-click and select “Paste” to transfer the copied data from the backup storage onto your external hard drive. The time required to complete the transfer will depend on the amount of data being restored.
- Verify the Restored Data: After the data transfer process is complete, take a moment to verify that your files and folders have been successfully restored onto your external hard drive. Open a few files and check their integrity to ensure that the restoration process was successful.
It’s important to note that depending on the size and number of files being restored, the process may take some time. Be patient and allow the system to complete the transfer without interruption.
With your data successfully restored onto your external hard drive, you can now access and use your files as needed. Make sure to properly eject or disconnect your external hard drive from your computer or device when you’re finished using it to prevent any data loss or corruption.
Congratulations! You have completed the entire process of factory resetting, formatting, and restoring your external hard drive. By following these step-by-step instructions, you have successfully returned your drive to its factory settings, wiped potential data remnants, and regained a clean storage space for your future use.
Conclusion
Factory resetting an external hard drive is a valuable process that can help resolve performance issues, prepare the drive for sale or donation, start fresh, or troubleshoot persistent problems. By following the step-by-step instructions outlined in this guide, you can successfully reset, format, and restore your external hard drive, ensuring its optimal performance and maximizing its storage capability.
Before initiating the factory reset, it is essential to back up your data to prevent any loss or irretrievability of important files. Take the time to identify and transfer your crucial data to another storage device or cloud service. This precautionary step ensures that you can restore your files once the reset is complete.
Throughout the process, make sure to disconnect your external hard drive from any devices and determine the appropriate reset method based on your operating system (Windows, Mac, or Linux). Following the specific instructions for resetting on your system guarantees the desired result without causing any unintended data loss or system conflicts.
Once the factory reset is complete, proceed with formatting the drive, creating a new file system, and preparing it for future use. Formatting provides a clean slate for your external hard drive, enabling you to start anew and maximize its storage potential.
Finally, restore your previously backed-up data onto the external hard drive. By copying and pasting your files or employing file synchronization software, you can effortlessly transfer your data back onto the drive. Verify the successful restoration to ensure the integrity and accessibility of your files.
With the completion of these steps, you can confidently utilize your now-reset and formatted external hard drive for various purposes such as storage, backups, or file transfers.
Thank you for using this guide to assist you in the process of factory resetting your external hard drive. By following these guidelines, you can maintain the performance and longevity of your device while safeguarding your data and respecting your privacy.