Introduction
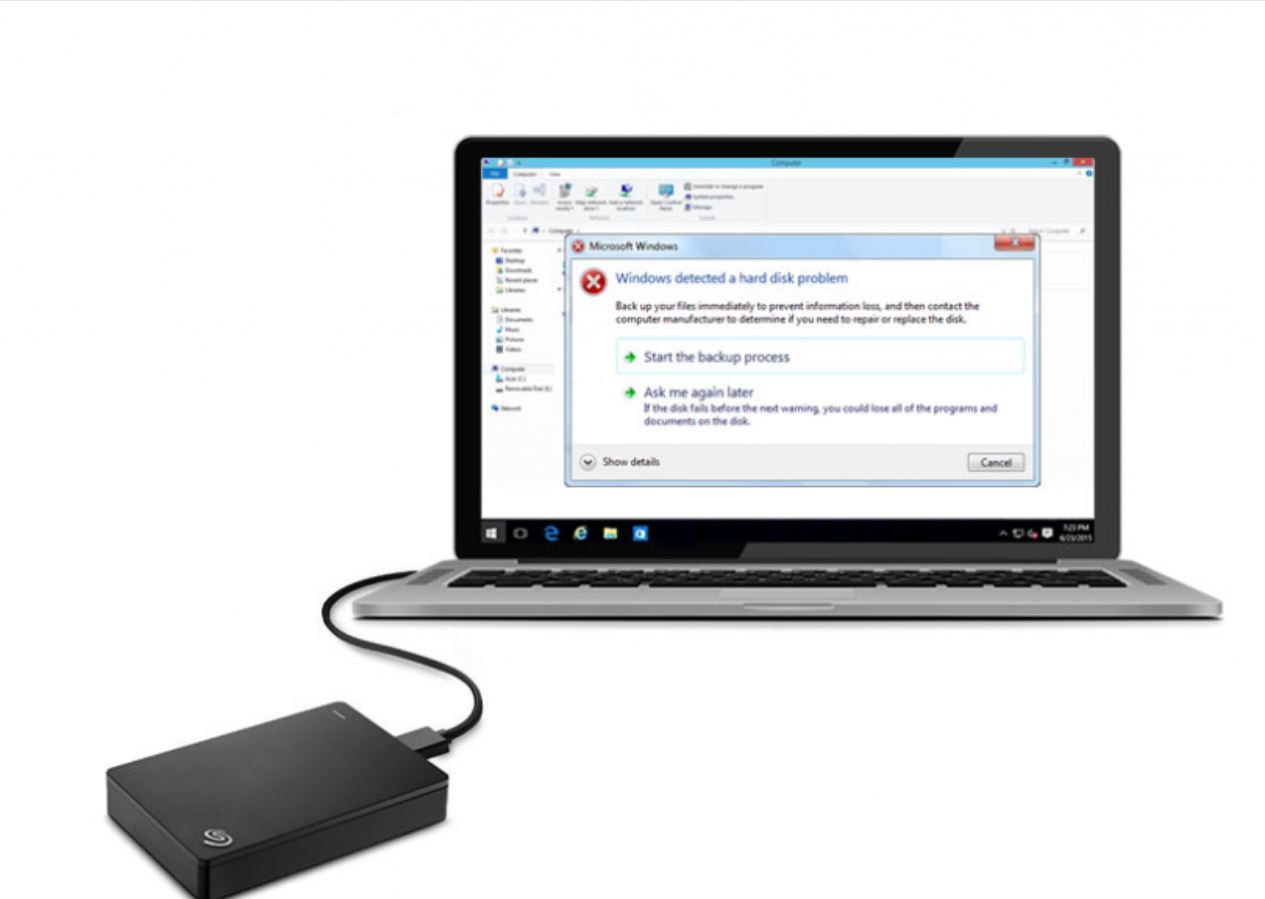
An external hard drive is a valuable tool for storing and backing up important files, providing extra storage space, and facilitating data transfer between devices. However, just like any electronic device, external hard drives can experience issues that may hinder their functionality. To avoid potential data loss or other complications, it’s essential to regularly check if your external hard drive is working properly.
In this article, we will guide you through the process of checking the status of your external hard drive. Whether you’re using a Mac or Windows operating system, these steps will help you determine if your external hard drive is functioning as it should.
From verifying the connection to the computer and power source to running diagnostic tests and checking for potential errors, we will cover everything you need to know to ensure your external hard drive is in good working condition. These steps are simple and can be completed even if you don’t have technical expertise.
Remember that regularly checking your external hard drive’s status can save you from unexpected failures and potential data loss. So without further ado, let’s dive into the steps you need to take to ensure your external hard drive is working optimally.
Checking the Connection
One of the first things to do when checking if your external hard drive is working is to ensure that it is properly connected to your computer or device. A loose or faulty connection can prevent the drive from being recognized or cause intermittent issues. Follow these steps to check the connection:
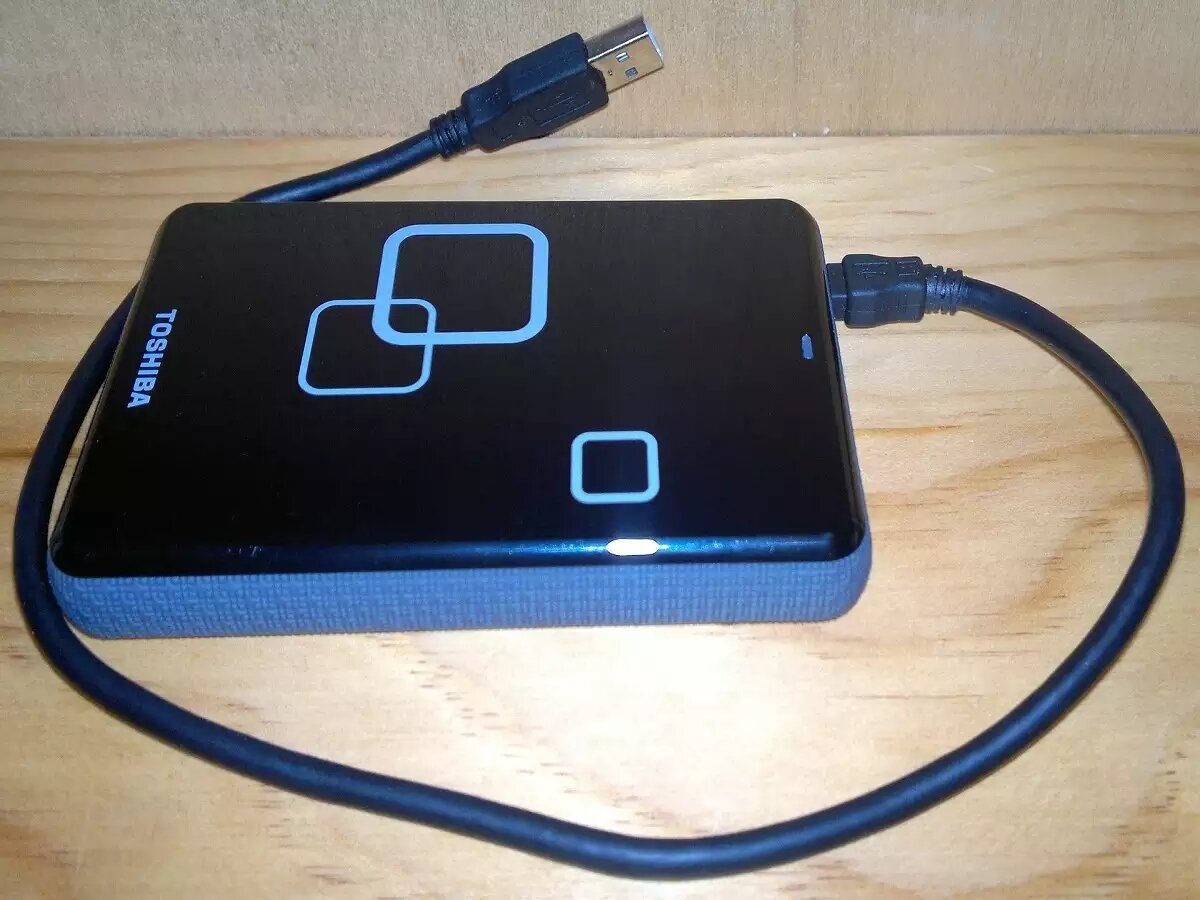
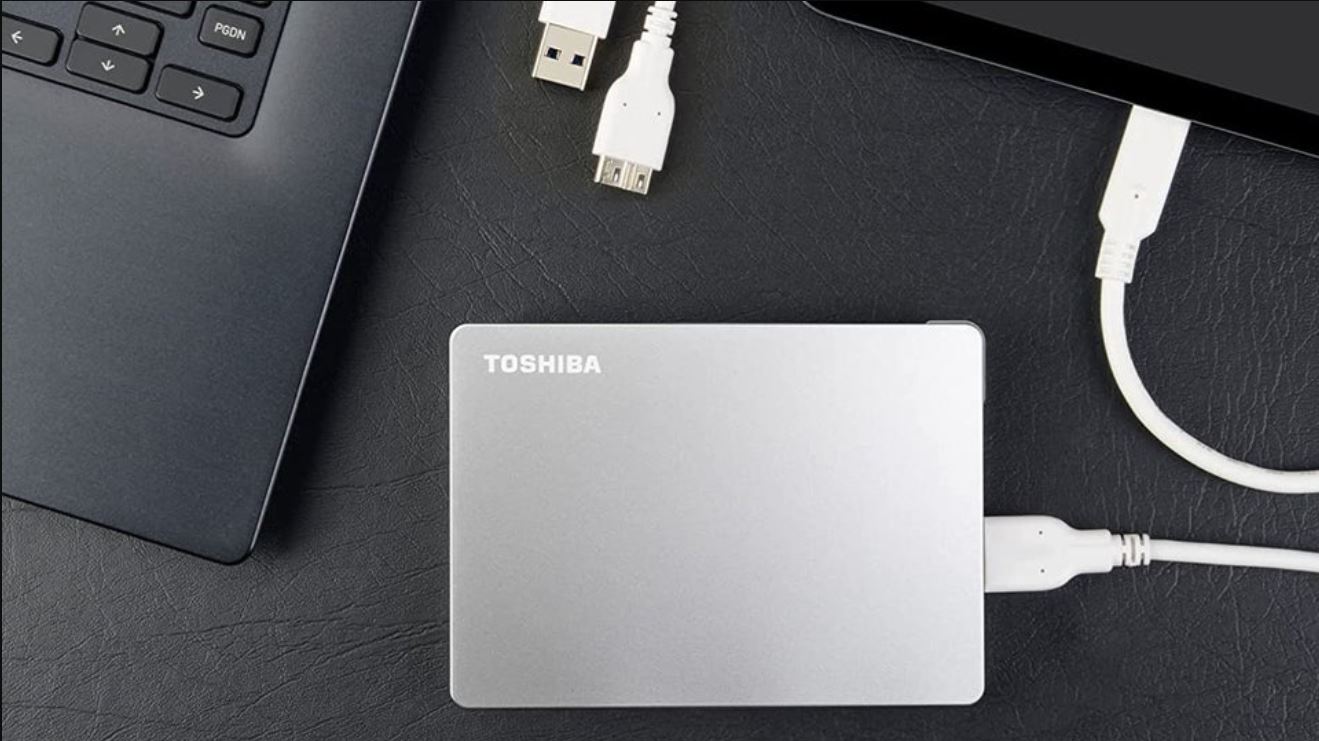
- Verify that the USB or Thunderbolt cable is securely plugged into both the external hard drive and your computer’s USB or Thunderbolt port.
- Try using a different USB or Thunderbolt cable to rule out any cable issues.
- If you are using a desktop computer, ensure that the external hard drive is receiving power if applicable. Check if the power adapter is properly connected and the power indicator on the drive is lit.
- For laptops, make sure the battery is charged or the laptop is plugged into a power source.
- If your external hard drive requires an external power supply, double-check that it is plugged into a working power outlet.
Once you have verified the connection, give your computer a few moments to recognize the external hard drive. Your operating system should automatically detect the drive and display a notification or icon indicating its presence.
If the drive is still not being recognized, move on to the next step to troubleshoot further. Remember to always double-check the connection before assuming the drive is faulty.
Powering on the External Hard Drive
After ensuring that the external hard drive is properly connected to your computer, the next step is to power on the drive. Most external hard drives are designed to automatically power on when connected to a computer, but in some cases, you may need to manually turn on the drive. Follow these steps to power on the external hard drive:
- Check if your external hard drive has a power switch or button. If it does, ensure that it is in the “On” position.
- For drives that do not have a power switch, simply connecting it to your computer should initiate the power-on process.
- Listen for any sounds or vibrations from the drive. A functioning drive will typically emit a soft humming sound or a brief spinning noise as it powers on.
- Observe if any lights or LED indicators on the external hard drive illuminate. Different drives have different indicator lights, but in general, a solid or blinking light indicates that the drive is receiving power.
If you have followed these steps and your external hard drive fails to power on or show any signs of activity, there might be a hardware issue. Consider seeking professional assistance or contacting the manufacturer for further troubleshooting steps or warranty support.
However, if the drive powers on normally, proceed to the next step to verify whether your computer recognizes it.
Verifying Drive Recognition
Once your external hard drive is connected and powered on, the next step is to check if your computer recognizes the drive. Follow these steps to verify the drive recognition:
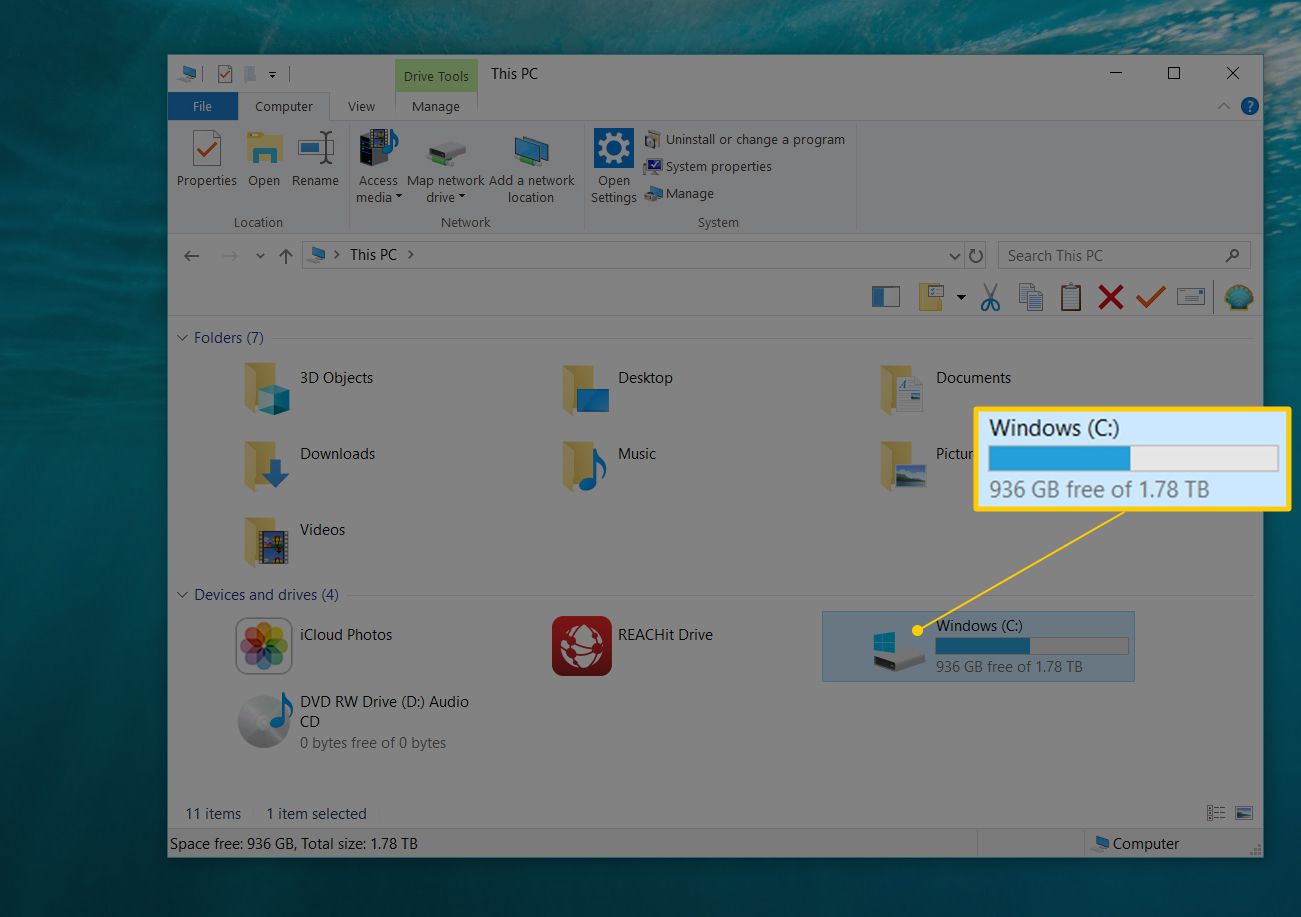
- Open “File Explorer” on Windows or “Finder” on Mac to access your computer’s file manager.
- Look for your external hard drive in the list of drives and devices. It might appear as a separate drive or under the “Devices” section.
- If you cannot find the drive in the file manager, try disconnecting and reconnecting the drive. Sometimes, a simple reconnection can resolve recognition issues.
- Restart your computer and check again if the drive is recognized after the restart.
- If the drive still does not appear, try connecting it to a different USB or Thunderbolt port on your computer. Sometimes, a specific port may have compatibility issues.
If, after following these steps, your external hard drive is still not recognized by your computer, it may indicate a compatibility or driver issue. In such cases, it is advisable to visit the manufacturer’s website and search for any available driver updates specifically for your model of external hard drive and operating system.
Remember to always check for drive recognition before assuming there is a problem with the drive itself. In many cases, recognition issues can be resolved through simple troubleshooting steps.
Checking for Errors
Another important step in determining if your external hard drive is working properly is to check for any errors or issues that may be affecting its functionality. Here are some methods to check for errors on your external hard drive:
- On Windows, right-click on the drive and select “Properties” from the dropdown menu. In the Properties window, go to the “Tools” tab and click on “Check” under the “Error checking” section. This will initiate a scan and attempt to fix any errors on the drive.
- On Mac, open “Disk Utility” by going to Applications > Utilities > Disk Utility. Select your external hard drive from the list of drives on the left-hand side. Click on the “First Aid” tab and then click on “Run” to start a scan for errors and repair any detected issues.
- Consider using third-party disk utility software, such as CrystalDiskInfo for Windows or Drive Genius for Mac. These tools can provide a more in-depth analysis of your drive’s health and identify any potential errors or problems.
- Pay attention to any error messages or notifications that may appear when accessing the drive’s files or folders. These warnings could indicate specific issues that need to be addressed.
By regularly checking for errors and promptly addressing them, you can prevent potential data loss and ensure the longevity of your external hard drive.
If the error checking process identifies and repairs any issues, continue using the drive and monitor it for any recurring problems. However, if the scanning process does not resolve the errors or if additional issues arise, it may be necessary to seek professional assistance or consider replacing the external hard drive.
Running Disk Utility (for Mac Users)
If you’re using a Mac, one of the most effective ways to check if your external hard drive is working properly and resolve any issues is to use the built-in Disk Utility tool. Disk Utility allows you to manage, repair, and diagnose problems with disks and storage devices. Follow these steps to run Disk Utility:
- Open “Disk Utility” by going to Applications > Utilities > Disk Utility.
- In the Disk Utility window, you’ll see a list of drives and volumes on the left-hand side. Locate your external hard drive and click on it.
- Click on the “First Aid” tab at the top of the Disk Utility window.
- Click on the “Run” button to start the disk verification and repair process.
- Wait for Disk Utility to complete the scan and repair any detected errors.
- If Disk Utility successfully repairs any errors, you can proceed to use the external hard drive as usual.
- However, if Disk Utility is unable to repair the errors or if it indicates hardware issues, it may be necessary to consult a professional or contact the manufacturer for further assistance.
Running Disk Utility should be part of your regular maintenance routine to ensure the health and functionality of your external hard drive. By addressing any issues promptly, you can prevent data loss and prolong the lifespan of the drive.
Remember to always safely eject the external hard drive from your Mac before disconnecting it to avoid any potential data corruption or damage to the drive.
Testing the Drive with Windows Operating Systems
If you’re using a Windows operating system, there are several built-in tools and software options available to test the functionality of your external hard drive. These tools can help you identify any issues with the drive and take appropriate actions. Here are some ways to test your drive on Windows:
- Check the drive’s status in Device Manager: Open Device Manager by right-clicking on the Start button and selecting “Device Manager” from the menu. Expand the “Disk drives” category and look for your external hard drive. If there is a yellow exclamation mark or a red “X” symbol next to the drive, it indicates a problem that needs to be resolved.
- Run the Windows Error Checking utility: Right-click on the drive in File Explorer and select “Properties” from the dropdown menu. Go to the “Tools” tab and click on “Check” under the “Error checking” section. Windows will initiate a scan and attempt to fix any errors on the drive.
- Use third-party diagnostic software: There are several third-party tools available, such as CrystalDiskInfo or HD Tune, that can provide detailed information about your drive’s health and perform diagnostic tests to check its functionality.
- Perform a disk surface test: Some third-party software, like HD Tune, allows you to scan the surface of your external hard drive for bad sectors. This test can help you identify any potential issues that may cause data corruption or drive failure.
- Consider using manufacturer-specific diagnostic software: Some external hard drive manufacturers provide dedicated diagnostic tools or software on their websites. These tools are designed to specifically test their own drives and may offer more advanced testing options.
By regularly testing your external hard drive with these methods, you can detect any issues and take appropriate actions to ensure the drive’s optimal performance.
If any of these tests indicate serious problems or if the drive continues to malfunction, it may be necessary to consult a professional or contact the manufacturer for further assistance.
Running a Diagnostic Test
In addition to the built-in tools provided by your operating system, many external hard drive manufacturers offer their own diagnostic software or utilities. These diagnostic tools are specifically designed to test the functionality and health of their drives. Here are the steps to run a diagnostic test on your external hard drive:
- Visit the manufacturer’s website: Go to the official website of the manufacturer of your external hard drive.
- Search for diagnostic software: Look for any available diagnostic software or utilities provided by the manufacturer for your specific drive model.
- Download and install the software: Follow the instructions provided on the website to download and install the diagnostic software or utility on your computer.
- Connect the external hard drive: Make sure your external hard drive is properly connected and powered on.
- Launch the diagnostic software: Open the diagnostic software or utility that you installed.
- Run the diagnostic test: Follow the on-screen instructions to initiate the diagnostic test on your external hard drive. The software may perform various tests, including checking for bad sectors, temperature monitoring, and overall drive health assessment.
- Analyze the test results: Once the diagnostic test is complete, review the results provided by the software. It will usually indicate whether any issues were found and may provide guidance on how to proceed.
- Take appropriate actions: Depending on the test results, you may need to follow the software’s recommendations for repair, backup, or replacement of the drive.
Running a diagnostic test using the manufacturer’s specific software can help you identify any underlying problems or issues that may not be detected by generic diagnostic tools. It allows for a more accurate assessment of your drive’s condition and provides you with specific recommendations for troubleshooting or resolving any identified issues.
If the diagnostic test reveals significant issues or if the drive continues to malfunction, it is recommended to seek professional assistance or contact the manufacturer for further guidance and support.
Checking the Drive’s Volume
When troubleshooting an external hard drive, it’s important to check the volume of the drive. The volume refers to the formatted partition on the drive where your files are stored. Sometimes, issues can arise with the volume that may affect the drive’s functionality. Here’s how you can check the drive’s volume:
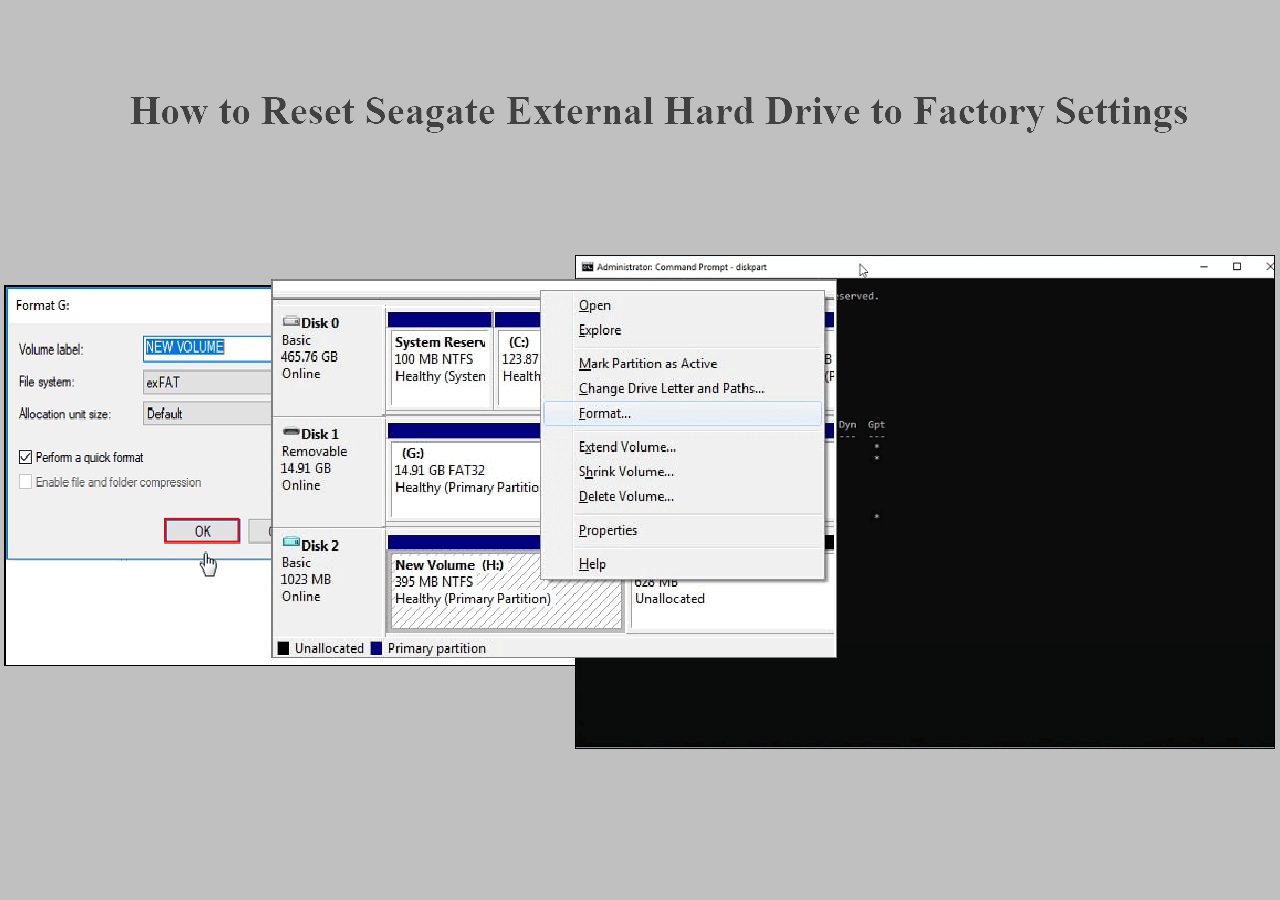
- Open the disk management tool: On Windows, press the Windows key + R, type “diskmgmt.msc” and hit Enter. This will open the Disk Management tool. On Mac, go to Applications > Utilities > Disk Utility.
- Locate your external hard drive in the disk management tool: In Windows Disk Management, look for your external hard drive in the list of disks. It should be labeled with its assigned drive letter. In Mac Disk Utility, locate your external hard drive on the left-hand side of the window.
- Check the status and format of the volume: In both Windows and Mac, the disk management tools will display information about the volume, such as its file system format (NTFS, exFAT, HFS+, etc.) and its status (healthy, unmounted, etc.).
- Ensure the volume is mounted (for Mac): In Mac Disk Utility, if you see the volume listed but it appears as unmounted, select the volume and click on the “Mount” button in the toolbar.
- Verify drive letter assignment (for Windows): In Windows Disk Management, if the drive letter assigned to the volume is missing or conflicting with another drive, you can assign a new drive letter by right-clicking on the volume and selecting “Change Drive Letter and Paths”.
Checking the drive’s volume is important because issues with the volume, such as corruption or dismounting, can prevent the drive from functioning correctly. By ensuring that the volume is properly mounted and the drive letter assignment is correct, you can address any volume-related problems and restore the drive’s functionality.
If you encounter any issues with the volume or if the drive continues to have problems after checking the volume, it may be necessary to seek further assistance or consider other troubleshooting steps.
Verifying Data Transfer
When using an external hard drive, the most essential function is the ability to transfer data reliably and efficiently. To ensure that your drive is working properly, it’s important to verify that data transfer to and from the drive is functioning as expected. Here are some steps to verify data transfer:
- Select a test file: Choose a small file or a folder containing multiple files that you can use for testing purposes. It’s recommended to use a file type that represents the typical data you will be transferring.
- Transfer files to the drive: Copy the test file from your computer’s internal storage to the external hard drive. You can do this by dragging and dropping the file into the appropriate folder on the drive or using the copy-paste method.
- Monitor the transfer progress: Pay attention to the transfer speed and the time it takes to complete the transfer. Rapid and smooth data transfer is indicative of a functioning drive.
- Verify file integrity: After the transfer is complete, verify the integrity of the transferred file(s) by opening them and comparing them to the original file(s). Ensure that there are no data corruptions, missing parts, or unexpected changes.
- Transfer files from the drive: Repeat the process by copying the test file(s) back from the external hard drive to your computer’s internal storage. Again, monitor the transfer progress and verify the integrity of the transferred file(s).
By performing these data transfer tests, you can ensure that the external hard drive can both receive and deliver data accurately and efficiently. It’s important to check for any interruptions, slow transfer speeds, or data corruptions, as these issues may indicate a problem with the drive.
If you encounter consistent data transfer issues or notice significant discrepancies in speed or file integrity, it’s recommended to seek further troubleshooting steps or consider reaching out to technical support for assistance.
Conclusion
Regularly checking the status of your external hard drive is crucial to ensure it is working properly and to prevent potential data loss or other complications. By following the steps outlined in this article, you can easily assess the functionality and health of your external hard drive.
Begin by checking the connection, ensuring that the USB or Thunderbolt cable is securely plugged in and power is being supplied properly. Power on the external hard drive and verify if your computer recognizes it, using the corresponding tools for your operating system.
To find any potential issues, run error checks and diagnostic tests, either through the built-in utilities provided by your operating system or through manufacturer-specific software. These tests can help identify any errors, bad sectors, or other problems that may affect the drive’s performance.
Furthermore, don’t forget to check the volume of the drive to ensure it is properly mounted and has the correct drive letter assignment (for Windows users). Verifying data transfer is also crucial, as it ensures that your files can be successfully transferred to and from the drive without any corruptions or interruptions.
Remember, if you encounter persistent issues or your external hard drive continues to malfunction despite troubleshooting, it may be necessary to seek professional assistance or consider replacing the drive if it is still under warranty.
Regularly performing these checks and taking appropriate steps to maintain your external hard drive’s health will prolong its lifespan and provide you with reliable storage and backup capabilities. So, invest a little time in checking your external hard drive on a routine basis to ensure it’s in optimal working condition.