Introduction
Welcome to the world of external hard drives, where backing up your data has never been easier. One popular choice among tech enthusiasts is the Passport External Hard Drive. This sleek and portable device not only provides ample storage for your files, but it also offers a convenient way to carry your data anywhere you go.
However, there may come a time when you need to reset your Passport External Hard Drive. Whether you’re facing issues with its performance or simply want to start fresh, a reset can help resolve many common problems. In this article, we will guide you through the process of resetting your Passport External Hard Drive, ensuring that your data remains safe throughout.
Before we delve into the step-by-step guide, it is crucial to emphasize the importance of backing up your data. Resetting your Passport External Hard Drive will erase all the files and settings, so it’s crucial to have a backup to prevent any data loss. Make sure you have a copy of your important files stored on another device or cloud storage service before proceeding with the reset.
Now that we’ve covered the basics, let’s dive into the step-by-step guide and learn how to reset your Passport External Hard Drive with ease. Whether you’re using a Mac or Windows computer, the process is relatively straightforward and doesn’t require any advanced technical skills. So, let’s get started!
What is a Passport External Hard Drive?
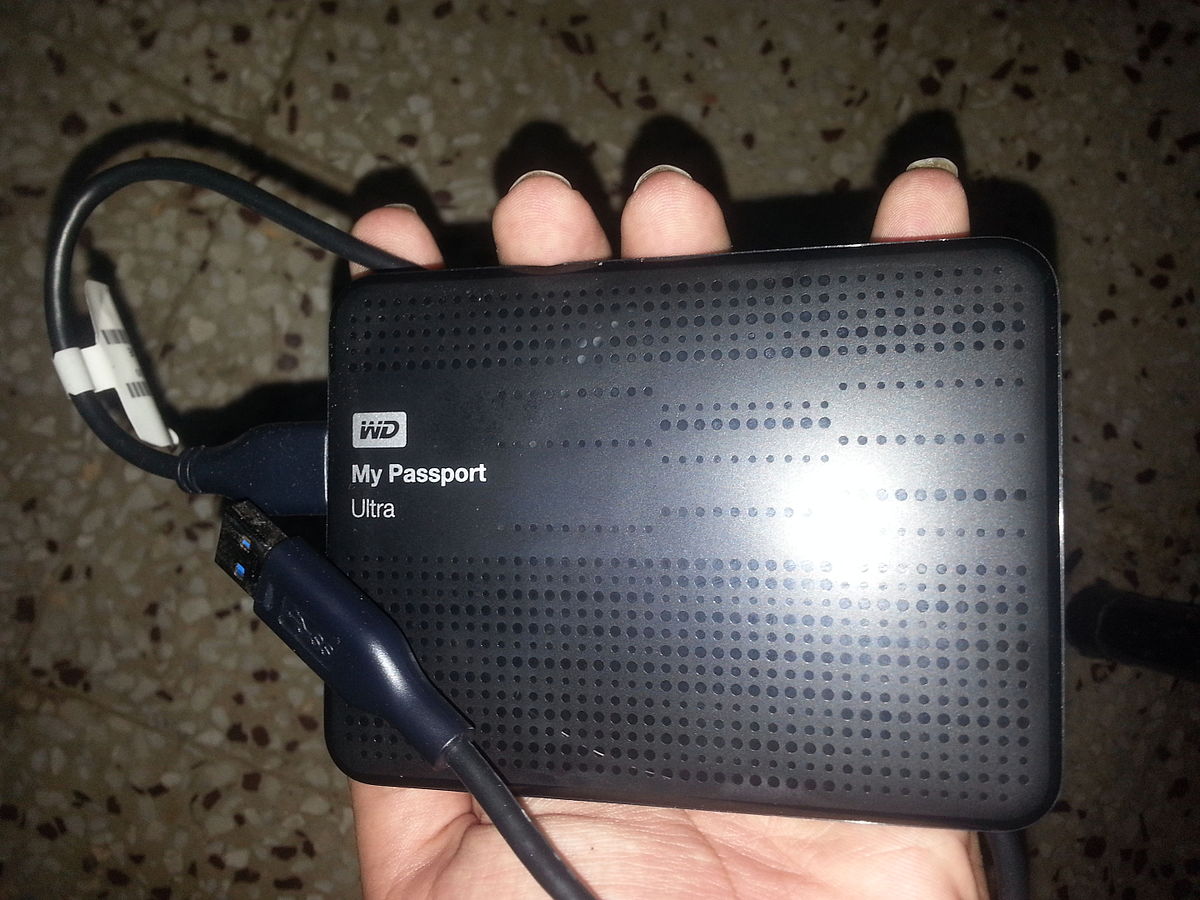
A Passport External Hard Drive is a portable storage device that allows you to store and access your data on the go. Manufactured by Western Digital (WD), the Passport External Hard Drive is known for its small size, sleek design, and versatile compatibility with both Mac and Windows systems.
These external hard drives are available in various storage capacities, ranging from a few hundred gigabytes to several terabytes. This means you can choose a Passport External Hard Drive that suits your specific storage needs, whether you’re backing up important documents, storing multimedia files, or creating system backups.
The Passport External Hard Drive is often favored by individuals who require additional storage for their laptops or desktop computers. It offers a convenient way to expand your storage space without the need to open up your computer and install an internal hard drive. Additionally, the small form factor of the Passport External Hard Drive makes it highly portable, allowing you to carry your data with you wherever you go.
Another notable feature of the Passport External Hard Drive is its USB connectivity. With a USB 3.0 or USB-C interface, these devices provide fast data transfer speeds, ensuring quick and efficient file transfers between your computer and the external hard drive. Some models also come with built-in hardware encryption, adding an extra layer of security to your data.
Whether you’re a student, professional, or someone who needs to regularly backup and transfer files, a Passport External Hard Drive offers a reliable and convenient storage solution. Its versatility, portability, and ease of use make it a popular choice among users who value their data and want a reliable backup option.
Now that you have a basic understanding of what a Passport External Hard Drive is, let’s explore the reasons why you might need to reset it and how to do it properly.
Reasons to Reset a Passport External Hard Drive
There are several reasons why you might need to reset your Passport External Hard Drive. Here are some common situations that may require a reset:
1. Performance Issues: Over time, your Passport External Hard Drive may experience performance issues such as slow data transfer speeds or disk errors. Resetting your hard drive can help resolve these issues and restore optimal performance.
2. File Corruption: If you’re experiencing issues with corrupted files or data, a reset can help eliminate these problems. Resetting your hard drive will remove any corrupted files and start afresh, ensuring the integrity of your data.
3. Forgotten Password: In cases where your Passport External Hard Drive is equipped with hardware encryption and you’ve forgotten the password, a reset might be necessary. However, be aware that resetting the drive will also erase all your data, so it’s crucial to have a backup before proceeding.
4. Malware or Virus Infection: If you suspect that your Passport External Hard Drive is infected with malware or viruses, a reset can help eliminate these threats. By erasing all the data and starting fresh, you can ensure that your hard drive is free from any malicious software.
5. Selling or Donating the Device: If you plan to sell or donate your Passport External Hard Drive, it’s essential to reset it to protect your privacy and ensure that your personal information is completely erased from the device.
6. Starting Fresh: Sometimes, you may simply want to start fresh with your Passport External Hard Drive. Whether you want to reorganize your files, change the file system format, or clean up the drive, a reset allows you to begin with a clean slate.
Remember, resetting your Passport External Hard Drive will erase all the data and settings, so it’s crucial to have a backup of your important files before proceeding with the reset. Take the time to assess your situation and determine the appropriate reason for resetting your hard drive.
In the following sections, we will guide you through the step-by-step process of resetting your Passport External Hard Drive, ensuring a smooth and successful reset.
Backup Your Data
Before proceeding with the reset of your Passport External Hard Drive, it’s crucial to back up your data to prevent any potential data loss. Resetting your hard drive will erase all the files and settings, so having a backup is essential to ensure that your important data is protected.
There are several ways you can backup your data from your Passport External Hard Drive:
1. External Storage Device: Connect an external storage device, such as another external hard drive or a USB flash drive, to your computer. Copy and paste the files from your Passport External Hard Drive to the external storage device. This method is straightforward and ensures that your files are accessible even after the reset.
2. Cloud Storage Service: Utilize a cloud storage service like Dropbox, Google Drive, or OneDrive to upload your files. These services offer free storage space, and you can easily access your files from any device with an internet connection. Simply upload your files to the cloud and ensure they are synced before proceeding with the reset.
3. Network Attached Storage (NAS): If you have a NAS device connected to your network, you can transfer your files from the Passport External Hard Drive to the NAS. This option allows for easy access to your files from multiple devices on your network.
Ensure that you have successfully backed up all your important files and verified their integrity before proceeding with the reset. This step will give you peace of mind, knowing that your data is safe and can be easily restored after the reset process is complete.
Once you have completed the backup process and have confirmed that all your important files are securely stored elsewhere, you can proceed with the reset of your Passport External Hard Drive. In the next section, we will provide a step-by-step guide on how to reset your external hard drive effectively.
Step-by-Step Guide to Resetting a Passport External Hard Drive
Resetting a Passport External Hard Drive is a relatively simple process that can be done with a few straightforward steps. Follow the guide below to reset your Passport External Hard Drive:
Step 1: Connect Your Passport External Hard Drive
Connect your Passport External Hard Drive to your computer using the included USB cable. Ensure that the drive is properly connected and recognized by your operating system.
Step 2: Open Disk Utility (macOS) or Disk Management (Windows)
For macOS users, open the “Disk Utility” application. You can find it in the “Applications” folder or by searching for it using Spotlight. For Windows users, open the “Disk Management” tool by right-clicking on the “Start” button and selecting “Disk Management” from the menu.
Step 3: Select Your Passport External Hard Drive
In Disk Utility (macOS), locate your Passport External Hard Drive in the list of available drives on the left-hand side. Click on it to select it. In Disk Management (Windows), locate your Passport External Hard Drive in the list of disks and right-click on it. Select the option to “Initialize Disk”.
Step 4: Erase Your Passport External Hard Drive
In Disk Utility (macOS), click on the “Erase” tab at the top of the window. Choose a new name for your Passport External Hard Drive if desired. Next, select the appropriate file system format for your needs, such as “ExFAT” for cross-platform compatibility or “Mac OS Extended” for macOS. Click on the “Erase” button to begin erasing your hard drive. In Disk Management (Windows), right-click on the unallocated space of your Passport External Hard Drive and select “New Simple Volume”. Follow the prompts to assign a drive letter and format the drive using the desired file system format.
Step 5: Reformat Your Passport External Hard Drive
After erasing your Passport External Hard Drive, you will need to reformat it to the desired file system format. This step is important to ensure that the drive is ready to use after the reset. Follow the same steps as in Step 4 to choose the file system format and perform the format operation.
Step 6: Resetting Completed
Once the reformatting process is complete, your Passport External Hard Drive has been successfully reset. It is now ready to be used with your computer. You can start transferring files to the drive or use it for any other purpose.
Congratulations! You have successfully reset your Passport External Hard Drive. Take the time to set it up according to your needs and restore any backed-up files to the drive. Remember that the reset process erases all data on the drive, so it’s important to have a backup before proceeding.
In the event that you encounter any issues or require further assistance, consult the user manual provided with your Passport External Hard Drive or contact the manufacturer’s support team for guidance.
Step 1: Connect Your Passport External Hard Drive
The first step in resetting your Passport External Hard Drive is to connect it to your computer. Make sure to follow these instructions for a successful connection:
1. Locate the USB Cable: Find the USB cable that came with your Passport External Hard Drive. It should have a USB connector on one end and a cable with a micro-USB or USB-C connector on the other end.
2. Connect the USB Cable: Take the USB cable and plug the USB connector into an available USB port on your computer. Make sure to insert it securely to establish a stable connection.
3. Connect the Hard Drive: Take the other end of the USB cable, which has the micro-USB or USB-C connector, and plug it into the corresponding port on your Passport External Hard Drive. Ensure that the connection is tight and secure.
4. Power On the Hard Drive: Once the hard drive is connected, check if it has a power button or switch. If it does, press the power button or switch to turn on the hard drive. Some models may not have a power button and will automatically power on once connected.
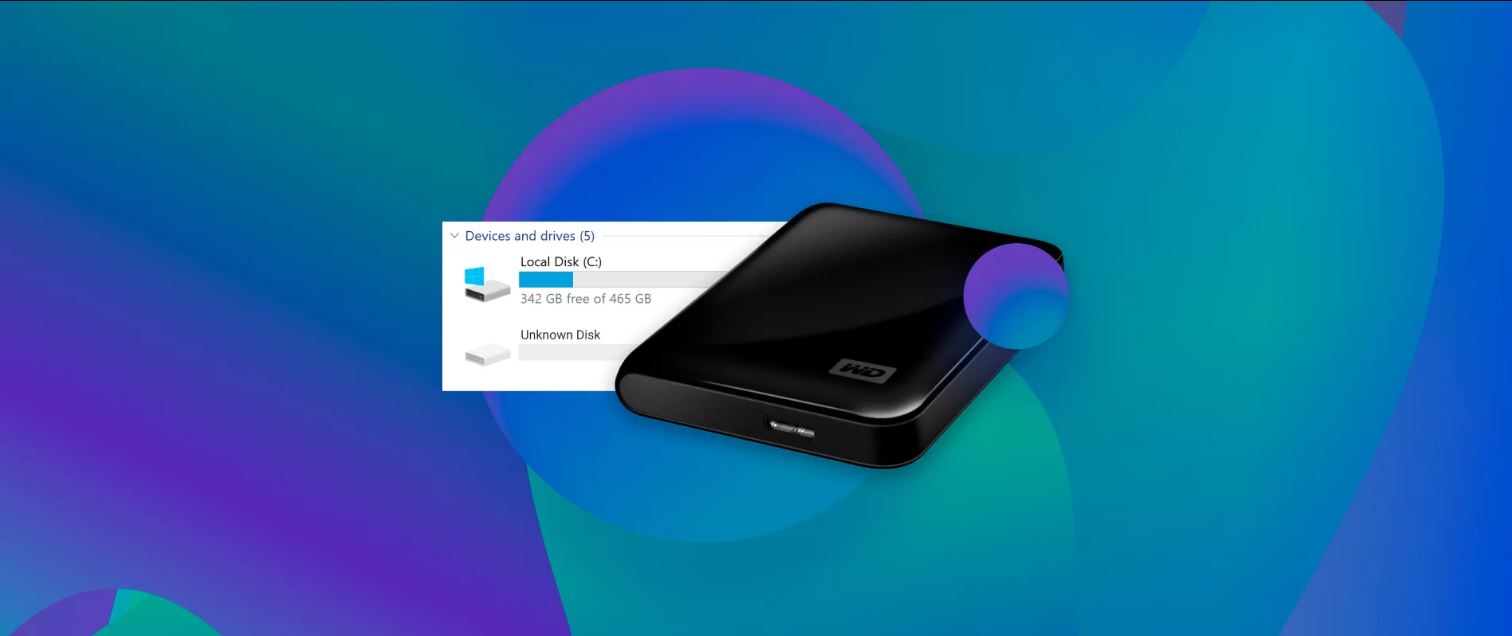
5. Check for Successful Connection: After connecting and powering on the hard drive, check if your computer recognizes it. On both macOS and Windows, you should see a notification or an icon indicating a new external storage device has been connected. You can also check in the file explorer or Finder to see if the hard drive is listed as an available storage option.
6. Ensure Stable Connection: It’s important to ensure that your Passport External Hard Drive remains connected throughout the reset process. Avoid moving the hard drive or disconnecting the USB cable prematurely, as this can interrupt the reset process and potentially cause data loss or other issues.
By following these steps, you will successfully connect your Passport External Hard Drive to your computer. With a secure and stable connection established, you’re ready to proceed to the next step and begin the resetting process.
Step 2: Open Disk Utility (macOS) or Disk Management (Windows)
In order to reset your Passport External Hard Drive, you need to access the appropriate management tool on your operating system. The process differs slightly depending on whether you are using macOS or Windows. Follow the instructions below based on your operating system:
For macOS:
1. Go to your Applications folder or use the Spotlight search (Command + Space) to open “Disk Utility”.
2. Once Disk Utility is open, you will see a list of connected drives on the left-hand side of the window.
3. Look for your Passport External Hard Drive in the list and click on it to select it.
4. The right-hand panel will display detailed information about your hard drive, including its capacity, format, and partition scheme.
For Windows:
1. Right-click on the “Start” button in the bottom-left corner of your screen.
2. From the context menu, select “Disk Management”. This will open the Disk Management tool.
3. In Disk Management, you will see a list of disks and their corresponding partitions.
4. Look for your Passport External Hard Drive in the list and identify it by its size and drive letter.
Opening the Disk Utility (macOS) or Disk Management (Windows) will allow you to access the necessary tools for resetting your Passport External Hard Drive. These management tools provide options for formatting and partitioning your hard drive, which are vital steps in the reset process.
It’s important to note that the terminology and user interface of Disk Utility and Disk Management may vary slightly between different versions of macOS and Windows. However, the overall functionality remains the same.
Once you have successfully opened the appropriate management tool for your operating system, you are ready to proceed to the next step of selecting your Passport External Hard Drive and initiating the reset process.
Step 3: Select Your Passport External Hard Drive
After opening the Disk Utility (macOS) or Disk Management (Windows) tool, the next step in resetting your Passport External Hard Drive is to select it from the list of available drives. Here’s how:
For macOS:
1. In Disk Utility, you will see a list of drives and volumes on the left-hand side of the window. Look for your Passport External Hard Drive in this list.
2. Your Passport External Hard Drive will be displayed with its name or a label that you assigned to it. Click on it to select it.
For Windows:
1. In Disk Management, you will see a list of disks and their corresponding partitions. Locate your Passport External Hard Drive in this list.
2. Your Passport External Hard Drive will be listed with a drive letter and its capacity. Right-click on it and select “Format” or “Initialize Disk” to proceed.
By selecting your Passport External Hard Drive, you are indicating that you want to perform actions specifically on that drive. It’s important to double-check and ensure that you have correctly chosen your external hard drive to avoid any accidental unintended actions on other drives.
Before proceeding to the next step, take a moment to confirm that you have selected the correct drive and that its details match your Passport External Hard Drive. This will help prevent any mistakes or potential data loss.
Once you have successfully selected your Passport External Hard Drive, you are ready to move on to the next step, which involves erasing the drive. This step is crucial as it will prepare the hard drive for the reset process and ensure a clean slate for future use.
Step 4: Erase Your Passport External Hard Drive
Once you have selected your Passport External Hard Drive in Disk Utility (macOS) or Disk Management (Windows), the next step in the reset process is to erase the drive. This step is essential to remove all data and settings, preparing the hard drive for a fresh start. Follow the instructions below to erase your Passport External Hard Drive:
For macOS:
1. In Disk Utility, make sure the “Erase” tab is selected at the top of the window.
2. Choose a new name for your Passport External Hard Drive if desired. This step is optional, but it can be helpful for easy identification.
3. Select the appropriate file system format. For compatibility with both macOS and Windows, choose “ExFAT”. Alternatively, you can choose “Mac OS Extended” if you only plan to use the drive with macOS.
4. Double-check that you have selected the correct drive for erasing.
5. Click on the “Erase” button to initiate the erasing process.
For Windows:
1. In Disk Management, right-click on your Passport External Hard Drive.
2. From the context menu, select “Format” or “Initialize Disk”.
3. Choose a new name for your Passport External Hard Drive if desired.
4. Select the appropriate file system format. For compatibility with both macOS and Windows, choose “ExFAT”. Alternatively, you can choose “NTFS” if you only plan to use the drive with Windows.
5. Double-check that you have selected the correct drive for formatting.
6. Click on the “Format” or “Initialize” button to start the erasing process.
During the erasing process, all data and settings on your Passport External Hard Drive will be permanently deleted. This means that it’s crucial to have a backup of any important files before proceeding. Take a moment to ensure that you have safely backed up any necessary data to prevent loss.
Once the erasing process is complete, your Passport External Hard Drive is now free of any previous data and ready to be reformatted. You’re one step closer to achieving a clean reset for your hard drive.
Step 5: Reformat Your Passport External Hard Drive
After erasing your Passport External Hard Drive in the previous step, the next crucial step in the reset process is to reformat the drive. Reformatting involves configuring the file system and other settings on the hard drive. Follow the instructions below to reformat your Passport External Hard Drive:
For macOS:
1. In Disk Utility, make sure the erased Passport External Hard Drive is still selected.
2. Click on the “Erase” tab at the top of the window. You should now see the options for specifying the format of your drive.
3. Choose the desired file system format for your needs. For cross-platform compatibility, select “ExFAT”. If you only plan to use the drive with macOS, you can choose “Mac OS Extended (Journaled)”.
4. Optionally, you can assign a new name to your Passport External Hard Drive by entering it in the “Name” field.
5. Verify once again that you have selected the correct drive for reformatting.
6. Finally, click on the “Erase” button to initiate the reformatting process.
For Windows:
1. In Disk Management, ensure that the erased Passport External Hard Drive remains selected.
2. Right-click on the erased hard drive and choose the “New Simple Volume” option from the context menu. This will start the formatting wizard.
3. Follow the prompts in the formatting wizard to assign a drive letter to the hard drive, specify the file system format (choose “ExFAT” for cross-platform compatibility or “NTFS” for use with Windows only), and adjust the allocation unit size if desired.
4. Double-check that you have selected the correct drive and that the formatting settings are as desired.
5. Finally, click on the “Finish” button to initiate the reformatting process.
Reformatting your Passport External Hard Drive will erase any remaining traces of the previous file system and ensure that the drive is set up according to your specifications. It’s vital to select the appropriate file system format based on your intended usage and compatibility requirements, ensuring seamless use with your computer.
Once the reformatting process is complete, your Passport External Hard Drive is now ready to be used in its freshly reset state. You can now proceed with transferring files to the drive or utilizing it as needed.
Step 6: Resetting Completed
Congratulations! You have successfully reset your Passport External Hard Drive to its factory settings. The hard drive has been wiped clean of all data and settings, allowing you to start fresh with a like-new device. Here’s what you need to know to complete the reset process:
1. Take a moment to verify that the reset process was successful by checking the status of your Passport External Hard Drive. It should now be displayed as a newly formatted and empty drive.
2. If desired, you can now rename your Passport External Hard Drive to something more meaningful or familiar. This step is optional but can help you identify the drive more easily, especially if you have multiple external hard drives connected to your computer.
3. Connect your Passport External Hard Drive to your computer and ensure that it is recognized by your operating system. If everything went smoothly during the reset process, your computer should detect the drive and make it available for use.
4. As a precautionary measure, it is recommended to test the functionality of your Passport External Hard Drive after the reset. Transfer a few files to the drive and ensure that they are being stored and accessed without any issues. This will give you confidence in the integrity and reliability of the reset hard drive.
With the completion of the reset process, your Passport External Hard Drive is now ready to serve your storage needs. Whether you plan to use it for backing up important files, storing multimedia, or any other purpose, it’s important to remember to regularly back up your data to prevent any potential loss in the future.
If you encountered any difficulties during the reset process or have any concerns about the functionality of your Passport External Hard Drive, consult the user manual provided by the manufacturer or reach out to their customer support for further assistance.
Thank you for following this step-by-step guide. We hope it has helped you successfully reset your Passport External Hard Drive and provided you with the necessary information to start fresh with your device.
Common Troubleshooting Tips
While resetting a Passport External Hard Drive is a straightforward process, there may be instances where you encounter issues or need to troubleshoot certain problems. Here are some common troubleshooting tips to help you overcome any hiccups:
1. Check the USB Connection: Ensure that the USB cable is securely connected to both your computer and the Passport External Hard Drive. A loose or faulty connection can cause the drive to not be recognized or function properly.
2. Try Different USB Ports: Sometimes, certain USB ports on your computer may not provide sufficient power or have compatibility issues. Switch to a different USB port to see if it resolves any connectivity or recognition problems.
3. Restart Your Computer: A simple restart can often resolve temporary software or driver conflicts that may be affecting the functionality of your Passport External Hard Drive. Restart your computer and reconnect the drive to see if the issue persists.
4. Update Device Drivers: Make sure that you have the latest drivers installed for your Passport External Hard Drive. Visit the manufacturer’s website or use automatic driver update software to ensure that your drivers are up to date.
5. Try a Different Cable: If you suspect that the USB cable may be faulty, try using a different cable to connect your Passport External Hard Drive. A damaged or malfunctioning cable can lead to connectivity issues.
6. Restore from Backup: If you encounter problems after resetting your Passport External Hard Drive, restore your files and settings from the backup you created before the reset. This can help recover any lost or missing data and restore your device to its previous state.
7. Reformat the Drive: If you continue to experience issues even after resetting your Passport External Hard Drive, consider reformatting it again. This can help eliminate any lingering problems that may be affecting the drive’s performance.
8. Contact Customer Support: If all else fails, don’t hesitate to reach out to the customer support team of the manufacturer. They can provide expert advice and guidance tailored to your specific situation and help troubleshoot any persistent issues.
By following these troubleshooting tips, you can overcome common issues that may arise during or after the reset process. Remember, it’s always important to back up your data before attempting any troubleshooting steps to prevent data loss.
If you’re still facing difficulties with your Passport External Hard Drive, consulting the manufacturer’s documentation or customer support team will provide additional resources to address your concerns and ensure the smooth functioning of your device.
Conclusion
Resetting your Passport External Hard Drive can be a valuable troubleshooting step to resolve performance issues, eliminate data corruption, or prepare the device for sale or donation. By following the step-by-step guide outlined in this article, you can successfully reset your hard drive and start afresh with a clean slate.
Remember to always back up your data before proceeding with a reset to prevent any potential loss of important files. Take the time to connect your Passport External Hard Drive, open the appropriate management tool on your operating system, select the drive, erase it, reformat it, and ensure that the reset process is completed successfully.
In addition, if you encounter any issues during the reset process or experience ongoing difficulties with your hard drive, refer to our troubleshooting tips to overcome common problems. Sometimes, simple solutions such as checking the USB connection or updating device drivers can resolve issues and restore the proper functionality of your Passport External Hard Drive.
As with any technical process, it’s crucial to consult the manufacturer’s documentation or reach out to their customer support team for further assistance if needed. They can provide specific guidance and support tailored to your particular situation.
Resetting your Passport External Hard Drive offers a fresh start and the opportunity to optimize its performance and reliability. Whether you use it for personal or professional purposes, knowing how to reset your hard drive can be a valuable skill to ensure the smooth operation of your data storage.
We hope this article has provided you with the necessary knowledge and guidance to successfully reset your Passport External Hard Drive. By following the steps outlined, you can confidently proceed with the reset process and enjoy a clean and efficiently functioning hard drive for all your storage needs.