Introduction
Transferring music from an external hard drive to your computer can be a convenient way to access and enjoy your favorite tunes. Whether you have a large collection of music files saved on an external hard drive or you want to backup your music library, the process is relatively straightforward. By following a few simple steps, you can easily transfer your music files to your computer and organize them for easy access.
Having your music files on your computer allows for seamless playback, easy syncing with other devices, and the ability to create personalized playlists. Furthermore, it provides an additional layer of backup, ensuring that your cherished music collection is protected.
Before diving into the process, it’s essential to ensure that your external hard drive and computer are compatible. Additionally, you’ll need to know the location of your music files on the external hard drive and be familiar with the steps to connect and transfer the files.
In this guide, we will walk you through the process of transferring music from your external hard drive to your computer. We’ll cover the necessary steps to check compatibility, connect your devices, locate your music files, copy the files to your computer, and organize them for easy access.
Let’s get started with checking the compatibility of your external hard drive and computer to ensure a smooth transfer process.
Checking the Compatibility of Your External Hard Drive and Computer
Before transferring music from your external hard drive to your computer, it’s important to ensure that both devices are compatible and can seamlessly communicate with each other. Follow these steps to check the compatibility:
1. Check the file system: Most external hard drives are formatted with either the FAT32 or NTFS file system. Check the file system of your external hard drive by connecting it to your computer and navigating to the “This PC” or “My Computer” section. Right-click on your external hard drive and select “Properties.” Under the “General” tab, you will see the file system listed. Note that both FAT32 and NTFS file systems are compatible with Windows computers. However, if you plan to transfer music to a Mac computer, you need to ensure that your external hard drive is using the ExFAT or HFS+ file system.
2. Check the connection ports: Examine the types of ports available on your external hard drive and your computer. Common connection ports include USB, Thunderbolt, and Firewire. Ensure that your computer has a compatible port to connect your external hard drive. If not, you may need to use an adapter or find alternative ways to connect the two devices. Additionally, make sure you have the necessary cables for the connection.
3. Check the operating system compatibility: Verify that your computer’s operating system is compatible with your external hard drive. Most modern operating systems such as Windows, macOS, and Linux are compatible with external hard drives. However, it’s still crucial to check for any specific requirements or updates needed for your particular operating system.
By performing these compatibility checks, you can ensure a smooth transfer process without any unexpected compatibility issues. Once you have confirmed the compatibility between your external hard drive and computer, you’re ready to proceed with connecting the two devices.
Connecting Your External Hard Drive to Your Computer
After confirming the compatibility of your external hard drive and computer, it’s time to connect the two devices. Follow these simple steps:
1. Power off both devices: Before connecting your external hard drive to your computer, ensure that both devices are powered off. This will prevent any potential damage to the devices or data loss.
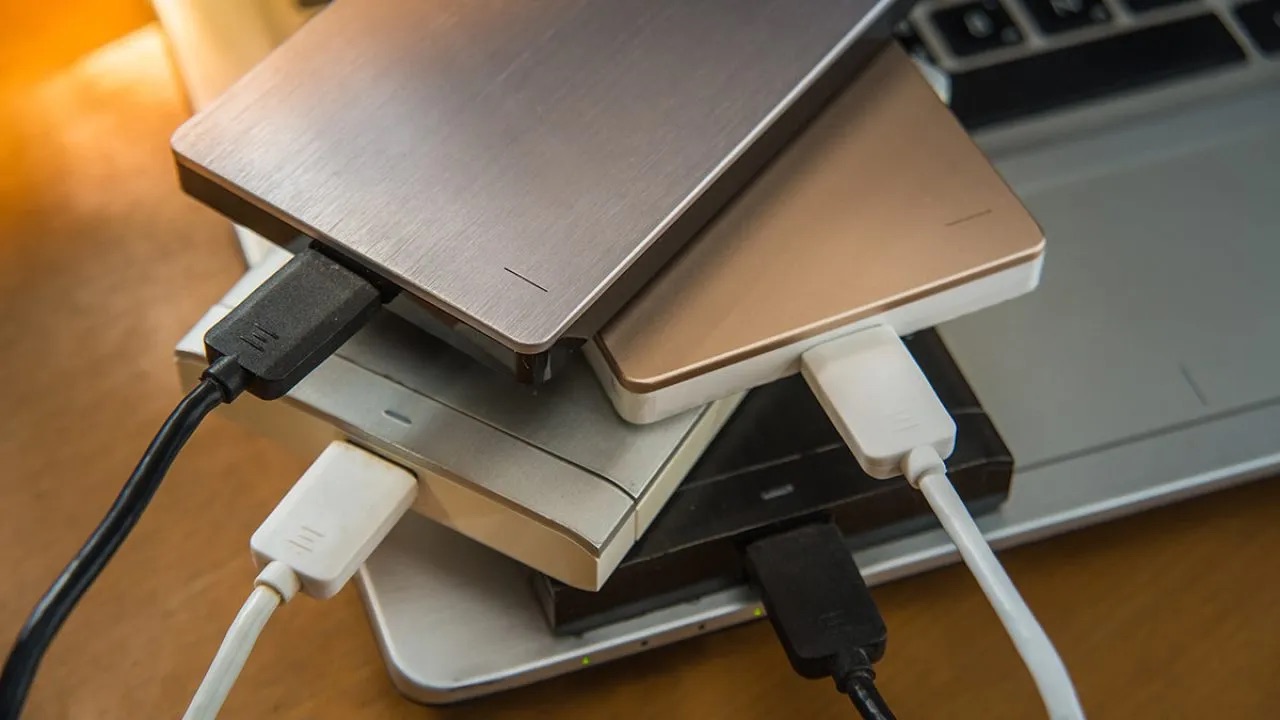
2. Locate the appropriate connection port: Identify the corresponding connection port on both your external hard drive and your computer. Typically, external hard drives use USB ports, so locate the USB port on your computer. If your external hard drive uses a different type of port, ensure that you have the necessary adapter or cable to make the connection.
3. Make the physical connection: Connect one end of the cable to the appropriate connection port on your external hard drive and the other end to the corresponding port on your computer. Ensure a secure and snug connection to avoid any interruptions during the transfer process.
4. Power on both devices: Once the physical connection is established, power on both your external hard drive and your computer. The computer should recognize the external hard drive and automatically install any necessary drivers or software.
5. Wait for the connection to be established: Give your computer a few moments to recognize and establish the connection with your external hard drive. You may see a notification or pop-up indicating the successful connection of the external hard drive.
Once the connection is established, you can proceed to locate the music files on your external hard drive and begin the process of transferring them to your computer. In the next section, we will explore how to locate your music files on the external hard drive.
Locating Your Music Files on Your External Hard Drive
Now that your external hard drive is successfully connected to your computer, it’s time to locate your music files. Follow these steps to find your music files on the external hard drive:
1. Open File Explorer (Windows) or Finder (Mac): Navigate to the File Explorer on your Windows computer or the Finder on your Mac by clicking on the respective icon in your taskbar or dock.
2. Locate your external hard drive: Look for your external hard drive in the list of available drives or devices. It is usually labeled with the name or brand of your external hard drive. Click on the external hard drive to open it.
3. Navigate through folders: Depending on how you have organized your music files on your external hard drive, you may need to navigate through various folders to locate your music files. Open folders and subfolders until you reach the location where your music files are stored.
4. Identify your music files: Once you have reached the folder where your music files are located, look for files with audio file extensions such as .mp3, .wav, or .flac. You may also see folders dedicated to specific artists, albums, or genres.
5. Confirm the location and file structure: Take note of the location of your music files on the external hard drive and how they are organized. This will help you during the transfer process and when organizing the music files on your computer.
By following these steps, you will be able to locate your music files on your external hard drive. Once you have found the desired files, you are ready to copy them and transfer them to your computer. In the next section, we will guide you through the process of copying the music files from your external hard drive to your computer.
Copying Music Files from Your External Hard Drive to Your Computer
Once you have located your music files on your external hard drive, it’s time to copy them and transfer them to your computer. Follow these steps to copy your music files:
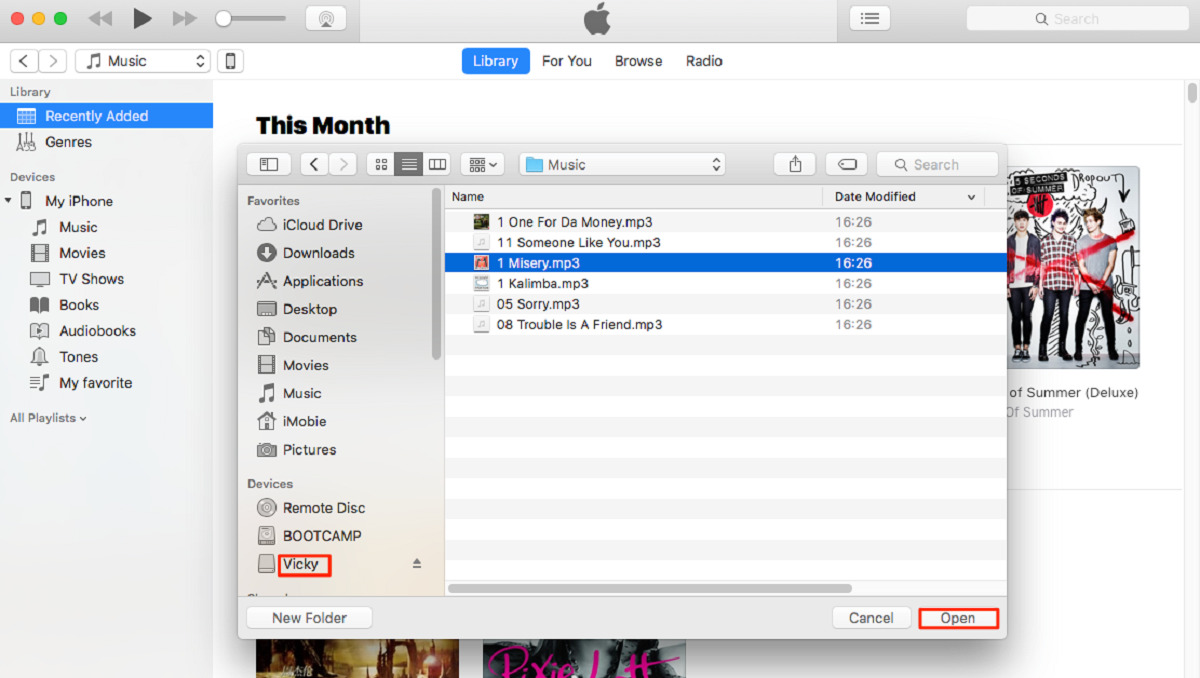
1. Select the music files: In the File Explorer (Windows) or Finder (Mac), navigate to the folder containing your music files on the external hard drive. Select the files you want to copy by clicking and dragging your mouse cursor over the files or holding the CTRL key (Windows) or Command key (Mac) while clicking on individual files.
2. Copy the selected files: Right-click on the selected music files and choose the “Copy” option. Alternatively, you can use the shortcut CTRL+C (Windows) or Command+C (Mac) to copy the files.
3. Navigate to your computer’s destination folder: Open a new File Explorer (Windows) or Finder (Mac) window and navigate to the destination folder on your computer where you want to transfer the music files.
4. Paste the copied files: Right-click inside the destination folder and choose the “Paste” option. Alternatively, you can use the shortcut CTRL+V (Windows) or Command+V (Mac) to paste the copied files. The music files will begin transferring from your external hard drive to your computer.
5. Wait for the transfer to complete: Depending on the size and number of music files being transferred, the process may take some time. Monitor the progress bar or file transfer status to ensure that all files are successfully copied to your computer.
6. Verify the transferred files: Once the transfer is complete, navigate to the destination folder on your computer and confirm that all the music files have been successfully copied from your external hard drive.
By following these steps, you can easily copy your music files from your external hard drive to your computer. Now that your music files are transferred, the next section will guide you on how to organize them on your computer for easy access.
Organizing Transferred Music Files on Your Computer
Now that you have successfully transferred your music files from your external hard drive to your computer, it’s time to organize them for easy access and enjoyment. Follow these steps to organize your transferred music files:
1. Create a dedicated music folder: Start by creating a dedicated folder on your computer specifically for your music files. This will help keep your music collection organized and easily accessible. Right-click on your desktop or in the desired location and select “New Folder.” Name the folder something like “Music” or “My Music.”
2. Create subfolders for organization: Within your music folder, consider creating subfolders to further organize your music files. Depending on your personal preferences, you could create subfolders by artist, album, genre, or any other category that makes sense to you. Right-click on the music folder, select “New Folder,” and name it accordingly.
3. Move or copy files to the appropriate folders: Navigate to the location where you transferred your music files on your computer. Select the music files and drag them into the appropriate subfolders you created in the previous step. Alternatively, you can right-click on the music files, select “Cut” or “Copy,” and paste them into the desired subfolders.
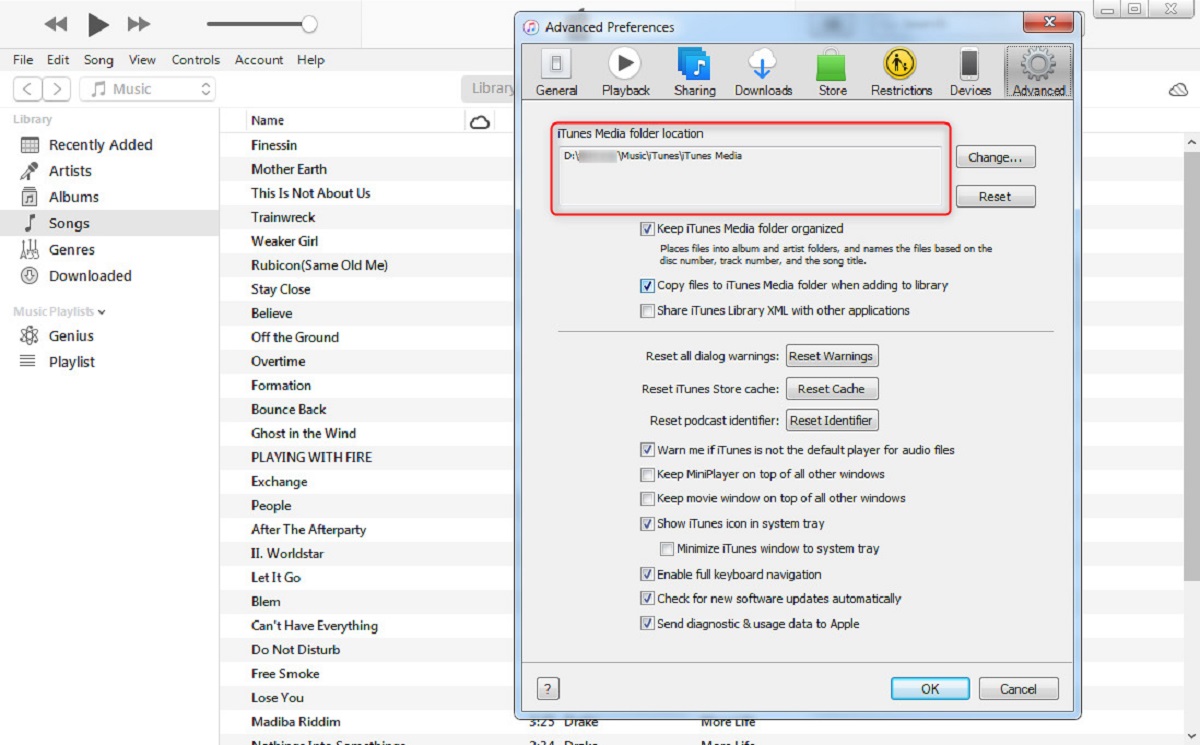
4. Organize metadata and tags: To streamline your music library, you can edit the metadata and tags of your music files. This includes information such as song titles, album names, artist names, and genres. Right-click on a music file, select “Properties” (Windows) or “Get Info” (Mac), and navigate to the metadata or tags section. Make any necessary edits and click “Apply” or “OK” to save the changes.
5. Consider using music organization software: If you have a large music collection or want more advanced organization capabilities, you may consider using music organization software. These tools can automatically organize and categorize your music files based on metadata, tags, and other criteria.
By following these steps, you can effectively organize your transferred music files on your computer. Taking the time to structure your music library will make it easier to navigate, search, and enjoy your favorite tunes. Now that your music files are organized, you’re ready to enjoy your collection on your computer or sync it with your other devices.