Introduction
Welcome to the world of external hard drives where you can expand your storage options and keep all your data in one convenient place. In this digital age, where we accumulate countless files, documents, photos, and videos, having a reliable and spacious external hard drive is essential. One such popular option is the My Passport External Hard Drive, known for its durability, portability, and user-friendly interface.
In this guide, we will walk you through the process of how to effectively use the My Passport External Hard Drive. Whether you’re a photographer looking to backup your high-resolution images, a student needing extra space for important documents, or just someone who wants to declutter their computer, this article will equip you with the knowledge to maximize the potential of your external hard drive.
Before we get started, it’s important to note that the instructions provided here are applicable to the My Passport External Hard Drive for Windows operating systems. If you are using a different operating system, the steps may vary slightly, but the overall process remains the same.
So, let’s dive in and explore how to connect, format, transfer files, and safely disconnect your My Passport External Hard Drive. By the end of this guide, you’ll be a pro at managing your external storage device, ensuring that your precious data is safe and easily accessible whenever you need it.
Step 1: Connecting the My Passport External Hard Drive
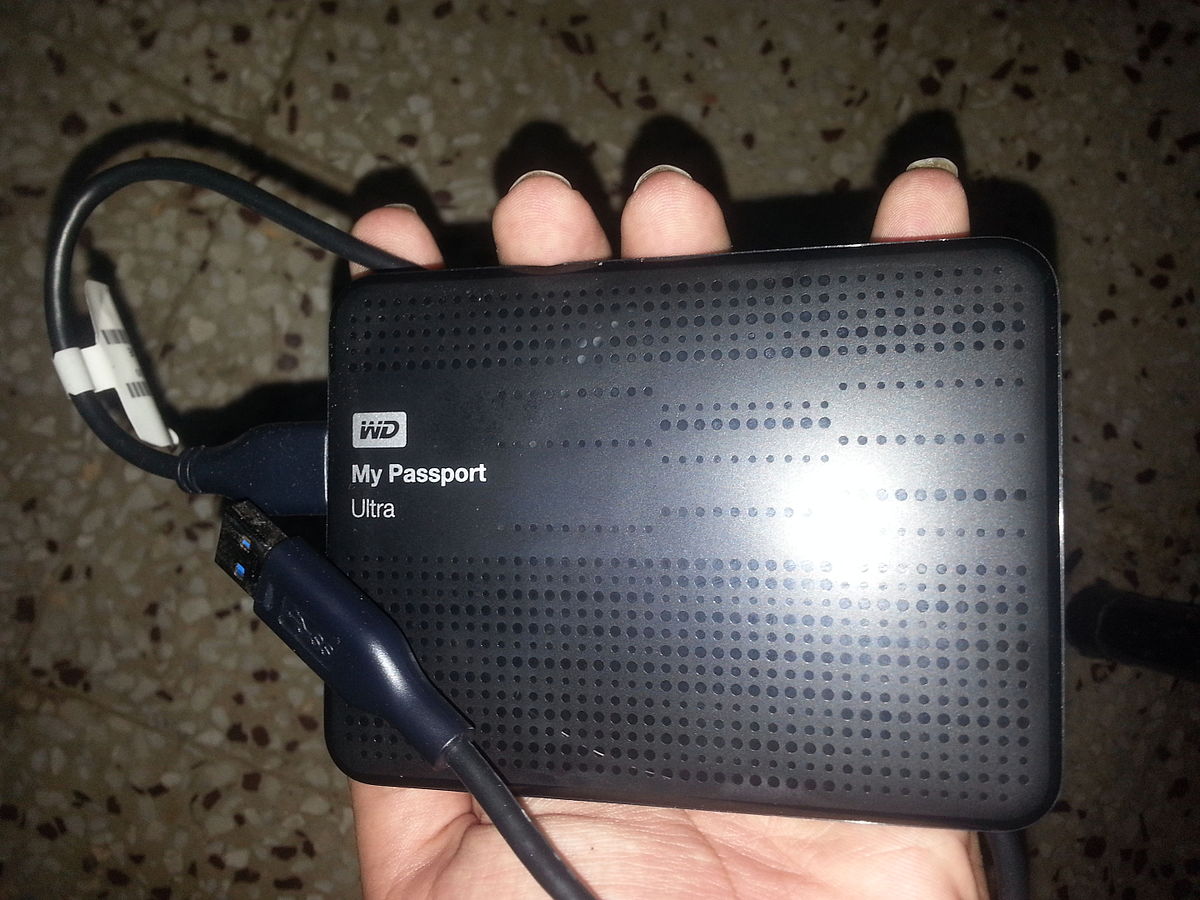
The first step in using your My Passport External Hard Drive is to connect it to your computer. Follow these simple steps to get started:
- Locate the USB port on your computer. It is typically found on the sides or the back of the CPU unit for desktops, and on the sides or back of the laptop.
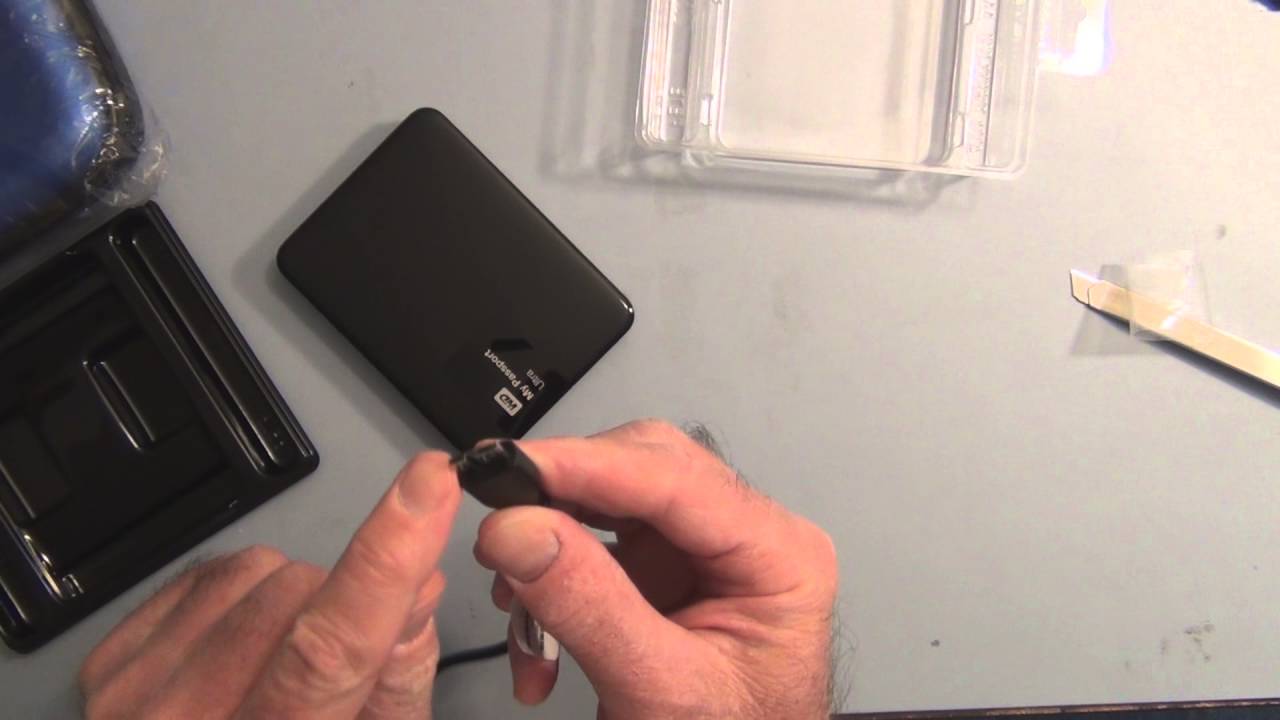
- Take the USB cable provided with your My Passport External Hard Drive and connect one end to the USB port on your computer.
- Take the other end of the USB cable and connect it to the USB port on your My Passport External Hard Drive. Ensure that the connection is secure.
- Your computer will detect the external hard drive and may prompt you with a notification or sound to confirm the connection.
- Wait for a few seconds to allow the computer to recognize the drive.
- Once the My Passport External Hard Drive is successfully connected, you can now start using it to store and access your files.
It’s important to note that if your My Passport External Hard Drive is powered by a separate power adapter, make sure to connect it to a power source before connecting it to your computer. This will ensure that the hard drive receives sufficient power to function properly.
Now that you have successfully connected your My Passport External Hard Drive to your computer, you are ready to move on to the next step, which is formatting the drive to ensure compatibility and optimal performance.
Step 2: Formatting the My Passport External Hard Drive
Formatting your My Passport External Hard Drive is an essential step to ensure compatibility with your computer and optimize its performance. Follow these steps to format your drive:
- Open “File Explorer” on your Windows computer. You can do this by clicking on the folder icon located on your taskbar or by pressing the Windows key + E on your keyboard.
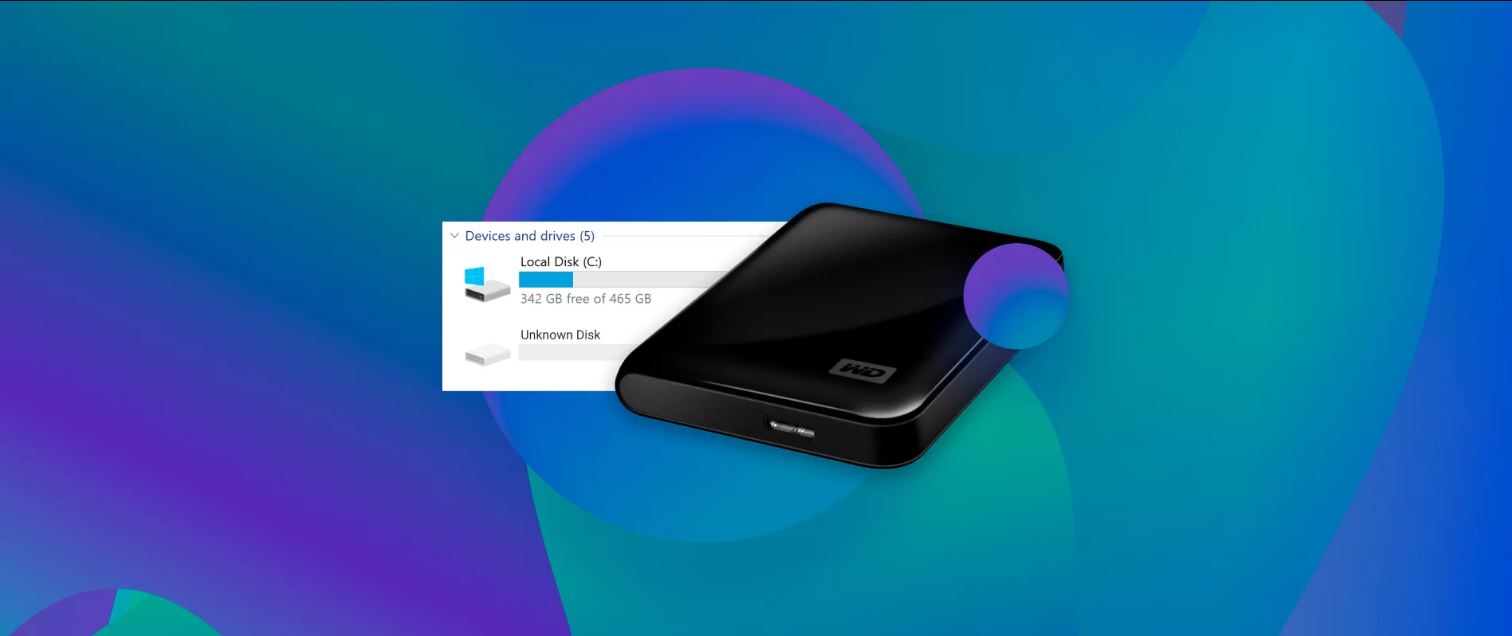
- Locate your My Passport External Hard Drive in the list of available drives. It will usually be labeled as “My Passport” or by the brand name.
- Right-click on the drive and select “Format” from the context menu. This will open the format settings.
- In the format settings, you can choose the file system and allocate a name for your My Passport External Hard Drive. For compatibility with both Windows and Mac, select the “exFAT” file system.
- Leave the allocation unit size as the default setting, unless you have specific requirements.
- Ensure that the “Quick Format” option is checked to expedite the formatting process.
- Double-check all the formatting settings and make sure that you have selected the correct drive to be formatted.
- Click on the “Start” button to begin the formatting process. Please note that all existing data on the drive will be deleted during the formatting process, so make sure you have made a backup if necessary.
- Wait for the formatting process to complete. This may take a few minutes, depending on the size of your My Passport External Hard Drive.
- Once the formatting is done, you will see a notification confirming the successful formatting of your My Passport External Hard Drive.
Formatting your My Passport External Hard Drive is a one-time process, and it prepares the drive for optimal use. Now that your drive is formatted, you can start transferring your files to it, which we will cover in the next step.
Step 3: Transferring Files to the My Passport External Hard Drive
With your My Passport External Hard Drive connected and formatted, you can now start transferring your files onto the drive. Follow these steps to copy or move files to your external hard drive:
- Open “File Explorer” on your Windows computer.
- Navigate to the location where the files you want to transfer are currently stored. This can be your computer’s internal storage, another external device, or cloud storage.
- Select the files or folders that you want to transfer. You can select multiple files by holding down the Ctrl key and clicking on each file.
- Right-click on the selected files and click on “Cut” or “Copy” from the context menu, depending on whether you want to move or copy the files respectively.
- Navigate to your My Passport External Hard Drive in the File Explorer window.
- Choose the desired location on your external hard drive where you want to save the files. You can create new folders by right-clicking and selecting “New Folder” if necessary.
- Right-click in the destination folder and click on “Paste” to transfer the files from your computer to the external drive.
- Wait for the files to be transferred. The time will depend on the size and number of files being transferred.
- Once the transfer is complete, you can verify the files on your My Passport External Hard Drive by navigating to the appropriate folder.
Transferring files to your My Passport External Hard Drive provides a reliable backup and frees up storage on your computer. Remember to safely eject your external hard drive before disconnecting it to prevent any data loss, as we will cover in the next step.
Step 4: Ejecting the My Passport External Hard Drive Safely
Before disconnecting your My Passport External Hard Drive from your computer, it’s important to eject it safely to avoid any potential data loss or damage to the drive. Follow these steps to safely eject your external hard drive:
- Locate the system tray in the bottom-right corner of your Windows desktop screen.
- Click on the “Safely Remove Hardware and Eject Media” icon. It looks like a USB connector with a green checkmark.
- A list of removable devices will appear. Find and click on the entry that represents your My Passport External Hard Drive.
- Wait for a notification to appear, indicating that it is safe to remove your external hard drive.
- Once you receive the confirmation, you can now safely disconnect your My Passport External Hard Drive from your computer.
It is important to note that ejecting the external hard drive correctly ensures that all read and write processes are complete and that no data is being actively transferred before removing the drive. Removing the drive without ejecting it properly could potentially corrupt files or damage the drive itself.
Remember to follow these steps each time you want to remove your My Passport External Hard Drive from your computer. Taking the extra time to eject it safely will help maintain the integrity of your data and prolong the lifespan of the drive.
Step 5: Disconnecting the My Passport External Hard Drive
Once you have safely ejected your My Passport External Hard Drive from your computer, you can proceed to disconnect it physically. Follow these steps to disconnect your external hard drive:
- Ensure that all file transfer operations and processes involving your My Passport External Hard Drive have been completed.
- Inspect the USB connection between your computer and the external hard drive to ensure it is secure.
- Gently and carefully remove the USB cable from both the USB port on your computer and the USB port on the My Passport External Hard Drive. Be cautious not to pull on the cable too forcefully.
- Once the USB cable is disconnected, safely store it in a secure location or wrap it around the external hard drive for convenience.
It’s important to handle your My Passport External Hard Drive with care during the disconnection process to prevent any damage or data loss. Avoid dropping the drive or exposing it to extreme temperatures or humidity.
By following these simple steps, you can safely and effectively disconnect your My Passport External Hard Drive from your computer without any risk to your data or hardware.
Bonus Tips and Troubleshooting
Here are some bonus tips and troubleshooting suggestions to enhance your experience with the My Passport External Hard Drive:
- Keep your external hard drive updated: Regularly check for firmware or software updates for your My Passport External Hard Drive. These updates can provide performance enhancements, bug fixes, and improved compatibility.
- Organize your files: Create folders and subfolders on your My Passport External Hard Drive to keep your files organized. This will make it easier for you to locate specific files or types of data when you need them.
- Backup your My Passport External Hard Drive: Just as you use the external hard drive to back up your computer files, it’s also important to have a backup of your external hard drive. Consider periodically creating a backup of your My Passport External Hard Drive onto another storage device or cloud storage.
- Safeguard your data: Consider using encryption software to protect your sensitive data stored on your My Passport External Hard Drive. Encryption provides an additional layer of security, ensuring that only authorized individuals can access your files.
- Troubleshooting: If you encounter any issues with your My Passport External Hard Drive, such as connectivity problems or unrecognized drive, try the following troubleshooting steps:
- Restart your computer and reconnect the external hard drive.
- Update the device drivers on your computer, especially the USB drivers.
- Try connecting the external hard drive to a different USB port on your computer.
- If possible, test the drive on another computer to determine if the issue is specific to your computer.
- Contact the My Passport External Hard Drive’s manufacturer or consult the user manual for further assistance.
By implementing these bonus tips and troubleshooting suggestions, you can make the most of your My Passport External Hard Drive, secure your data, and address any potential issues that may arise.
Conclusion
Congratulations! You have now learned how to effectively use the My Passport External Hard Drive. From connecting and formatting the drive to transferring files, ejecting it safely, and disconnecting it properly, you are now equipped with the knowledge to manage your external storage device with ease.
Remember to always follow the recommended steps to ensure the safety of your data and the longevity of your My Passport External Hard Drive. Whether you’re using it for backup purposes, extra storage, or to declutter your computer, this device offers convenience and reliability.
Additionally, by organizing your files, keeping your external hard drive updated, and regularly creating backups, you can have peace of mind knowing that your data is secure and easily accessible.
If you encounter any issues or need further assistance, don’t hesitate to consult the manufacturer’s support resources or seek help from technical experts.
Now, go ahead and enjoy the benefits of your My Passport External Hard Drive. Store your important files, free up space on your computer, and have a reliable backup solution at your fingertips. With your newfound knowledge, you can harness the power of this external hard drive to enhance your digital storage capabilities.