Introduction
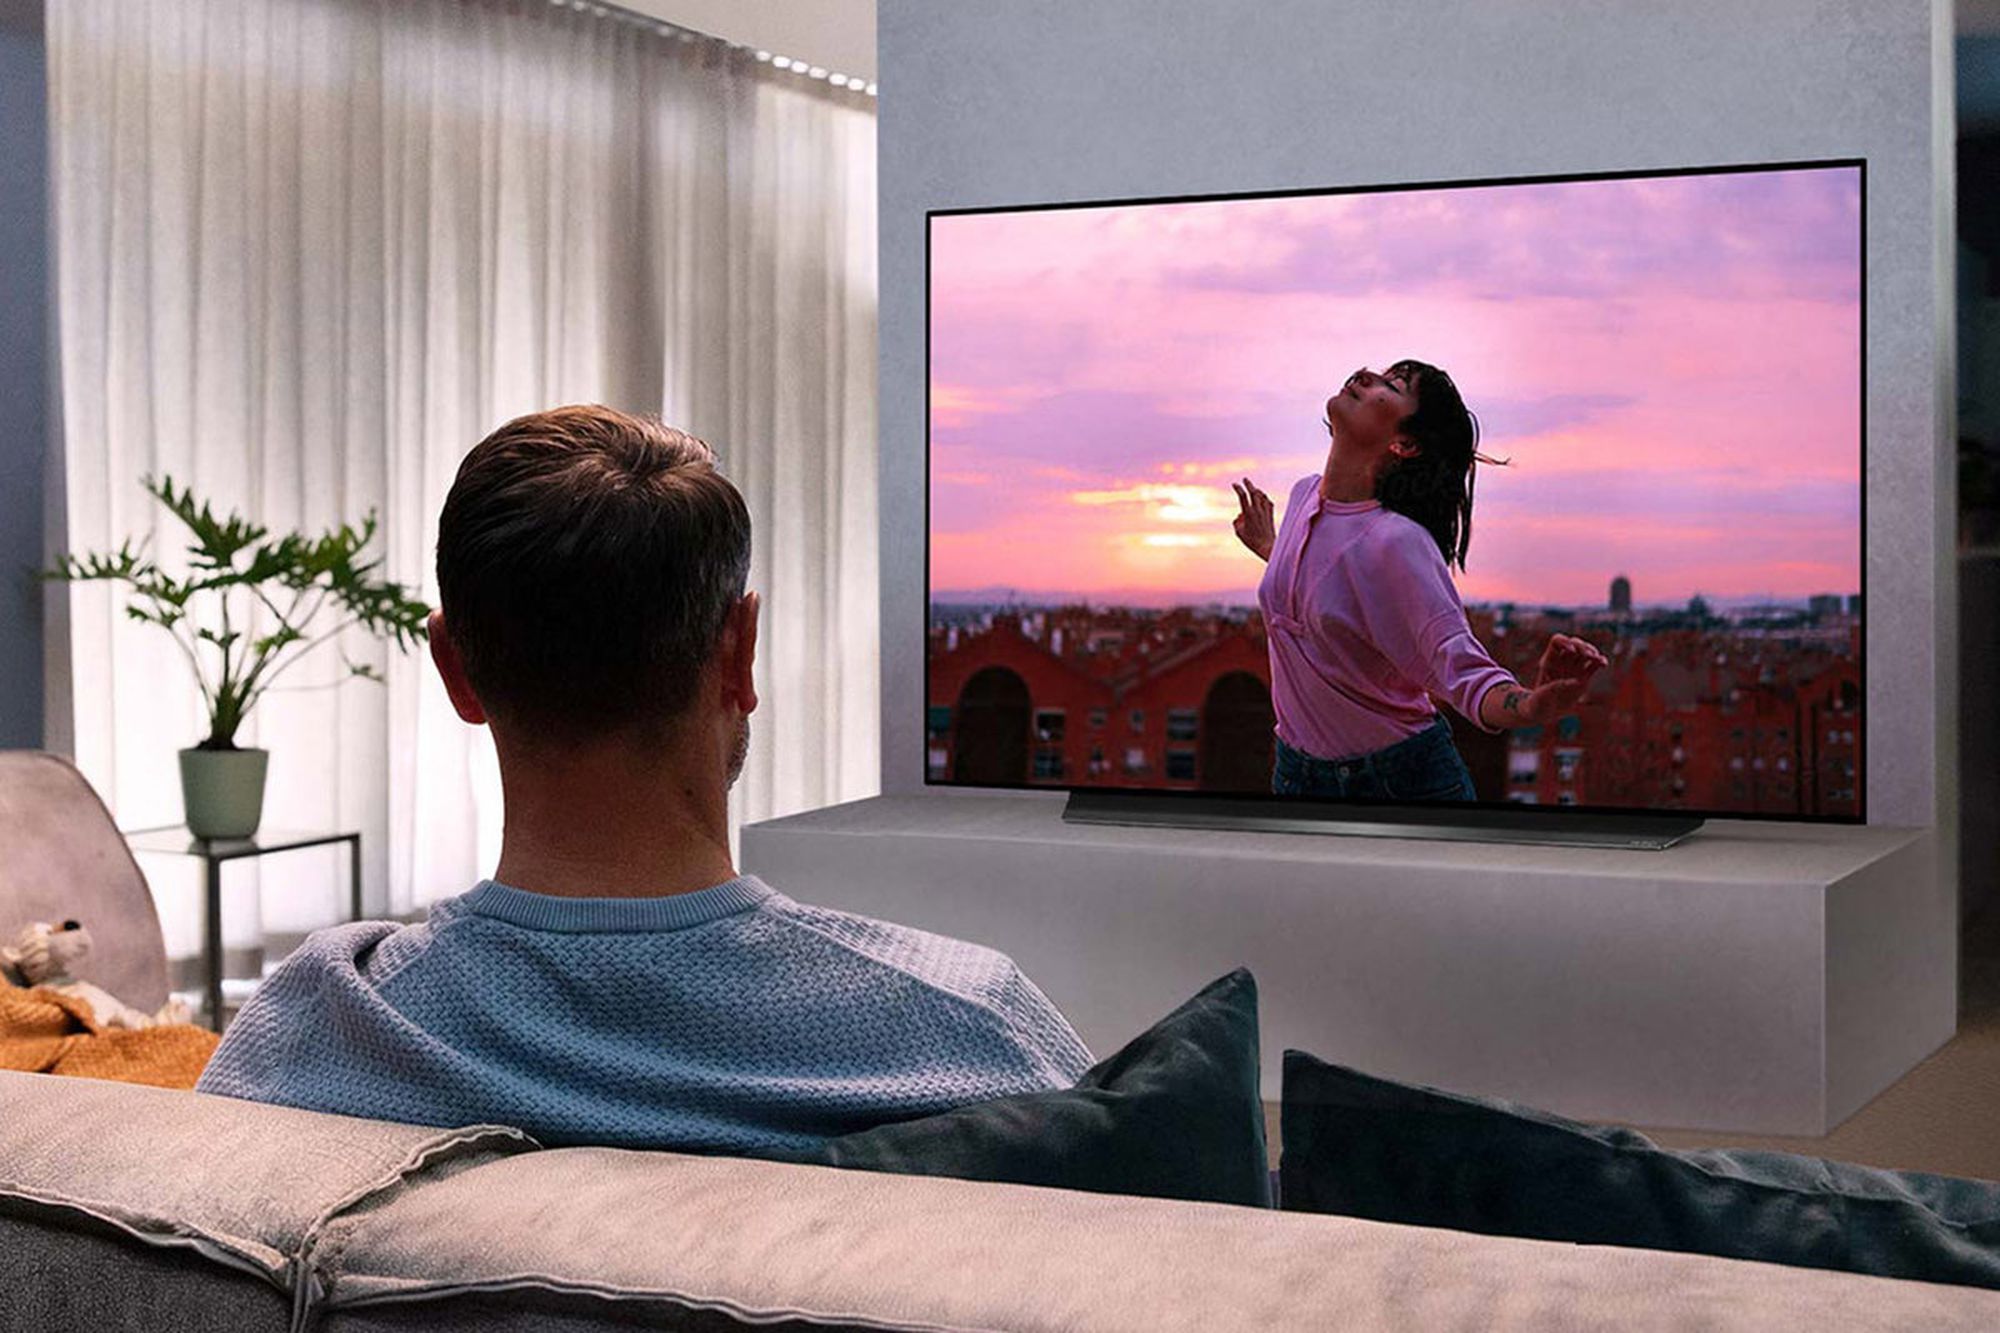
Welcome to the world of Smart TVs! With technology advancing by leaps and bounds, televisions have evolved from mere entertainment boxes to multi-functional devices that offer a plethora of features. One such feature that many Smart TV owners find indispensable is the ability to record television shows.
Smart TVs are more than just a regular TV. They come equipped with a range of built-in apps and internet connectivity, allowing users to stream content, browse the web, and access various entertainment options all from the comfort of their couch. However, the convenience of streaming doesn’t always address the need to record a TV show for future viewing or archiving purposes.
In this article, we will explore the various methods you can use to record TV shows on your Smart TV. Whether you want to capture an episode of your favorite series, a live sporting event, or a documentary, we’ve got you covered.
Before we dive into the methods for recording TV shows, it is important to note that not all Smart TVs are created equal. While most modern Smart TVs come with built-in recording features, there may be variations in functionality and options between different TV brands and models. It’s essential to familiarize yourself with your specific TV’s user manual or visit the manufacturer’s website for specific instructions related to your TV’s recording capabilities.
The following methods will give you a general understanding of the options available to you when it comes to recording TV shows on your Smart TV. Let’s get started!
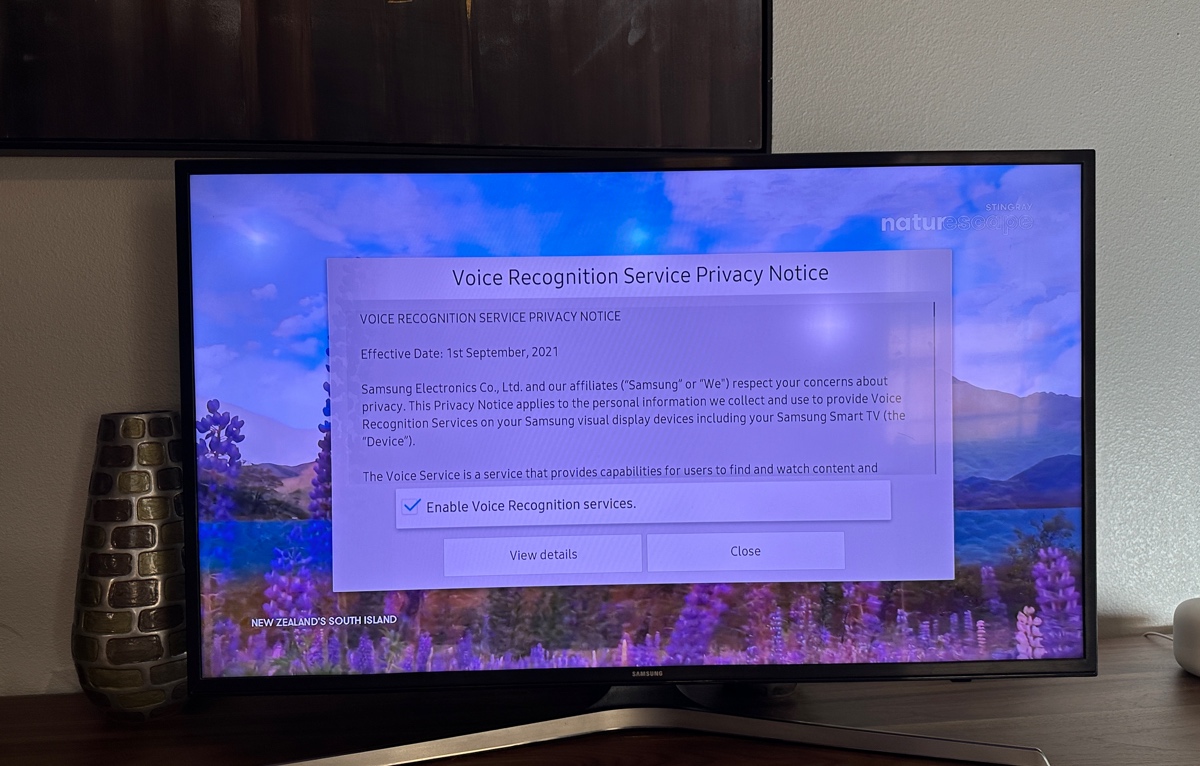
What is a Smart TV?
A Smart TV, also known as a connected TV, is a television set that combines the traditional functions of a TV with internet connectivity and interactive features. It allows users to access a wide variety of entertainment options beyond regular broadcast channels, using apps, streaming services, and online content.
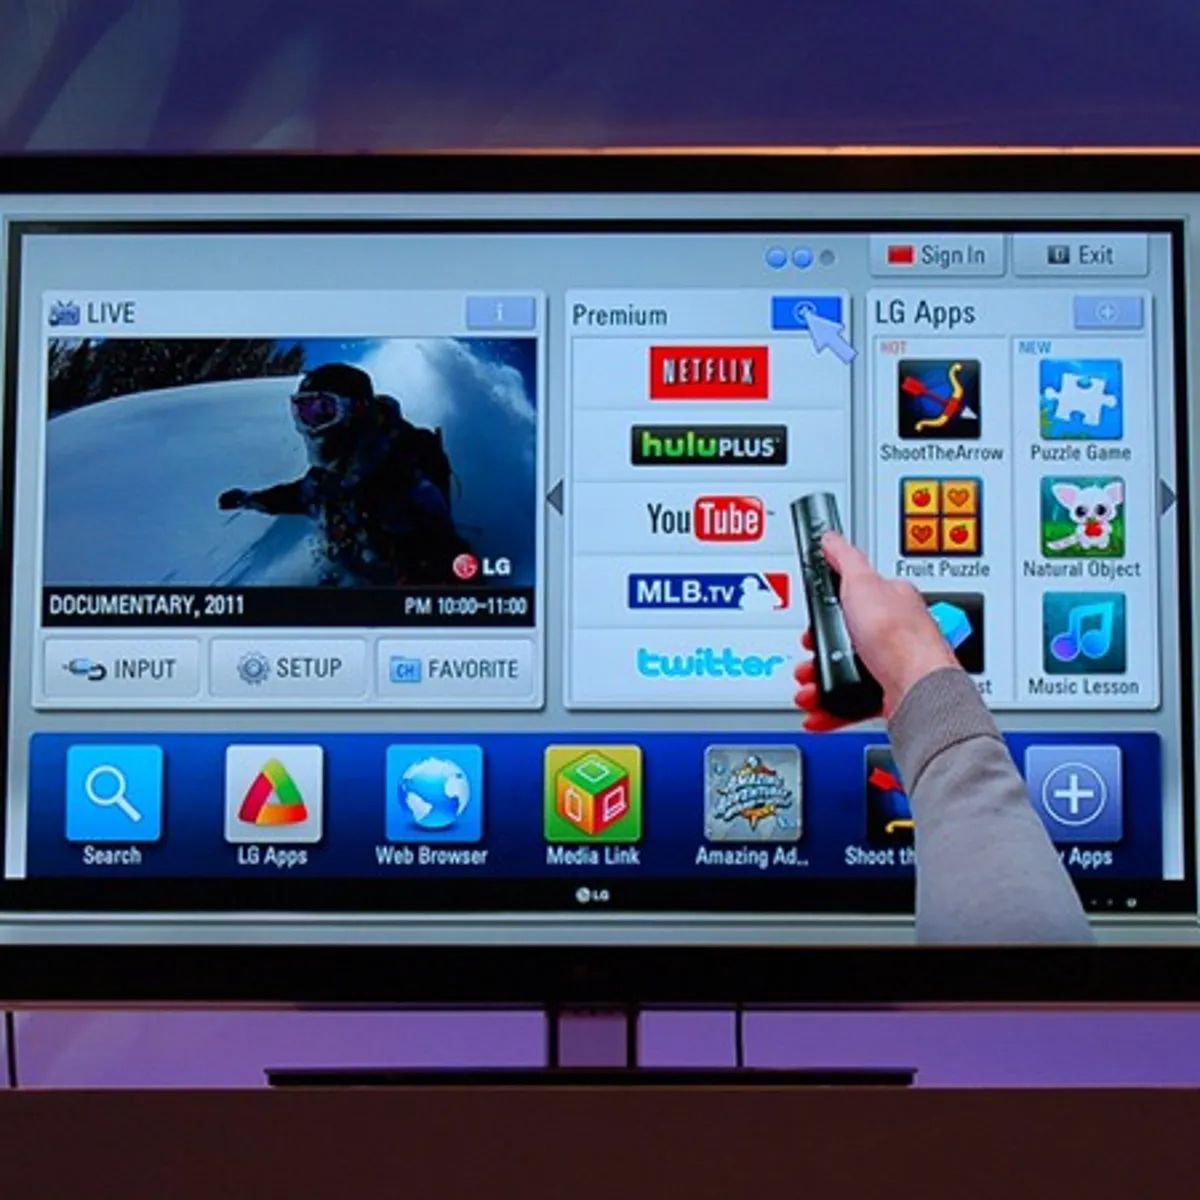
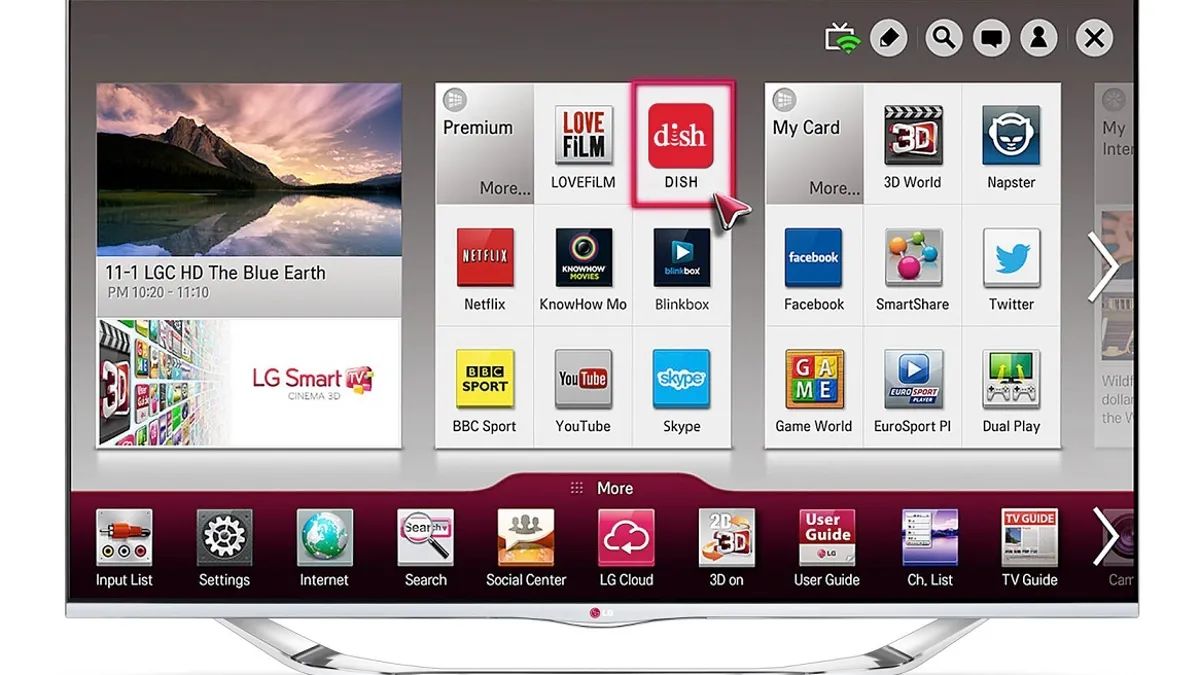
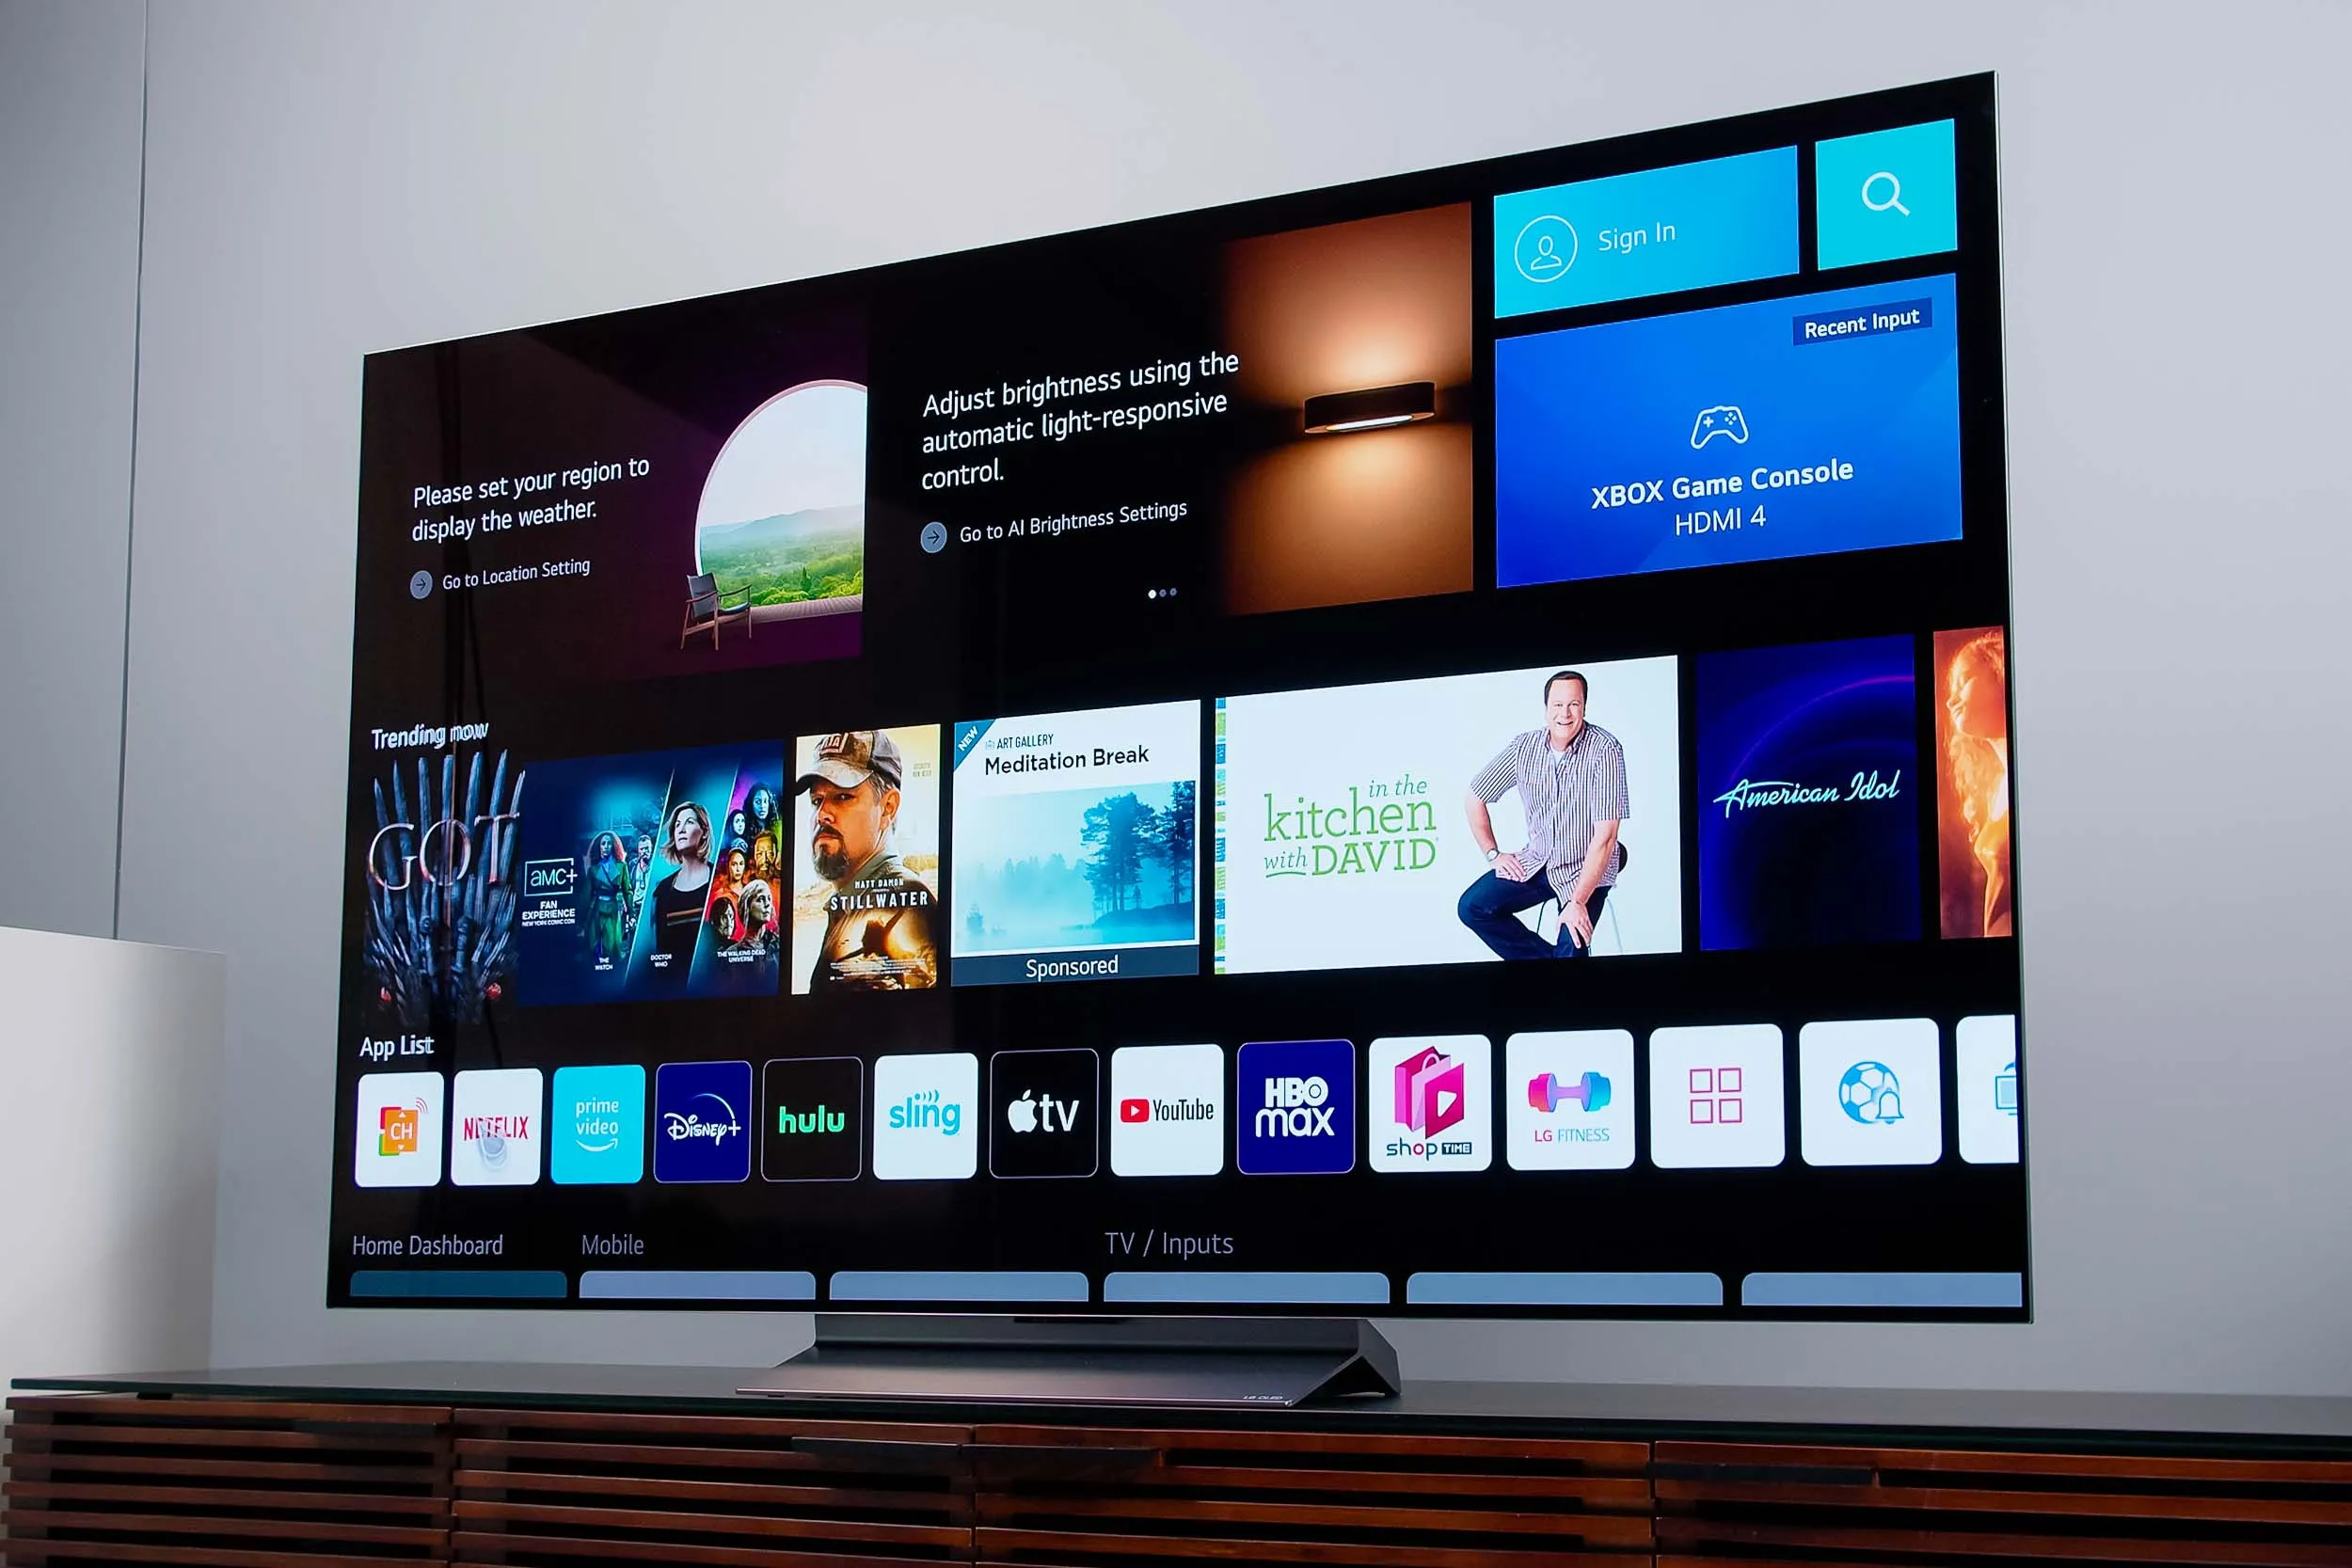
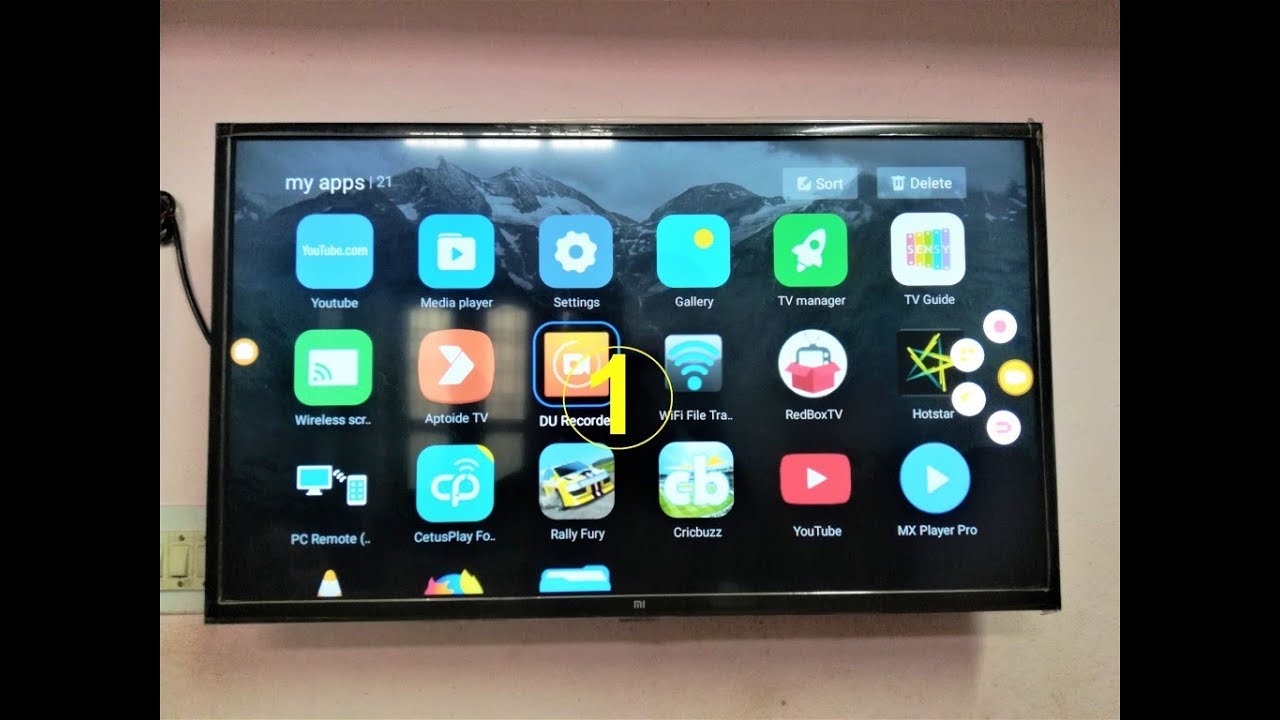
Smart TVs are equipped with an operating system that enables them to connect to the internet via Wi-Fi or Ethernet, opening up a world of possibilities in terms of content and functionality. This connectivity allows users to stream movies and TV shows from popular platforms like Netflix, Hulu, Amazon Prime Video, and more. Additionally, Smart TVs often feature built-in web browsers, allowing you to surf the internet from the comfort of your couch.
One of the standout features of a Smart TV is its ability to connect to other devices, such as smartphones, tablets, and computers. This allows for seamless integration and the ability to share content between devices. For example, you can mirror your smartphone screen onto your Smart TV to enjoy photos, videos, or even play mobile games on a larger screen.
Smart TVs also come with a remote control that has additional buttons and functionalities to navigate the smart features. Some models even support voice control, allowing you to search for content or perform specific actions by simply speaking commands. This makes the overall user experience more intuitive and convenient.
It’s worth noting that Smart TVs are constantly evolving, with manufacturers regularly releasing software updates to introduce new features and improve performance. This means that even if your Smart TV doesn’t have a particular feature at the time of purchase, there’s a chance it will be added in a future update.
Overall, Smart TVs offer a new level of entertainment and convenience, bringing together the best of television and the internet. With their ability to access a vast array of content and provide interactive experiences, Smart TVs have become an essential part of many households, transforming the way we enjoy television.
How to Record TV Shows on a Smart TV
Recording TV shows on a Smart TV is a handy feature that allows you to capture and save your favorite programs for future viewing. While the specific steps may vary depending on your TV’s brand and model, here are some common methods you can use to record TV shows on your Smart TV:
Method 1: Built-in Recording Functions: Many Smart TVs come with built-in recording capabilities. These TVs are equipped with internal storage or USB ports that allow you to connect an external storage device, such as a USB flash drive or an external hard drive, to save the recorded content. The recording functions are often accessible via the TV’s remote control or through the TV’s menu. Follow the on-screen instructions to schedule and record the TV show you want to save.
Method 2: External Hard Drive or USB Stick: If your Smart TV doesn’t have built-in recording features, you can still record TV shows by connecting an external hard drive or USB stick to your TV’s USB port. Once connected, you can use the TV’s recording feature (if available) or use third-party recording software if supported by your TV. Make sure to format the storage device correctly to ensure compatibility.
Method 3: Using a Digital Video Recorder (DVR): Another option is to use a standalone digital video recorder (DVR) in conjunction with your Smart TV. A DVR is a device that connects to your TV and allows you to record and store TV shows. You can connect your Smart TV to the DVR via HDMI or component cables and use the DVR’s recording functions to capture your desired programs. The recordings can be saved on the DVR’s internal storage or an external hard drive.
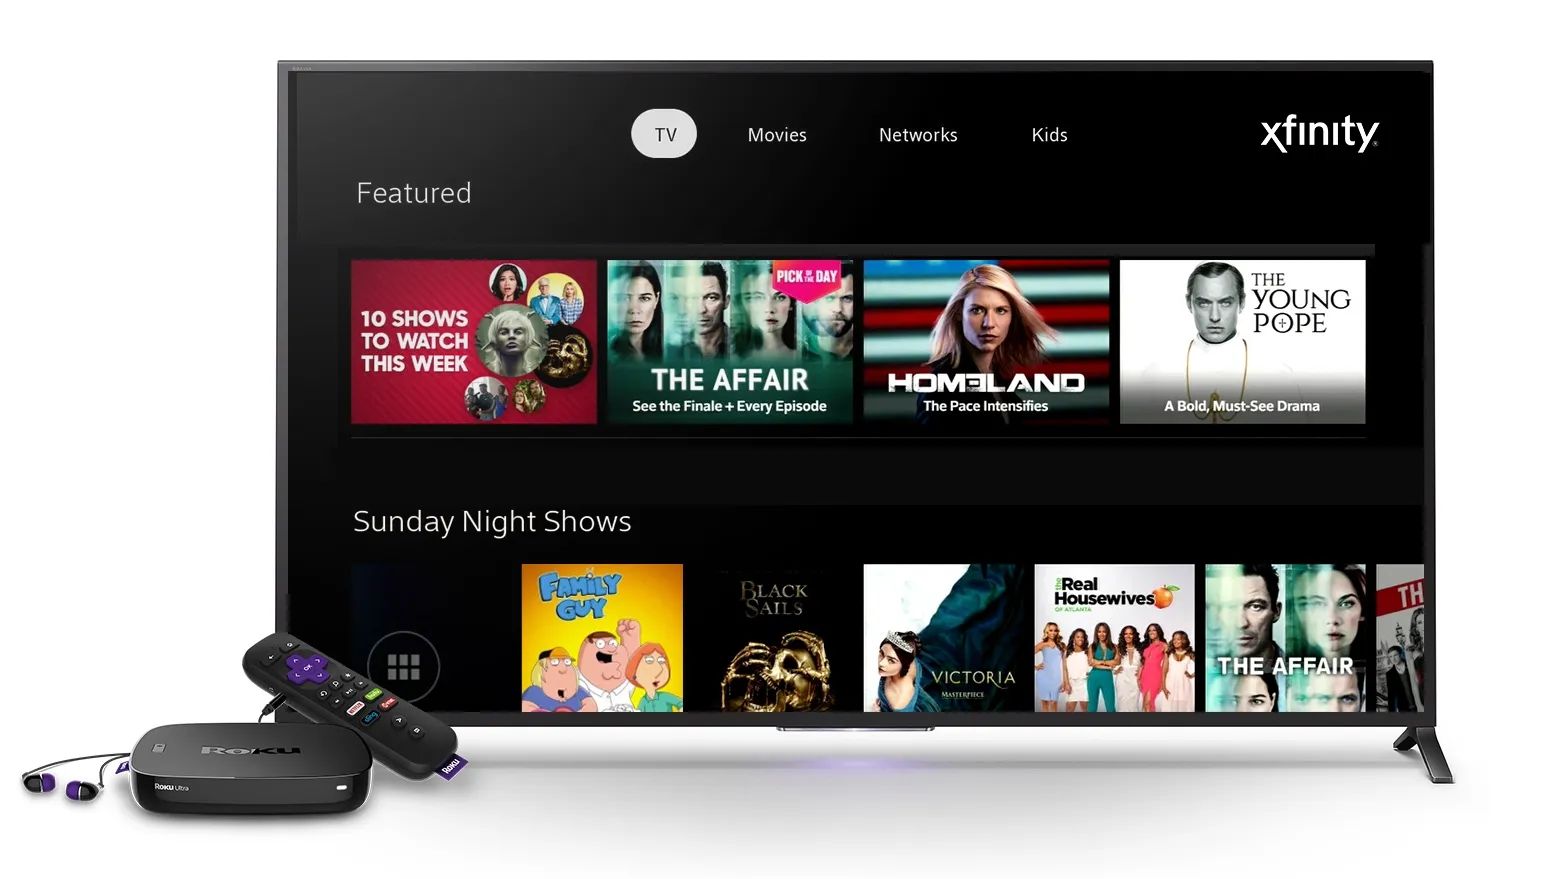
Method 4: Streaming TV Shows and Recording through Apps: Many Smart TVs support various streaming apps like Netflix, Hulu, and Amazon Prime Video. These apps often come with built-in recording features that allow you to save TV shows and movies directly to your account. Check if your preferred streaming service offers this feature and follow the instructions to record the content you want to keep. Keep in mind that the availability of recording features may vary between different streaming apps.
Before you start recording, make sure you have enough storage space available on your device or external storage. High-definition recordings can take up a significant amount of storage, so consider upgrading or expanding your storage if needed.
It’s important to note that the functionality and options for recording TV shows on a Smart TV may vary across different brands and models. Refer to your TV’s user manual or visit the manufacturer’s website for specific instructions and recommendations on recording TV shows using your particular Smart TV model.
Now that you know the various methods for recording TV shows on your Smart TV, you can effortlessly capture and enjoy your favorite programs whenever you want.
Method 1: Built-in Recording Functions
Many Smart TVs come with built-in recording functions that allow you to easily capture and save TV shows for later viewing. These recording functions vary depending on the brand and model of your Smart TV, but the process is generally straightforward. Here’s how you can use the built-in recording functions on your Smart TV:
- Using your Smart TV’s remote control, navigate to the TV’s menu or settings.
- Look for the “Recording” or “PVR” (Personal Video Recorder) option. It may be located under the “Settings” or “Preferences” submenu.
- Once you have accessed the recording settings, you will typically have the option to schedule recordings in advance or start an immediate recording.
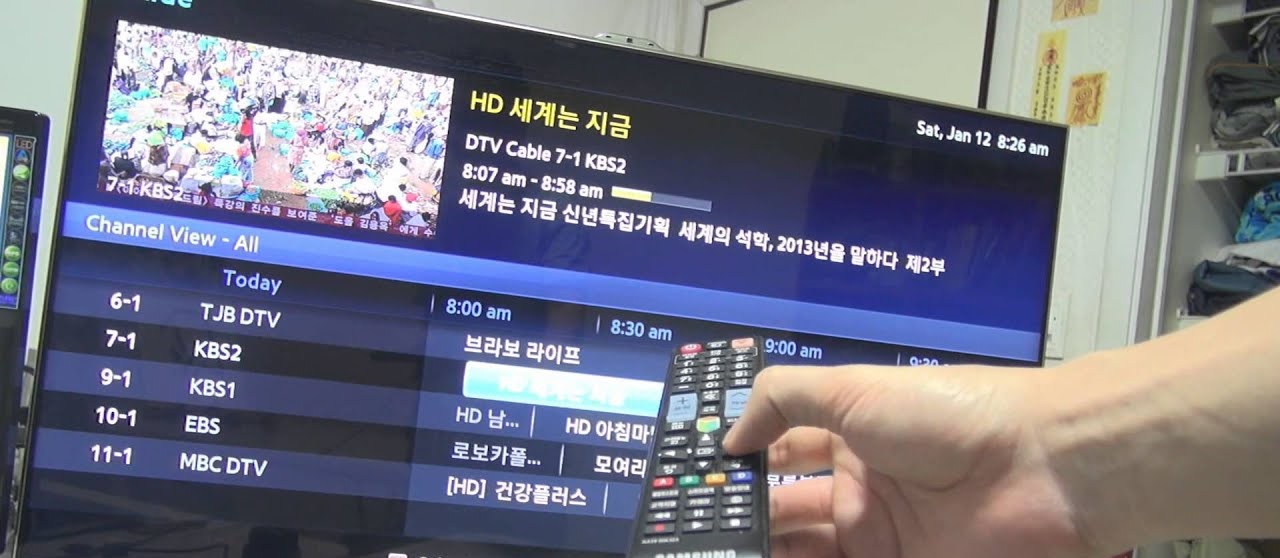
- Select the TV show you want to record from the electronic program guide (EPG) or by entering the specific channel and timing manually.
- Specify the duration of the recording, including the start and end times.
- Some Smart TVs allow you to customize additional recording options, such as the recording quality (standard definition or high definition) and the storage location (internal storage or external USB device).
- Confirm your settings and start the recording.
Depending on the capabilities of your Smart TV, you may also have the option to pause and rewind live TV while recording a program. This can be particularly useful if you need to step away or want to rewatch a specific scene.
Once your TV show is recorded, you can access the stored content either through the TV’s menu or by connecting a USB device to your Smart TV and accessing the recorded files. The recorded shows can typically be played directly from the TV interface, allowing you to watch them whenever you want.
It’s important to keep in mind that the available recording functions may vary between different Smart TV brands and models. Some TVs may offer more advanced features, such as the ability to record multiple shows simultaneously or automatically skip commercials during playback. Check your TV’s user manual or the manufacturer’s website for specific details on the recording functions available on your Smart TV.
Method 1 provides a convenient way to record TV shows directly on your Smart TV without additional equipment or external storage. Take advantage of this built-in feature to ensure you never miss an episode of your favorite show or capture memorable live events for later enjoyment.
Method 2: External Hard Drive or USB Stick
If your Smart TV doesn’t have built-in recording functions or you require more storage capacity for your recorded TV shows, you can utilize an external hard drive or USB stick to save your content. This method allows for greater flexibility and expanded storage options. Here’s how you can record TV shows using an external storage device:
- Ensure that your Smart TV supports USB connections. Most Smart TVs come with one or more USB ports.
- Connect your external hard drive or USB stick to the USB port on your Smart TV.
- Once connected, your Smart TV may automatically recognize the external storage device.
- If your TV doesn’t automatically detect the external storage, go to the TV’s menu and navigate to the “External Devices” or “USB” option to manually detect and select the connected storage.
- Confirm that the external storage device is successfully recognized and ready for use by your Smart TV.
- Access the TV’s recording capabilities or apps and follow the on-screen prompts to schedule or start a recording.
- During the recording process, choose the external storage device as the location for storing the recorded content.
- Once the recording is completed, you can disconnect the external storage device from your Smart TV.
- To access the recorded TV shows, reconnect the external storage device to your Smart TV or plug it into a computer or media-player that supports the file format.
It’s important to ensure that the external storage device is properly formatted and compatible with your Smart TV. Some TVs may require a specific file system format, such as FAT32 or NTFS, so check your TV’s user manual or consult the manufacturer’s website for recommended formatting guidelines.
Using an external hard drive or USB stick gives you the advantage of expanded storage space, allowing you to record more TV shows without worrying about the limitations of internal storage. Additionally, you can easily transfer the recorded content to other devices for portability or archival purposes.
Keep in mind that the performance of the external storage device can influence the recording quality and playback experience. Opt for a high-speed external hard drive or USB stick with ample storage capacity to ensure smooth recording and playback of your TV shows.
Method 2 gives you the flexibility to use external storage devices for recording TV shows on your Smart TV. Whether you’re recording a single episode or an entire series, this method provides a convenient solution to store and access your favorite content on-demand.
Method 3: Using a Digital Video Recorder (DVR)
If your Smart TV lacks built-in recording functions or you prefer a dedicated device for recording TV shows, using a digital video recorder (DVR) is an excellent option. A DVR allows you to connect it to your Smart TV to record and store your desired programs. Here’s how you can utilize a DVR to record TV shows:
- Purchase a compatible DVR device from a reputable manufacturer. Ensure that the DVR has the necessary inputs and outputs to connect to your Smart TV.
- Connect the DVR to your Smart TV using HDMI or component cables. Follow the manufacturer’s instructions to establish the connection correctly.
- Connect an antenna, cable, or satellite receiver to the DVR’s input port. This is necessary for receiving the TV signals and accessing the desired channels.
- Set up your DVR according to the manufacturer’s instructions. This typically involves configuring the TV channels, time zone, and other relevant settings.
- Using the DVR’s user interface, navigate to the TV show you want to record from the electronic program guide (EPG) or by manually entering the channel and timing.
- Select the recording options, such as the duration, quality, and storage location (internal storage or external hard drive).
- Confirm your settings and start the recording process.
- Once the TV show has finished recording, you can access the stored content through the DVR’s user interface or by connecting the DVR to your Smart TV using HDMI or other compatible cables.
- Depending on the DVR, you may have the functionality to manage and organize your recorded TV shows, including the ability to create folders, delete unwanted recordings, and set up series recording.
DVRs often come with additional features, such as the ability to pause and rewind live TV, skip commercials, and schedule recordings in advance. These features provide even more convenience and flexibility while enjoying your favorite shows.
It’s essential to ensure compatibility between your Smart TV and the chosen DVR. Some DVRs may offer Smart TV integration or compatibility with specific brands and models, allowing for a seamless user experience. Check with the DVR manufacturer or consult the device’s documentation for information on compatibility and setup procedures.
Method 3 provides a dedicated solution for recording TV shows using a DVR. With its customizable settings and additional features, a DVR can enhance your TV viewing experience by allowing you to capture and enjoy your favorite programs at your convenience.
Method 4: Streaming TV Shows and Recording through Apps
With the rise of streaming services and the availability of apps on Smart TVs, Method 4 offers an alternative way to record TV shows by utilizing streaming apps and their built-in recording features. Here’s how you can do it:
- Ensure that your Smart TV is connected to the internet, either via Wi-Fi or Ethernet.
- Access the app store on your Smart TV and download the streaming apps that offer recording functionality. Popular examples include Netflix, Hulu, and Amazon Prime Video.
- Launch the streaming app of your choice and sign in to your account if prompted.
- Using the app’s interface, navigate to the TV show you want to record.
- Check if the app provides a recording feature for the specific show or movie you are interested in.
- If recording is available, follow the on-screen prompts to start the recording process.
- Specify the duration of the recording if necessary and select the recording quality.
- Once the recording is completed, the app will typically save it to your account or designated library.
- Access the recorded TV show in your app’s library or recordings section for future viewing.
It’s important to note that not all streaming apps offer a recording feature. Additionally, the availability of recording features may vary between different apps and regions. Some apps may only allow downloading for offline viewing, while others provide the option to save recordings permanently.
This method offers the advantage of convenience and accessibility as streaming apps are typically pre-installed on Smart TVs or easily downloadable from the app store. It allows you to record TV shows directly through the app, eliminating the need for external devices or complicated setups.
Keep in mind that recording capabilities and restrictions are set by the streaming app providers and may be subject to changes or limitations. Ensure that you understand the terms and conditions of the app’s recording features and comply with any licensing agreements or copyright regulations.
Method 4 provides a modern and user-friendly approach to recording TV shows on your Smart TV. By leveraging the recording features offered by streaming apps, you can capture and store your favorite content with ease, ensuring that you never miss an episode or movie again.
Understanding the Limitations of Recording on a Smart TV
While recording TV shows on a Smart TV can be convenient and enjoyable, it’s essential to be aware of the limitations that may come with this feature. Understanding these limitations can help you make informed decisions and avoid potential frustrations. Here are some key factors to consider:
1. Storage Capacity: Smart TVs with built-in recording functions often come with limited internal storage. Depending on the model and recording quality, the available storage can fill up quickly, especially if you frequently record high-definition shows. Consider expanding the storage using external devices or regularly managing and deleting recorded content to free up space.
2. Recording Format and Compatibility: Smart TVs may use proprietary recording formats that are only playable on the same TV or limited to specific devices. This can pose challenges if you want to transfer or play the recorded content on other TVs or devices. Make sure to check the compatibility of the recording format and consider using standard formats like MP4 or MKV for maximum flexibility.
3. Copyright and DRM Restrictions: Some broadcasters and streaming services implement digital rights management (DRM) to protect copyrighted content. This can restrict the recording functionality, preventing you from recording certain shows or enforcing limitations on playback options. Ensure that you comply with any copyright laws and respect the terms and conditions set by the content providers.
4. Simultaneous Recording: Not all Smart TVs support multiple simultaneous recordings. If you have overlapping show schedules or want to record multiple shows at the same time, check if your TV allows for this functionality. Alternatively, consider using external devices like DVRs or streaming apps with multiple recording capabilities to accommodate your recording needs.
5. Ad Skipping and Editing: Some Smart TVs may limit or omit features like ad skipping or advanced editing options for recorded content. Commercial skipping is often disabled or restricted due to licensing agreements with broadcasters. If these features are crucial to your recording experience, explore third-party DVRs or streaming apps that offer enhanced editing functionalities.
6. Online Streaming Expiration: Many streaming apps allow you to download or save content for offline viewing. However, these downloaded shows often have an expiration date, after which they become unavailable. This means that you might lose access to your recorded shows if you don’t watch them within the designated time frame. Be mindful of the expiration dates set by the streaming service for your downloaded or saved content.
7. System Updates and Compatibility: Smart TV operating systems and apps receive regular updates, which can occasionally cause compatibility issues with recorded content. Updates may introduce changes in file formats or codecs, reducing the playback compatibility of previously recorded shows. Stay vigilant and ensure that your TV and apps are up to date to minimize any potential compatibility issues.
Understanding these limitations will help you manage your expectations when it comes to recording TV shows on your Smart TV. While there may be some constraints, the convenience and flexibility offered by the recording feature are still highly valuable for capturing and enjoying your favorite programs on your own schedule.
Conclusion
Recording TV shows on your Smart TV opens up a world of possibilities, allowing you to capture and save your favorite programs for future viewing. Whether your Smart TV has built-in recording functions, you utilize external storage devices, employ a digital video recorder (DVR), or take advantage of streaming apps, there are various methods available to suit your preferences and needs.
Smart TVs have revolutionized the way we consume television content, combining traditional broadcasting with internet connectivity and interactivity. With built-in recording functions, you can easily schedule and record TV shows directly on your Smart TV, ensuring that you never miss an episode or live event.
If your Smart TV lacks built-in recording capabilities or you require more storage space, external hard drives or USB sticks provide a convenient solution. Simply connect your storage device to your Smart TV and utilize the available recording options.
For a dedicated recording experience, digital video recorders (DVRs) offer advanced features such as simultaneous recording, ad skipping, and more. By connecting a DVR to your Smart TV, you can enjoy the benefits of expanded storage and enhanced recording capabilities.
Streaming apps and their built-in recording features provide another alternative for capturing TV shows. Apps like Netflix, Hulu, and Amazon Prime Video allow you to record content directly within their platforms, providing flexibility and convenience for on-demand viewing.
It’s important to be aware of the limitations that can come with recording on a Smart TV, such as storage capacity, compatibility, DRM restrictions, simultaneous recording limitations, and online streaming expiration. Understanding these limitations will help you make informed decisions and optimize your recording experience.
Whether you’re an avid TV enthusiast, a busy individual trying to keep up with your favorite shows, or someone who wants to archive special moments, the ability to record TV shows on your Smart TV is a valuable feature that can greatly enhance your entertainment experience. Explore the different methods available and start capturing your favorite TV moments today.