Introduction
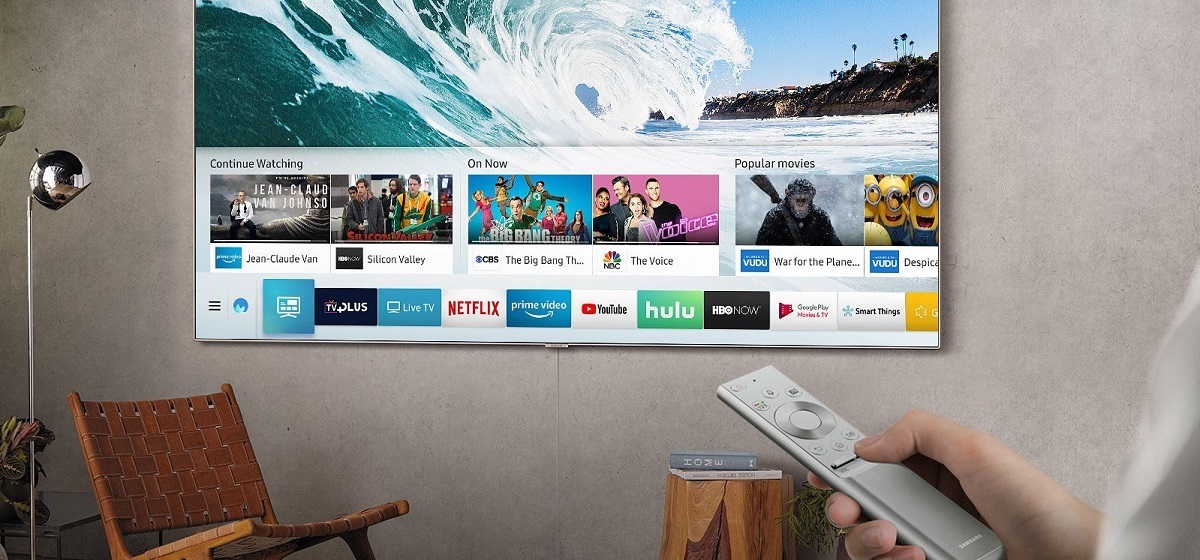
Welcome to the world of Samsung Smart TVs, where you can not only enjoy a vast array of multimedia content, but also conveniently record your favorite TV shows, movies, and live events. With the ability to record directly from your Samsung Smart TV, you no longer have to worry about missing out on your must-watch programs or re-watching that thrilling game-winning moment.
In this guide, we will walk you through the process of setting up your Samsung Smart TV for recording, using an external USB hard drive for storage, and scheduling and managing your recordings. Whether you are a TV enthusiast who wants to keep your finger on the pulse of the latest shows, a sports fan who doesn’t want to miss a single game, or simply someone who enjoys the convenience of recording content for later viewing, this article is for you.
By following the steps and tips in this guide, you will be able to unlock the full potential of your Samsung Smart TV and make the most out of its recording capabilities. So, grab your remote control, snuggle up on your couch, and get ready to become the ultimate master of your TV-viewing experience.
Section 1: Setting Up Your Samsung Smart TV for Recording
Before you can start recording on your Samsung Smart TV, you need to ensure that it is properly set up for this functionality. Here are the steps to get you started:
- Check for Recording Compatibility: Not all Samsung Smart TVs have built-in recording capabilities. Before proceeding, verify that your specific model supports recording. You can find this information in the user manual or by visiting the official Samsung website.
- Connect an External USB Hard Drive: To record and store content on your Samsung Smart TV, you’ll need an external USB hard drive. Make sure the hard drive is compatible with your TV and connect it to one of the available USB ports.
- Format the USB Hard Drive: Once the hard drive is connected, your Samsung Smart TV may prompt you to format it. Formatting is necessary to ensure compatibility and prepare the hard drive for recording.
- Enable the Recording Feature: Access the settings menu on your Samsung Smart TV and navigate to the “Recording” or “Live TV” section. Here, you should find an option to enable the recording feature. Follow the on-screen instructions to activate it.
- Configure Recording Settings: After enabling the recording feature, you can customize various settings, such as the default recording duration, recording quality, and storage location. Take some time to adjust these settings according to your preferences.
Once you have completed these steps, your Samsung Smart TV should be ready to record. Keep in mind that the exact process may vary slightly depending on your TV model and firmware version. Refer to the user manual or contact Samsung support for more specific instructions if needed.
Section 2: Using an External USB Hard Drive to Record
Now that you have set up your Samsung Smart TV for recording, let’s explore how to effectively use an external USB hard drive for storing your recorded content. Follow these steps to make the most of this recording method:
- Choose the Right USB Hard Drive: Ensure that your external USB hard drive meets the necessary requirements for recording. It should have sufficient storage capacity, preferably at least 500GB or more, depending on your recording needs.
- Connect the USB Hard Drive: Plug the USB hard drive into one of the available USB ports on your Samsung Smart TV. Make sure the connection is secure.
- Select the Storage Location: Access the settings menu on your TV and navigate to the recording settings. Here, you can choose the storage location for your recordings. Select the connected USB hard drive as the destination.
- Manage Storage Space: Regularly check the available storage space on your USB hard drive. Delete any unwanted recordings to free up space or consider transferring them to another storage device to preserve important content.
- Organize Your Recordings: To keep your recorded content organized, consider creating folders or using the built-in file management system on your Samsung Smart TV. This will make it easier to find and access specific recordings when needed.
- Be Mindful of Recording Quality: Higher-quality recordings consume more storage space. Consider adjusting the recording quality settings based on your preferences and the available storage capacity on your USB hard drive.
By following these steps, you can effectively use an external USB hard drive to record and store your favorite TV content. Remember to regularly manage your storage space and keep your recordings organized for a seamless viewing experience.
Section 3: Recording Live TV
One of the key advantages of owning a Samsung Smart TV is the ability to record live TV, allowing you to capture your favorite shows or events as they happen. Follow these steps to start recording live TV:
- Access the Program Guide: Using your Samsung Smart TV remote control, navigate to the program guide or electronic program guide (EPG). This guide provides a comprehensive list of available TV channels and their schedules.
- Select the Program to Record: From the program guide, browse through the channels and select the specific program or show that you want to record. Highlight the program and press the “Record” button on your remote control.
- Choose Recording Options: Depending on your TV model and firmware version, you may have the option to customize recording settings. These settings can include parameters such as recording duration, starting and ending times, and repeat recording for series.
- Confirm the Recording: Once you have selected the program and adjusted the recording options, confirm your selection to initiate the recording. Your Samsung Smart TV will now begin capturing the live TV content.
- Manage Multiple Recordings: If you have overlapping recordings or want to record multiple programs simultaneously, ensure that your USB hard drive has enough storage capacity to accommodate all the recordings. Prioritize your recordings and adjust the settings accordingly.
- Enjoy Playback: After the live TV program has finished recording, you can access and play back the content using your Samsung Smart TV’s media player or dedicated recording playback menu. Enjoy watching your recorded shows at your convenience!
With the ability to record live TV on your Samsung Smart TV, you have the flexibility to watch your favorite programs on your own schedule. Experiment with the settings and features available on your TV to make the most of your recording experience.
Section 4: Scheduling Recordings
Setting up recordings manually for each individual show or event can be time-consuming. Luckily, Samsung Smart TVs offer the convenience of scheduling recordings in advance. Here’s how to schedule recordings:
- Access the Program Guide: Navigate to the program guide or electronic program guide (EPG) on your Samsung Smart TV.
- Find the Program to Schedule: Browse through the available channels and locate the show or event that you want to schedule for recording. Highlight the program and press the “Schedule” or “Recorder” button on your remote control.
- Set the Recording Options: Customize the recording settings for the scheduled program. You can specify the start time, end time, and duration of the recording. Some TVs may also allow you to schedule recurring recordings for series.
- Confirm the Scheduling: Once you have adjusted the recording options, confirm your scheduling. Your Samsung Smart TV will now automatically record the selected program at the specified time and date.
- Manage Scheduled Recordings: Access the scheduled recordings menu on your TV to view and manage your upcoming recordings. From here, you can edit or delete scheduled recordings as needed.
- Check Recording Status: Keep an eye on the recording status to ensure that the scheduled recordings are executing properly. Check the recording menu or status indicators on your Samsung Smart TV interface for any notifications or indicators related to the scheduled recordings.
Scheduling recordings on your Samsung Smart TV allows you to plan ahead and never miss your favorite shows or events. Take advantage of this feature to effortlessly record content without having to manually initiate each recording.
Section 5: Managing and Playing Back Recorded Content
Now that you have recorded your favorite shows and events on your Samsung Smart TV, it’s time to learn how to manage and play back your recorded content. Follow these steps to make the most out of your recorded content:
- Access the Recordings Menu: On your Samsung Smart TV interface, navigate to the recordings menu or media player section. This is where you can view and manage your recorded content.
- Browse Through Recorded Content: Within the recordings menu, you will find a list of your recorded shows and events. Use the arrow buttons or navigation keys on your remote control to browse through the recordings.
- Select a Recording: Highlight the recording you wish to play and press the “Select” or “Play” button on your remote control. The recording will start playing on your TV screen.
- Playback Controls: Control the playback of your recorded content using the playback controls on your remote control. These controls typically include pause, play, rewind, fast forward, and stop.
- Manage Your Recordings: From the recordings menu, you can manage your recorded content. This includes deleting unwanted recordings to free up storage space or transferring recordings to other storage devices for long-term storage.
- Use the Search Functionality: If you have a large number of recorded shows or events, use the search functionality on your Samsung Smart TV to quickly find a specific recording. Search by show title, date, or any other relevant keywords.
With the ability to manage and play back your recorded content, you have full control over your TV viewing experience. Enjoy watching your favorite shows at your convenience and easily navigate through your recorded library with the features provided by your Samsung Smart TV.
Section 6: Troubleshooting Common Recording Issues
While recording on your Samsung Smart TV is generally a smooth and hassle-free experience, you may encounter some common issues along the way. Here are some troubleshooting steps to help you address these problems:
- No Recording Option: If you don’t see the recording option in your Samsung Smart TV settings, ensure that your TV model supports recording. Refer to the user manual or contact Samsung support for further assistance.
- USB Hard Drive Not Recognized: If your Samsung Smart TV is not recognizing the connected USB hard drive, ensure that the drive is properly formatted and compatible with your TV model. Try connecting it to a different USB port or using a different USB hard drive altogether.
- Insufficient Storage Space: If you are running out of storage space on your USB hard drive, consider deleting unwanted recordings or transferring them to another storage device. Alternatively, you may need to invest in a larger capacity USB hard drive.
- Poor Recording Quality: If your recorded content appears to have poor quality, check the recording settings on your Samsung Smart TV. Adjust the recording quality settings to a higher resolution if necessary.
- Recording Interruptions: If your recordings are frequently interrupted or stop abruptly, ensure that the USB hard drive is properly connected and not experiencing any connectivity issues. It is also worth checking for any firmware updates for your TV model that may address recording stability.
- Recording Not Starting or Ending on Time: If your scheduled recordings are not starting or ending at the specified times, double-check your TV’s clock and ensure that it is correctly set. Adjust the clock settings if necessary.
- Inability to Play Back Recordings: If you are unable to play back your recorded content, ensure that the recordings are in a compatible format. Some Samsung Smart TVs may have specific format requirements for playback. If needed, consider converting the recordings to a supported format using third-party software.
If you encounter persisting issues with recording on your Samsung Smart TV, consult the user manual or contact Samsung support for further assistance. They will be able to provide you with specific troubleshooting steps based on your TV model and firmware version.
Conclusion
Congratulations! You have learned how to unleash the full recording capabilities of your Samsung Smart TV. By setting it up properly, using an external USB hard drive, recording live TV, scheduling recordings, managing and playing back recorded content, and troubleshooting common issues, you are now equipped to enjoy a seamless and personalized TV-viewing experience.
Recording your favorite shows, movies, and live events has never been easier. Whether you want to catch up on missed episodes, have the flexibility to watch TV on your own schedule, or simply keep a library of your favorite content, your Samsung Smart TV has you covered. With just a few clicks of your remote control, you can forever free yourself from the constraints of live TV programming.
Remember to check your specific TV model’s instructions and consult the user manual for any additional features or settings that may enhance your recording experience. If you encounter any issues, don’t hesitate to reach out to Samsung support for assistance.
Now, sit back, relax, and enjoy the convenience and flexibility of recording on your Samsung Smart TV. Happy recording!