Introduction
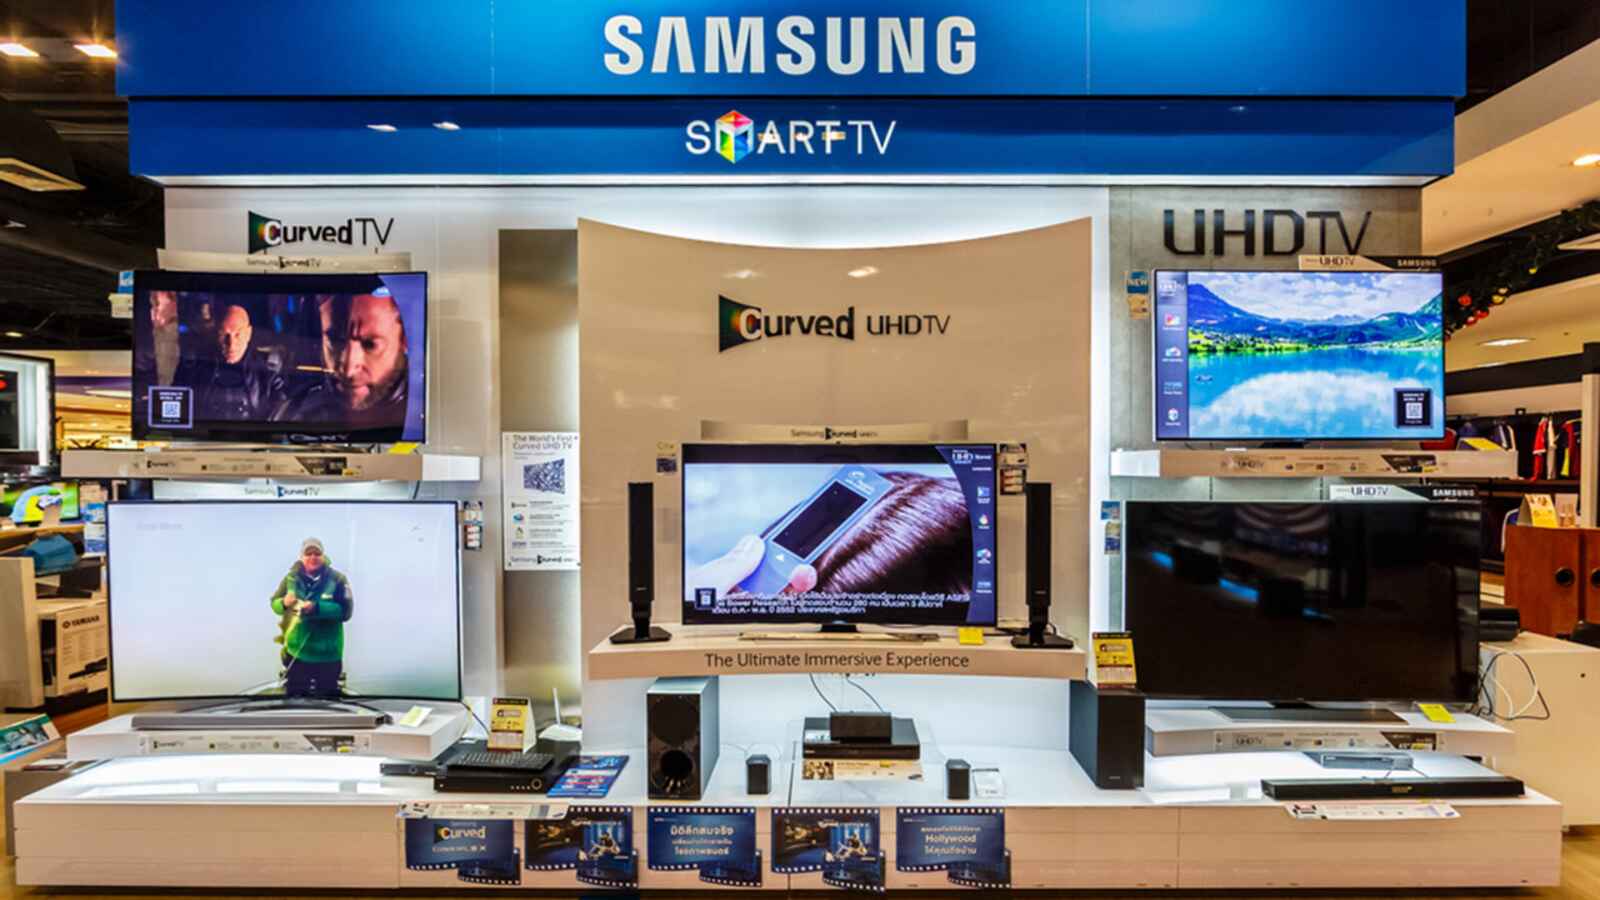
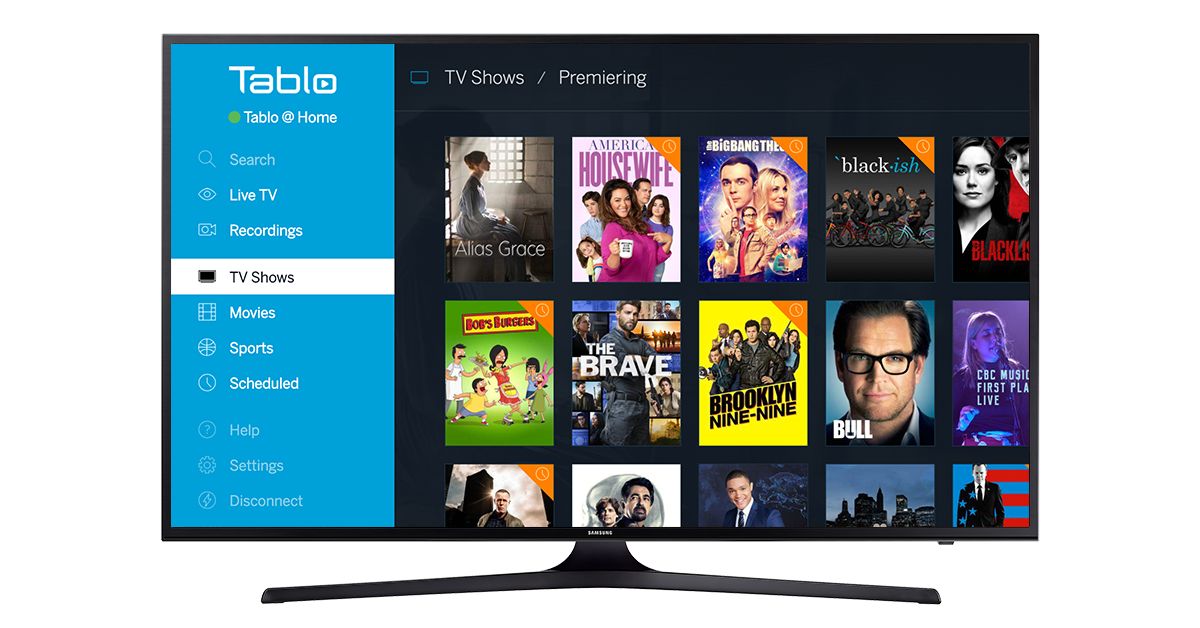
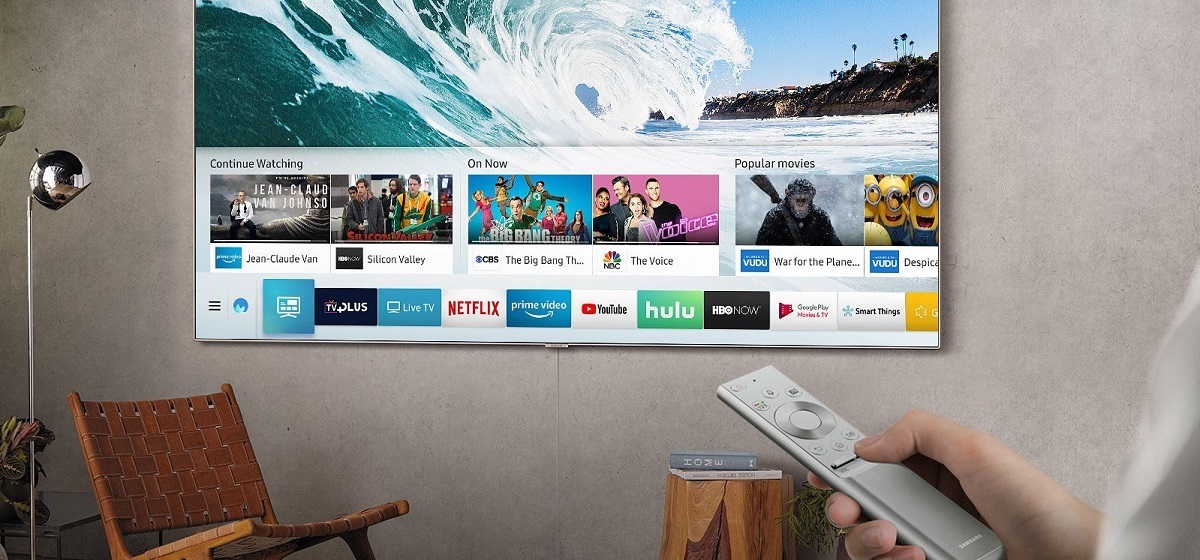
Welcome to the world of Samsung Smart TV! With its advanced features and cutting-edge technology, your Samsung Smart TV allows you to do more than just watch your favorite shows and movies. One of the powerful capabilities of your Smart TV is the ability to record your favorite content. Whether it’s a thrilling live sports event, a captivating TV series, or a thought-provoking documentary, you can capture it all and watch it at your convenience.
Recording on your Samsung Smart TV not only gives you the flexibility to watch your favorite programs whenever you want, but it also allows you to skip commercials or pause and resume the playback according to your schedule. Whether you have a cable or satellite connection, or you’re streaming content through an external device, the process of recording on your Samsung Smart TV is simple and straightforward.
In this guide, we will walk you through the step-by-step process of recording on your Samsung Smart TV. You’ll learn how to connect an external device, configure it for recording, select the desired channel or content, start the recording, and manage and playback your recorded content. So, let’s dive in and unlock the full potential of your Samsung Smart TV!
Getting Started
Before you can start recording on your Samsung Smart TV, there are a few things you need to have in place:
- An External Device: To record content, you’ll need an external device such as a USB drive or an external hard drive. Make sure it’s compatible with your Smart TV and has enough storage capacity to accommodate your recordings.
- A Stable Connection: Whether you’re using a cable or satellite connection or streaming content through an external device, ensure that your Smart TV is connected to the internet or to the source of the content you wish to record.
Once you have these pre-requisites in place, you can proceed to the next steps and begin recording on your Samsung Smart TV.
Note: The process of recording may vary depending on the model of your Smart TV and the software version it’s running. Refer to your TV’s user manual or the manufacturer’s website for specific instructions tailored to your device.
Step 1: Connecting an External Device
The first step to start recording on your Samsung Smart TV is to connect an external device to your TV. This device will serve as the storage medium for your recordings. Here’s how to do it:
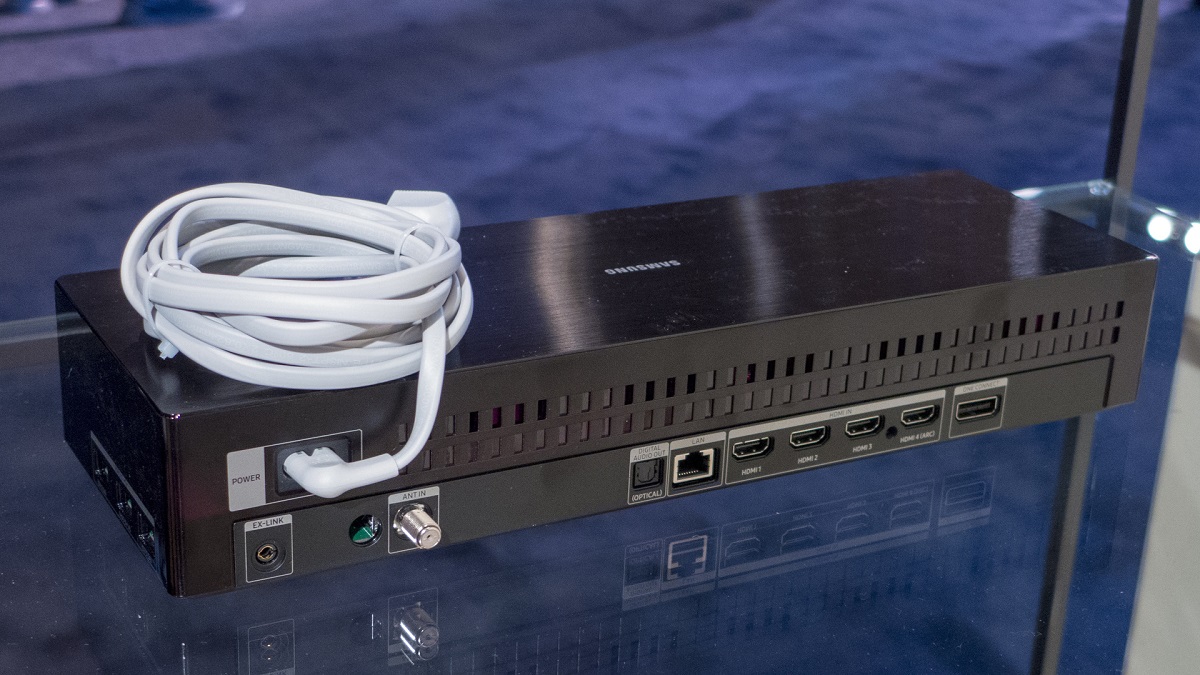
- Locate the USB/HDMI Ports: Identify the USB or HDMI ports on your Smart TV. These ports are usually located on the side or back panel of the TV.
- Insert the Device: Depending on the type of external device you’re using, connect it to the corresponding USB or HDMI port. Ensure that the connection is secure.
- Check Compatibility: Once connected, your Smart TV should recognize the external device. If prompted, follow the on-screen instructions to confirm the connection.
Once the external device is connected and recognized by your Samsung Smart TV, you’re ready to move on to the next step: configuring the device for recording.
Note: It’s important to use a device with sufficient storage capacity to accommodate your recordings. High-definition content requires more space compared to standard-definition content. Also, make sure the device is formatted correctly (if required) for use with your Smart TV.
Step 2: Configuring the External Device
After connecting the external device to your Samsung Smart TV, you’ll need to configure it properly to ensure smooth recording. Follow these steps to configure the external device:
- Access Device Settings: Navigate to the settings menu on your Smart TV. Look for options related to external devices or storage.
- Select the External Device: Once you’ve accessed the device settings, choose the connected external device from the list of available options. This will allow your Smart TV to recognize and configure the device for recording.
- Format the Device (if necessary): If the external device is new or has not been formatted for use with your Smart TV, you may need to format it. Formatting erases all existing data on the device, so make sure to back up any important data before proceeding. Follow the on-screen prompts to format the device to the appropriate file system.
- Set the Recording Quality (optional): Some Smart TVs allow you to adjust the recording quality according to your preferences. If this option is available, you can choose the desired recording quality, which may affect the amount of storage space required by the recordings.
Once you have configured the external device to your Smart TV’s settings, you’re now ready to move on to the next step: selecting the desired channel or content for recording.
Note: The options available in the device settings may vary depending on the model of your Samsung Smart TV. Refer to your TV’s user manual or the manufacturer’s website for specific instructions related to your device.
Step 3: Selecting the Desired Channel or Content
In order to record your favorite content on your Samsung Smart TV, you need to select the desired channel or specific content you wish to record. Here’s how you can do it:
- Launch the Channel Guide: Press the “Guide” button on your Smart TV remote control to open the channel guide. This will display a list of available channels and their scheduled programming.
- Browse through Channels: Navigate through the channel guide using the arrow keys on your remote control. Take your time to browse through the available channels and find the one that contains the content you want to record.
- Select the Desired Channel: Once you have found the desired channel, use the arrow keys to highlight it, and then press the “OK” or “Enter” button on your remote control to select it.
- Choose the Content: If the selected channel offers multiple programs or shows, use the arrow keys to navigate through the available content. Highlight the specific content you want to record and press “OK” or “Enter” to confirm the selection.
Alternatively, if you’re streaming content through an external device, open the app or platform that you want to record from and select the specific content you wish to record. The process may vary depending on the streaming service or app you’re using, so refer to the app’s instructions for guidance.
Once you have selected the desired channel or content, you’re now ready to proceed to the next step: starting the recording.
Note: Make sure you have a stable internet connection if you’re streaming content for recording. Low-quality or unstable internet connectivity may affect the recording quality or interrupt the process.
Step 4: Starting the Recording
Now that you have selected the desired channel or content on your Samsung Smart TV, it’s time to start the recording. Follow these steps to begin recording:
- Access the Recording Options: Look for the “Record” or “Record Now” option on your Smart TV’s interface. This option may be available in the channel guide or on the playback controls.
- Start the Recording: Once you’ve located the recording option, highlight it using the arrow keys on your remote control. Press the “OK” or “Enter” button to start the recording.
- Confirm the Recording: Some Smart TVs may prompt you to confirm the recording before it begins. If prompted, follow the on-screen instructions to confirm the recording.
- Verify the Recording Indicator: Look for a recording indicator or icon on your Smart TV’s screen. This indicates that the recording is in progress.
During the recording, you can continue to use your Smart TV for other activities, such as browsing channels, adjusting volume, or accessing other apps. The recording will not be interrupted unless you manually stop it or encounter any issues with the external device or source.
Note: The recording time may vary depending on the content’s duration and the available storage space on your external device. Make sure you have enough storage capacity to accommodate the desired recording.
Now that you’ve successfully started the recording on your Samsung Smart TV, it’s time to move on to the next step: managing the recording.
Step 5: Managing the Recording
Once you’ve started the recording on your Samsung Smart TV, there are several options available to manage and control the recording. Here’s how you can effectively manage your recordings:
- Access the Recording Controls: Look for the recording controls on your Smart TV’s interface. These controls typically include options such as pause, stop, and resume.
- Pause the Recording: If you need to temporarily pause the recording, press the “Pause” button on your remote control. This will pause the recording while keeping the progress intact.
- Resume the Recording: To continue the recording after pausing, press the “Resume” button on your remote control. The recording will pick up from where you left off.
- Stop the Recording: To stop the recording, press the “Stop” button on your remote control. This will end the recording and save it to the external device.
- Delete Unwanted Recordings: If you have recordings that you no longer need, you can delete them to free up storage space. Access the recording management options and select the recording you wish to delete. Follow the on-screen prompts to confirm the deletion.
Additionally, some Samsung Smart TVs allow you to manage recordings through external applications or Smart View apps on your mobile device. These apps can provide more advanced features such as scheduling recordings, managing recording settings, and transferring recordings to other devices.
By effectively managing your recordings, you can ensure that your external device’s storage space is utilized efficiently and that you have easy access to the content you want to watch.
Now that you have a good understanding of how to manage your recordings, let’s move on to the next step: pausing or resuming the recording.
Step 6: Pausing or Resuming the Recording
During the recording process on your Samsung Smart TV, you have the flexibility to pause and resume the recording as needed. Whether you have an interruption, need to take a break, or simply want to skip over a particular section, here’s how you can pause or resume the recording:
- Access the Recording Controls: Look for the recording controls on your Smart TV’s interface. These controls are usually available during the recording or playback screen.
- Pause the Recording: To temporarily pause the recording, press the “Pause” button on your remote control. This will freeze the recording at the current moment.
- Resume the Recording: When you’re ready to continue the recording, press the “Resume” or “Play” button on your remote control. The recording will pick up from where you left off.
Pausing the recording gives you the freedom to attend to other matters or skip over unwanted parts of the content. This feature is particularly useful when watching live broadcasts or when you need to take a short break during a longer recording.
It’s important to note that the pausing and resuming functionality may vary depending on the model of your Samsung Smart TV and the software version it’s running. Refer to your TV’s user manual or the manufacturer’s website for specific instructions tailored to your device.
Now that you know how to pause and resume the recording on your Samsung Smart TV, let’s move on to the next step: stopping and saving the recording.
Step 7: Stopping and Saving the Recording
Once you’ve finished recording the desired content on your Samsung Smart TV, it is important to properly stop and save the recording to ensure that it is accessible for future playback. Here’s how you can stop and save the recording:
- Access the Recording Controls: Locate the recording controls on your Smart TV’s interface. These controls may be present on the recording or playback screen.
- Stop the Recording: To stop the recording, press the “Stop” button on your remote control. This will end the recording process and save the content to the external device.
- Confirm the Saving: Some Smart TVs may prompt you to confirm the saving of the recording. Follow the on-screen instructions to ensure that the recording is securely saved to the external device.
It is crucial to let the recording finish and properly save before disconnecting the external device from your Smart TV. Interrupting or removing the external device during the saving process may result in loss of the recording or corrupting the file.
Once the recording is successfully stopped and saved, you can access and play back the recorded content. The accessibility of the saved recordings may vary depending on your Smart TV’s interface and the software version it supports. Consult the user manual or manufacturer’s website for detailed instructions on accessing your saved recordings.
By following these steps, you can ensure that your recordings are stored and saved securely on your external device, ready to be accessed and enjoyed at your convenience.
Now that you know how to stop and save the recording, let’s move on to the next step: accessing and playing back the recorded content.
Step 8: Accessing and Playing Back Recorded Content
With your recorded content saved and stored on your external device, it’s time to access and enjoy your recordings on your Samsung Smart TV. Follow these steps to access and play back the recorded content:
- Connect the External Device: Make sure the external device that contains your recorded content is properly connected to your Smart TV using the appropriate USB or HDMI port.
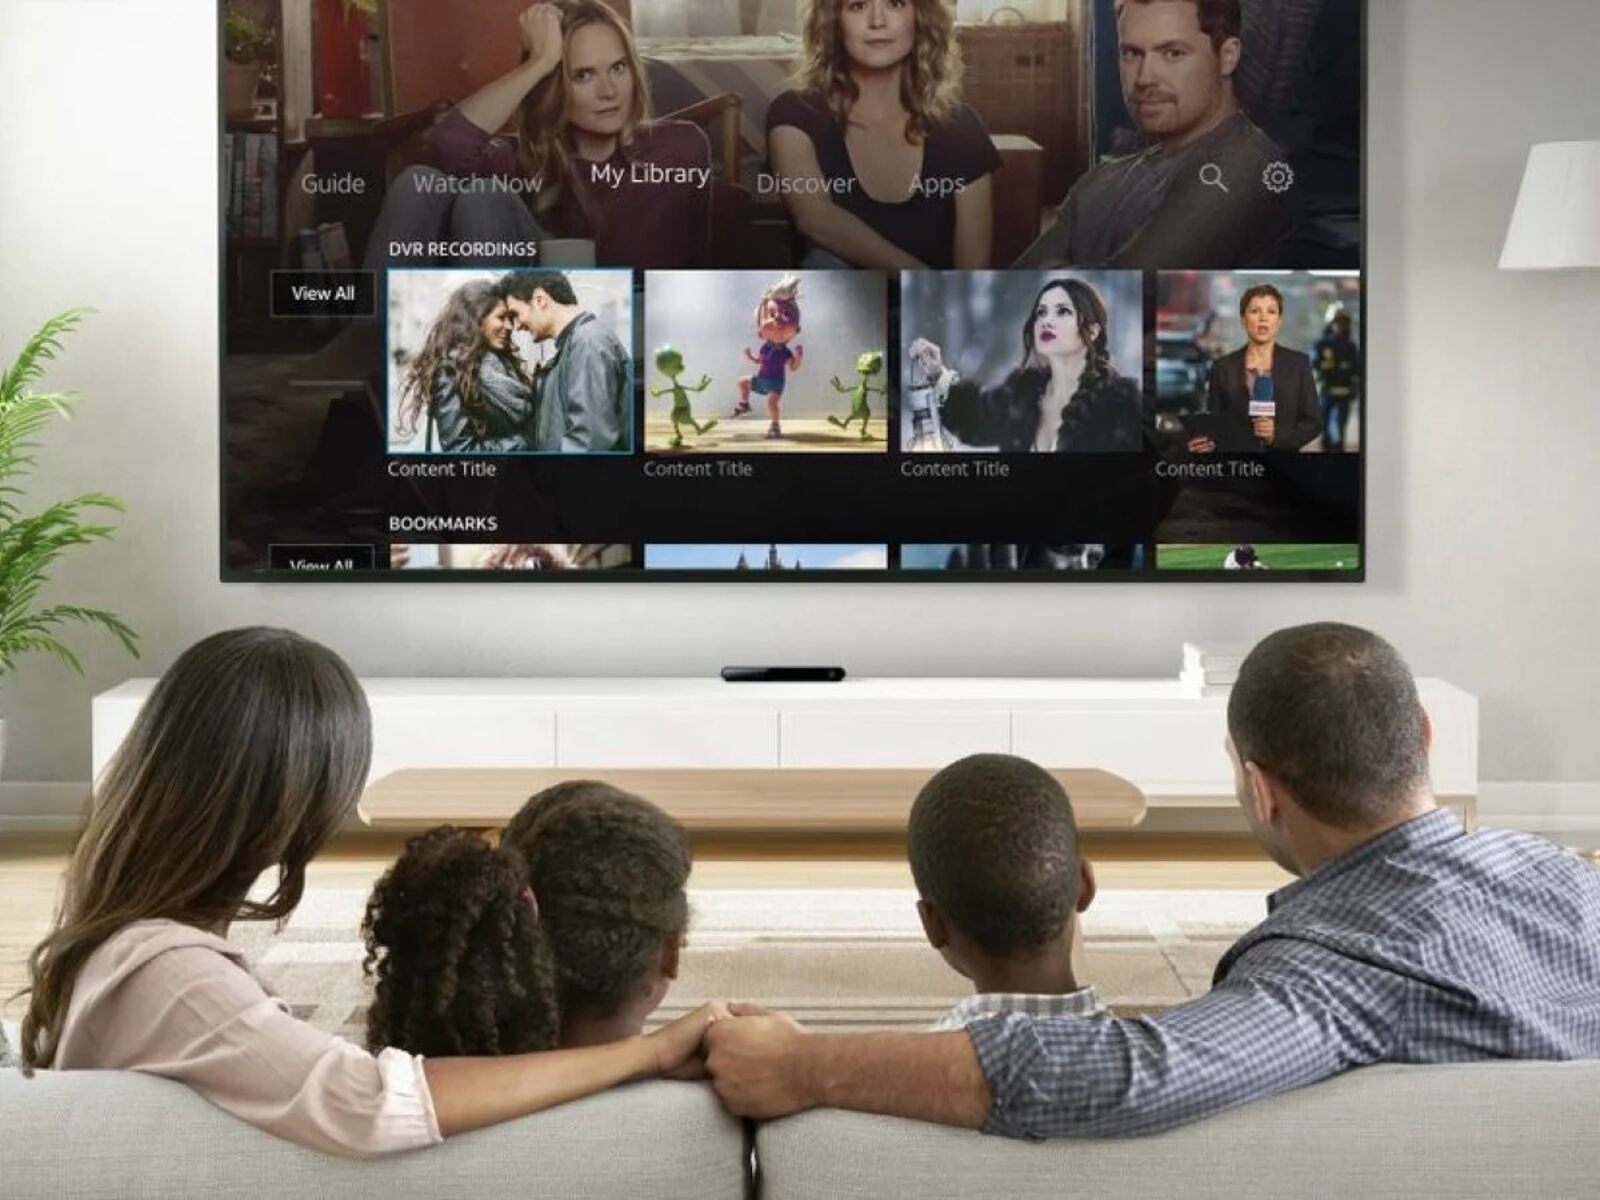
- Navigate to the Media or Recording Library: Depending on your Smart TV’s interface, look for the “Media” or “Recording” section in the menu. This is where you can access your saved recordings.
- Select the Recorded Content: In the Media or Recording library, navigate through the list of recordings and select the one you want to play back. You can use the arrow keys on your remote control to highlight the desired recording and press “OK” or “Enter” to select it.
- Start Playback: Once you’ve selected the recording, press the “Play” button on your remote control to start playback. You can adjust the volume, pause, skip, or resume the recording using the respective buttons on your remote control.
During playback, you can enjoy the recorded content just like you would with any other media on your Smart TV. You can pause, rewind, fast forward, or even skip to specific sections of the recording as desired.
It’s important to note that the options and playback features may vary depending on your Smart TV model and the software version it’s running. Refer to your TV’s user manual or the manufacturer’s website for specific instructions tailored to your device.
By following these steps, you can easily access and play back your recorded content, reliving your favorite shows, movies, or events at your preferred time.
Now that you know how to access and play back your recorded content, you can fully enjoy the flexibility and convenience that recording on your Samsung Smart TV provides.
Conclusion
Congratulations! You have learned how to record on your Samsung Smart TV and unlock its full potential. With the ability to record your favorite content, you can now watch your preferred shows, movies, sports events, and more at your convenience. By following the step-by-step process, you can easily connect an external device, configure it for recording, select the desired channel or content, start and manage the recording, and access and play back your recordings.
Recording on your Samsung Smart TV gives you the freedom to skip commercials, pause and resume according to your schedule, and manage your recordings efficiently. Whether you’re using a cable or satellite connection or streaming content through an external device, the process is simple and straightforward.
Remember to have an external device with sufficient storage capacity and ensure a stable internet connection if you’re streaming content. Additionally, take advantage of any advanced features and applications available on your Smart TV to enhance your recording experience.
We hope this guide has provided you with the necessary information to enjoy the recording functionality on your Samsung Smart TV. Refer to your TV’s user manual or the manufacturer’s website for specific instructions tailored to your device.
Now, grab your remote control, connect your external device, and start recording your favorite content. Sit back, relax, and enjoy the flexibility and convenience that recording on your Samsung Smart TV brings to your entertainment experience.


