Introduction
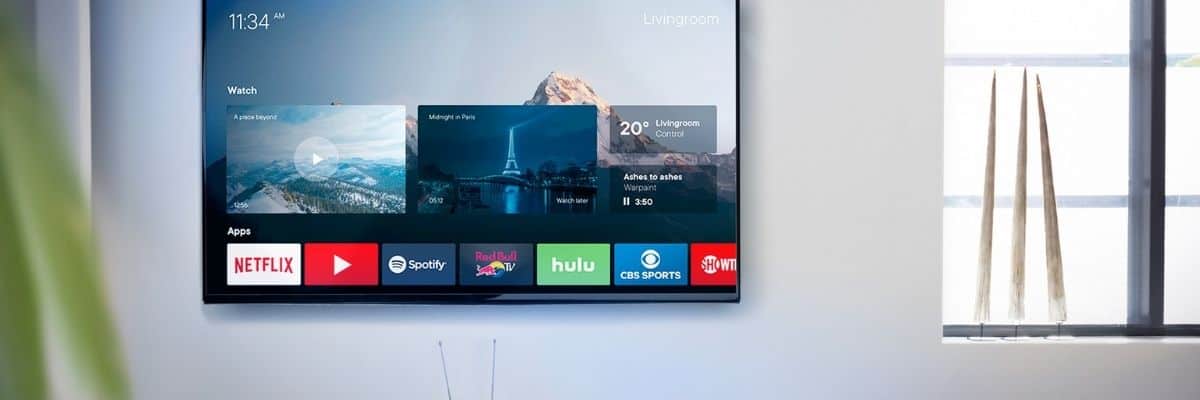
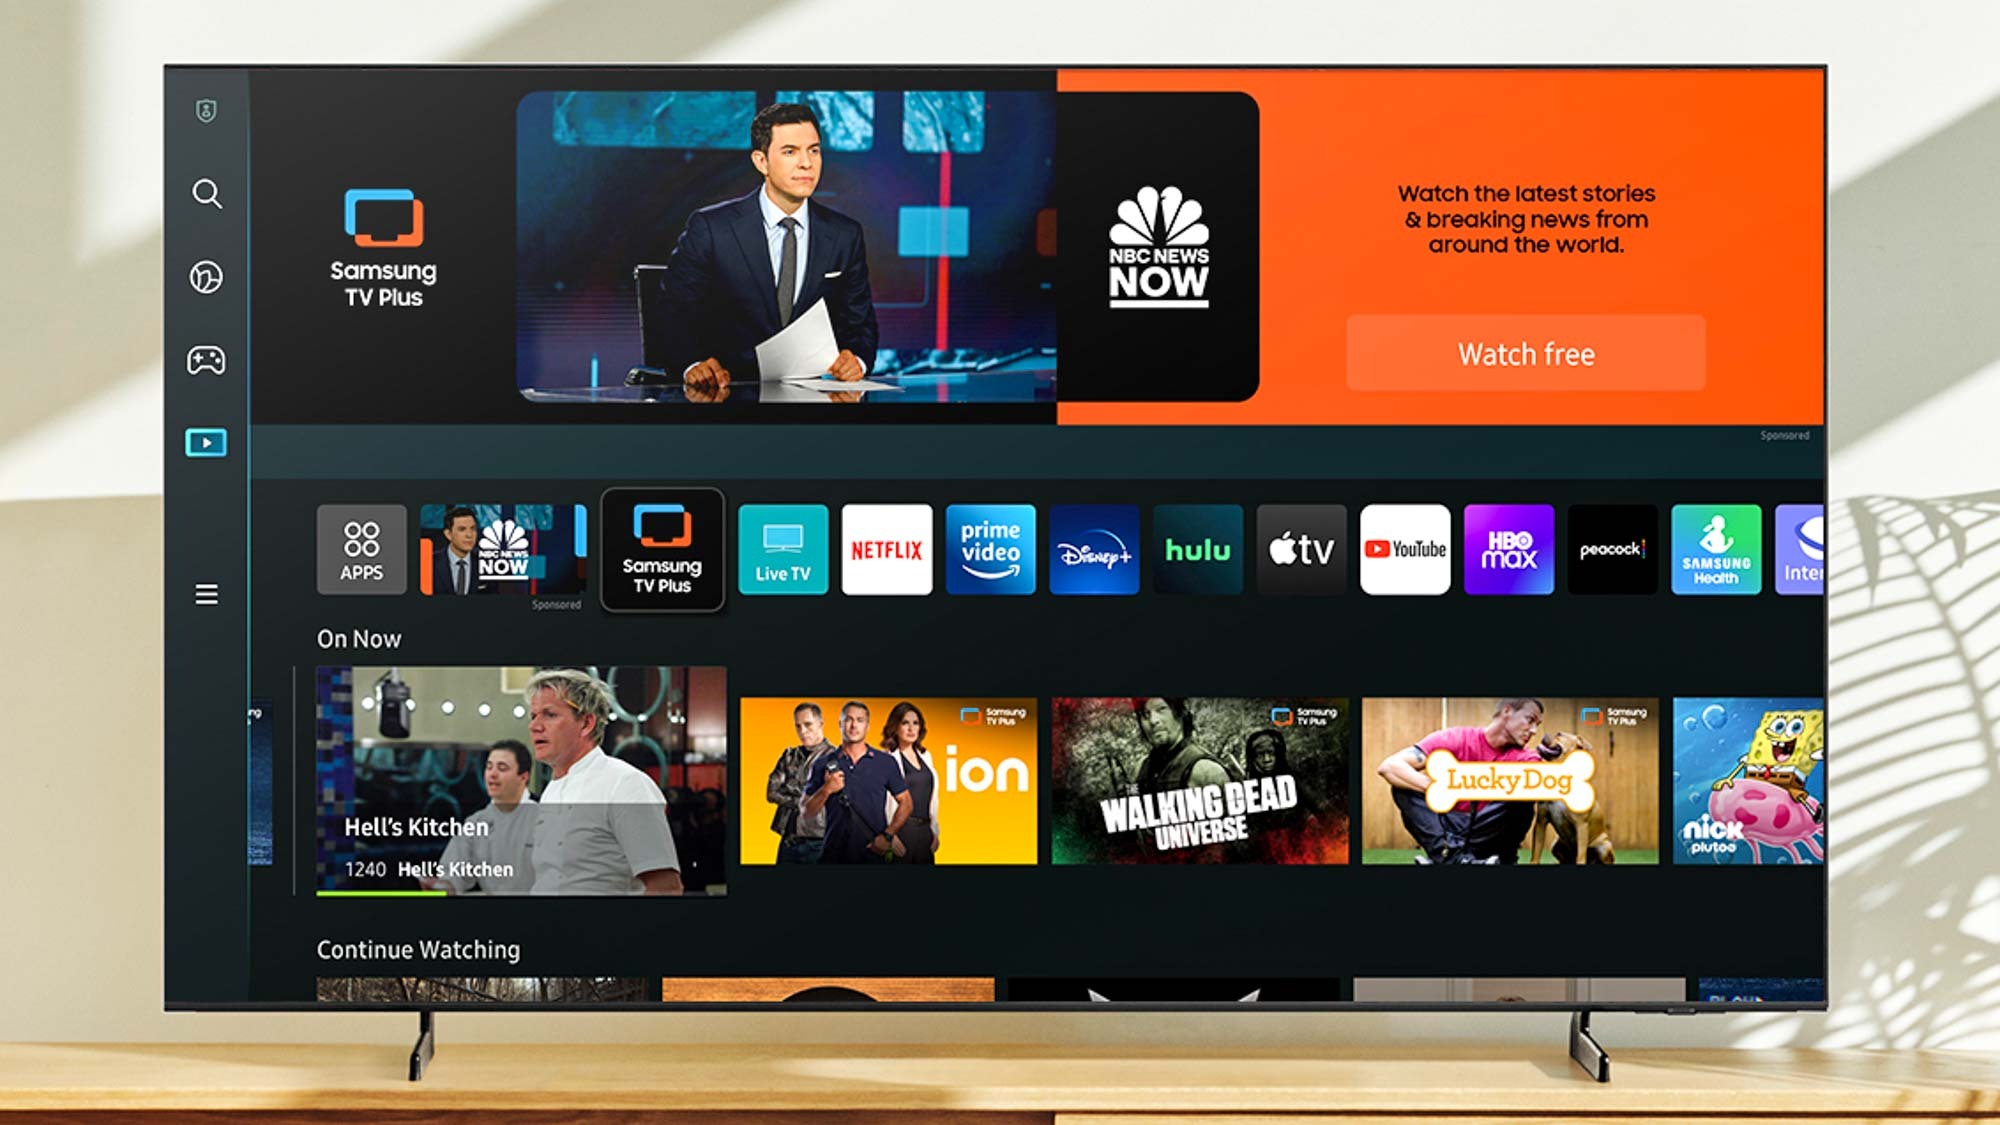
With the advancement of technology, our television sets have become more than just a means to watch our favorite shows and movies. Smart TVs now offer a host of features that allow us to explore a whole new world of entertainment possibilities. One such feature that many Samsung Smart TV owners may be interested in is the ability to record programs directly on their TV.
Recording programs on your Samsung Smart TV not only gives you the flexibility to watch your favorite shows at your convenience but also ensures that you never miss out on any important episodes. Whether you want to catch up on a missed episode, create your own personalized TV schedule, or simply want to save a memorable moment, recording programs on your Samsung Smart TV offers endless opportunities.
However, figuring out how to get started with recording programs on your Samsung Smart TV may seem daunting at first. That’s where this guide comes in. In the following sections, we will walk you through the process of setting up your Samsung Smart TV for recording, using the TV guide to schedule recordings, manually recording programs, managing your recorded content, transferring and playing recordings on other devices, and troubleshooting common recording issues.
So, if you’re ready to take full advantage of your Samsung Smart TV and unleash its recording capabilities, let’s dive in and get started!
Setting up your Samsung Smart TV for recording
Before you can start recording programs on your Samsung Smart TV, you’ll need to set it up properly. Follow these steps to ensure you’re ready to begin:
- Connect an external hard drive or USB storage device to your Samsung Smart TV. Make sure it has sufficient storage capacity to accommodate your recordings.
- Navigate to the settings menu on your Samsung Smart TV by pressing the home button on your remote control. Scroll to the right and select “Settings.”
- In the settings menu, look for the option labeled “Broadcasting” or “Channels” and select it.
- Within the Broadcasting settings, you should find an option called “Auto Tuning” or “Channel Scan.” Select this option to scan for available channels.
- Once the channel scan is complete, navigate to the channel list on your Samsung Smart TV. You should now see a list of available channels.
- To verify if your Samsung Smart TV is capable of recording, check if the channels in the channel list have a “Record” button or a red dot symbol next to them. This indicates that recording is supported for those channels.
- If your Samsung Smart TV does not have a built-in tuner, you may need to connect an external tuner device to enable recording functionality. Consult your TV’s user manual or contact Samsung support for specific instructions.
Once you’ve completed these steps, your Samsung Smart TV should be set up and ready to start recording programs. In the next section, we’ll explore how to use the TV guide to schedule recordings.
Using the TV Guide to Schedule Recordings
One of the easiest and most convenient ways to record programs on your Samsung Smart TV is by utilizing the TV guide. Here’s how you can schedule recordings using the TV guide:
- Press the “Guide” button on your remote control to access the TV guide.
- Navigate through the guide using the arrow keys on your remote control to find the program you want to record.
- Select the desired program by highlighting it and pressing the “OK” or “Enter” button on your remote control.
- A pop-up menu will appear with various options. Look for the “Record” or “Record Series” option and select it.
- Choose the recording settings, such as the start time, end time, and frequency (if applicable). You may also have the option to adjust the recording quality.
- Once you’ve selected your desired recording settings, confirm your choices and press “OK” or “Enter” to schedule the recording.
- Your Samsung Smart TV will now automatically record the selected program at the scheduled time.
It’s important to note that the availability of recording options may vary depending on your specific Samsung Smart TV model and the broadcasting source. Some channels may have restrictions on recording certain programs or may not allow recording at all.
Using the TV guide to schedule recordings on your Samsung Smart TV is a convenient way to ensure that you never miss an episode of your favorite shows. In the next section, we’ll explore how to manually record programs on your Samsung Smart TV.
Manual Recording on Your Samsung Smart TV
In addition to using the TV guide, you can also manually record programs on your Samsung Smart TV. Here’s how:
- While watching live TV, press the “Record” button on your remote control. It is usually represented by a circular icon with a dot inside.
- Your Samsung Smart TV will start recording the program from that point onwards.
- To stop the recording, press the “Stop” or “Pause” button on your remote control. The recorded program will be saved in your storage device.
If you want to manually record a specific segment of a program, you can use the time shift feature. Here’s how:
- While watching live TV, press the “Pause” button on your remote control.
- The program will pause, and you can use the arrow keys to navigate to the desired starting point of your recording.
- Press the “Record” button to start recording from that point.
- To stop the recording, press the “Stop” or “Pause” button on your remote control.
By manually recording programs on your Samsung Smart TV, you have more flexibility in capturing specific segments or moments that you want to save. However, keep in mind that manual recordings may require you to be present and actively initiate and stop the recording process.
In the next section, we’ll discuss how to manage your recorded programs on your Samsung Smart TV.
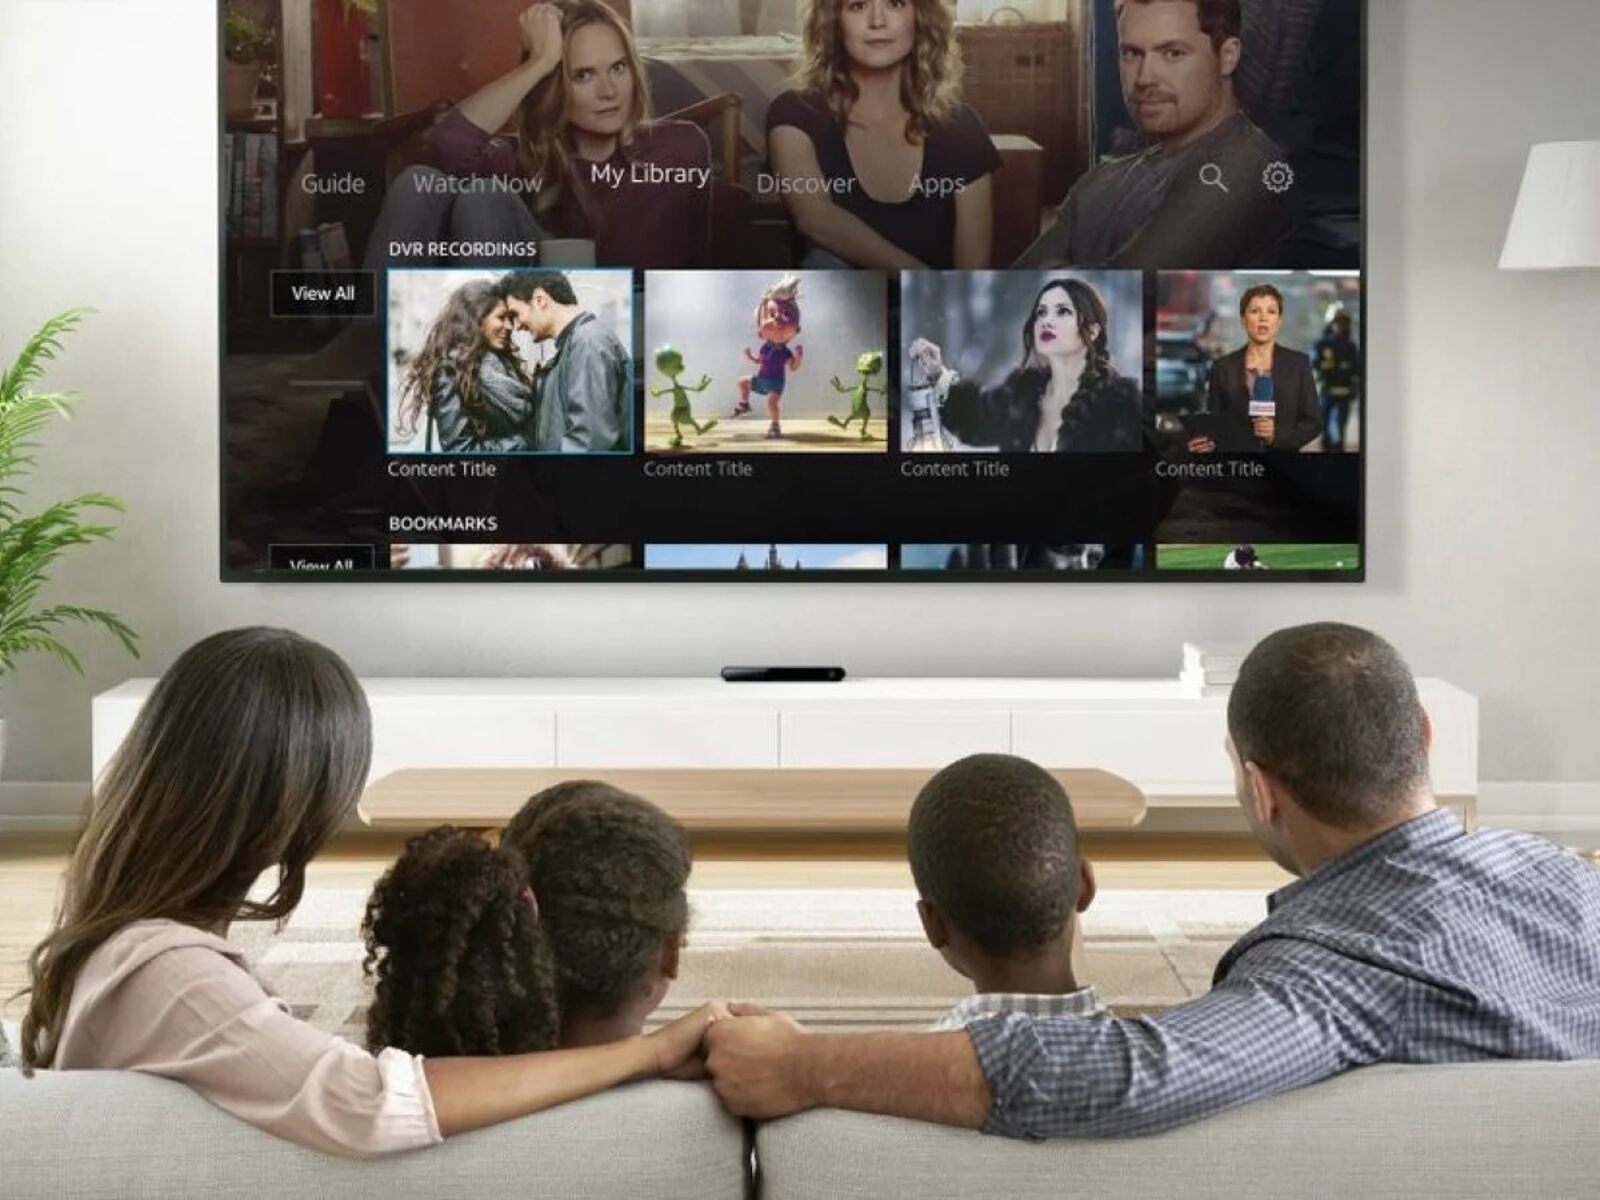
Managing Your Recorded Programs
Once you have recorded programs on your Samsung Smart TV, it’s important to know how to manage and access your recorded content. Here are some tips on managing your recorded programs:
- To access your recorded programs, navigate to the “Recordings” or “Recorded TV” section on your Samsung Smart TV’s menu.
- You may have the option to organize your recorded programs by date, name, or by specific folders or categories.
- Use the arrow keys on your remote control to select a recorded program and press the “OK” or “Enter” button to play it.
- If you no longer need a recorded program, you can delete it to free up storage space. Select the program and look for the “Delete” or “Remove” option in the menu. Confirm your choice to delete the recording.
- Some Samsung Smart TVs may offer additional features such as the ability to pause, rewind, or fast-forward through your recorded programs.
- If you are running low on storage space, consider transferring your recorded programs to an external storage device or a computer for safekeeping. Consult your TV’s user manual for instructions on how to transfer recordings.
It’s a good practice to regularly manage and organize your recorded programs to avoid clutter and ensure easy access to your desired content. By staying on top of your recordings, you can make the most out of your Samsung Smart TV’s recording capabilities.
In the next section, we’ll explore how to transfer and play your recorded programs on other devices.
Transferring and Playing Recordings on Other Devices
While enjoying your recorded programs on your Samsung Smart TV is great, you may also want to transfer and play them on other devices for added convenience or to share with others. Here’s how you can do it:
- Connect the external storage device containing your recorded programs to your computer or another compatible device.
- Navigate to the folder where your recorded programs are stored and copy them to the desired location on your computer or the target device.
- If you want to transfer the recordings to a mobile device or tablet, connect it to your computer and transfer the files accordingly.
- Once the recordings are successfully transferred to the desired device, you can use a media player or compatible software to play them. Most modern media players support popular video file formats, so you shouldn’t have any issues playing your recorded programs.
Remember to check the compatibility of the file format and system requirements of the device you want to play the recordings on. This ensures a smooth playback experience.
Transferring and playing your recorded programs on other devices allows you to enjoy your favorite shows on the go or share them with friends and family. It expands the versatility and accessibility of your recorded content beyond your Samsung Smart TV.
In the next section, we’ll address some common recording issues and provide troubleshooting tips.
Troubleshooting Common Recording Issues
While recording programs on your Samsung Smart TV is generally a straightforward process, you may encounter some common issues along the way. Here are a few troubleshooting tips to help resolve them:
- If you are unable to schedule or initiate recordings, ensure that your external storage device is properly connected and has sufficient storage space available.
- Check if the channel you want to record has any restrictions or is DRM-protected. Certain channels may not allow recording due to copyright or licensing limitations.
- Make sure that your Samsung Smart TV’s software is up to date. Regularly check for firmware updates and install them to ensure smooth functioning of the recording feature.
- If you are experiencing playback issues with your recorded programs, try playing them on a different device or media player to determine if the issue lies with the recordings or the playback device.
- If your recordings have poor video or audio quality, verify that the signal reception is strong. Weak signals can result in subpar recording quality.
- Restart your Samsung Smart TV and try recording again. Sometimes, a simple restart can resolve minor glitches or temporary issues.
- If you are using an external tuner device, ensure that it is properly connected and functioning correctly. Refer to the device’s user manual for troubleshooting instructions.
- If none of the above solutions work, consider reaching out to Samsung customer support for further assistance. They can provide specific troubleshooting guidance based on your model and any known issues.
By applying these troubleshooting tips, you can overcome common recording issues and enjoy a seamless recording experience on your Samsung Smart TV.
With this guide, you should now have a solid understanding of how to record programs on your Samsung Smart TV, schedule recordings using the TV guide, manually record shows, manage your recorded content, transfer recordings to other devices, and troubleshoot common issues.
Now, go ahead and make the most of your Samsung Smart TV’s recording capabilities to never miss a moment of your favorite shows!
Conclusion
Recording programs on your Samsung Smart TV opens up a whole new world of convenience and flexibility, allowing you to watch your favorite shows on your own schedule. In this guide, we’ve walked you through the process of setting up your Samsung Smart TV for recording, using the TV guide to schedule recordings, manually recording programs, managing your recorded content, transferring and playing recordings on other devices, and troubleshooting common recording issues.
By following the steps outlined in this guide, you can unleash the full potential of your Samsung Smart TV and ensure that you never miss out on any important episodes or memorable moments. Whether you’re catching up on missed shows, creating your own personalized TV schedule, or simply saving cherished memories, recording programs on your Samsung Smart TV offers endless possibilities.
Remember to always check for firmware updates and ensure that your external storage device has sufficient capacity to accommodate your recordings. Troubleshooting common recording issues can be done by following the tips provided or seeking assistance from Samsung customer support.
So, go ahead and start exploring the recording capabilities of your Samsung Smart TV. With the ability to schedule recordings, manage your content, and transfer recordings to other devices, you have complete flexibility and control over your TV viewing experience.
Now, grab your remote, set up your recording preferences, and enjoy the freedom to watch your favorite programs whenever and wherever you please!